
Are you ready to activate your Jitterbug Flip Phone and start enjoying its amazing features? Well, you’ve come to the right place! In this comprehensive guide, we will walk you through the easy steps to activate your Jitterbug Flip Phone and get it up and running in no time.
The Jitterbug Flip Phone is designed with simplicity and convenience in mind, making it the perfect choice for seniors or those who prefer a straightforward and user-friendly device. Activating your Jitterbug Flip Phone is a simple process that can be done either online or over the phone, and we will provide you with all the information you need to ensure a smooth and hassle-free activation.
So, let’s dive in and discover how to activate your Jitterbug Flip Phone and unlock all its incredible features and functions!
Inside This Article
- Section 1: Getting Started
- Section 2: Activating your Jitterbug Flip Phone
- Section 3: Setting up your Jitterbug Flip Phone
- Section 4: Troubleshooting common activation issues
- Conclusion
- FAQs
Section 1: Getting Started
Welcome to the world of Jitterbug Flip phones! Whether you are a new user or upgrading from an older phone, getting started with your Jitterbug Flip Phone is easy and hassle-free. This section will walk you through the essential steps to ensure a smooth activation process.
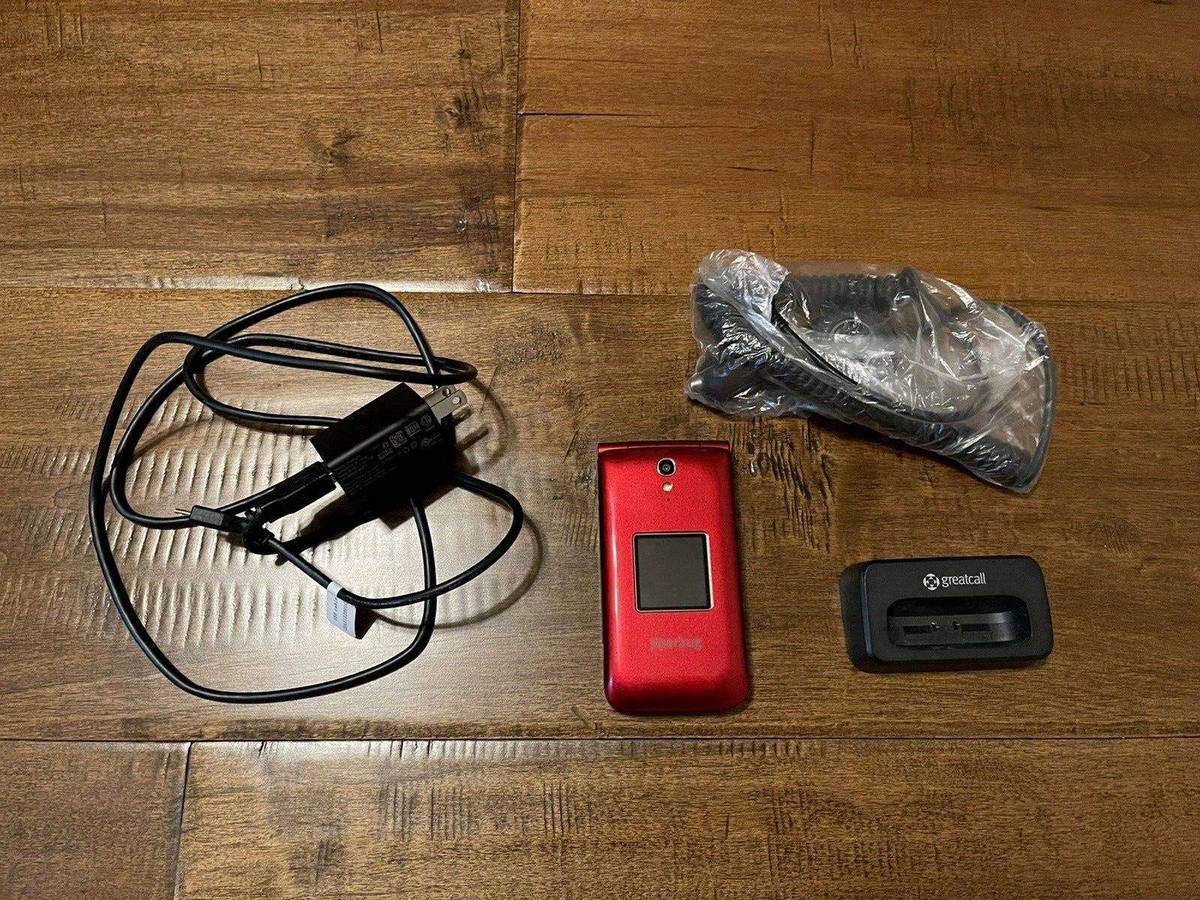
Before diving into the activation process, make sure you have everything you need. Start by checking if your Jitterbug Flip Phone is charged. Plug it into a wall socket using the provided charger and allow it to charge fully. It is important to have a fully charged phone to complete the activation successfully.
Next, ensure that you have an active phone plan with GreatCall, the service provider for Jitterbug Flip Phones. If you haven’t already, choose a suitable plan that meets your needs and subscribe to it. Activation can only be completed with an active phone plan, so it’s crucial to have that in place.
It’s also a good idea to familiarize yourself with the Jitterbug Flip Phone’s features and functions. Spend some time exploring the menus, buttons, and settings to get acquainted with the phone. This will make the activation process and future use much more convenient and enjoyable.
Lastly, prepare your personal information for the activation process. You will need to provide details such as your name, address, and Social Security number to complete the registration. Having this information readily available will help speed up the activation process and save you time.
Section 2: Activating your Jitterbug Flip Phone
Activating your Jitterbug Flip Phone is a simple process that ensures you can start using your device to make calls and stay connected with your loved ones. To activate your Jitterbug Flip Phone, follow these step-by-step instructions:
Step 1: Check Your Coverage
Before activating your Jitterbug Flip Phone, it’s essential to ensure that you have sufficient coverage in your area. The Jitterbug Flip Phone operates on the reliable GreatCall network, so you can enjoy strong reception and connectivity. You can check the coverage map provided by GreatCall or contact their customer service to confirm coverage in your specific location.
Step 2: Gather Information
Next, gather the necessary information for the activation process. You will need the following:
- Your Jitterbug Flip Phone
- The activation code provided with your device
- Your personal information, including your name, address, and social security number
- Your payment information, such as a credit card or banking details for setting up billing and services
Step 3: Activate Online or Over the Phone
Once you have gathered the required information, you can choose between activating your Jitterbug Flip Phone online or over the phone. If you prefer the convenience of online activation, visit the GreatCall website and follow the instructions provided. You will be guided through the process, prompted to enter your activation code and personal information.
If you prefer personalized assistance, you can call GreatCall’s customer service and activate your Jitterbug Flip Phone over the phone. The friendly and knowledgeable customer service representatives will walk you through the activation process and answer any questions you may have along the way.
Step 4: Confirm Activation
After completing the activation process, you will receive a confirmation that your Jitterbug Flip Phone has been successfully activated. This confirmation may include additional instructions or steps to get started, such as setting up voicemail or personalized features.
It’s important to allow some time for the activation process to take effect. In most cases, your Jitterbug Flip Phone should be ready for use within a few minutes. However, if you experience any issues or delays, don’t hesitate to reach out to GreatCall’s customer service for assistance.
With your Jitterbug Flip Phone successfully activated, you’re ready to start enjoying the convenience and simplicity it offers. Stay connected with your loved ones and enjoy the peace of mind that comes with having a reliable and easy-to-use mobile phone.
Section 3: Setting up your Jitterbug Flip Phone
Once you have successfully activated your Jitterbug Flip Phone, it’s time to set it up and personalize it according to your preferences. In this section, we will guide you through the essential steps of setting up your phone.
Step 1: Charging your phone
Before you start using your Jitterbug Flip Phone, make sure it has enough power. Connect the charging cable to the phone and plug the other end into a power outlet. Allow the phone to charge until the battery is full. This usually takes a few hours. You can monitor the charging progress by looking at the battery icon on the screen.
Step 2: Language and accessibility settings
Once your phone is charged, turn it on by pressing and holding the power button. A welcome screen will appear, prompting you to choose a language. Select your preferred language from the options provided by using the arrow keys and press the “OK” button. Next, you can set up accessibility features such as font size and contrast to make the phone easier to use.
Step 3: Connecting to Wi-Fi
To access the internet and enjoy online features, you will need to connect your Jitterbug Flip Phone to a Wi-Fi network. From the home screen, navigate to the “Settings” option using the arrow keys and press the “OK” button. Select “Wi-Fi” and choose the network you want to connect to. Enter the password if required, and your phone will connect to the Wi-Fi network.
Step 4: Adding contacts
The Jitterbug Flip Phone allows you to store important contact information for easy access. From the home screen, go to the “Contacts” option and press “OK.” Select “Add New” and enter the contact’s name and phone number. You can also add additional details such as their email address or home address. Press “Save” to store the contact information.
Step 5: Personalizing settings
Make your Jitterbug Flip Phone truly yours by personalizing the various settings. Explore the “Settings” menu to customize features such as ringtone, display brightness, wallpaper, and more. You can also adjust the volume, date and time settings, and security preferences to suit your needs.
Step 6: Exploring additional features
Take some time to familiarize yourself with the additional features of your Jitterbug Flip Phone. This includes accessing voicemail, sending and receiving text messages, using the camera, and exploring the pre-installed apps. The user guide that comes with your phone can provide you with detailed instructions on how to use these features effectively.
By following these steps, you will be able to set up and personalize your Jitterbug Flip Phone to ensure it meets your specific needs and preferences. Enjoy your phone as you explore its features and stay connected with ease.
Section 4: Troubleshooting common activation issues
Activating your Jitterbug Flip Phone may sometimes come with its own set of challenges. If you encounter any issues during the activation process, don’t fret! This section will guide you through some common activation issues and provide troubleshooting steps to overcome them.
1. Invalid SIM card: One of the most common activation issues is an invalid SIM card error. If you receive this message, ensure that the SIM card is properly inserted into the phone. Remove the SIM card, clean the contacts with a soft cloth, and reinsert it securely. If the problem persists, contact your service provider to check if the SIM card needs to be replaced.
2. Activation failure: If your Jitterbug Flip Phone fails to activate, make sure you have reliable network coverage. Check if the phone’s battery is fully charged and restart the device. If the issue persists, contact your service provider and provide them with the necessary details for further assistance.
3. Incorrect activation code: When activating your phone, make sure to enter the correct activation code provided by your service provider. Double-check the code and ensure that there are no typos or mistakes. If the code still doesn’t work, contact your service provider to verify the activation code or request a new one.
4. Roaming issues: If you experience difficulties with your Jitterbug Flip Phone when traveling, check if the phone’s roaming settings are enabled. Access the phone’s settings menu and navigate to the network or roaming settings. Ensure that both the voice and data roaming options are turned on. If the problem persists, contact your service provider for further assistance.
5. No network signal: If your Jitterbug Flip Phone is not receiving any network signal, try moving to an open area with better reception. Check if the signal strength indicator on your phone shows any bars. If not, go to the phone’s settings and search for available networks. If the phone still cannot detect any networks, contact your service provider for troubleshooting steps.
6. Activation delay: Sometimes, there may be a delay in the activation process, especially during peak hours or network congestion. If your Jitterbug Flip Phone takes longer than usual to activate, be patient and wait for a while. In most cases, the activation process will complete within a few minutes. If the delay persists, contact your service provider for further assistance.
Remember, if you encounter any other activation issues or need additional support, don’t hesitate to reach out to your service provider. They will have the expertise and resources to help you resolve any problems and ensure a smooth activation process for your Jitterbug Flip Phone.
With its user-friendly interface and simplified design, activating a Jitterbug Flip phone is a straightforward process that allows users to easily stay connected. By following the steps outlined in this guide, you can effortlessly activate your Jitterbug Flip phone and start enjoying the convenience it offers.
Whether you’re an elderly individual or someone looking for a simple and reliable cell phone, the Jitterbug Flip phone caters to your needs with its intuitive features and emergency response capabilities. The activation process is designed to be hassle-free, ensuring that you can get your phone up and running quickly.
Need assistance along the way? The Jitterbug customer support team is readily available to help you with any questions or concerns you may have. So, don’t hesitate to reach out and let them guide you through the activation process.
Get ready to embrace the benefits of the Jitterbug Flip phone and stay connected effortlessly. Activate your phone today and experience the convenience and peace of mind that this exceptional device provides.
FAQs
Here are some frequently asked questions about activating a Jitterbug Flip Phone:
1. How do I activate my Jitterbug Flip Phone?
Activating your Jitterbug Flip Phone is a simple process. First, locate the activation code that was included with your device or provided by your phone carrier. Next, turn on your phone by pressing and holding the red power button on the upper right side. Follow the on-screen prompts to enter the activation code and complete the activation process. If you encounter any difficulties, you can always contact the Jitterbug customer support for assistance.
2. Can I activate my Jitterbug Flip Phone online?
Yes, you can activate your Jitterbug Flip Phone online. Simply visit the Jitterbug website or the website of your phone carrier and follow the provided instructions for activating the device. You will typically need to provide the serial number of your phone and other relevant information during the online activation process.
3. How long does it take to activate a Jitterbug Flip Phone?
The time it takes to activate a Jitterbug Flip Phone can vary depending on your phone carrier and the specific activation method you choose. In most cases, the activation process should be completed within a few minutes to an hour. However, it is always recommended to follow the instructions provided by your carrier or contact their customer support for a more accurate estimate.
4. Can I transfer my existing phone number to my Jitterbug Flip Phone?
Yes, you can typically transfer your existing phone number to your Jitterbug Flip Phone. This process is known as number porting. During the activation process, you will be given the option to transfer your current phone number to your new Jitterbug phone. You may need to provide some additional information such as your current carrier, account number, and PIN to complete the number porting process.
5. Can I activate my Jitterbug Flip Phone with a prepaid plan?
Yes, you can activate your Jitterbug Flip Phone with a prepaid plan. Jitterbug offers various plans that cater to different needs and usage levels. You can choose a prepaid plan that suits your requirements and activate your phone accordingly. It is important to note that you might need to purchase a prepaid SIM card from your phone carrier if it is not included with your Jitterbug Flip Phone package.