
When it comes to troubleshooting phone line issues, having the right tools is essential. One tool that can come in handy is a multimeter, a versatile device capable of testing various electrical parameters. Using a multimeter, you can determine if a phone line is functioning properly or if there are any faults in the line.
In this article, we will guide you through the process of testing a phone line with a multimeter. Whether you are experiencing static noise, dropped calls, or no dial tone, this step-by-step guide will help you identify and resolve the issue.
Before we dive into the testing process, let’s start with the basics. What exactly is a multimeter, and how does it work?
Inside This Article
- Point 1: Understanding the Basics of a Phone Line
- Point 2: Gathering the Necessary Tools and Materials
- Point 3: Testing the Phone Line with a Multimeter
- Point 4: Interpreting the Multimeter Readings
- Conclusion
- FAQs
Point 1: Understanding the Basics of a Phone Line
A phone line is the lifeline that connects us to the world through telecommunications. Understanding the basics of a phone line is essential when it comes to troubleshooting any issues that may arise. In simple terms, a phone line carries voice and data signals from one location to another, allowing us to make and receive calls.
Phone lines typically consist of a pair of copper wires, which are responsible for transmitting and receiving signals. This pair of wires is often referred to as a “twisted pair” because the two wires are twisted around each other to reduce interference from external sources. It is important to note that while some phone lines are still based on copper technology, others have transitioned to digital or fiber-optic networks.
In addition to the physical aspect of a phone line, it is also important to understand the different types of phone line connections. The most common type is the analog phone line, also known as a Plain Old Telephone Service (POTS) line. Analog phone lines are used for traditional landline telephones and require a physical connection from the telephone line provider to the customer’s premises.
Another type of phone line connection is the Digital Subscriber Line (DSL), which uses the existing copper infrastructure to provide high-speed internet access along with voice communication. DSL lines are capable of carrying both voice and data signals simultaneously, allowing users to browse the internet while still making phone calls.
Lastly, there are Voice over Internet Protocol (VoIP) phone lines, where calls are made and received over the internet instead of traditional phone lines. VoIP lines are becoming increasingly popular due to their cost-effectiveness, flexibility, and additional features such as video calling and virtual numbers.
Now that we have a basic understanding of what a phone line is and the different types of connections, we can move on to the next step – gathering the necessary tools and materials for testing a phone line with a multimeter.
Point 2: Gathering the Necessary Tools and Materials
Before you can start testing a phone line with a multimeter, you will need to gather the necessary tools and materials. Here is a list of items you will need for the testing process:
- Multimeter: This is the primary tool you will need to measure the voltage, resistance, and continuity of the phone line. Make sure you have a multimeter with the appropriate settings for testing a phone line.
- Alligator Clips: Alligator clips will allow you to securely connect the multimeter probes to the phone line. They come in various sizes and designs, so choose ones that are compatible with your multimeter.
- Test Leads: These are the cables that connect the multimeter to the alligator clips. Make sure you have a set of test leads with the correct connectors for your multimeter.
- Phone Line Wire Stripper: If you need to expose the inner wires of the phone line for testing, a wire stripper specifically designed for phone line wires will make the process much easier.
- Protective Gloves: When working with any electrical equipment, it’s always wise to wear protective gloves to prevent any potential harm from electrical shocks or accidental contact with sharp objects.
- Documentation or Diagrams: It can be helpful to have any relevant documentation or diagrams of the phone line setup or wiring to ensure accurate testing and troubleshooting.
With these tools and materials on hand, you will be well-prepared to proceed with the phone line testing process.
Point 3: Testing the Phone Line with a Multimeter
Now that you understand the basics of a phone line and have gathered the necessary tools and materials, it’s time to get hands-on and test the phone line using a multimeter. This process will help determine if there are any issues with the line that may be affecting its functionality.
Follow these steps to test the phone line with a multimeter:
- Step 1: Set up the multimeter – Start by adjusting the multimeter settings to the appropriate voltage range for phone line testing. Typically, this is set to around 50V or higher. Consult the multimeter’s user manual to ensure you’re using the correct settings.
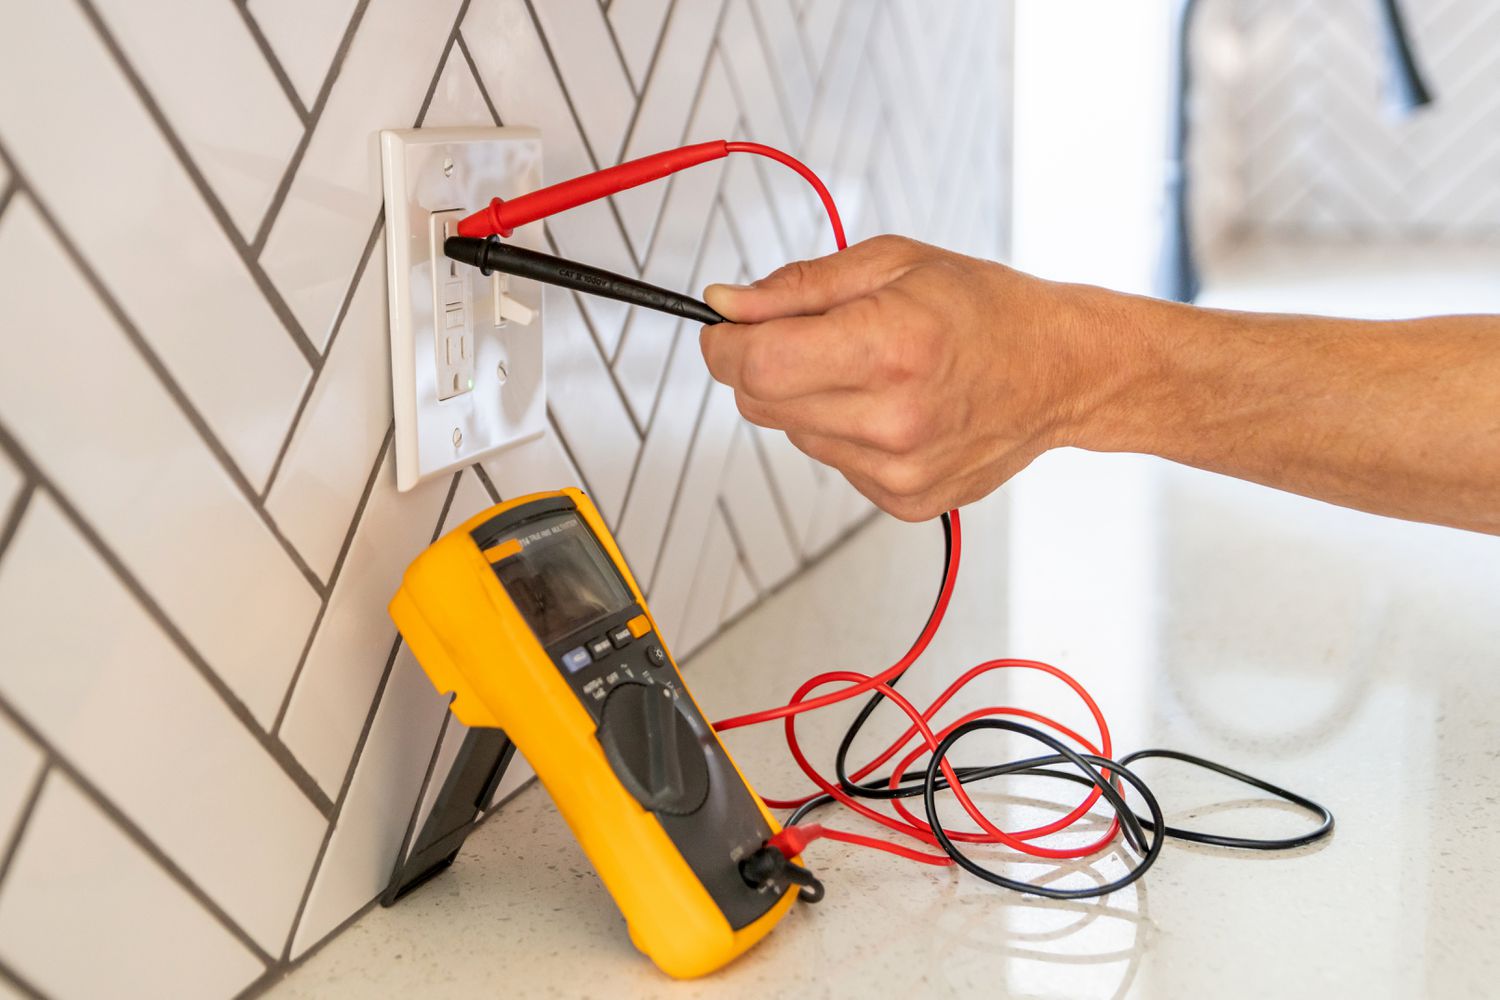
- Step 2: Connect the multimeter – Take the two probes of the multimeter, one red and one black, and connect them to the appropriate ports on the multimeter. The red probe usually connects to the positive or “volts” port, while the black probe connects to the negative or “common” port.
- Step 3: Establish contact – Locate the phone line jack where you want to test the line. Carefully insert the two multimeter probes into the jack, ensuring that the red probe makes contact with the positive terminal and the black probe with the negative terminal.
- Step 4: Read the multimeter – Once the probes are securely in place, check the multimeter display. It should show a voltage reading. A reading of around 50V or higher indicates that the phone line is functioning correctly. However, if the reading is significantly lower or zero, there may be an issue with the line.
- Step 5: Check for continuity – In addition to checking the voltage, you can also test for continuity by switching the multimeter to the resistance or continuity mode. This will help determine if there are any breaks or interruptions in the phone line. Place the probes on two different terminals of the jack and check if there is a continuous flow of electrical current.
Remember, testing the phone line with a multimeter can only reveal issues with the physical connection. If you suspect a problem with the service provider or other external factors, it’s best to reach out to them for further assistance.
Now that you have tested the phone line using a multimeter, it’s time to move on to the next step – interpreting the multimeter readings.
Point 4: Interpreting the Multimeter Readings
Once you have performed the test on your phone line using a multimeter, it’s time to interpret the readings displayed on the device. The multimeter provides valuable information about the condition and integrity of your phone line, allowing you to identify any potential issues that may be affecting its performance.
When examining the multimeter readings, there are a few key parameters to consider. The first is the resistance measurement, which indicates the level of impedance or resistance in the phone line. Ideally, you should see a low resistance reading, typically ranging from 0 to a couple of hundred ohms. Higher resistance readings may indicate a problem, such as a faulty or damaged line.
Another important parameter to assess is the voltage measurement. This reading gives you an indication of the voltage levels present in the phone line. In a functional phone line, you should typically measure a voltage of around 48 volts. Any significantly lower or higher voltage readings may suggest a fault in the line or a problem with the power supply.
Additionally, you should pay attention to the continuity reading. This measurement determines if the phone line is complete and without any breaks or disruptions. A continuity reading close to zero indicates a healthy and functioning line, while a higher reading may indicate a break or damage along the line.
In some cases, you may also come across capacitance and line balance readings on your multimeter. Capacitance measures the line’s ability to hold a charge, and a low capacitance reading is preferable. Line balance, on the other hand, measures the symmetry between the two wires of the phone line. A balanced line is desirable for optimal audio quality.
It’s important to consult the user manual or documentation of your multimeter to understand the specific range or values to look for when interpreting the readings. Different multimeters may have variations in the readings and recommended thresholds for a good phone line connection.
If you encounter readings that fall outside the expected ranges or notice inconsistencies, it may be an indication of a problem with your phone line. In such cases, further troubleshooting or professional assistance may be required to address the issue and restore the functionality of your phone line.
Conclusion
In conclusion, testing a phone line with a multimeter can be a useful troubleshooting technique to identify and resolve issues with your phone connection. By following the steps outlined in this guide, you can effectively determine the continuity, voltage, and resistance of your phone line to pinpoint any faults or problems.
Remember to exercise caution when working with electrical equipment and always ensure your safety. If you are not confident or comfortable working with a multimeter, it is recommended to seek the assistance of a professional technician.
With the right tools and knowledge, you can confidently diagnose and fix phone line issues, ensuring clear and uninterrupted communication in your home or office.
FAQs
Q: Can I test a phone line with a multimeter?
A: Yes, it is possible to test a phone line with a multimeter. A multimeter is a versatile tool that can be used to measure various electrical properties, including voltage, resistance, and continuity. By using the appropriate settings on the multimeter, you can check the voltage and continuity of a phone line to determine if there are any issues.
Q: What equipment do I need to test a phone line with a multimeter?
A: To test a phone line with a multimeter, you will need a few basic tools. These include a multimeter (preferably digital), test leads with alligator clips, and a phone line splitter. The phone line splitter allows you to connect the multimeter to the phone line without disrupting the connection to your phone or other devices.
Q: How do I test the voltage of a phone line using a multimeter?
A: To test the voltage of a phone line using a multimeter, follow these steps:
1. Disconnect any devices connected to the phone line.
2. Attach the test leads of the multimeter to the line 1 and line 2 terminals on the phone line splitter.
3. Set the multimeter to the DC voltage measurement mode.
4. Insert the phone line splitter into the phone jack and ensure a secure connection.
5. Check the multimeter reading; a voltage between 48-52 volts is considered normal for a landline phone line.
Q: How can I test the continuity of a phone line with a multimeter?
A: To test the continuity of a phone line using a multimeter, follow these steps:
1. Disconnect any devices connected to the phone line.
2. Attach the test leads of the multimeter to the line 1 and line 2 terminals on the phone line splitter.
3. Set the multimeter to the continuity or resistance measurement mode.
4. Insert the phone line splitter into the phone jack and ensure a secure connection.
5. Touch the test probe leads together; the multimeter should emit a beep or show a low resistance reading.
6. Touch one test probe lead to the line 1 terminal and the other to the line 2 terminal on the phone line splitter.
7. If the multimeter emits a beep or shows a low resistance reading, the phone line has continuity and is functioning properly.
Q: What are some common issues that can be detected by testing a phone line with a multimeter?
A: Testing a phone line with a multimeter can help detect a range of issues, including:
– Poor or no voltage on the line, indicating an electrical problem.
– Lack of continuity, indicating a broken or disconnected wire.
– Excessive resistance, indicating corroded or damaged connectors.
By identifying these issues, you can troubleshoot and resolve phone line problems, such as static or dropped calls, and improve the overall functionality of your phone system.