
Are you tired of making trips to the bank just to deposit a check? With the advent of technology, now you can easily deposit a mobile check on Cash App – a popular mobile payment service. Cash App allows users to send and receive money, make purchases, and even deposit checks using their mobile devices.
In this article, we will walk you through the step-by-step process of depositing a mobile check on Cash App. We will guide you on how to navigate the app, take clear and legible photos of your checks, enter the necessary details, and complete the deposit process hassle-free. Whether you’re new to the world of mobile banking or looking for a convenient solution, we’re here to help you effectively deposit your checks using Cash App.
So, let’s dive in and discover how you can simplify your banking experience by depositing mobile checks on Cash App.
Inside This Article
- How to Set Up Cash App
- How to Link Your Bank Account
- How to Access the Mobile Check Deposit Feature
- How to Deposit a Mobile Check on Cash App
- Conclusion
- FAQs
How to Set Up Cash App
Are you ready to take the first step towards harnessing the convenience of Cash App? Setting up an account is quick and easy. Whether you’re a seasoned user or new to the world of digital payments, this guide will walk you through the process, ensuring you’re up and running in no time.
To begin, visit the App Store or Google Play Store on your mobile device and search for “Cash App”. Download and install the app on your smartphone or tablet.
Once the installation is complete, open the Cash App and tap on the “Sign Up” button. You will be prompted to enter your mobile phone number or email address. Choose the option that works best for you and proceed to the next step.
After entering your mobile phone number or email address, Cash App will send you a confirmation code. Enter the code in the app to verify your account. This step ensures the security of your information and protects your transactions.
Next, you will be asked to create a unique username, known as a “$Cashtag”. This username will serve as your unique identifier on Cash App, allowing others to send payments directly to you. Be sure to choose a memorable and easily recognizable $Cashtag.
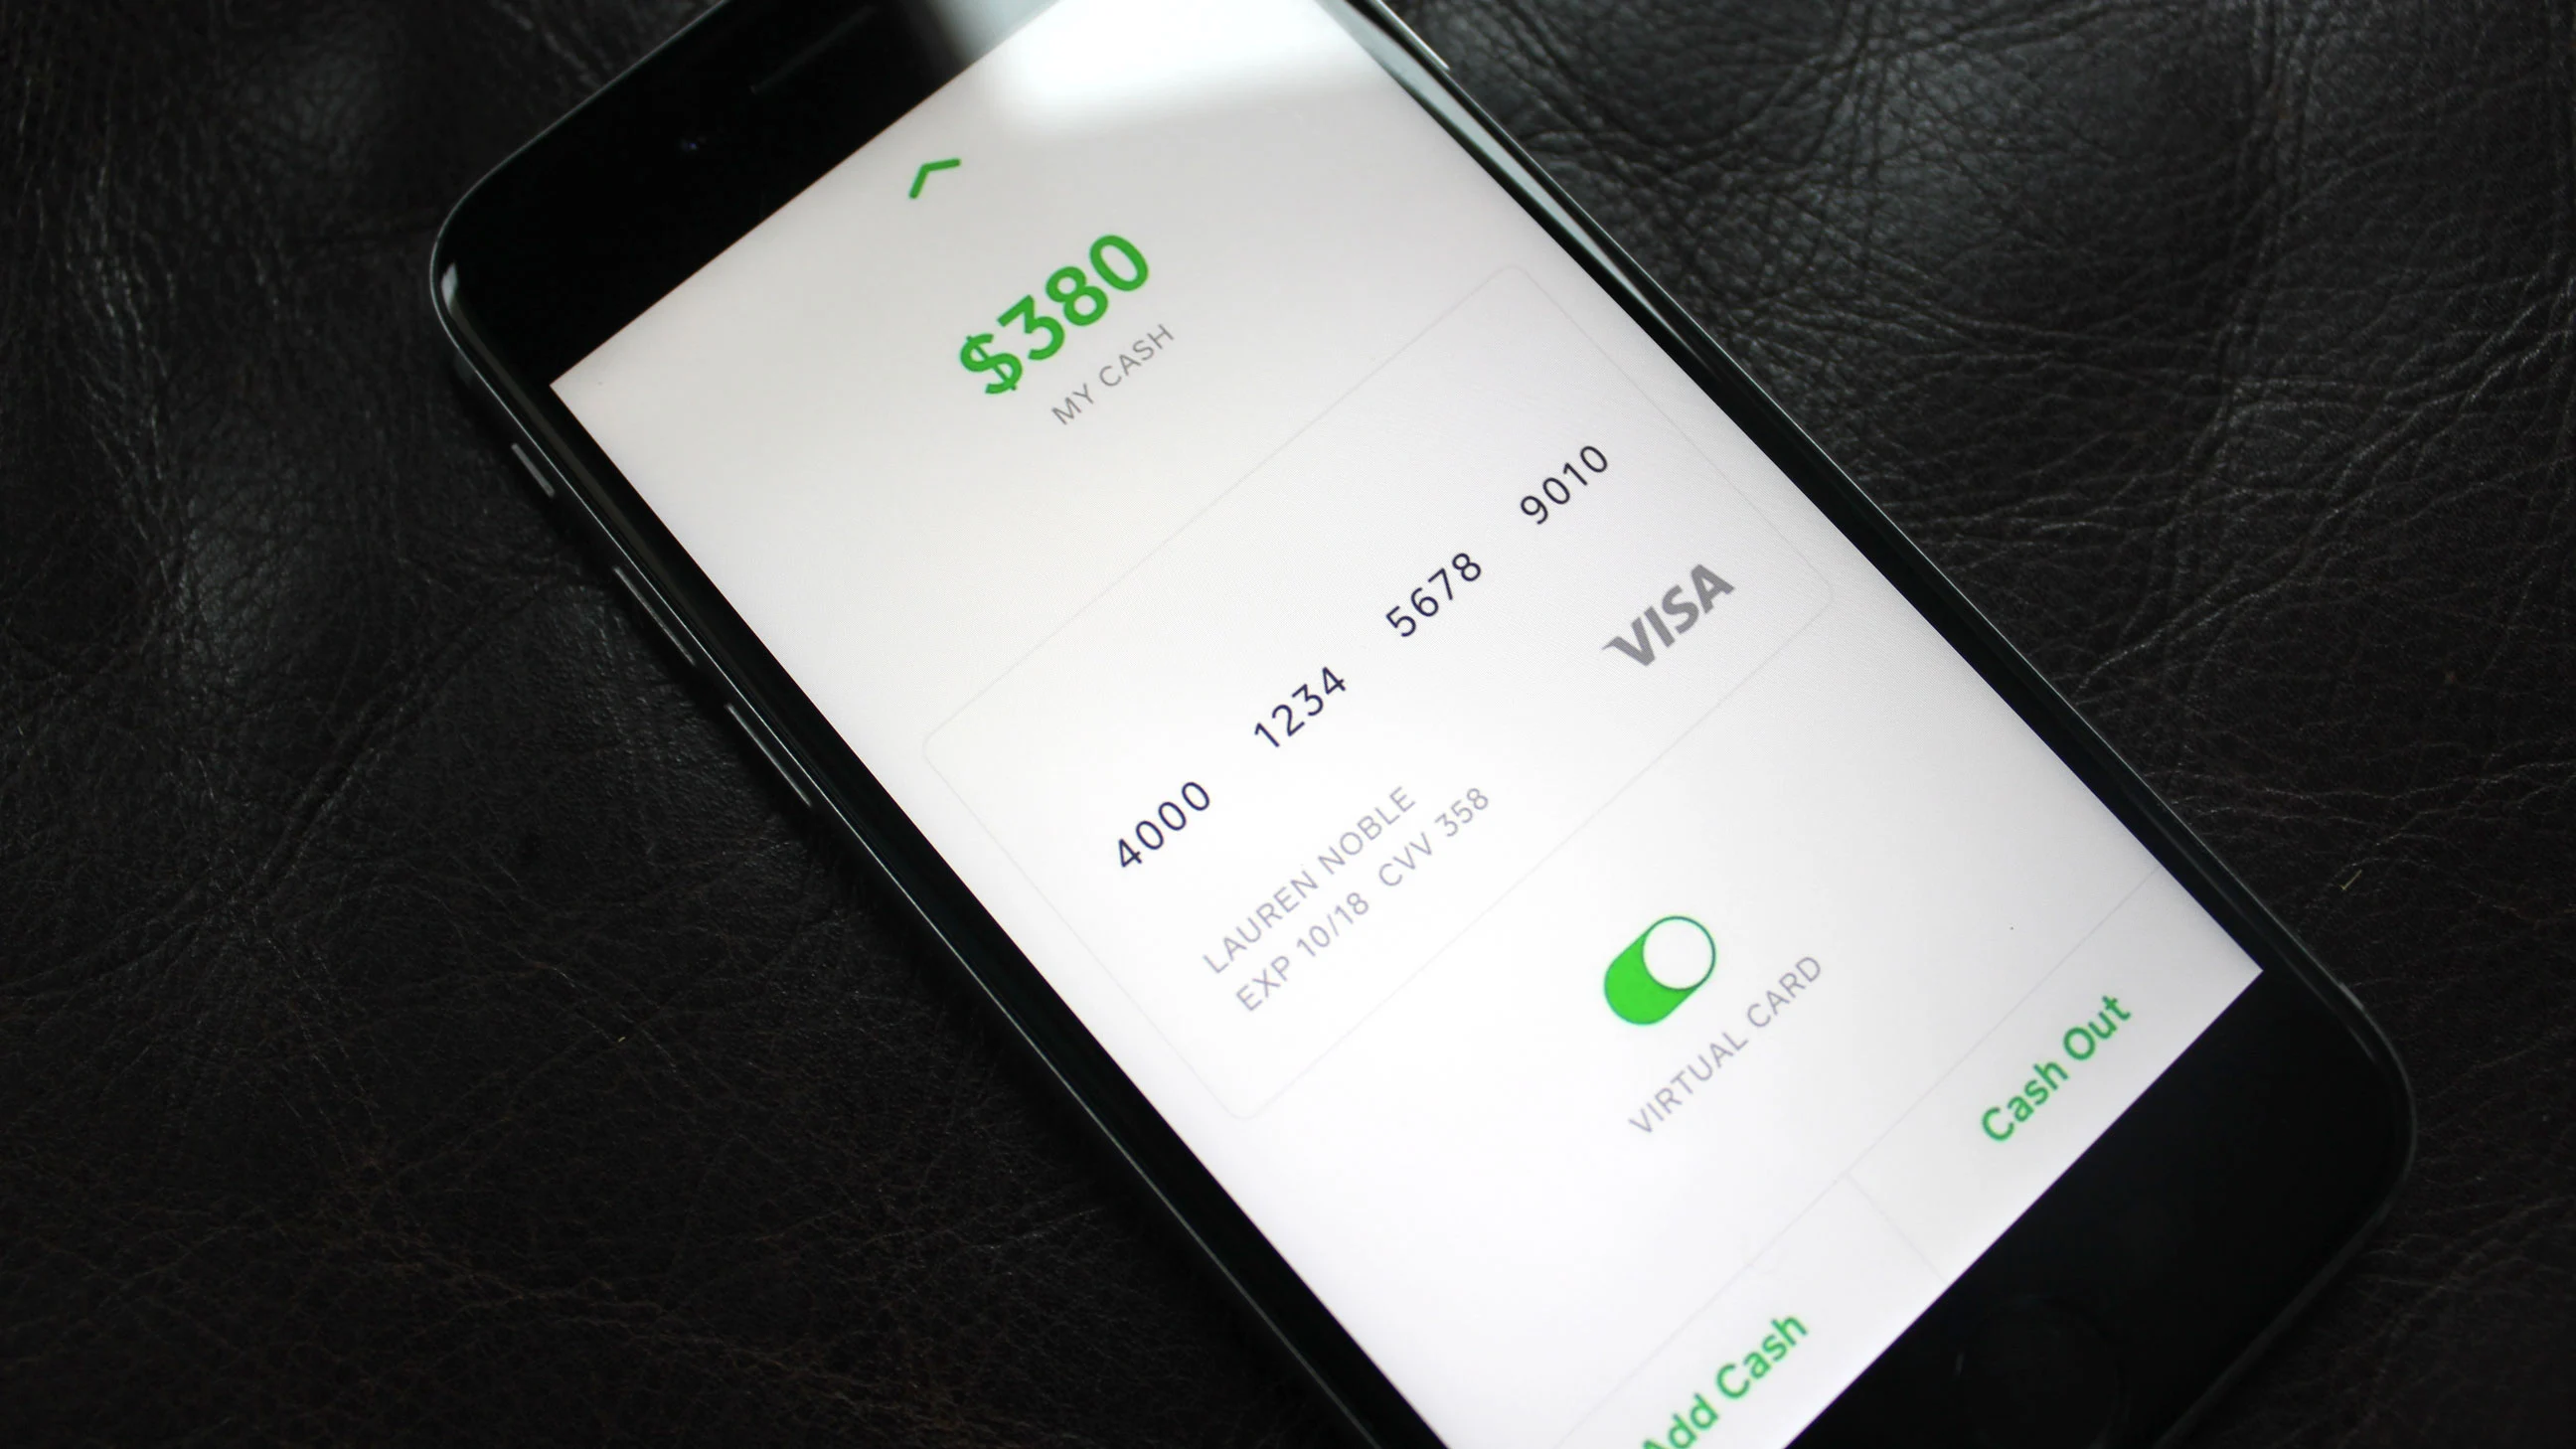
Once you’ve created a $Cashtag, it’s time to link your debit card or bank account to Cash App. Tap on the “Banking” or “Add a Bank” option within the app and follow the on-screen instructions to securely link your preferred payment method. This connection allows you to add funds to your Cash App account and make seamless transactions.
Finally, you’ll have the option to enable additional security features such as Touch ID or Face ID, depending on your device’s capabilities. These features add an extra layer of protection to your Cash App account, ensuring that only you can access and authorize transactions.
With these simple steps, you can set up your Cash App account and start enjoying the convenience of digital payments. Whether you’re sending money to friends or family, splitting bills with roommates, or shopping online, Cash App provides a user-friendly platform for all your financial needs.
Remember, if you ever need assistance along the way, Cash App offers a comprehensive support center on their website or within the app. So don’t hesitate to reach out if you have any questions or encounter any issues during the setup process.
Now that you know how to set up Cash App, it’s time to dive into the world of fast, secure, and hassle-free digital payments. Get started today and discover a new level of convenience at your fingertips!
How to Link Your Bank Account
If you’re using Cash App and want to take full advantage of its features, linking your bank account is essential. By doing so, you can easily send and receive money, deposit cash, and enjoy seamless transactions. Here’s a step-by-step guide on how to link your bank account to Cash App.
1. Open the Cash App on your mobile device and log in to your account. Make sure you have the latest version of the app installed to access all the features.
2. Tap on the profile icon or your profile picture at the top left corner of the screen. This will open the menu options.
3. Scroll down and select the “Banking” or “Add a Bank” option. This will take you to the bank linking page.
4. Choose the bank you want to link from the list of supported banks. Cash App supports a wide range of banks, so chances are yours will be on the list. If your bank is not listed, you may not be able to link it to Cash App.
5. Enter the required information, including your bank’s routing number and account number. You can find these details on a check or by contacting your bank.
6. Verify the entered information and proceed. Cash App will initiate the verification process, which may take a few moments.
7. Once your bank account is successfully linked, you will receive a confirmation message. At this point, you can start using your bank account within the Cash App.
It’s important to note that linking your bank account to Cash App may require additional verification steps, such as providing identification documents or answering security questions. These procedures are in place to ensure the security of your transactions.
By following these simple steps, you can link your bank account to Cash App and unlock a world of convenient mobile banking. Enjoy effortless transfers, easy cash deposits, and hassle-free financial transactions with Cash App!
How to Access the Mobile Check Deposit Feature
If you’re looking to access the mobile check deposit feature on your Cash App, you’ve come to the right place. With Cash App, depositing a check is quick and easy, allowing you to conveniently add funds to your account without visiting a bank. In this guide, we’ll walk you through the steps to access and use the mobile check deposit feature on Cash App.
Here are the steps to access the mobile check deposit feature:
- Ensure you have a Cash App account: First and foremost, make sure you have an active Cash App account. If you don’t have one, you can easily sign up for an account on the Cash App website or download the app from your device’s app store.
- Update the Cash App to the latest version: It’s always a good idea to have the latest version of the Cash App installed on your device. To access the mobile check deposit feature, make sure you have updated the app to the most recent version available.
- Open the Cash App and login to your account: Launch the Cash App on your device and log in using your registered email address or phone number, along with your password or PIN.
- Tap on the “Balance” tab: Once you’re logged in, navigate to the “Balance” tab at the bottom of the screen. This is where you’ll find all your account balance and transaction details.
- Select “Cash & BTC” or “Banking” depending on the version: Depending on the version of the Cash App you are using, tap on either “Cash & BTC” or “Banking” to proceed.
- Choose “Deposit Check” or “Add Check”: In the next screen, look for the option to deposit a check. It may be labeled as “Deposit Check” or “Add Check,” depending on your app version.
- Follow the on-screen instructions to take pictures of the check: The Cash App will guide you through the process of capturing images of the front and back of the check. Make sure to align the check properly and ensure all necessary information is clearly visible.
- Confirm the check details and deposit amount: After capturing the check images, review the details on the screen. Make sure the check amount and other information are correct. If everything looks good, proceed to confirm the deposit amount.
- Wait for the check to be processed and funds added to your account: Once you confirm the deposit, Cash App will process the check and add the funds to your account. The processing time may vary, but typically, the funds will be available in your Cash App balance within a few business days.
That’s it! By following these steps, you can easily access and use the mobile check deposit feature on Cash App. Enjoy the convenience of depositing checks directly into your Cash App account hassle-free.
If you encounter any issues while accessing or using the mobile check deposit feature, here are a few troubleshooting tips:
- Check your internet connection: Ensure that you have a stable internet connection while using the Cash App to avoid any interruptions during the check deposit process.
- Ensure the check is properly aligned and visible in the pictures: Take care to align the check properly and ensure all necessary information is clearly visible in the pictures you capture.
- Confirm the check is eligible for mobile deposit: Some checks may not be eligible for mobile deposit due to various reasons, such as restriction by the bank or an invalid check. Make sure the check you are trying to deposit meets the criteria for mobile deposit on Cash App.
- Contact Cash App support if issues persist: If you continue to face problems while accessing or using the mobile check deposit feature, reach out to Cash App support for assistance. They will be able to provide you with further guidance and resolve any technical issues you may be experiencing.
How to Deposit a Mobile Check on Cash App
If you’re new to Cash App or simply want to learn how to deposit a mobile check, you’re in the right place. Cash App offers a convenient feature that allows you to deposit checks directly from your mobile device, eliminating the need to visit a physical bank or ATM. By following a few simple steps, you can easily deposit checks and have the funds added to your Cash App account. Let’s dive in!
1. Ensure you have a Cash App account: The first step is to make sure you have a Cash App account. If you don’t have one, you can easily sign up for free through the Cash App mobile app or website.
2. Update the Cash App to the latest version: Before attempting to deposit a mobile check on Cash App, ensure that you have the latest version of the app installed on your mobile device. This will ensure that you have access to all the latest features, including the mobile check deposit functionality.
3. Open the Cash App and log in to your account: Launch the Cash App on your mobile device and enter your login credentials to access your account. If you’re logging in for the first time, you may be required to verify your identity using the provided security measures.
4. Tap on the “Balance” tab: Once you’re logged in, locate and tap on the “Balance” tab at the bottom of the screen. This will take you to your Cash App balance and transaction history.
5. Select “Cash & BTC” or “Banking” depending on the version: Depending on the version of Cash App you’re using, you may see either the “Cash & BTC” or “Banking” option. Tap on the corresponding option to proceed.
6. Choose “Deposit Check” or “Add Check”: In the next screen, look for the “Deposit Check” or “Add Check” option and select it. This will initiate the process of depositing your mobile check.
7. Follow the on-screen instructions to take pictures of the check: Cash App will guide you through the process of capturing images of the check using your mobile device’s camera. Make sure to follow the instructions carefully and position the check within the indicated frame.
8. Confirm the check details and deposit amount: Once you have taken the required pictures, Cash App will display the check details and allow you to verify the information. Double-check that the check amount and other details are correct before proceeding.
9. Wait for the check to be processed and funds added to your account: After confirming the check details, Cash App will begin processing the deposit. It may take a few moments for the funds to be added to your Cash App account, so be patient. Once the process is complete, you will receive a confirmation notification.
That’s it! You have successfully deposited a mobile check on Cash App. You can now use the funds for various purposes, such as sending money to friends, making purchases, or transferring funds to your linked bank account.
Remember, if you encounter any issues or have questions about the mobile check deposit process, you can always reach out to Cash App support for assistance. Now, go ahead and enjoy the convenience of depositing checks from the comfort of your mobile device!
In conclusion, depositing a mobile check on Cash App is a convenient and hassle-free way to manage your finances. With just a few simple steps, you can easily deposit funds into your account and have access to your money in no time. Cash App provides a user-friendly platform that allows you to capture the image of your check, securely transmit the information, and wait for the deposit to be processed.
This feature eliminates the need for traditional check deposit methods, such as visiting a bank or using an ATM. Additionally, Cash App offers added security measures to protect your personal and financial information. It’s important to note that while Cash App offers a convenient way to deposit checks, it’s always recommended to exercise caution and follow best practices when handling sensitive financial transactions.
So, if you’re looking for a quick and reliable way to deposit checks, give Cash App a try. Enjoy the convenience of mobile banking and make your financial life easier with the touch of a button.
FAQs
1. Can I deposit a mobile check on Cash App?
Yes, you can deposit a mobile check on Cash App. Cash App allows users to deposit checks directly into their account using the mobile check deposit feature.
2. How do I deposit a mobile check on Cash App?
To deposit a mobile check on Cash App, follow these steps:
a. Open the Cash App on your mobile device.
b. Tap on the “Balance” tab on the home screen.
c. Choose the “Add Cash” option.
d. Select the “Deposit Check” option.
e. Follow the prompts to capture images of the front and back of the check.
f. Enter the amount you wish to deposit.
g. Review the details and confirm the deposit.
h. Once processed, the funds will be added to your Cash App balance.
3. Are there any restrictions or limitations when depositing a mobile check on Cash App?
While Cash App allows mobile check deposits, there are a few restrictions and limitations to keep in mind:
a. You must be at least 18 years old to use the mobile check deposit feature.
b. Only personal checks can be deposited; business checks are not supported.
c. There may be daily or weekly limits on the amount you can deposit via mobile check.
d. The check must be in your name and endorsed properly.
e. The image quality of the check must be clear and legible for processing.
4. How long does it take for a mobile check deposit on Cash App to be processed?
The processing time for a mobile check deposit on Cash App can vary. In most cases, the deposit is typically processed within 1-2 business days. However, there can be instances where it might take longer, depending on various factors such as the bank’s processing time and any potential issues with the check image.
5. What should I do with the physical check after depositing it on Cash App?
Once you have successfully deposited a check using Cash App, it is recommended to keep the physical check in a safe place for a few weeks, until you are certain that the funds have been properly credited to your account. Afterward, it is generally safe to destroy the check by shredding it to protect your personal information. However, it’s advisable to check with your bank or financial institution for specific guidelines on handling physical checks after mobile deposit.