
Are you tired of standing in long lines at the bank to deposit a check? With the advancement in technology, there is now an easier way to deposit checks using your mobile phone. One popular mobile payment app that offers this feature is Cash App. In this article, we will guide you on how to easily mobile deposit a check on Cash App. With just a few simple steps, you can save time and avoid the hassle of visiting a bank branch. So, whether you are new to Cash App or a seasoned user looking for a convenient way to deposit checks, let’s dive in and discover how to mobile deposit on Cash App!
Inside This Article
- How To Mobile Deposit On Cash App
- Overview of Cash App
- Setting Up Mobile Deposit Feature
- Steps to Deposit a Check on Cash App
- Tips for a Successful Mobile Deposit
- Conclusion
- FAQs
How To Mobile Deposit On Cash App
If you’re looking for a convenient and hassle-free way to deposit money using your mobile phone, you’re in luck! Cash App offers a simple and user-friendly platform that allows you to deposit funds directly into your account with just a few taps. In this guide, we’ll walk you through the step-by-step process of mobile depositing on Cash App.
To get started, the first thing you’ll need to do is set up your Cash App account. You can download the Cash App application from the App Store or Google Play Store. Once you’ve downloaded the app, follow the on-screen instructions to create your account. You’ll need to provide your email address, mobile phone number, and create a unique username and password.
After setting up your Cash App account, the next step is to verify your identity. This is an important security measure that Cash App takes to protect your account and prevent fraudulent activity. To verify your identity, you’ll need to provide some personal information, including your full name, date of birth, and the last four digits of your Social Security number.
Once your identity is verified, you can link your bank account to your Cash App account. This will allow you to transfer money between your bank account and Cash App account seamlessly. To link your bank account, go to the “Banking” tab in the app and select “Add a Bank. Follow the prompts to enter your bank account information, including your account number and routing number.
Now that you have your Cash App account set up, verified your identity, and linked your bank account, you’re ready to initiate a mobile deposit. To do this, follow these simple steps:
- Open the Cash App on your mobile device.
- Tap on the “My Cash” tab at the bottom of the screen.
- Tap on “Deposit” and select the bank account you want to deposit the funds into.
- Enter the amount you want to deposit. Keep in mind that there may be limits on how much you can deposit per day or per week.
- Review the deposit details and tap on “Deposit” to confirm.
Once you’ve confirmed the deposit, Cash App will process the transaction and the funds will be deposited into your linked bank account. It may take a few business days for the deposit to reflect in your bank account, depending on your bank’s processing times.
And there you have it! By following these simple steps, you can easily mobile deposit on Cash App and have your funds readily available in your bank account. Remember, always double-check the deposit details before confirming, and ensure that you have sufficient funds in your Cash App account to cover the deposit amount. Happy depositing!
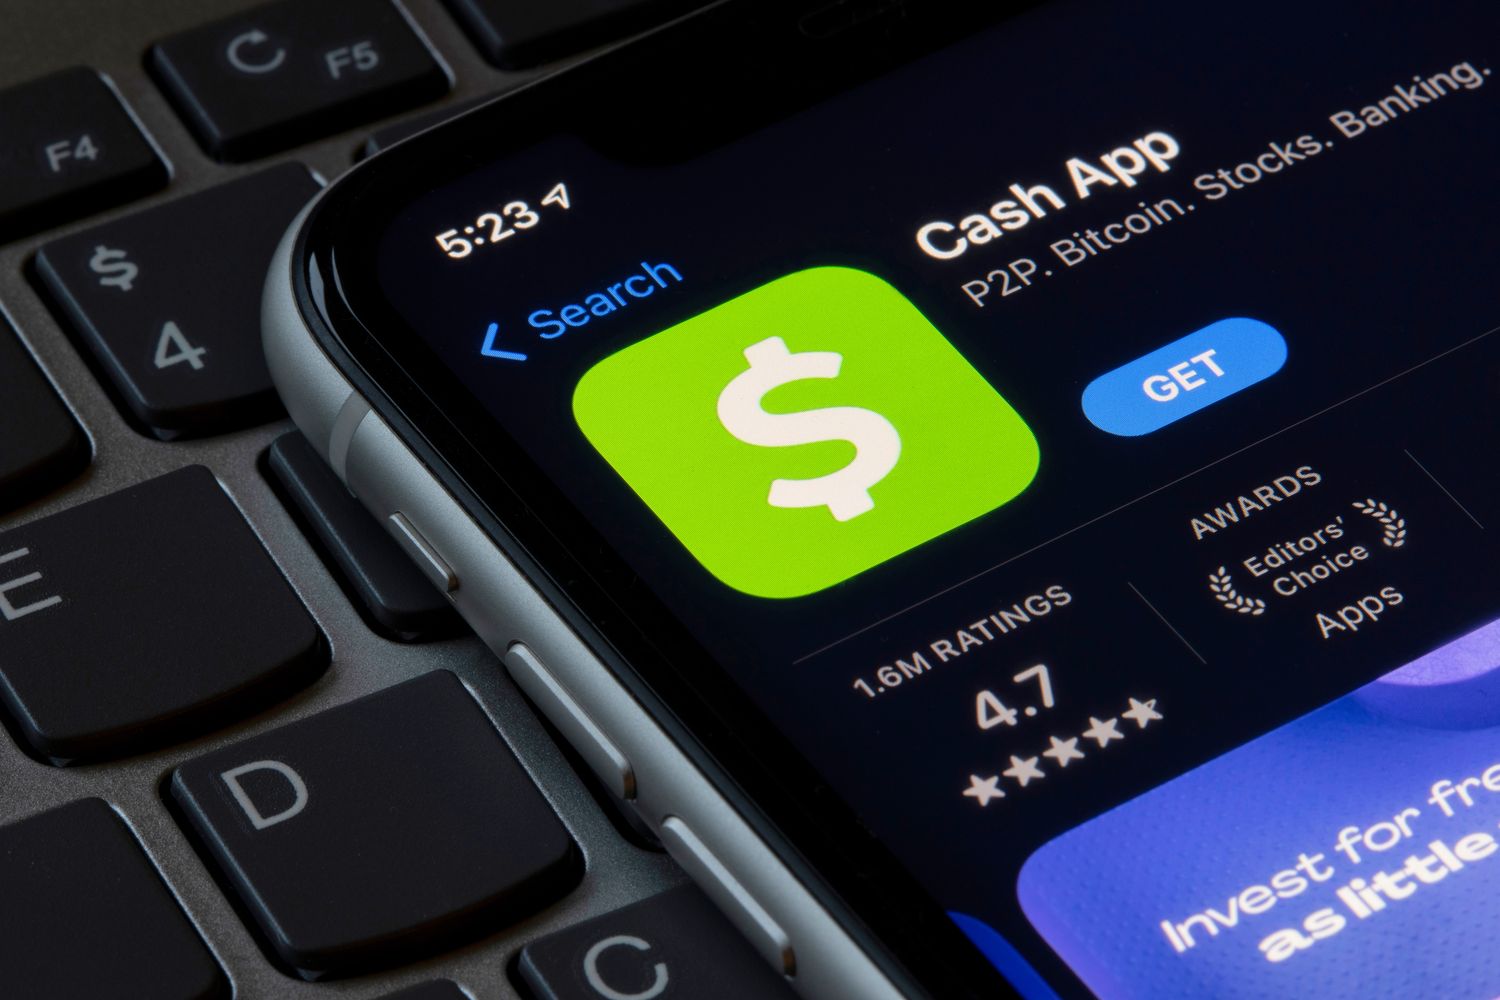
Overview of Cash App
Cash App is a mobile payment service developed by Square, Inc., allowing users to send and receive money from friends and family. With its user-friendly interface and convenient features, Cash App has gained popularity as a quick and secure way to handle financial transactions on the go.
One of the key benefits of Cash App is its simplicity. It offers a straightforward platform that makes it easy for anyone to send and receive money with just a few taps on their mobile device. Whether you need to split a bill, pay for goods or services, or send money to a loved one, Cash App provides a hassle-free solution.
Another notable feature of Cash App is the option to deposit funds directly into your account. This can be done through various methods, including mobile deposit, where you can add money to your Cash App balance from your bank account by taking a photo of a check.
Using the mobile deposit feature on Cash App eliminates the need to physically visit a bank or an ATM. It saves time and offers convenience, particularly for individuals who prefer digital banking solutions.
To use the mobile deposit feature on Cash App, you need to set up an account, verify your identity, and link your bank account. Once these essential steps are completed, you will be able to initiate a mobile deposit and add funds to your Cash App balance.
Keep in mind that Cash App may have certain limitations and fees associated with mobile deposits. It’s essential to review the terms and conditions to understand any applicable charges or restrictions before using the service.
Setting Up Mobile Deposit Feature
Mobile banking apps have revolutionized the way we handle our finances, providing convenient access to banking services from the palm of our hands. Cash App, a popular mobile payment app, has introduced the mobile deposit feature, allowing users to deposit checks directly into their account without visiting a physical bank branch. To take advantage of this convenient feature, follow these simple steps to set up mobile deposit on Cash App.
Step 1: Download and install the Cash App on your mobile device. The app is available for both Android and iOS platforms. Once installed, open the app and create an account by providing your email address or mobile number and creating a secure password.
Step 2: After creating your account, you will be prompted to link a bank account to your Cash App. This is necessary to facilitate the deposit and withdrawal of funds. Follow the on-screen instructions to securely link your bank account with Cash App.
Step 3: Once your bank account is linked, you will need to verify your identity. Cash App requires users to undergo a verification process to ensure security and compliance with financial regulations. Complete the verification process by providing the required information, such as your full name, date of birth, and social security number.
Step 4: After successfully verifying your identity, you will have access to the mobile deposit feature. To initiate a mobile deposit, open the Cash App and tap on the “Banking” tab. Under the “Deposits & Transfers” section, select “Mobile Deposit” and follow the instructions to capture images of the front and back of the check you wish to deposit.
Step 5: Once the check images are captured, review the details to ensure accuracy. Enter the amount of the check and select the destination account for the deposit. Finally, tap on the “Deposit” button to submit the mobile deposit request.
It is important to note that there may be certain restrictions and limitations on mobile deposits, including check sizes and deposit limits. Cash App will provide you with specific information regarding these restrictions during the mobile deposit process.
By following these steps, you can easily set up and use the mobile deposit feature on Cash App, saving you time and hassle of visiting a physical bank branch. Enjoy the convenience of depositing checks from the comfort of your own home with Cash App”s mobile deposit feature.
Steps to Deposit a Check on Cash App
If you’re looking to deposit a check using the Cash App, you’re in luck! Cash App has made the process quick and easy. Whether it’s a paycheck, a personal check, or a business check, you can deposit it using your smartphone. Here’s a step-by-step guide to help you through the process:
Step 1: Open the Cash App on your smartphone. If you don’t have the app, you can download it from the App Store or Google Play Store and sign up for an account.
Step 2: Once you’re logged in, you’ll see a dollar sign ($) at the bottom center of the screen. Tap on it to go to the “Banking” section.
Step 3: In the “Banking” section, you’ll find the option to add your bank account. Tap on “Add Bank” and follow the prompts to link your bank account to Cash App. This is necessary to deposit the funds from the check into your account.
Step 4: After linking your bank account, go back to the “Banking” section and tap on “Deposit Check.” You’ll be prompted to take a photo of the front and back of the check.
Step 5: Position the check within the frame on your screen and tap the shutter button to capture a clear image of the front. Make sure all the details on the check are visible and legible.
Step 6: Repeat the process for the back of the check. Make sure to endorse the check by signing your name on the designated line. This will ensure the deposit is valid.
Step 7: Once you have captured both images, review them to ensure they are clear and readable. Tap “Next” to proceed.
Step 8: On the next screen, you’ll be asked to enter the amount of the check. Make sure to double-check the amount written on the check and enter it accurately.
Step 9: After verifying the amount, tap “Next” to initiate the deposit process. Cash App will process the deposit and notify you once it’s complete.
Step 10: Once the deposit is successful, the funds will be credited to your Cash App account. You can choose to keep the funds in your Cash App balance or transfer them to your linked bank account.
That’s it! You’ve successfully deposited a check on Cash App. Remember to keep the physical check in a safe place until you’re sure the deposit has been fully processed.
FAQs
Q: Are there any fees for depositing a check on Cash App?
A: Cash App does not charge any fees for depositing checks. It’s a free service available to all Cash App users.
Q: How long does it take for the check deposit to be processed?
A: Typically, Cash App processes check deposits within 1-3 business days. However, the exact time may vary depending on various factors, including the amount and type of check.
Q: Is there a limit on the amount I can deposit using Cash App?
A: Yes, Cash App has a limit on the amount you can deposit using the mobile check deposit feature. The standard limit is $10,000 per week, but this limit may vary for individual users.
Q: What should I do if there is an issue with the check deposit?
A: If you encounter any issues with your check deposit, such as a failed deposit or missing funds, you can reach out to Cash App support for assistance. They will help resolve the issue and ensure you receive the funds.
Deposit your checks conveniently and securely using the Cash App’s mobile check deposit feature. With just a few taps on your smartphone, you can have the funds in your account in no time!
Tips for a Successful Mobile Deposit
Mobile banking has revolutionized the way we manage our finances. With just a few taps on your mobile phone, you can deposit checks directly into your bank account using apps like Cash App. To ensure a smooth and successful mobile deposit experience, keep these helpful tips in mind:
1. Choose a well-lit environment: Find a well-lit area to capture a clear image of your check. Natural light or a bright room will help avoid shadows and improve the image quality.
2. Flatten the check: Before capturing the image, make sure to flatten the check and remove any folds or creases. This will result in a more accurate image and reduce the chances of rejection.
3. Clean your camera lens: Ensure that your mobile phone camera lens is free from smudges or dirt. Wipe it clean before taking the photo to avoid blurry or distorted images.
4. Capture all four corners: When capturing the check image, make sure to include all four corners of the check within the frame. This will provide a complete view of the check and minimize the risk of rejection.
5. Keep the check within the guidelines: Pay attention to any guidelines or framing markers provided by the mobile deposit app. Position the check within those guidelines to ensure the image is properly captured.
6. Double-check the amount: Before finalizing the deposit, review the amount entered and ensure it matches the actual amount on the check. Be meticulous to avoid any errors or discrepancies.
7. Wait for confirmation: After submitting the mobile deposit, wait for a confirmation message or notification from the app. This will verify that the deposit was successful, and funds will be available in your account.
8. Retain the physical check: It is advisable to keep the physical check for a certain period, typically 30 days, as a precaution. This allows you to address any issues that may arise, such as misplacement or deposit disputes.
By following these tips, you can increase the likelihood of a successful mobile deposit transaction. Enjoy the convenience and simplicity of mobile banking while securely managing your finances.
Conclusion
In conclusion, mobile deposit on Cash App is a convenient and secure way to deposit money using your smartphone. Whether you need to deposit a check, transfer funds, or receive payments, the mobile deposit feature on Cash App simplifies the process and saves you time.
By following the steps outlined in this article, you can confidently initiate and complete mobile deposits on Cash App. Remember to ensure that you have a stable internet connection, capture clear and legible images of your checks, and review the deposit details before confirming.
With its user-friendly interface and robust security features, Cash App provides a reliable platform for mobile banking and financial transactions. Embrace the convenience of mobile deposit on Cash App to streamline your banking experience and enjoy the flexibility of managing your finances on the go.
FAQs
1. How do I mobile deposit on Cash App?
To mobile deposit on Cash App, follow these steps:
1. Open the Cash App on your mobile phone.
2. Tap on the “Banking” tab located at the bottom of the screen.
3. Select the option “Deposit Cash”.
4. Enter the amount you wish to deposit and tap “Continue”.
5. Now, you can either use your mobile device’s camera to capture a photo of the front and back of the check or manually enter the check details.
6. Review the details and confirm the deposit.
7. Wait for the confirmation screen, and the amount will be added to your Cash App balance.
2. Are there any limits for mobile deposits on Cash App?
Yes, Cash App imposes certain limits on mobile deposits. The usual weekly deposit limit is $5,000. However, if you are a verified user, you might have a higher deposit limit.
3. How long does it take for a mobile deposit to appear in my Cash App account?
Typically, mobile deposits on Cash App take 1-3 business days to appear in your account. However, in some cases, it may take longer depending on various factors, including the bank’s processing time.
4. Can I mobile deposit any type of check on Cash App?
Cash App allows you to mobile deposit personal checks, business checks, and government-issued checks. However, there are certain restrictions, such as not accepting checks that are more than six months old or that are not payable to the account owner.
5. What should I do with the paper check after mobile depositing it on Cash App?
After successfully mobile depositing a check on Cash App, it is recommended to securely store the paper check for at least 14 days. This serves as a precautionary measure in case any issues arise with the deposit. After this period, you can safely destroy the check to ensure your account’s security.