
Welcome to our guide on how to dry out a phone charging port. We’ve all been there – that heart-stopping moment when your phone unexpectedly takes a plunge into water. While many modern phones have some level of water resistance, there’s always a chance that water can seep into the charging port and cause some issues. But don’t panic just yet! In this article, we will provide you with step-by-step instructions on how to dry out a phone charging port, saving you from potential damage and costly repairs. Whether you dropped your phone in the sink, got caught in the rain, or accidentally spilled a drink on it, we’ve got you covered. So, let’s dive in and learn how to rescue your beloved device from a watery mishap!
Inside This Article
- Signs of a Wet Phone Charging Port
- Precautions Before Trying to Dry Out a Phone Charging Port
- Methods to Dry Out a Phone Charging Port
- What to Do If the Phone Charging Port Doesn’t Work After Drying
- Conclusion
- FAQs
Signs of a Wet Phone Charging Port
A wet phone charging port can cause various issues and can be quite challenging to deal with. If you suspect that your phone charging port has become wet, here are some signs to look out for:
-
Inconsistent or slow charging: If your phone isn’t charging properly or is charging at a slower rate than usual, it could be a sign that there is moisture or water present in the charging port. The presence of water can disrupt the flow of electricity and affect the charging process.
-
Intermittent connectivity: A wet charging port can lead to inconsistent connectivity when trying to connect your phone to a charger or other devices. This can be frustrating, as it may result in your phone not being recognized or charging intermittently.
-
Unresponsive or malfunctioning charging port: In some cases, a wet charging port can become completely unresponsive or malfunction. Your phone may not recognize when a charger is plugged in, or it may not respond to any charging attempts at all.
-
Visible moisture or water: The most obvious sign of a wet charging port is the presence of moisture or water droplets. If you can visually see water or moisture in the charging port, it’s important to address the issue promptly to prevent further damage.
If you notice any of these signs, it’s crucial to take immediate action to dry out your phone charging port and prevent any potential damage. The next section will provide you with precautions to follow before attempting to dry out the charging port.
Precautions Before Trying to Dry Out a Phone Charging Port
Before attempting to dry out a phone charging port, it is important to take certain precautions to avoid causing further damage to your device. Follow these steps to ensure a safe and successful drying process:
- Power off your phone: Start by turning off your phone and disconnecting it from any power source. This will help minimize the risk of short circuits and prevent additional damage.
- Remove any accessories and SIM card: Take off any cases, covers, or screen protectors that may hinder the drying process. Additionally, if your phone has a removable SIM card, eject it safely and set it aside.
- Do not use heat sources: Contrary to popular belief, it is not recommended to use hairdryers, ovens, or other heat sources to dry out a wet phone charging port. Excessive heat can damage the internal components of your phone.
- Avoid shaking or tapping the phone: While it may be tempting to try and remove water by shaking or tapping your phone, this can potentially cause water to spread further inside the device. It is best to refrain from any unnecessary movement.
- Use a moisture-absorbing material: Grab a clean and preferably lint-free cloth or towel to gently pat dry the exterior of your phone. Make sure to avoid rubbing, as this can push water deeper into the charging port.
- Avoid charging your phone: Resist the urge to plug in your phone and charge it immediately. Doing so can lead to a short circuit and further damage. It is crucial to ensure that the charging port is completely dry before attempting to charge your device.
- Wait for a sufficient drying period: This step is essential. Allow your phone to dry out naturally for at least 24-48 hours. Placing it in silica gel or uncooked rice can help speed up the drying process, as these materials are known to absorb moisture effectively.
- Test the charging port: After ensuring that the phone has been given ample time to dry out, gently reconnect the charger to the charging port. If the charging port is still not functioning correctly, it may be necessary to seek professional assistance.
Taking these precautions before attempting to dry out a phone charging port can help prevent further damage and increase the chances of restoring it to proper functionality. Remember to exercise patience and avoid rushing the drying process, as it is crucial to allow the phone ample time to completely dry before usage.
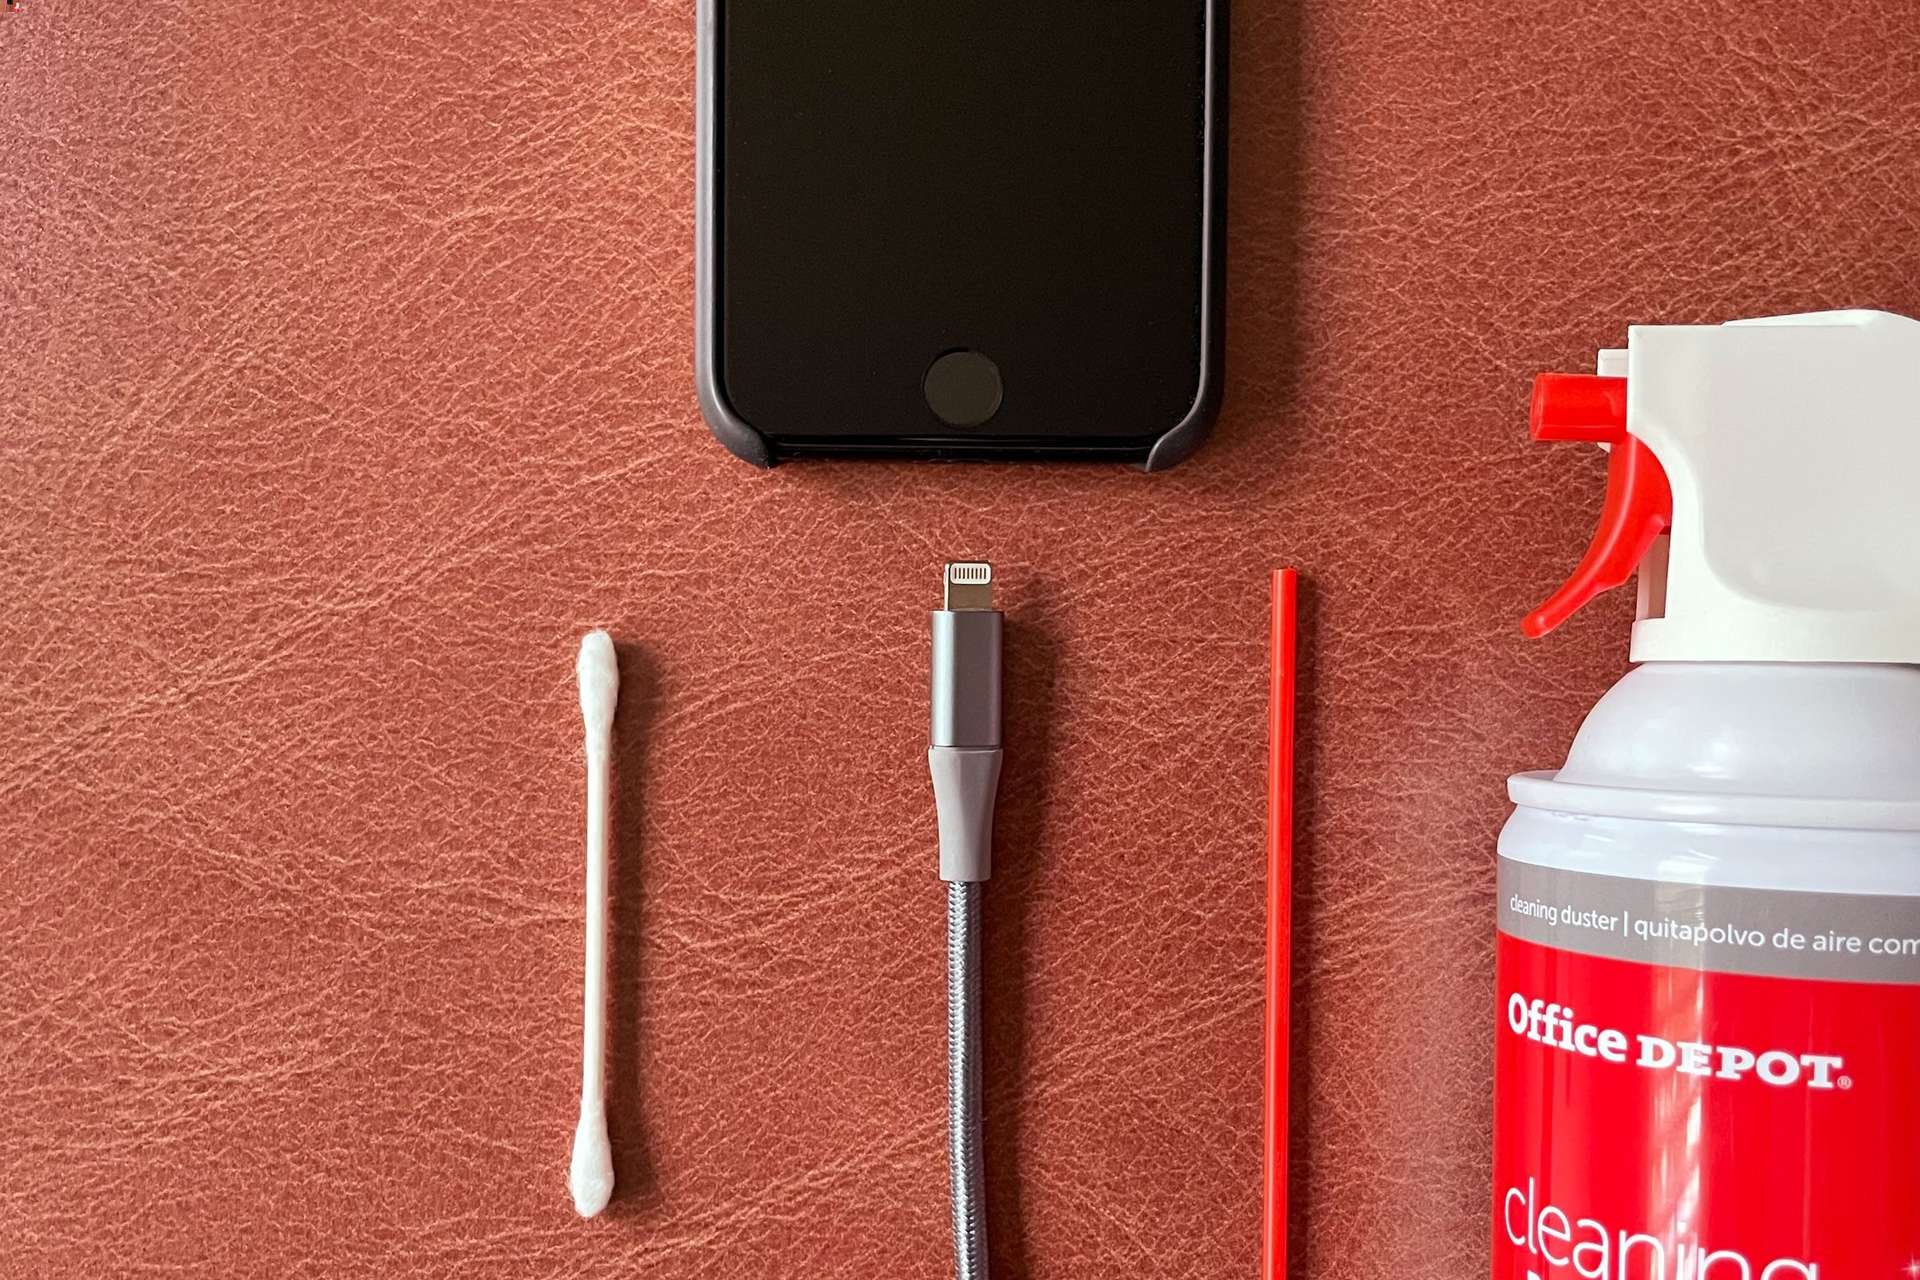
Methods to Dry Out a Phone Charging Port
When your phone’s charging port gets wet, it’s crucial to dry it out as quickly as possible to prevent any damage. Here are three effective methods you can use to dry out a phone charging port:
1. Air drying: The simplest method is to let your phone air dry. Start by turning off your phone and removing any accessories, such as the charging cable or case. Gently pat the phone using a soft cloth to remove any excess moisture. Then, find a dry and warm spot to place your phone, like an airing cupboard or near a heater. Allow the phone to air dry for at least 24 hours before attempting to charge it again.
2. Rice method: The rice method is a popular technique to remove moisture from electronic devices. Fill a container or a large zip-lock bag with uncooked rice. Place your phone in the container, making sure it is completely covered. Seal the container or bag and leave it for at least 24 hours. The rice will help absorb the moisture, leaving your phone dry. However, be cautious not to get any rice particles stuck in the charging port.
3. Silica gel packets: Silica gel packets are commonly found in packaged goods, such as shoes or electronics. These small packets are designed to absorb moisture. If you have a few packets lying around, place your phone in a sealable bag along with the silica gel packets. Seal the bag tightly and leave it for at least 24 hours. The packets will effectively draw out the moisture from the charging port.
Remember, when using these methods, it is essential not to rush and attempt to charge your phone immediately after drying it. Allow ample time for the moisture to evaporate completely. If none of these methods work or if you are unsure about attempting them yourself, it is best to seek professional assistance to prevent any further damage to your phone.
What to Do If the Phone Charging Port Doesn’t Work After Drying
So you’ve tried drying out your phone charging port, but it still doesn’t work? Don’t worry, there are a few more steps you can take to troubleshoot the issue. Here’s what you can do:
1. Check for debris: It’s possible that there is still some debris or moisture trapped in the charging port. Grab a flashlight and carefully inspect the port. If you notice any dirt, lint, or water droplets, use a toothpick or a small brush to gently remove them. Be careful not to damage the delicate pins inside the port.
2. Use a different charging cable: Sometimes, the problem lies not with the charging port but with the cable. Try using a different charging cable to see if that resolves the issue. If the phone starts charging, then you know it’s time to replace the old cable.
3. Try a different power source: The power source you’re using might be the culprit. Plug your phone into a different outlet or try charging it through a USB port on your computer. If the phone charges successfully, then it’s likely an issue with the previous power source.
4. Restart your phone: Just like any other electronic device, a simple restart can work wonders. Reboot your phone and check if the charging port starts functioning again. Sometimes, a minor software glitch can disrupt the charging process, and a restart can fix it.
5. Seek professional help: If none of the above steps work, it’s time to reach out to an expert. Visit a reliable phone repair service or contact the manufacturer’s customer support for further assistance. They will have the necessary tools and expertise to diagnose and fix the issue.
Remember, it’s important to consult professionals when dealing with advanced troubleshooting steps or complex technical issues. Attempting to fix the problem on your own may void the warranty or cause further damage to the phone.
By following these steps, you increase the chances of getting your phone charging port to work again. Stay patient and be diligent in your efforts to resolve the issue. Good luck!
In conclusion, knowing how to dry out a phone charging port is essential for maintaining the functionality and longevity of your device. Water damage can cause significant issues, and if left unaddressed, it may lead to permanent damage. By following the steps outlined in this article, you can effectively remove moisture from your phone charging port and prevent potential problems.
Remember, prevention is key when it comes to water damage. Keep your phone away from water sources, use protective cases, and be cautious in humid environments. If your phone does get submerged or exposed to moisture, act quickly to dry it out and minimize the risk of damage.
By understanding the best practices for drying out a phone charging port, you can safeguard your device and ensure its optimal performance. So, don’t panic if your phone gets wet, follow the steps discussed, and you’ll increase the chances of saving your beloved device from water damage.
FAQs
1. Can I use a hairdryer to dry out a phone charging port?
It is not recommended to use a hairdryer to dry out a phone charging port. The hot air produced by a hairdryer can potentially cause damage to the internal components of the phone. It is best to use alternative methods such as using a desiccant or allowing the phone to air dry naturally.
2. How long should I wait before trying to use my phone after it has been exposed to moisture?
The amount of time required for a phone to dry out after exposure to moisture can vary based on several factors such as the extent of the exposure and the type of phone. It is recommended to wait at least 24 to 48 hours before attempting to use the phone again. This allows sufficient time for any residual moisture to evaporate.
3. What should I do if my phone does not turn on after drying out the charging port?
If your phone does not turn on after drying out the charging port, there may be an underlying issue beyond just moisture damage. It is best to consult a professional technician or contact the phone manufacturer for further assistance. They will be able to diagnose the problem and recommend the appropriate course of action.
4. Can I use rice to dry out a phone charging port?
While rice is commonly suggested as a method for drying out a wet phone, it may not be the most effective solution for drying out a charging port. Rice has limited moisture-wicking properties and may not be able to reach and absorb the moisture inside the port. It is best to use a desiccant such as silica gel packets or a specialized electronic moisture absorber.
5. How can I prevent moisture damage to my phone in the future?
To prevent moisture damage to your phone in the future, it is important to take certain precautions. Avoid exposing your phone to excessive moisture, such as rain or water splashes. Use a protective case with adequate water resistance. If your phone does get wet, immediately power it off, remove any external accessories, and follow the appropriate steps to dry it out.