
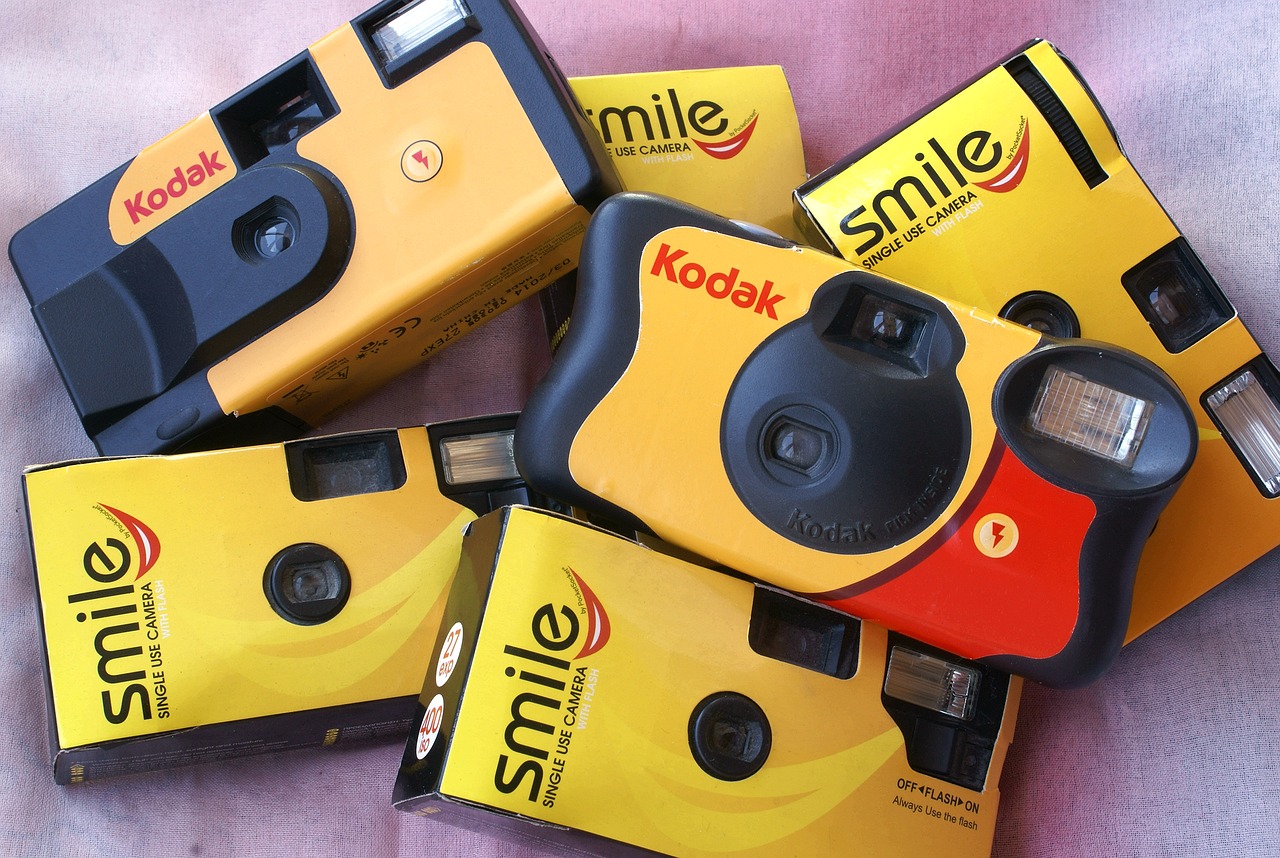
Disposable cameras have been a popular choice for capturing memories for decades. With their simplicity and charm, they offer a nostalgic appeal that digital cameras can’t quite replicate. However, in this digital age, many people want to transfer the photos from their disposable cameras onto their phones for easy sharing and editing. If you’re wondering how to get photos from a disposable camera onto a phone, you’re in the right place. In this article, we will guide you through the process to make it hassle-free and convenient. Whether you’re using an iPhone or an Android device, we’ve got you covered. So, let’s dive in and unlock the timeless moments captured on your disposable camera!
Inside This Article
- Method 1: Using a Photo Development Service
- Method 2: Scanning the Printed Photos- Gathering the necessary equipment (scanner, computer, photo editing software)- Scanning the printed photos and saving them on the computer
- Method 3: Using a Film Scanner
- Method 4: Using a Mobile Film Scanner App – Installing a film scanner app on the phone – Placing the disposable camera’s negatives in front of the phone’s camera lens – Capturing and saving the scanned photos on the phone
- Conclusion
- FAQs
Method 1: Using a Photo Development Service
Sending a disposable camera for development and receiving digital copies of the photos through email or a cloud storage service is a convenient way to get your photos onto your phone. Here’s how you can do it:
- First, locate a photo development service that offers scanning and digitizing options for disposable cameras. Some popular options include online photo labs, local camera stores, and retail chains.
- Prepare your disposable camera for shipping by removing any film that may still be inside. Make sure to handle the camera with care to avoid accidental exposure or damage.
- Visit the website or contact the photo development service to find out their process for sending in your disposable camera. Some services may provide a prepaid shipping label or require you to pay for the shipping yourself.
- Follow the instructions provided by the photo development service to package and ship your disposable camera securely.
- Once the photo development service receives your camera, they will process and develop the film.
- After the film is developed, the service will typically scan the photos and make them available for download.
- You will be notified via email or through the service’s platform once your digital copies are ready for download.
- Access the service’s website or platform using your computer or phone and log in to your account.
- Locate the digital copies of your photos and download them to your computer.
- If you prefer to have the photos on your phone, you can transfer them from your computer using a USB cable or a cloud storage service like Dropbox or Google Drive.
This method allows you to easily obtain digital copies of your disposable camera photos without the need for any additional scanning equipment. It offers convenience and professional photo development services to ensure high-quality digitized versions of your cherished memories.
Method 2: Scanning the Printed Photos- Gathering the necessary equipment (scanner, computer, photo editing software)- Scanning the printed photos and saving them on the computer
Scanning the printed photos from a disposable camera is another method to transfer them onto a phone. To get started, you will need to gather the necessary equipment, including a scanner, a computer, and photo editing software.
The first step is to acquire a scanner that is capable of scanning printed photos. There are various types of scanners available in the market, ranging from flatbed scanners to portable scanners. Choose one that suits your needs and budget.
Next, you will need a computer to connect the scanner and save the scanned photos. Make sure your computer has compatible ports to connect the scanner. Additionally, ensure that you have enough free storage space on your computer to save the scanned photos.
Once you have your scanner and computer ready, you can move on to the photo editing software. This software will allow you to enhance and edit the scanned photos if needed. There are many options available, both free and paid, such as Adobe Photoshop, GIMP, or Canva. Choose one that you are comfortable using.
With all the necessary equipment in hand, it’s time to start scanning the printed photos. Carefully place each photo on the scanner bed, making sure it’s aligned properly. Close the scanner lid and follow the instructions provided with your scanner to initiate the scanning process.
Once the scanning is complete, you will have digital copies of your printed photos saved on your computer. It’s a good idea to create a dedicated folder on your computer to keep all the scanned photos organized.
After saving the scanned photos, you can now transfer them onto your phone. This can be done using various methods such as connecting your phone to the computer via a USB cable and transferring the files, or using cloud storage services like Google Drive or Dropbox to upload the photos and access them on your phone.
Now that you have your printed photos scanned and saved on your computer, you can easily view and share them on your phone whenever you want.
Method 3: Using a Film Scanner
Do you have a disposable camera with precious memories stored on film? Don’t worry, you can easily transfer those memories to your computer or phone using a film scanner. Here’s how:
The first step is to get a film scanner that is compatible with disposable camera film. Many film scanners have specific adapters or holders for different types of film, so make sure to check if it supports the film format of your disposable camera.
Once you have the film scanner, the next step is to connect it to your computer. Most film scanners have a USB connection, allowing for easy connection to your computer or laptop. Follow the manufacturer’s instructions to properly connect the scanner to your computer.
Once the scanner is connected, it’s time to start scanning the negatives from your disposable camera. Place the negatives in the scanner’s film holder or adapter, making sure they are positioned correctly. The scanner will have instructions on how to properly load the film, so ensure that you follow those instructions carefully.
Next, you will need to use the scanning software provided with the film scanner or a compatible photo editing software. Open the scanning software and select the appropriate settings, such as resolution and color correction, for your desired scanned photos. Adjust the settings according to your preference and the quality of the original negatives.
Start the scanning process by clicking the scan button in the software. The scanner will then capture the images from the negatives and convert them into digital files. Depending on the scanner and the number of photos you are scanning, this process may take some time. Be patient and let the scanner do its job.
After the scanning process is complete, you will need to save the scanned photos onto your computer. The scanning software will provide options for saving the files. Choose a location on your computer where you want to save the photos and select the file format you prefer, such as JPEG or TIFF.
Now that your scanned photos are safely stored on your computer, you can conveniently transfer them to your phone. Connect your phone to your computer using a USB cable or use a cloud storage service to upload the scanned photos. Once the photos are accessible on your phone, you can share them with friends and family or even edit them with your favorite photo editing app.
Using a film scanner to transfer your disposable camera photos is a reliable and efficient method. It allows you to preserve your memories in digital format and easily share them with others. So, dust off that disposable camera and embark on a journey of nostalgia as you bring those old film photos to life on your computer or phone.
Method 4: Using a Mobile Film Scanner App – Installing a film scanner app on the phone – Placing the disposable camera’s negatives in front of the phone’s camera lens – Capturing and saving the scanned photos on the phone
In today’s digital age, smartphones have become incredibly powerful tools that can be used for a wide range of purposes. One such purpose is scanning photos from a disposable camera using a mobile film scanner app. This method allows you to conveniently convert your printed photos into digital format without the need for additional equipment or services.
The first step in this process is to install a film scanner app on your phone. There are several apps available on both Android and iOS platforms that are specifically designed for scanning film negatives. Simply search for “film scanner” in your app store and choose a reputable and highly rated app.
Once you have installed the app, the next step is to place the disposable camera’s negatives in front of your phone’s camera lens. The app will have a specific interface or feature that enables you to align the negatives and adjust the settings for optimal scanning. Follow the instructions provided by the app to ensure accurate placement of the negatives.
After placing the negatives, the app will prompt you to capture the image using your phone’s camera. It’s important to ensure that the negatives are well-lit and positioned correctly to obtain high-quality scans. Make sure to hold your phone steady and align the negatives within the frame provided by the app.
Once the image is captured, the app will process and convert the negative into a positive digital image. You may have the option to adjust the brightness, contrast, and other settings to enhance the final result. Take the time to experiment with these settings to achieve the desired look for your scanned photos.
Once you are satisfied with the scan, the app will provide you with the option to save the scanned photo directly to your phone’s gallery or to a folder within the app itself. This allows for easy access and organization of your scanned photos.
It’s worth noting that while using a mobile film scanner app is a convenient and cost-effective method of scanning photos, the quality of the scans may vary depending on the app and the condition of the disposable camera’s negatives. It’s always a good idea to experiment with different apps and adjust the settings to obtain the best results.
Conclusion
In conclusion, transferring photos from a disposable camera to a mobile phone is a convenient way to preserve and share cherished memories. With the advancements in technology, it has become easier than ever to bridge the gap between traditional film cameras and modern smartphones. Whether you opt for DIY techniques like scanning or utilize professional photo development services, you can ensure that your disposable camera photos are easily accessible on your phone.
Remember to choose the method that best suits your needs and preferences. Whether it’s using a dedicated scanner, visiting a photo lab, or utilizing specialized mobile apps, each approach offers its own advantages. By following the steps outlined in this guide and exploring the available options, you’ll be able to enjoy and share your nostalgic moments captured on a disposable camera right from your mobile device.
FAQs
Q: Can I transfer photos from a disposable camera to my phone?
A: Yes, you can transfer photos from a disposable camera to your phone using various methods.
Q: What is the easiest way to get photos from a disposable camera onto my phone?
A: The easiest way to transfer photos from a disposable camera to your phone is by using a photo scanning app.
Q: Are there any specific photo scanning apps I can use?
A: Yes, there are several photo scanning apps available for both iOS and Android devices, such as Google PhotoScan, CamScanner, and Adobe Scan.
Q: Can I connect the disposable camera directly to my phone?
A: No, disposable cameras typically do not have the capability to connect directly to a phone. You have to transfer the photos to your computer first, and then transfer them to your phone.
Q: Can I use a USB cable to transfer photos from a disposable camera to my phone?
A: If your disposable camera has a USB port, you may be able to connect it to your computer using a USB cable. Once connected, you can transfer the photos to your computer and then to your phone.