
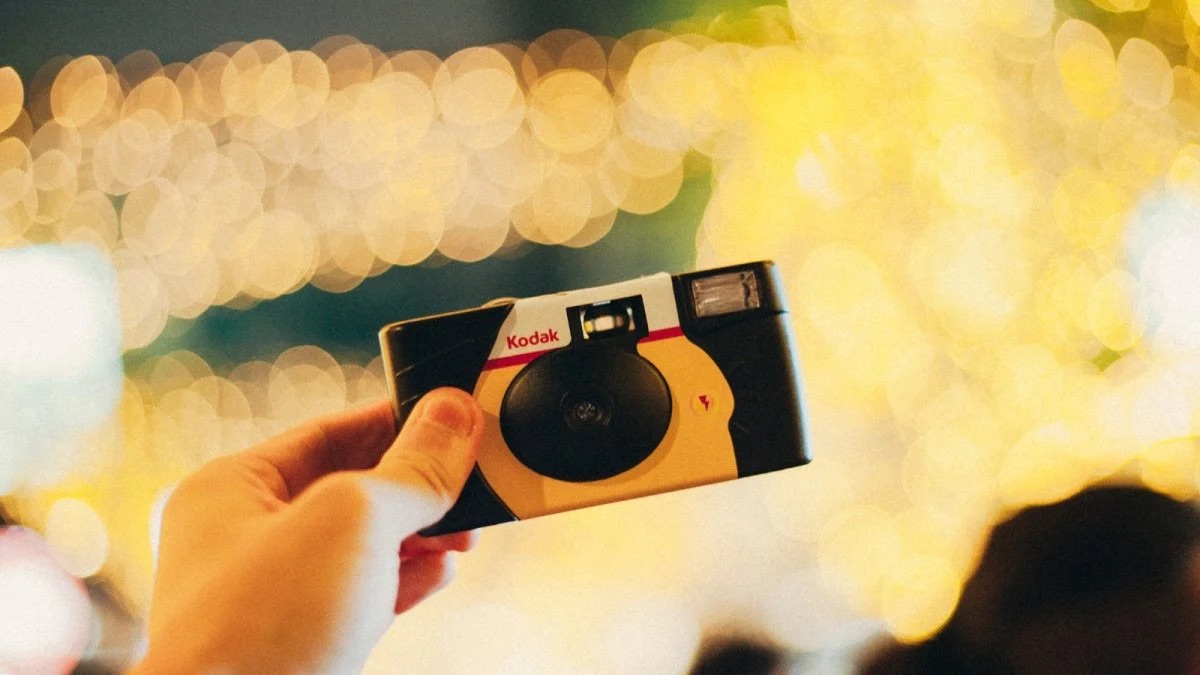
Are you wondering how to upload disposable camera pictures on your phone? Well, you’ve come to the right place! In this article, we will guide you through the process of transferring your precious memories from a disposable camera to your mobile phone. Disposable cameras are a fun and nostalgic way to capture moments, but with the rise of digital photography, it’s become a bit tricky to access and share these pictures. However, with the advancements in technology, it is now possible to digitize your disposable camera photos and enjoy them on your phone. Whether you want to share these photos on social media, create a digital photo album, or simply keep them stored on your mobile device, we have got you covered. So, let’s dive in and learn how to upload disposable camera pictures on your phone!
Inside This Article
- Preparing Your Disposable Camera Pictures
- Transferring Pictures from the Disposable Camera to Your Computer
- Uploading Pictures from Your Computer to Your Phone
- Alternative Methods to Upload Disposable Camera Pictures on Phone
- Conclusion
- FAQs
Preparing Your Disposable Camera Pictures
So, you’ve just finished using your disposable camera and now you’re eager to see the results. But before you can upload those precious pictures onto your phone, there are a few steps you need to take to prepare the camera pictures properly.
The first thing you should do is to carefully rewind the film back into the disposable camera. This is important because once the film is exposed to light, it can get damaged and the images may be ruined. Take your time and make sure the film is securely rewound before moving on to the next step.
Once the film is safely rewound, it’s time to get it developed. You have a few options here – you can either take the film to a local photo lab or a drugstore that offers film developing services, or you can send it off to a professional film development service. Whichever option you choose, make sure to communicate that you want the pictures in a digital format so that you can easily transfer them to your phone.
While you wait for your film to be developed, it’s a good idea to create a folder on your computer specifically for storing the digital copies of the disposable camera pictures. This way, you’ll have a dedicated space to organize and keep track of your images.
Additionally, make sure that you have the necessary cables or adapters to connect your computer to your phone. Depending on the type of phone you have, you may need a USB cable, a Lightning cable, or a USB-C cable. Having these cables ready in advance will save you time and frustration when it’s time to transfer the pictures.
Lastly, before uploading the pictures to your phone, take a moment to clean up any scratches or smudges that may be on the physical copies of the pictures. You can use a microfiber cloth or a gentle cleaning solution to gently remove any dirt or fingerprints. This way, you’ll have clear, clean images to enjoy on your phone.
Transferring Pictures from the Disposable Camera to Your Computer
Transferring pictures from a disposable camera to your computer is a simple process that allows you to preserve those precious memories captured on film. Here’s a step-by-step guide on how to do it:
1. Gather the necessary equipment – Before you begin, make sure you have everything you need. This includes your disposable camera, a USB cable (typically a USB-A to USB mini-B or USB micro-B cable), and a computer with a USB port.
2. Locate the camera’s USB port – Most disposable cameras have a USB port located on the side or bottom. It may be covered by a rubber flap or cap to protect it from dust or dirt. If you’re having trouble finding it, consult the camera’s user manual or look for online guides specific to your camera model.
3. Connect the camera to the computer – Once you’ve located the camera’s USB port, connect one end of the USB cable to the camera and the other end to an available USB port on your computer. Ensure the connection is secure.
4. Turn on the camera – Before your computer can recognize the camera and transfer the pictures, the camera needs to be turned on. This usually involves pressing a small power button or sliding a switch.
5. Access the camera’s storage – Once your computer detects the camera, it will prompt you with options for how you want to access the device. Select the option that allows you to view and transfer the pictures stored on the camera’s memory.
6. Copy the pictures to your computer – With the camera’s storage displayed on your computer screen, you can now select and transfer the pictures. You can either copy and paste the files to a desired location on your computer or use the import function of photo management software like Adobe Photoshop or Windows Photos.
7. Safely eject the camera – After transferring the pictures, it’s essential to properly eject the camera from your computer to avoid data loss or corruption. On Windows, this can usually be done by right-clicking on the camera’s storage and selecting “Eject” or “Safely Remove Hardware.” On Mac, you can drag the camera’s storage icon to the trash bin and wait for it to disappear.
8. Verify the transfer – To ensure that the picture transfer was successful, navigate to the folder where you saved the pictures on your computer. Open a few images to check if they have properly transferred and are viewable.
Once you have successfully transferred the pictures from your disposable camera to your computer, you can edit, share, or print them as desired. Remember to store the original camera film safely in case you want to use it again or have it developed professionally.
Uploading Pictures from Your Computer to Your Phone
If you have transferred your disposable camera pictures to your computer and want to upload them to your phone for easy access and sharing, there are a few methods you can use. Depending on your phone’s operating system and the software available, you can choose the method that works best for you.
Here are some popular ways to upload pictures from your computer to your phone:
- Using a USB Cable: This is one of the simplest and most common methods. Connect your phone to your computer using a USB cable, and it should be recognized as a storage device. Open the folder on your computer where the pictures are saved, and drag them into a folder on your phone.
- Using Cloud Storage: Cloud storage services like Google Drive, Dropbox, or OneDrive allow you to store and access your files from multiple devices. Upload the pictures to your preferred cloud storage service from your computer, and then open the cloud storage app on your phone to access and download the pictures.
- Using Email: If you only have a few pictures to upload, you can email them to yourself. Attach the pictures to an email on your computer, send the email to your own email address, and then open the email on your phone to download the pictures.
- Using File Transfer Apps: There are various file transfer apps available that allow you to wirelessly transfer files between your computer and phone. Install an app like AirDroid or SHAREit on both devices, connect them to the same Wi-Fi network, and follow the app’s instructions to transfer the pictures.
Before uploading the pictures, make sure your phone has enough storage space available. If needed, clear out unnecessary files or apps to free up space. Also, ensure that your phone is connected to a stable internet connection for a smooth and fast upload.
Once the pictures are uploaded to your phone, you can organize them into albums or folders for easy navigation. You can also edit them using photo editing apps, apply filters, and share them with friends and family through social media platforms or messaging apps.
Remember to keep your pictures backed up regularly to prevent any loss of treasured memories. Now that you know how to upload disposable camera pictures from your computer to your phone, you can enjoy reliving those special moments anytime, anywhere.
Alternative Methods to Upload Disposable Camera Pictures on Phone
If you don’t have access to a computer or prefer a more convenient way to upload your disposable camera pictures to your phone, there are alternative methods you can try. These methods eliminate the need for a computer and allow you to transfer your photos directly from the camera to your phone. Here are a few options to consider:
1. Use a Photo Scanning App: There are various photo scanning apps available for both Android and iOS devices that can help you digitize your disposable camera pictures. Simply download a reliable photo scanning app, open it on your phone, and follow the instructions to scan and save your images. Some apps even offer features like editing and enhancing the scanned photos to make them look even better.
2. Use a Photo Scanner: If you want higher quality scans or have a large number of disposable camera pictures to digitize, investing in a dedicated photo scanner may be a good option. These scanners are designed specifically for scanning photos and can provide better resolution and color accuracy compared to scanning apps on your phone. After scanning the photos, you can easily transfer them to your phone using a USB connection or by uploading them to cloud storage and downloading them on your phone.
3. Use a Memory Card Reader: Disposable cameras often come with a memory card that stores the captured photos. To upload the pictures to your phone, you can remove the memory card from the camera and insert it into a memory card reader that is compatible with your phone. Once inserted, your phone should recognize the memory card and allow you to access and transfer the photos to your phone’s internal storage or cloud storage.
4. Utilize Wireless Transfer: Some newer disposable camera models come with wireless transfer functionality. This means that the camera can connect to your phone via Wi-Fi or Bluetooth, allowing you to transfer the photos directly without the need for cables or additional devices. Refer to the user manual of your disposable camera to understand how to enable and use this feature for transferring pictures to your phone wirelessly.
5. Visit a Photo Printing Shop: If all else fails or you prefer a professional touch, you can visit a photo printing shop that offers digital conversion services. These shops have specialized equipment and expertise to digitize your disposable camera photos and provide you with digital copies. Once you have the digital copies, you can easily transfer them to your phone using various methods like USB, email, or cloud storage.
Remember to always refer to the user manual of your specific disposable camera model for instructions on how to transfer pictures to your phone. Each camera may have its own unique methods or features for uploading photos. With these alternative methods, you can conveniently upload your disposable camera pictures to your phone and share them with friends and family without the need for a computer.
The ability to upload disposable camera pictures onto a phone opens up a whole new world of possibilities for preserving and sharing cherished memories. Whether you’re a photography enthusiast looking to digitize your analog shots or simply wanting to relive the nostalgia of disposable cameras, this process offers convenience and flexibility.
By following the steps outlined in this article, you can easily transfer your disposable camera pictures to your phone and unleash your creativity. From editing and enhancing your images with various photo editing apps to sharing your favorite moments on social media platforms, the possibilities are endless.
Embrace the power of technology and give your disposable camera pictures a new lease on life. So dust off those old rolls of film, grab your smartphone, and start the journey of preserving and sharing your memories in the digital age!
FAQs
1. Can I upload disposable camera pictures on my phone?
– Yes, you can upload disposable camera pictures on your phone. With the advancements in technology, it has become easier to digitize physical photos and enjoy them on your mobile device.
2. What do I need to upload disposable camera pictures on my phone?
– To upload disposable camera pictures on your phone, you will need two things: a smartphone with a camera and a photo scanning app. The scanning app will help you convert the physical photos into digital images that can be easily uploaded onto your phone.
3. Are there any specific apps for uploading disposable camera pictures on a phone?
– Yes, there are several apps available for uploading disposable camera pictures on a phone. Some popular choices include Google Photoscan, Photomyne, and CamScanner. These apps offer easy-to-use interfaces and features that enhance the scanning and uploading process.
4. How do I scan and upload disposable camera pictures on my phone?
– To scan and upload disposable camera pictures on your phone, follow these steps:
1. Install a photo scanning app from your device’s app store.
2. Open the app and choose the option to scan photos.
3. Align the disposable camera picture within the designated frame on the app.
4. Capture the image using your phone’s camera.
5. Repeat these steps for each picture you want to upload.
6. Once all the pictures are scanned, save them to your phone’s gallery or select the option to upload them directly to a cloud storage service or social media platform.
5. Is there a difference in image quality when uploading disposable camera pictures on a phone?
– When uploading disposable camera pictures on a phone, the image quality may vary. It depends on the resolution and quality of the original physical photo, as well as the capabilities of your smartphone’s camera. However, with photo scanning apps, you can often enhance the image quality by adjusting settings such as brightness, contrast, and color saturation.