
Do you want to know how to put a picture on top of another picture using your iPhone? Look no further! With the power of your smartphone in your hands, you can easily create stunning image compositions and overlays that will add depth and creativity to your photos. Whether you’re looking to create a personalized collage, a unique social media post, or simply want to have fun experimenting with different images, this article will guide you through the step-by-step process. From selecting the perfect images to using intuitive editing tools, you’ll discover how to effortlessly blend photos together and create eye-catching visuals that will impress your friends and followers. Get ready to unleash your creativity and take your iPhone photography to the next level!
Inside This Article
- Using the Markup Tool in the Photos App
- Utilizing Third-Party Apps
- Using a Collage-making App
- Adding Picture-on-Picture Using Video Editing Apps
- Conclusion
- FAQs
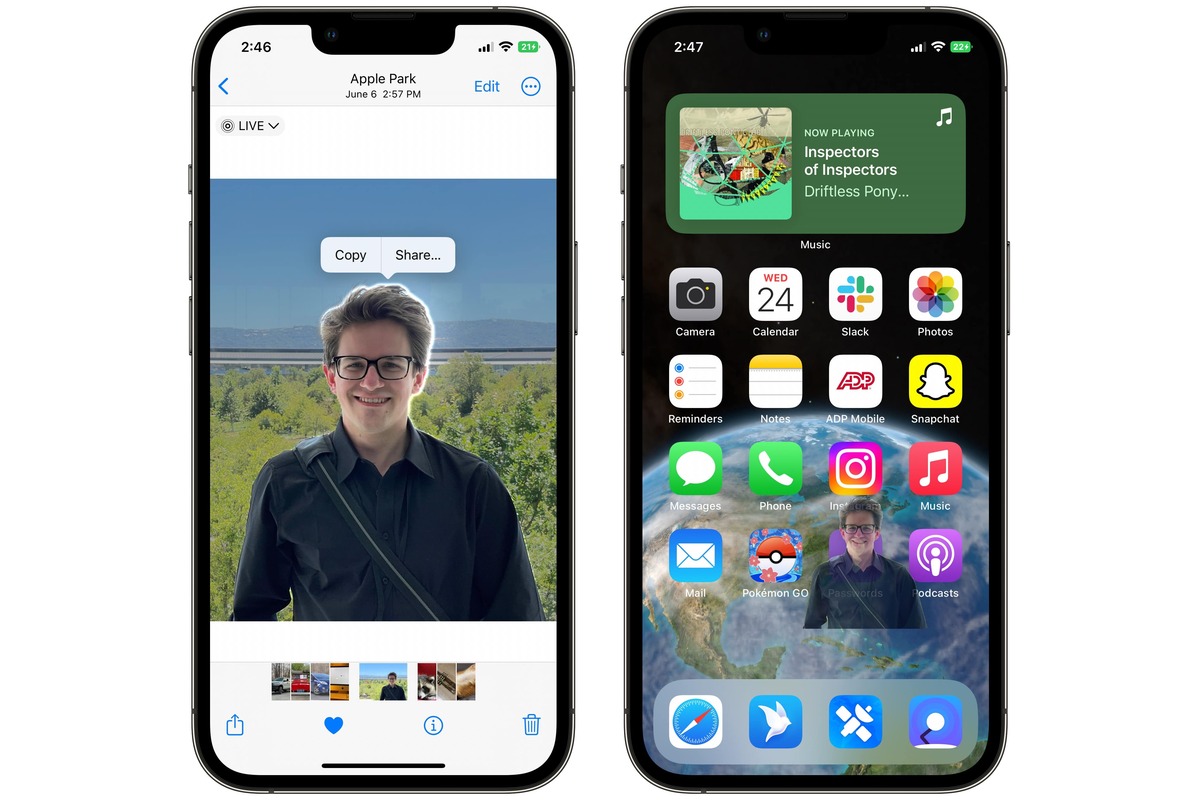
Using the Markup Tool in the Photos App
Adding a picture on top of another picture on your iPhone can be done easily using the Markup tool in the Photos app. With a few simple steps, you can create unique and visually appealing images. Follow the guide below to learn how.
Step 1: Open the Photos app
Start by launching the Photos app on your iPhone. This app is pre-installed on all iOS devices and is represented by a multicolored flower icon.
Step 2: Select the background picture
Next, navigate to the album or folder where your desired background picture is located. You can either scroll through the thumbnails or use the search function to find the specific image. Once you find it, tap on it to open it.
Step 3: Tap “Edit” and choose “Markup”
With the background picture open, tap on the “Edit” button, which is represented by three sliders at the top right corner of the screen. Once the editing options appear, look for the “Markup” option and tap on it to enter the Markup editing mode.
Step 4: Add the second picture
Now that you are in Markup mode, tap on the “+” icon in the bottom right corner of the screen. This will open a menu with various editing options. Choose “Photo” from the menu to add a second picture on top of the background.
Step 5: Adjust the position and size
The second picture will be placed on top of the background picture as a separate layer. You can use your fingers to move and resize the second picture to the desired position and size. Pinch to zoom in or out, and drag to reposition the picture on top.
Once you are satisfied with the placement, tap on “Done” to save your changes. The pictures are now merged together, and you can view the final result in your Photos library.
By following these simple steps, you can easily put a picture on top of another picture on your iPhone using the Markup tool in the Photos app. Give it a try and unleash your creativity with stunning photo compositions!
Utilizing Third-Party Apps
If you want to put a picture on top of another picture on your iPhone, you can use third-party apps that offer advanced photo editing tools. Here are the steps to follow:
Step 1: Install a photo editing app
The first thing you need to do is find and install a photo editing app from the App Store. There are several options available, such as Adobe Photoshop Express, Snapseed, or PicsArt.
Step 2: Open the app and load the background picture
Once you have installed the photo editing app, open it and select the option to add a new image. Choose the background picture that you want to use as the base.
Step 3: Import the second picture and add it to the background
After loading the background picture, look for the option to import or add another image. Select the second picture that you want to place on top of the background.
Step 4: Adjust the placement and size as desired
With both pictures loaded into the app, you can now adjust the placement and size of the second picture on top of the background. Most photo editing apps offer features like resizing, rotating, and moving the overlaying image to achieve the desired effect.
Once you are satisfied with the positioning and size, you can save the final image to your iPhone’s photo library or share it directly to social media platforms.
Using third-party apps gives you more control and flexibility in manipulating images and allows you to create unique and visually appealing compositions with pictures on your iPhone.
Remember to explore different apps and experiment with their features to find the one that best suits your needs and preferences.
Creating a picture-on-picture effect using a collage-making app is another convenient option for adding a picture on top of another picture on your iPhone. Here are the steps to follow:
Using a Collage-making App
Step 1: Start by downloading and installing a collage-making app from the App Store. There are several apps available, such as Canva, Collage Maker, and Pixlr, that offer a wide range of collage options.
Step 2: Once you have the app installed, open it and select the desired layout that includes a picture overlay option. Look for layouts specifically designed for overlaying pictures.
Step 3: After choosing the layout, you can import the background picture and the second picture you want to overlay onto it. The app will typically provide options to import photos from your iPhone’s camera roll or other storage locations.
Step 4: Once you have imported both pictures, you can adjust the positioning and size of the second picture. Most collage-making apps offer resizing, rotating, and positioning tools that allow you to place the second picture exactly where you want it on top of the background.
Step 5: After positioning and resizing the second picture, you can save the final image to your iPhone’s camera roll or share it directly from the app to social media platforms or messaging apps. The app will typically provide options to save or share the collage.
Using a collage-making app offers a user-friendly and intuitive way to overlay pictures and create visually appealing compositions. Whether you want to create a layered effect, combine multiple images, or add text and graphics, collage-making apps provide ample options to unleash your creativity and produce stunning picture-on-picture designs on your iPhone. So, why not give it a try and explore the endless possibilities of creating artistic and unique compositions?
Adding Picture-on-Picture Using Video Editing Apps
Adding a picture-on-picture effect to your images can give them a unique and creative touch. If you’re looking to achieve this effect on your iPhone, using video editing apps with a picture-in-picture feature can be a great solution. Here’s a step-by-step guide on how to do it:
Step 1: Download a video editing app with a picture-in-picture feature
The first step is to find and download a video editing app that offers a picture-in-picture feature. There are several options available on the App Store, such as iMovie, KineMaster, and Splice. Choose the app that suits your needs and preferences.
Step 2: Import the background and second picture as video clips
Once you have the video editing app installed, open it and import the background picture and the second picture as video clips. Most video editing apps allow you to import both photos and videos, so make sure to select the appropriate options in the app’s media library.
Step 3: Overlay the second picture onto the background
After importing the background and second picture, you need to overlay the second picture onto the background. In the video editing app, locate the timeline or video arrangement feature to drag and drop the second picture onto the timeline and position it to overlay onto the background picture.
Step 4: Adjust the position and size of the overlaying picture
Once the second picture is overlaid onto the background, you can adjust its position and size. Use the video editing app’s controls or handles to move the image and resize it as desired. This step allows you to position the second picture exactly where you want it on the background image.
By following these steps, you’ll be able to create a picture-on-picture effect using a video editing app with a picture-in-picture feature. This gives you more flexibility and control compared to other methods. Experiment with different apps and settings to achieve the desired result and unleash your creativity.
Conclusion
Putting a picture on top of another picture on your iPhone is a creative and fun way to enhance your photos. With the help of various editing apps and software, you can easily achieve this effect and create stunning visual compositions.
Whether you want to blend two images seamlessly or create an artistic collage, the process can be accomplished with a few simple steps. From using built-in features like the “Double Exposure” mode in your phone’s camera to utilizing third-party apps like Adobe Photoshop Express or Canva, there are plenty of options available.
Remember to experiment and play around with different techniques to achieve the desired result. Whether you’re a professional photographer or just someone who loves capturing memories, adding a picture on top of another picture can take your creativity to the next level.
So go ahead, explore the possibilities and unleash your imagination to create stunning compositions that will amaze your friends and followers on social media. Don’t be afraid to get creative, because with the right tools and a little bit of practice, you can turn your ordinary photos into extraordinary works of art.
FAQs
Q: Can I put a picture on top of another picture using an iPhone?
A: Yes, you can. With the right apps and tools, you can easily overlay one picture onto another picture using your iPhone.
Q: Which app can I use to put a picture on top of another picture?
A: There are several apps available on the App Store that can help you accomplish this. Some popular options include Adobe Photoshop Express, Superimpose, and Pic Collage, among others.
Q: How do I use Superimpose to overlay pictures on my iPhone?
A: To use Superimpose, first, open the app and select the image you want to use as the background. Then, tap on the “Layers” option and choose the image you want to overlay. Adjust the size, position, and opacity of the overlay image as desired, and finally, save or share your edited picture.
Q: Can I adjust the transparency of the overlay image when combining pictures on my iPhone?
A: Yes, most of the apps mentioned earlier allow you to adjust the transparency or opacity of the overlay image. This feature enables you to control the visibility of the top picture and achieve the desired blending effect.
Q: Are there any free apps available for overlaying pictures on an iPhone?
A: Yes, there are free apps available that allow you to overlay pictures on your iPhone. Some examples include Pixlr, Canva, and Snapseed. These apps offer basic editing features, including the ability to overlay one picture on top of another.