
Are you the proud owner of a brand new Xperia XZ Premium smartphone? Congratulations! One of the first things you’ll need to do to get your phone up and running is to install a SIM card. The SIM card is a small, rectangular chip that allows your phone to connect to a mobile network and make calls or use data services. While it may seem like a daunting task, installing a SIM card in the Xperia XZ Premium is actually quite simple. In this article, we will guide you through the step-by-step process of installing a SIM card in your Xperia XZ Premium device, ensuring that you can start using your phone to its fullest potential in no time.
Inside This Article
- Preparing for SIM Card Installation
- Accessing the SIM Card Slot
- Inserting the SIM Card
- Removing the SIM Card
- Conclusion
- FAQs
Preparing for SIM Card Installation
Before installing a SIM card in your Xperia XZ Premium, it is important to ensure that you have gathered all the necessary tools and information. Here are the key steps to prepare for the SIM card installation:
- Check for Compatibility: Ensure that your Xperia XZ Premium is compatible with the type of SIM card you have. Most modern smartphones use a nano-SIM. If your SIM card is not the correct size, you may need to contact your mobile network provider to obtain a replacement.
- Turn off Your Phone: Before removing or inserting a SIM card, it is always recommended to turn off your phone. This will prevent any potential data loss or damage to the device.
- Locate the SIM Card Slot: Take a moment to locate the SIM card slot on your Xperia XZ Premium. The slot is usually located on the side or the top of the device, secured with a small tray. Refer to your phone’s user manual for specific instructions on finding the SIM card slot.
- Gather the SIM Eject Tool: Xperia XZ Premium devices typically come with a SIM eject tool included in the packaging. This tool is used to open the SIM card tray. If you don’t have the SIM eject tool, you can use a small paperclip or a thin pin as an alternative.
By following these preparation steps, you will be ready to smoothly proceed with the SIM card installation process. It is important to have a compatible SIM card, power off your phone, locate the SIM card slot, and have a SIM eject tool handy. Now, let’s move on to the next step of accessing the SIM card slot.
Accessing the SIM Card Slot
Accessing the SIM card slot in your Xperia XZ Premium is a straightforward process that requires a few simple steps. Here’s how to do it:
1. Start by locating the SIM card tray on your device. The tray is usually located on the side or top of the phone, depending on the model.
2. To access the SIM card slot, you will need to use a SIM card ejection tool. This tool is typically included in the box when you purchase your Xperia XZ Premium. If you don’t have the tool, you can also use a paperclip or a small needle.
3. Take the SIM card ejection tool and insert it into the small hole on the side of the phone. Apply gentle pressure until the SIM card tray pops out slightly. Be careful not to apply too much force to avoid damaging the phone or the tray.
4. Once the SIM card tray is partially ejected, pull it out gently using your fingers. The tray will come out completely, exposing the SIM card slot.
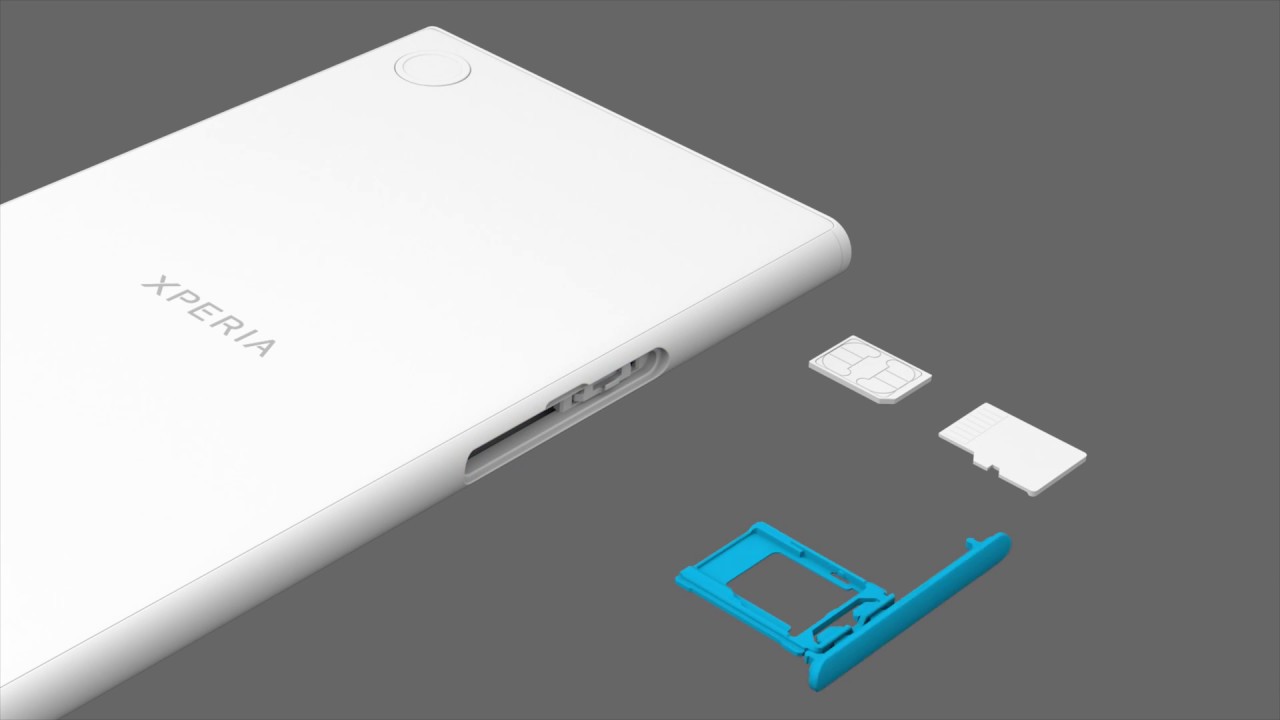
5. Take a moment to inspect the SIM card tray and slot. You will notice that there are two slots in the tray, one for the SIM card and the other for a microSD card. Make sure you are inserting the SIM card into the correct slot.
Now that you have accessed the SIM card slot, you are ready to insert your SIM card. Refer to the next section to learn how to properly insert the SIM card into your Xperia XZ Premium.
Inserting the SIM Card
Now that you have accessed the SIM card slot, it’s time to insert the SIM card into your Xperia XZ Premium. Follow the steps below to ensure a smooth installation process:
- Take the SIM card out of its packaging and hold it with the metal contacts facing down.
- Align the notched corner of the SIM card with the corresponding corner of the SIM card slot.
- Gently, but firmly, push the SIM card into the slot until it clicks into place.
- Confirm that the SIM card is securely inserted by giving it a slight tug. It should not come out easily.
It’s important to note that incorrect insertion of the SIM card can cause connectivity issues or damage the card itself. Take your time to properly align and insert the card to avoid any potential problems.
Once the SIM card is successfully inserted, you can proceed to replace the SIM card tray back into the Xperia XZ Premium. Refer to the previous section on “Replacing the SIM Card Tray” for detailed instructions on how to do this.
With the SIM card now inserted and the tray securely in place, you can power on your Xperia XZ Premium and enjoy the full range of mobile services and features that it has to offer.
Removing the SIM Card
If you need to remove the SIM card from your Xperia XZ Premium, follow these simple steps:
- First, make sure the device is powered off. This will prevent any damage to the SIM card or the device itself.
- Locate the SIM card tray. On the Xperia XZ Premium, the SIM card tray is typically located on the left side of the phone, near the top.
- Use a SIM card removal tool or a small paperclip to gently push into the tiny hole on the SIM card tray. Apply a small amount of pressure until the tray pops out.
- Gently pull the SIM card tray out of the phone. Be careful not to force it, as this could cause damage to the tray or the SIM card.
- Remove the SIM card from the tray by gently sliding it out. Take note of the orientation of the SIM card, as it should be inserted back into the tray in the same way.
- If you have a dual SIM variant of the Xperia XZ Premium, you may also have a second SIM card slot. Repeat the above steps for the second SIM card if necessary.
Once you have removed the SIM card, you can either replace it with a new SIM card or leave the slot empty if you no longer need to use a SIM card in your device.
Remember to handle the SIM card with care and store it in a safe place when not in use. It’s important to keep the SIM card clean and free from dust or debris to ensure optimal performance.
By following these steps, you can easily remove the SIM card from your Xperia XZ Premium whenever needed.
Conclusion
Installing a SIM card in your Xperia XZ Premium is a straightforward process that allows you to enjoy the full functionality of your device. By following the steps outlined in this article, you can easily insert your SIM card and get your phone up and running in no time.
Remember to power off your device before inserting or removing the SIM card, and ensure that you have the correct size SIM card for your Xperia XZ Premium. This will prevent any potential damage to the SIM card or the phone itself.
Whether you are upgrading your device or switching carriers, having the ability to install a SIM card gives you the freedom to stay connected. With your SIM card safely in place, you can enjoy all the features and benefits that your Xperia XZ Premium has to offer, from making calls and sending messages to accessing the internet and using various apps.
So, don’t be intimidated by the SIM card installation process. Just follow the steps, and you’ll be able to enjoy a seamless mobile experience on your Xperia XZ Premium.
FAQs
1. How do I remove the SIM card in Xperia XZ Premium?
To remove the SIM card from your Xperia XZ Premium, follow these steps:
- Turn off your phone and locate the SIM card tray on the side of the device.
- Get the SIM card ejection tool that came with your phone, or use a small paperclip.
- Insert the ejection tool or paperclip into the small hole next to the SIM card tray.
- Gently push the tool into the hole until the tray pops out.
- Remove the SIM card tray and carefully take out the SIM card.
2. How do I insert a SIM card into Xperia XZ Premium?
To insert a SIM card into your Xperia XZ Premium, follow these steps:
- Turn off your phone and locate the SIM card tray on the side of the device.
- Get the SIM card ejection tool that came with your phone, or use a small paperclip.
- Insert the ejection tool or paperclip into the small hole next to the SIM card tray.
- Gently push the tool into the hole until the tray pops out.
- Place the SIM card into the tray, ensuring it is properly aligned with the tray.
- Insert the tray back into the phone and gently push it in until it is flush with the device.
- Turn on your phone and wait for it to detect the SIM card.
3. What type of SIM card does Xperia XZ Premium use?
The Xperia XZ Premium uses a Nano SIM card, which is the smallest SIM card size available. Ensure that you have a Nano SIM card before attempting to insert it into your device.
4. Can I use a microSD card and a SIM card at the same time in Xperia XZ Premium?
Yes, the Xperia XZ Premium has a hybrid SIM card tray that allows you to use either a second SIM card or a microSD card for expandable storage. However, please note that you can only use either a second SIM card or a microSD card, not both simultaneously.
5. Where can I find the SIM card tray on Xperia XZ Premium?
The SIM card tray on the Xperia XZ Premium is located on the left side of the device. It is a small, rectangular slot with a tiny hole next to it. Use the SIM card ejection tool or a paperclip to open the tray and access the SIM card slot.