
When it comes to window treatments, Bali cellular shades are a popular choice for homeowners. Not only do they provide privacy and light control, but they also offer energy efficiency and stylish aesthetics. If you’re considering installing Bali cellular shades on the outside of your windows (outside mount), you’ve come to the right place. In this article, we’ll guide you through the step-by-step process of how to install Bali cellular shades with an outside mount. Whether you’re a seasoned DIY enthusiast or a beginner, our easy-to-follow instructions and helpful tips will ensure a successful installation. So let’s dive in and transform your windows with beautiful and functional Bali cellular shades!
Inside This Article
- Overview
- Tools and Materials Needed
- Measuring and Preparing the Window
- Installing the Mounting Brackets
- Attaching the Cellular Shades
- Adjusting and Testing the Operation
- Troubleshooting Tips and Common Mistakes
- Additional Tips and Considerations
- Conclusion
- FAQs
Overview
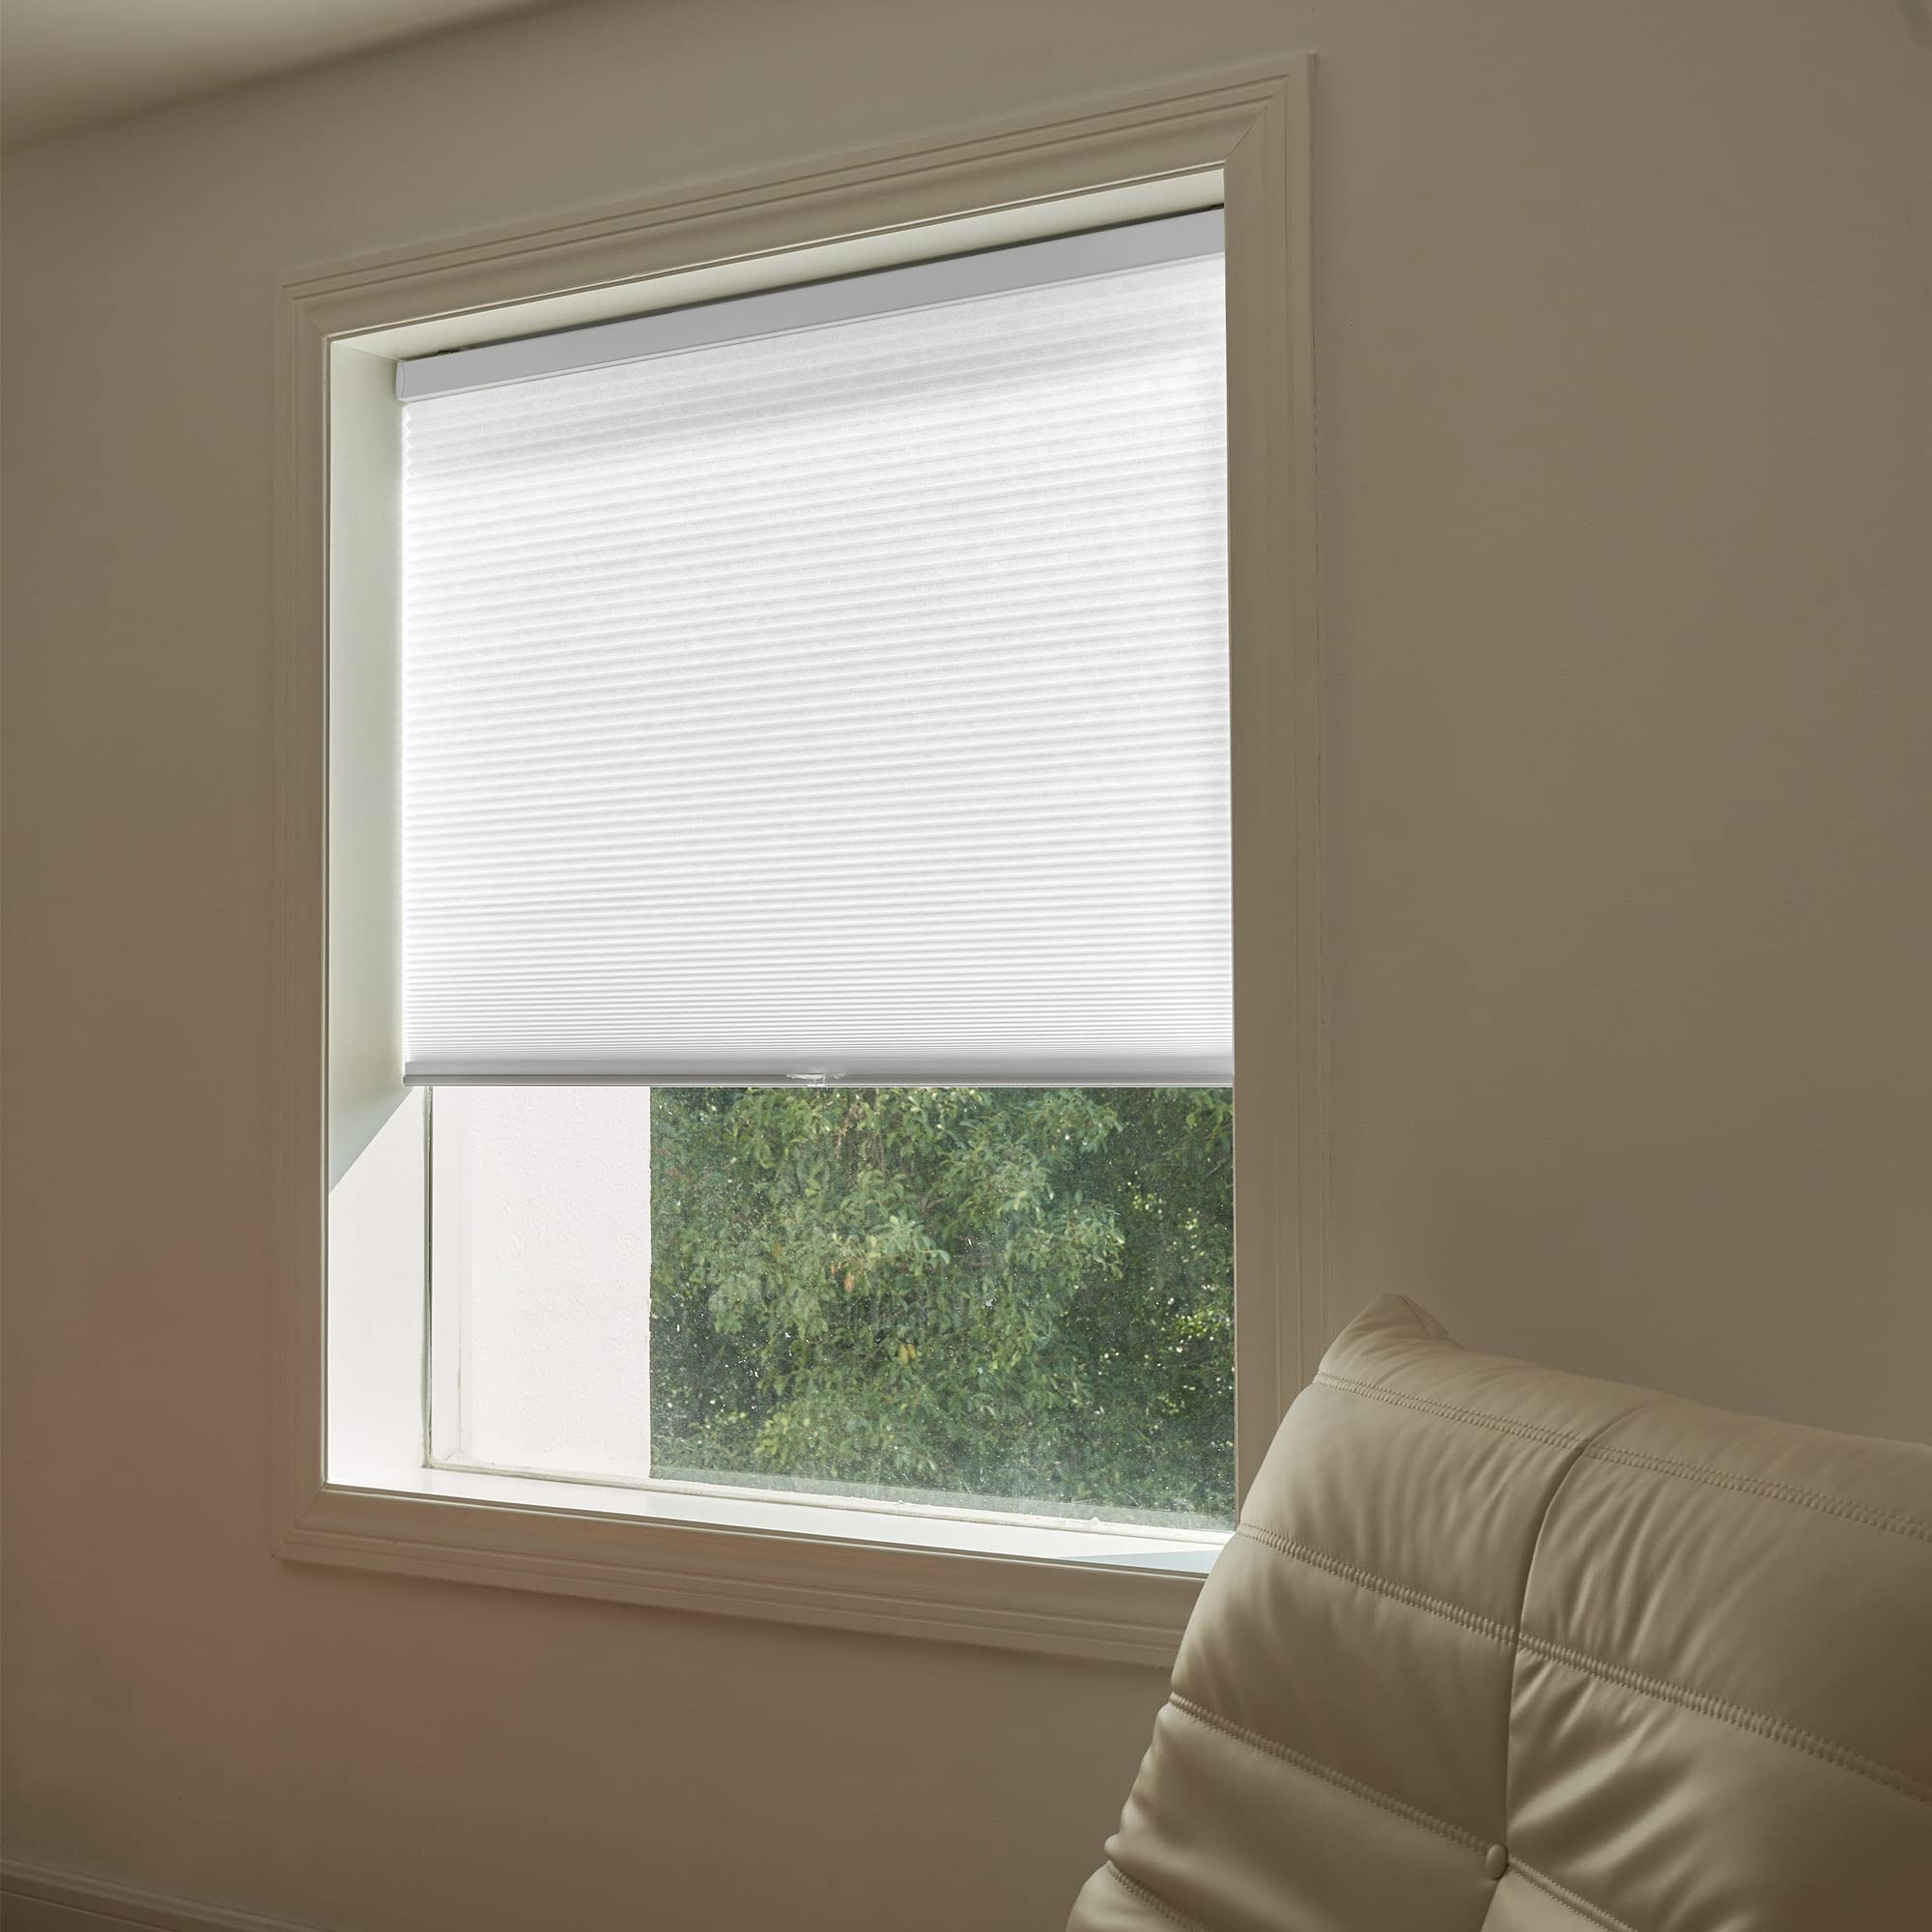
Installing Bali Cellular Shades as an outside mount is a great way to add style and functionality to your windows. These shades are designed to provide privacy, block out light, and insulate your home, making them perfect for any room. In this comprehensive guide, we will take you through the step-by-step process of how to install Bali Cellular Shades as an outside mount.
Before you begin the installation process, it is essential to gather the necessary tools and materials. You will need a measuring tape, drill with a drill bit, screws, and a pencil. Additionally, make sure you have the mounting brackets and brackets covers that come with your Bali Cellular Shades package.
The first step in the installation process is to measure your windows accurately. Measure the width and height of each window where you plan to install the shades. It is crucial to measure both the inside width and the outside width of the window frame to determine the correct size of the shades.
Once you have measured your windows, it’s time to install the mounting brackets. Start by marking the location of the top bracket on the outside of the window frame. Use a pencil to make the marks. Make sure the brackets are spaced evenly on each side to ensure proper support for the shades.
Next, drill pilot holes into the marked spots on the window frame. This will make it easier to screw in the mounting brackets. Place the brackets over the pilot holes, aligning them carefully. Use a drill to screw the brackets firmly into place.
After installing the mounting brackets, it’s time to attach the Bali Cellular Shades. Insert the front lip of the shade into the top bracket, then push the back of the shade up until it clicks into the bracket. Repeat this step for each shade, ensuring that they are securely attached to the brackets.
Once all the shades are correctly installed, it’s essential to attach the bracket covers. These covers will give a finished look to your shades while also concealing the mounting brackets. Simply slide the covers over the brackets until they click into place.
With the Bali Cellular Shades successfully installed, you can now enjoy the benefits they provide – privacy, light control, and energy efficiency. These shades not only enhance the aesthetics of your windows but also make your living space more comfortable and inviting.
Remember, if you ever need to remove or adjust your Bali Cellular Shades, simply reverse the steps of the installation process. With proper care and maintenance, your shades will continue to add beauty and functionality to your home for years to come.
Tools and Materials Needed
Before you begin the installation of Bali Cellular Shades in an outside mount, it’s important to gather all the necessary tools and materials. Here is a list of what you’ll need:
1. Tape Measure: A reliable tape measure is crucial to accurately measure the dimensions of your windows.
2. Pencil: You’ll need a pencil to mark the measurements on the window frame and mounting brackets.
3. Level: A level will ensure that your shades are properly aligned and straight.
4. Screwdriver: Depending on the type of mounting brackets you have, a screwdriver may be required to secure them in place.
5. Drill (optional): If your mounting brackets require screws, a drill will be necessary to create pilot holes in the window frame.
6. Mounting Brackets and Screws: These are provided with the Bali Cellular Shades and are essential for securely attaching the shades to the window frame.
7. Ladder or Step Stool: Depending on the height of your windows, you may need a ladder or step stool to reach the installation area safely.
8. Safety Equipment: It’s always a good idea to have safety equipment such as gloves and safety glasses to protect yourself during installation.
With these tools and materials gathered, you’ll be well-prepared to install your Bali Cellular Shades in an outside mount. Let’s move on to the next step, which is measuring your windows.
Measuring and Preparing the Window
The first step in installing Bali cellular shades with an outside mount is to measure and prepare your window. This ensures that your shades will fit perfectly and function properly once installed. Here’s how to do it:
1. Measure the Window: Use a tape measure to determine the width and height of your window. Measure from the outermost edges of the window frame for accurate measurements. Note down the measurements for later reference.
2. Consider Overlapping: Decide how much overlapping you want the shades to have on each side. Typically, an overlap of 2-4 inches is recommended for optimal light control and privacy. Take this overlapping into account when measuring the width of your shade.
3. Check for Obstructions: Inspect the window area for any obstructions such as handles, window cranks, or decorative trim that might interfere with the installation or operation of the shades. Make sure to measure around these obstructions to ensure proper fit.
4. Clear the Window Area: Remove any curtains, blinds, or other window treatments that may be in place. Clearing the area will give you better access to the window and make it easier to install the cellular shades.
5. Clean the Window: Before installing the shades, clean the window thoroughly to remove any dust, dirt, or debris. This will ensure that the shades adhere properly and maintain a clean appearance once installed.
6. Gather the Necessary Tools: Collect all the tools and materials you’ll need for installation, such as a screwdriver, level, measuring tape, and pencil. Having everything on hand will make the installation process smoother and more efficient.
By following these steps to measure and prepare your window, you are setting the foundation for a successful installation of your Bali cellular shades with an outside mount. Taking the time to measure accurately and prepare the window area will result in shades that fit perfectly and function flawlessly.
Installing the Mounting Brackets
Once you have measured your windows and chosen the Bali cellular shades that best fit your needs, the next step in the installation process is to install the mounting brackets. These brackets are vital as they provide support and stability for your shades. With the right tools and materials, you can easily complete this step and move closer to enjoying the benefits of your Bali cellular shades.
Here is a step-by-step guide on how to install the mounting brackets for your Bali cellular shades:
- Start by gathering the necessary tools and materials, which typically include a drill, screws, and a screwdriver. Make sure the drill and screw size match the ones recommended by Bali for your specific shades.
- Locate the position where you want to install the brackets. Depending on your window frame, you may need to position the brackets on the sides or the top.
- Using a measuring tape, mark the desired height or width for the brackets. Ensure that the brackets are level and aligned with each other. This step is crucial for the proper operation of your cellular shades.
- With the drill, create pilot holes at the marked positions. Pilot holes help prevent the wood or wall from splitting when you insert the screws.
- Insert the screws into the pilot holes and secure the mounting brackets in place. Ensure that the brackets are firmly attached to provide adequate support for your cellular shades.
- Repeat the process for all the remaining brackets, making sure they are evenly spaced and aligned.
That’s it! Once you have successfully installed the mounting brackets, you can move on to attaching the Bali cellular shades and start enjoying their functionality and style.
Remember, it is essential to follow the manufacturer’s instructions and recommendations when installing Bali cellular shades. Proper installation ensures the longevity and optimal performance of your shades.
Attaching the Cellular Shades
Once you have installed the mounting brackets, it’s time to attach the Bali cellular shades to your windows. Here are the steps you need to follow:
- Start by positioning the cellular shade: Hold the cellular shade up to the window and align it with the mounting brackets. Make sure that the headrail of the shade fits securely into the brackets.
- Secure the shade: Once the shade is aligned with the brackets, push it up towards the bracket until you hear a click or feel it lock into place. This indicates that the shade is securely attached to the brackets.
- Test the movement: Gently tug on the bottom rail of the shade to ensure that it moves up and down smoothly. If you encounter any resistance or the shade does not move freely, double-check the attachment to the brackets to ensure it is secure.
- Fix the bottom rail if necessary: If the bottom rail is uneven or crooked, use a level to adjust it. Loosen the screws on the bottom rail, reposition it until it is level, and then tighten the screws to secure it in place.
- Check for any adjustments: Step back and assess the overall appearance of the cellular shades. Make any necessary adjustments to ensure that they are hanging evenly and providing the desired coverage for your windows.
- Complete the installation: Repeat the process for each Bali cellular shade you are installing. Once all the shades have been attached and adjusted, step back and admire the transformation they bring to your windows.
Attaching the cellular shades is a straightforward process that can be completed by following these steps. By securely mounting the shades and ensuring they move smoothly, you can enjoy the benefits of enhanced privacy, light control, and a stylish addition to your home’s decor.
Adjusting and Testing the Operation
Once you have successfully attached the Bali Cellular Shades to the mounting brackets, it’s time to adjust and test their operation. This step ensures that the shades are functioning properly and can be easily operated on a day-to-day basis.
Start by checking if the shades are hanging evenly and straight. Use a level or a measuring tape to verify if they are aligned correctly. If you notice any unevenness, you may need to make minor adjustments to the mounting brackets.
Next, test the movement of the Bali Cellular Shades. Lower the shades completely to see if they reach the desired length smoothly. Raise them back up and observe if they stack neatly and evenly at the top.
If you find that the shades are not moving freely or are getting stuck, you might need to adjust the tension of the cord or chain mechanism. Refer to the specific instructions provided by Bali for adjusting tension and follow the steps carefully.
Another important aspect to test is the positioning of the shades when lifted or lowered. Ensure that they stop at the desired levels without any resistance or slippage. If the shades are not staying in place, you may need to adjust the cord/chain tension or contact Bali customer support for further assistance.
Additionally, check if the cord or chain is hanging at a safe height, especially if you have children or pets around. Make sure it is not within their reach to avoid any accidents or entanglements.
Finally, test the operation of any additional features or controls that your Bali Cellular Shades may have, such as motorization or light filtering options. Follow the provided instructions to adjust and test these features, ensuring they function as intended.
By thoroughly testing and adjusting the operation of your Bali Cellular Shades, you can guarantee a smooth and hassle-free experience every time you use them. If you encounter any difficulties or have questions during the process, don’t hesitate to reach out to Bali’s customer support for assistance and guidance.
Troubleshooting Tips and Common Mistakes
Even with careful planning and preparation, there can be some challenges that arise when installing Bali Cellular Shades. Here are some troubleshooting tips and common mistakes to watch out for:
Mistake: Wrong measurements
One of the most common mistakes when installing cellular shades is incorrect measurements. Double check your measurements to ensure accuracy before ordering the shades. Measure the length and width of your windows precisely and account for any obstructions like window handles or trim.
Troubleshooting Tip: Adjusting the shade
If your cellular shade is not functioning properly or is not hanging evenly, try adjusting the tension on the cord or chain. This can help ensure smooth and reliable operation. Refer to the manufacturer’s instructions or seek assistance from a professional if needed.
Mistake: Incorrect bracket placement
Placing the mounting brackets too close to the edge of the window frame or too far apart can result in an uneven installation. It’s important to follow the manufacturer’s recommendations on bracket placement to ensure optimal support and proper functioning of the shades.
Troubleshooting Tip: Adjusting the bracket position
If you find that your brackets are not in the correct position, carefully remove them and reinstall them in the recommended location. Ensure that the brackets are securely attached to provide proper support and alignment for the cellular shades.
Mistake: Failure to secure the bottom rail
Sometimes, people forget to properly secure the bottom rail of the cellular shades. This can lead to sagging or uneven hanging. Make sure to tightly secure the bottom rail to the window frame or window sill, following the manufacturer’s instructions.
Troubleshooting Tip: Reinstalling the bottom rail
If you notice that the bottom rail is not securely attached, carefully reposition and reinstall it. Ensure that it is level and properly aligned with the window frame. This will help maintain the desired look and functionality of the cellular shades.
Mistake: Skipping the cord safety precautions
Corded cellular shades can pose a safety risk, especially for households with young children or pets. Skipping the necessary cord safety precautions, such as installing cord cleats or using cordless options, can result in accidents. Always follow the manufacturer’s instructions for cord safety and ensure that cords are properly secured and out of reach.
Troubleshooting Tip: Retrofitting for cord safety
If you realize that you have not taken the necessary cord safety precautions, it’s not too late. Retrofit your cellular shades by installing cord cleats or consider switching to cordless options for a safer alternative. Prioritize the safety of your loved ones by addressing any potential hazards.
Mistake: Neglecting to clean and maintain the shades
Over time, dust and debris can accumulate on the cellular shades, affecting their appearance and performance. Neglecting regular cleaning and maintenance can make them look worn out or cause them to malfunction. Make sure to follow the manufacturer’s cleaning instructions and regularly clean the shades to keep them in optimal condition.
Troubleshooting Tip: Proper cleaning and maintenance
If you notice that your cellular shades are dirty or not functioning as smoothly as before, take the time to clean and maintain them properly. Use a soft cloth or vacuum attachment to remove dust and debris, and avoid using harsh chemicals that may damage the fabric or components.
By being aware of these common mistakes and knowing how to troubleshoot any issues that may arise, you can ensure a successful and hassle-free installation of Bali Cellular Shades. Remember to always refer to the manufacturer’s instructions and seek professional assistance if needed.
Additional Tips and Considerations
When installing Bali Cellular Shades with an outside mount, there are a few additional tips and considerations to keep in mind:
1. Double-check your measurements: Before proceeding with installation, it’s crucial to double-check your window measurements. Ensure that you have accurately measured the width and height of the window frame to ensure the perfect fit for your cellular shades.
2. Consider the depth of your window frame: Outside mount shades require enough space on the window frame to accommodate the shade brackets. Take into account the depth of your window frame to ensure that there is enough clearance for the brackets without obstructing any window hardware or decorative trim.
3. Pre-drill holes for the mounting brackets: To make the installation process smoother, consider pre-drilling holes for the mounting brackets. This can help prevent any accidental damage to the window frame and ensure a secure and stable installation.
4. Use a level for accurate installation: When positioning and attaching the mounting brackets, it’s crucial to use a level to ensure that they are perfectly aligned. This will prevent any potential issues with the installation and ensure that your cellular shades hang straight and evenly on the window.
5. Test the operation of the shades: Once the cellular shades are installed, take the time to test their operation. Open and close the shades multiple times to ensure they move smoothly and without any obstructions. If you notice any difficulties, carefully review the installation to identify any potential issues.
6. Consider hiring a professional installer: If you’re unsure about your DIY skills or if you have any complex window configurations, don’t hesitate to hire a professional installer. They have the expertise and knowledge to handle any challenges that may arise during the installation process.
7. Follow the manufacturer’s instructions: Lastly, always refer to the specific instructions provided by Bali for installing their cellular shades. Each product may have slight variations in the installation process, so it’s essential to follow the guidelines provided to ensure a successful installation.
By following these additional tips and considerations, you can confidently proceed with the installation of Bali Cellular Shades with an outside mount. Enjoy the beauty and functionality these shades bring to your living space!
Installing Bali cellular shades in an outside mount configuration is a straightforward process that can significantly enhance the aesthetics and functionality of your windows. These shades offer excellent light control, privacy, and energy efficiency, making them a popular choice among homeowners.
By following the step-by-step instructions provided in this article, you can easily install Bali cellular shades and enjoy their benefits in no time. Remember to accurately measure your windows and gather all the necessary tools and materials before getting started. Taking your time to ensure proper installation will result in a seamless and professional-looking finish.
Whether you’re looking to update the look of your home or improve its energy efficiency, Bali cellular shades are a reliable and stylish option. With their variety of color options and customization features, you can find the perfect fit for your windows and create a cozy and inviting atmosphere in any room.
So why wait? Start your journey towards a more beautiful and functional home by installing Bali cellular shades today.
FAQs
1. Can I install Bali Cellular Shades on the outside of my window frame?
Yes, you can install Bali Cellular Shades on the outside of your window frame. This is known as an “outside mount” installation. It is a popular choice for windows that have limited depth or obstructions within the window frame. Installing the shades on the outside of the window frame ensures a clean and unobstructed view when the shades are fully raised.
2. What tools do I need to install Bali Cellular Shades on the outside mount?
To install Bali Cellular Shades on the outside mount, you will need a few basic tools:
- Measuring tape
- Drill
- Screwdriver
- Pencil
- Level
- Mounting brackets (included with the shades)
- Screws (included with the shades)
3. How do I measure my window for outside mount cellular shades?
To measure your window for outside mount cellular shades, follow these steps:
- Measure the width of the window from the outside edge of the trim on the left side to the outside edge of the trim on the right side. Add at least 2 inches to this measurement to ensure proper coverage and allow for the mounting brackets.
- Measure the height of the window from the top outside edge of the trim to the bottom outside edge of the trim. Add at least 2 inches to this measurement to ensure proper coverage and allow for the mounting brackets.
4. Can I install Bali Cellular Shades on my own, or do I need professional help?
Bali Cellular Shades can be installed by homeowners, and no professional help is required. The installation process is straightforward and can be completed with basic tools and the instructions provided with the shades. However, if you are unsure or uncomfortable with the installation process, it is always a good idea to seek professional assistance.
5. How do I clean and maintain Bali Cellular Shades installed on the outside mount?
To clean and maintain Bali Cellular Shades installed on the outside mount, follow these tips:
- Regularly dust the shades with a feather duster or a soft brush to remove surface dirt and debris.
- For deeper cleaning, use a hairdryer on a cool setting to blow away any dust or particles that may be trapped between the folds of the cellular fabric.
- If the shades become stained, gently spot clean the affected area using a mild detergent and a damp cloth. Be sure to test the cleaning solution on a small, inconspicuous area first to ensure it does not cause any damage or discoloration.