
In this comprehensive guide, we will delve into the world of outside mount cellular shades and uncover the secrets to installing them with ease. Cellular shades, also known as honeycomb shades, are a popular choice for many homeowners due to their excellent insulation capabilities and stylish appearance. However, installing these shades can sometimes be a daunting task for those who are not familiar with the process. That’s where this guide comes in handy. Whether you’re looking to enhance the aesthetics of your living space or improve energy efficiency, we’ve got you covered. Follow our step-by-step instructions and gain the confidence to tackle your outside mount cellular shade installation project like a pro.
Inside This Article
- What are Outside Mount Cellular Shades?
- Tools and Materials Needed for Installation
- Step-by-Step Guide to Install Outside Mount Cellular Shades
- Conclusion
- FAQs
What are Outside Mount Cellular Shades?
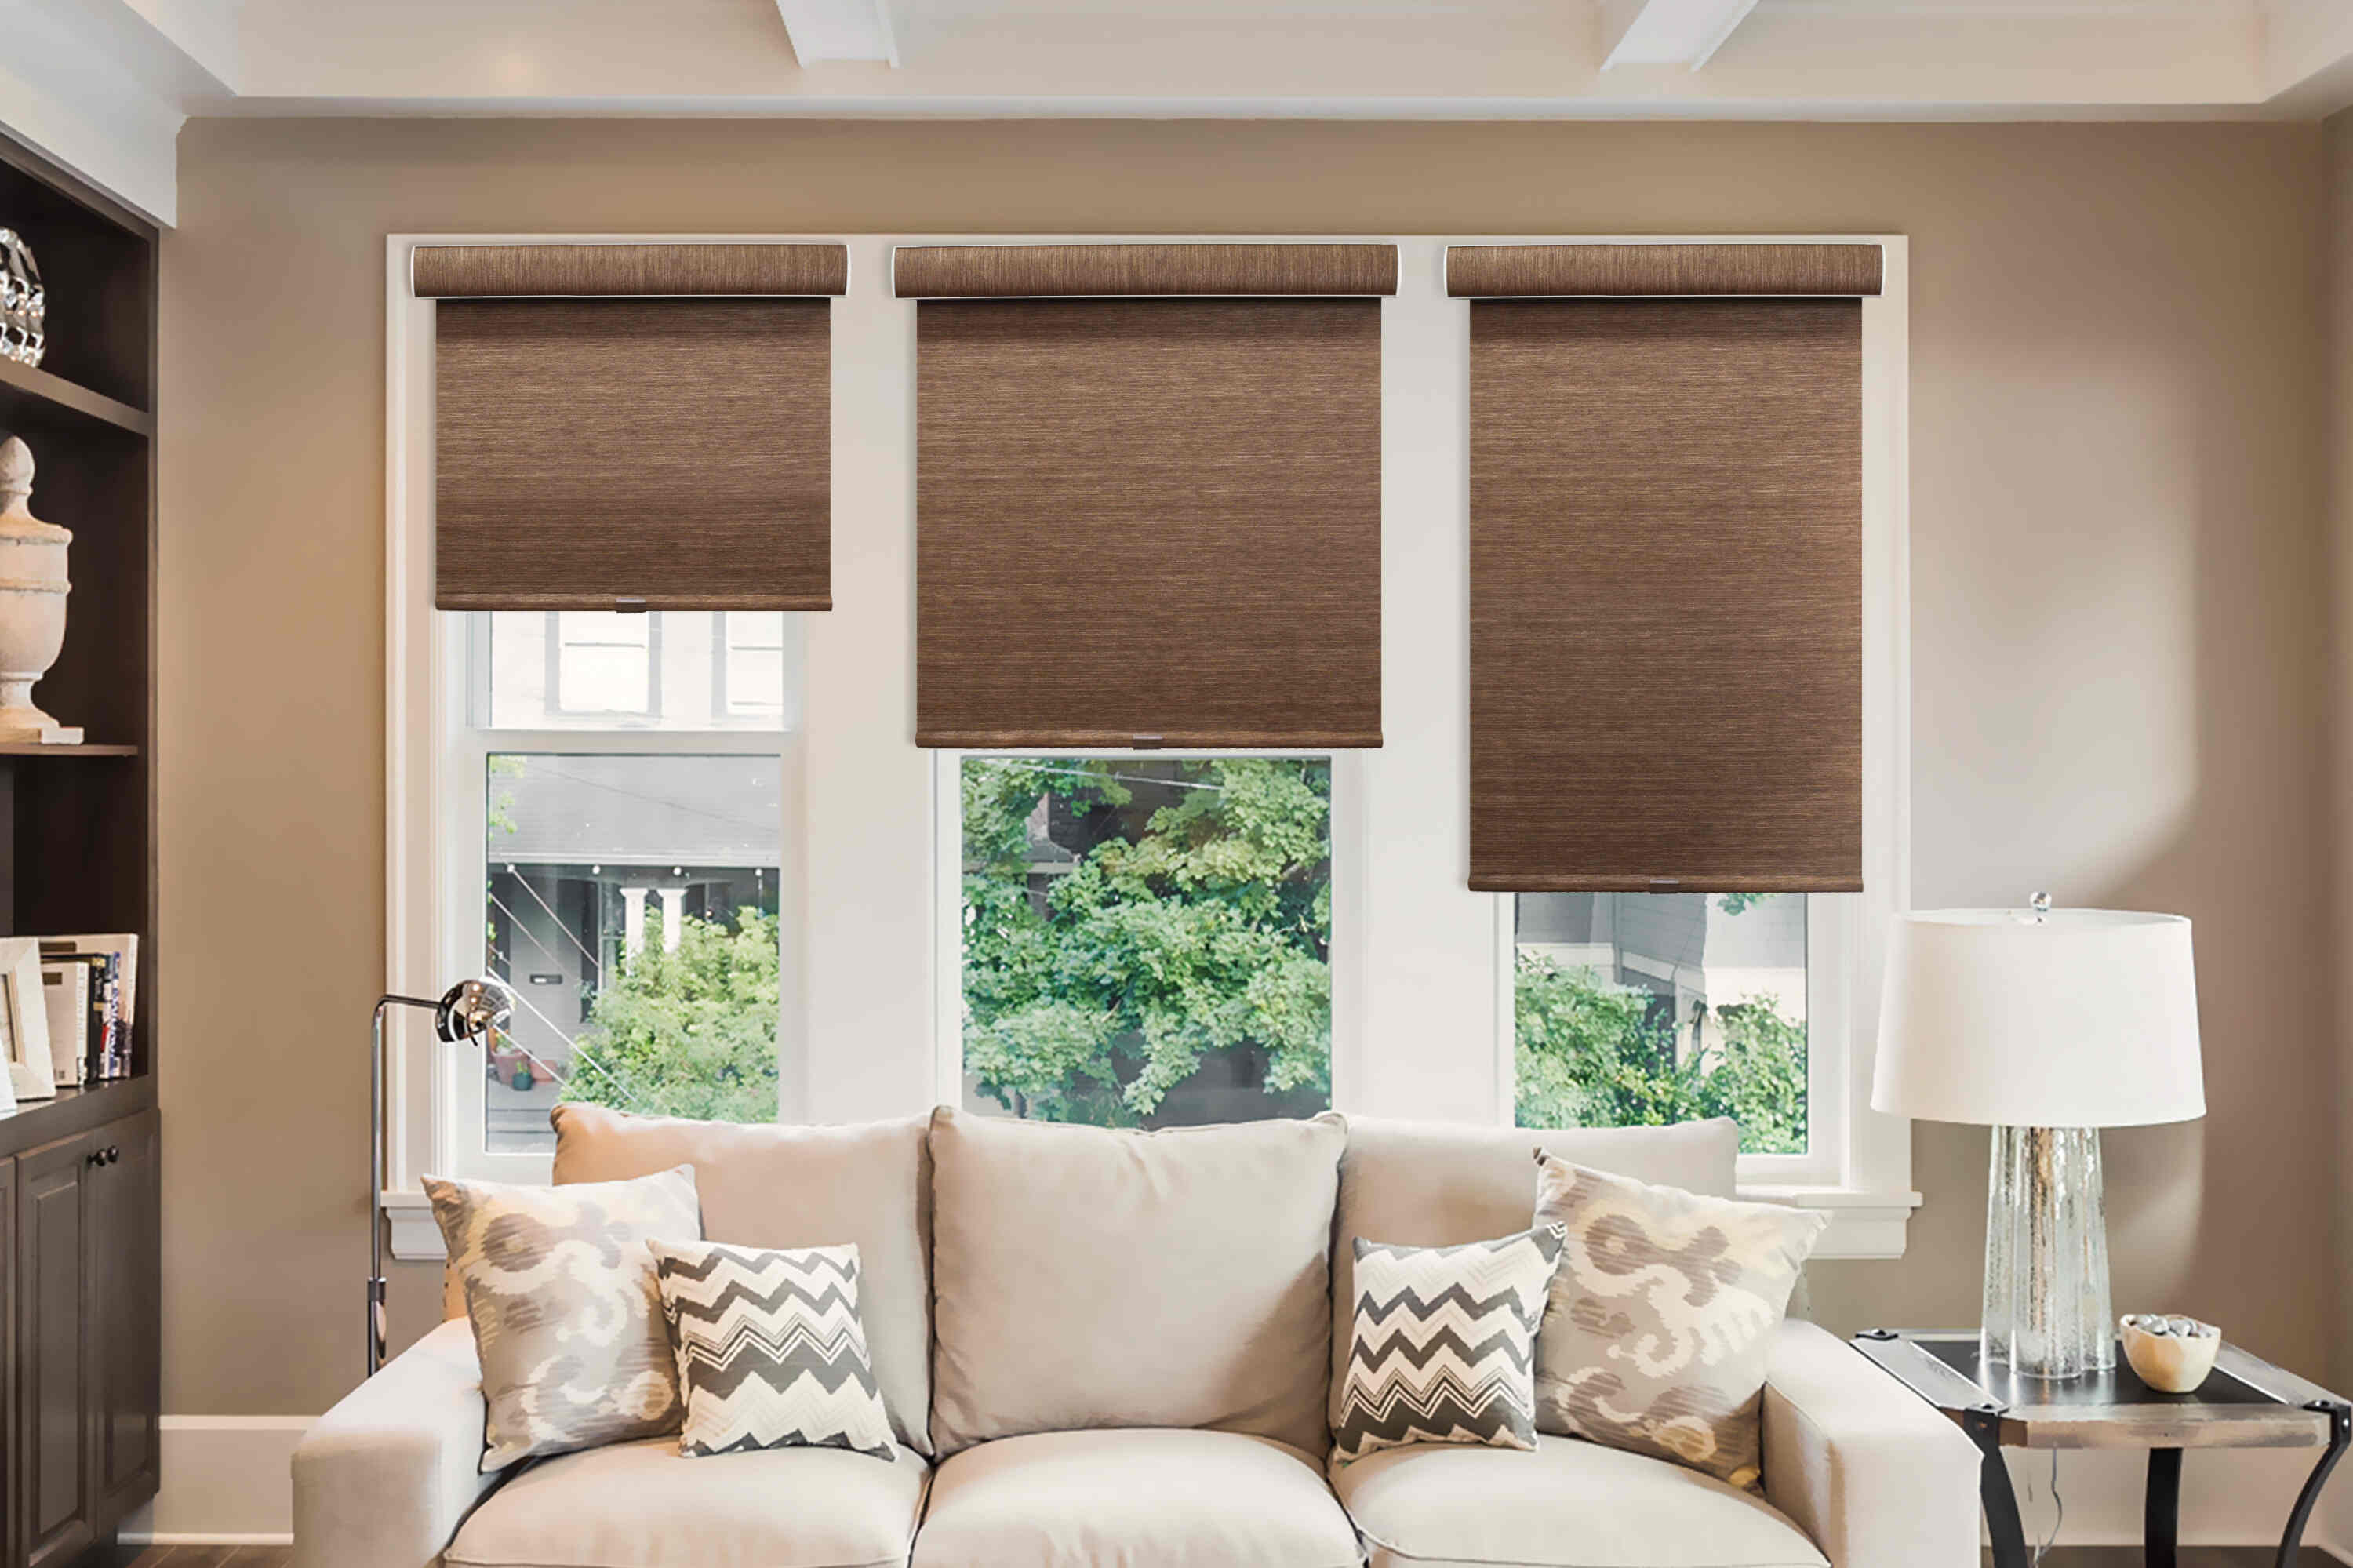
Outside mount cellular shades are window treatments that are installed on the outside of the window frame, covering the entire window and extending beyond the edges. Also known as “overlapping” or “over-the-frame” shades, they offer a clean and polished look to any room.
Unlike inside mount cellular shades, which are installed inside the window frame, outside mount shades are a great choice when you want to completely block out light, create privacy, or enhance the architectural appeal of your windows. With their versatility and functionality, outside mount cellular shades have become a popular choice among homeowners and interior designers.
These shades are made from honeycomb-like fabric cells that trap air, providing excellent insulation and energy efficiency. They are designed to filter and diffuse natural light, while offering privacy and reducing glare. Available in a variety of colors, patterns, and opacities, outside mount cellular shades can complement any style of decor.
Whether you’re looking to update your home’s aesthetics, improve energy efficiency, or enhance privacy, outside mount cellular shades offer a stylish and effective solution. They can be a focal point in your room, adding depth and texture to your windows.
With their durability and easy maintenance, outside mount cellular shades are a long-lasting investment that can significantly improve the comfort and functionality of any space.
Tools and Materials Needed for Installation
When it comes to installing outside mount cellular shades, having the right tools and materials is essential for a successful and professional-looking installation. Here is a list of everything you’ll need to get the job done:
- Measuring tape: A reliable measuring tape is crucial for accurately measuring the size of your windows.
- Stepladder or stool: Depending on the height of your windows, you may need a stepladder or stool to comfortably reach the installation area.
- Pencil or marker: These will be used to mark the mounting points on your walls or window frames.
- Power drill: A power drill will make the installation process much easier and faster. Make sure you have the appropriate drill bits for the type of material you’re drilling into.
- Screwdriver: You’ll need a screwdriver to attach the mounting brackets to your walls or window frames.
- Screws and wall anchors: These will be used to securely fasten the mounting brackets to the wall. The type and size of screws and wall anchors will depend on the material of your walls.
- Level: A level is essential for ensuring that your shades are properly aligned and straight.
- Cellular shade brackets: These brackets will hold the cellular shades in place. Make sure you have the correct brackets for your specific shades.
- Cellular shades: Of course, you’ll need the actual cellular shades that you’ll be installing. Measure your windows carefully to ensure you purchase the correct size.
It’s important to have all of these tools and materials ready before you begin the installation process. This will help you save time and avoid any unexpected issues or interruptions. Remember, a well-prepared installation process will result in a smooth and professional-looking outcome.
Step-by-Step Guide to Install Outside Mount Cellular Shades
Installing outside mount cellular shades is a relatively straightforward process that can greatly enhance the appearance and functionality of your windows. Whether you’re looking to block out sunlight, increase privacy, or simply update the look of your space, this step-by-step guide will walk you through the installation process.
Step 1: Gather the necessary tools and materials.
Before you begin, make sure you have all the tools and materials you’ll need for the installation. This includes a measuring tape, a pencil, a level, a power drill, screws, and of course, the outside mount cellular shades themselves.
Step 2: Measure your windows.
Start by measuring the width and length of each window where you’ll be installing the shades. This will ensure that you purchase the correct size shades for a perfect fit. Measure both the inside and outside edges of the window frame to determine the size of the shades you’ll need.
Step 3: Mark the mounting brackets.
Using a pencil, mark the placement of the mounting brackets on the window frame. Make sure the brackets are evenly spaced and aligned properly. The number of brackets will depend on the width of your shades, but typically, two brackets are sufficient for smaller windows, while larger windows may require additional brackets for added support.
Step 4: Install the mounting brackets.
Using a power drill, carefully install the mounting brackets at the marked locations on the window frame. Make sure the brackets are securely attached and level. It’s important to follow the manufacturer’s instructions for proper installation.
Step 5: Attach the shades to the mounting brackets.
With the mounting brackets in place, carefully attach the outside mount cellular shades by sliding them into the brackets. Make sure the shades are securely in place and level.
Step 6: Test the functionality of the shades.
Once the shades are installed, test their functionality by raising and lowering them to ensure smooth operation. Make any necessary adjustments to the tension or alignment as needed.
Step 7: Enjoy your newly installed outside mount cellular shades!
With the shades securely in place and functioning properly, you can now sit back and enjoy the benefits of your newly installed outside mount cellular shades. Not only will they enhance the aesthetics of your space, but they’ll also provide privacy and control over the amount of light entering your room.
Installing outside mount cellular shades is a relatively simple process that can have a big impact on the look and feel of your space. By following this step-by-step guide, you’ll be able to install these shades with ease and enjoy the benefits they bring.
Conclusion
Installing outside mount cellular shades is a simple and effective way to enhance the beauty and functionality of your windows. By following the step-by-step instructions provided in this article, you can easily achieve a professional-looking installation. Whether you are looking to block out light, improve insulation, or add privacy to your space, cellular shades are a fantastic option.
Remember to measure your windows accurately before ordering the shades and gather the necessary tools and materials. Take your time during the installation process and ensure proper alignment and smooth operation of the shades. With a little patience and effort, you can transform your windows and create a more comfortable and stylish environment.
So why wait? Get started on your outside mount cellular shade installation today and enjoy the benefits of improved light control, energy efficiency, and privacy.
FAQs
Q: What are outside mount cellular shades?
A: Outside mount cellular shades are window treatments that are installed on the outside frame or wall surrounding a window. Unlike inside mount shades, which are installed within the window opening, outside mount shades provide maximum light blockage and privacy.
Q: Why would I choose outside mount cellular shades?
A: Outside mount cellular shades are a popular choice for several reasons. Firstly, they can help to block out more light, as they cover not just the window opening, but also the surrounding frame. Additionally, outside mount shades can make the window appear larger and more dramatic, adding a stylish touch to your space.
Q: How do I measure for outside mount cellular shades?
A: To measure for outside mount cellular shades, you will need to measure the height and width of the window frame or the area you want to cover. When measuring the width, add a few inches on each side to ensure proper coverage and light blockage. For the height, measure from the top of the frame to the desired length, including any additional length you want for the bottom hem.
Q: Can I install outside mount cellular shades myself?
A: Yes, with the right tools and instructions, you can install outside mount cellular shades yourself. Most shades come with detailed installation guides, and you can also find helpful videos online. However, if you are unsure or uncomfortable with the installation process, it is always recommended to hire a professional to ensure a proper and secure installation.
Q: How do I install outside mount cellular shades?
A: The installation process for outside mount cellular shades typically involves mounting brackets onto the wall or window frame, securing the shade into the brackets, and then adjusting it to ensure it is level. The specific steps may vary depending on the brand and style of the shades, so be sure to follow the manufacturer’s instructions carefully.