
In this digital age, our mobile phones have become more than just communication devices. They are powerful tools that allow us to capture and preserve precious moments through various mediums. One important feature that many users rely on is the ability to record audio. Whether it’s for taking notes, conducting interviews, recording lectures, or creating podcasts, having the functionality to record audio on our iPhones and iPads can be incredibly useful.
But with the constant updates and changes in technology, it’s understandable if you’re not quite sure how to go about recording audio on your iPhone or iPad in 2023. That’s where we come in. In this comprehensive guide, we will walk you through the step-by-step process of recording audio on your iPhone or iPad, ensuring that you can make the most of this essential feature. So, let’s dive in and discover the various methods and tips to unleash the full audio recording potential of your Apple devices.
Inside This Article
- Method 1: Using the Voice Memos App
- Method 2: Using the QuickTime Player
- Method 3: Using a Third-Party Recording App
- Method 4: Using an External Microphone or Audio Interface
- Conclusion
- FAQs
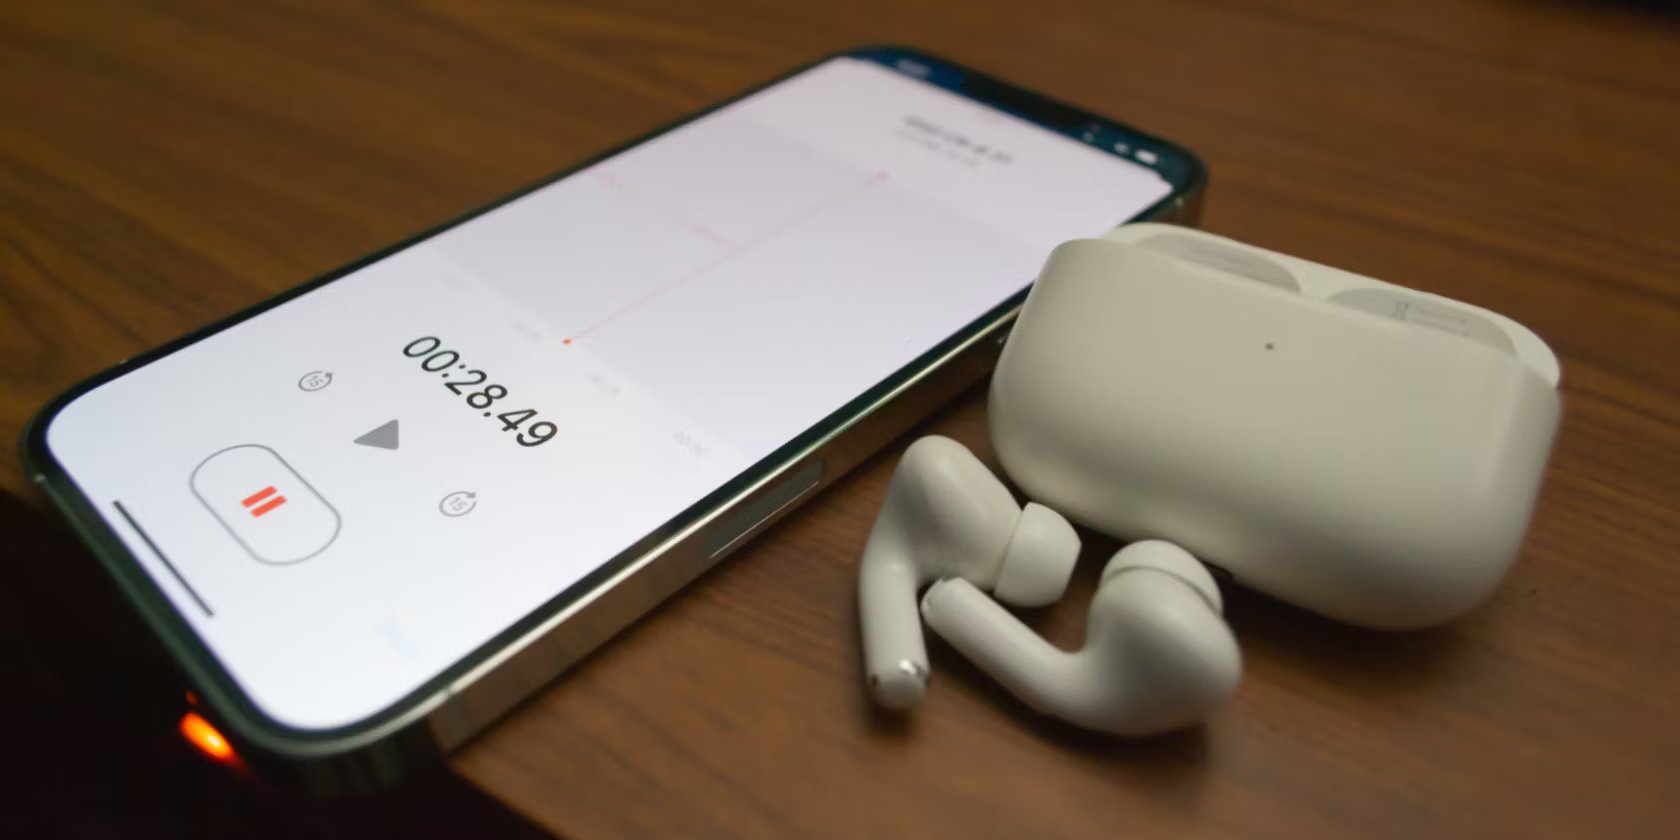
Method 1: Using the Voice Memos App
The Voice Memos app is a built-in feature on iPhones and iPads that allows you to easily record audio without the need for any additional apps or accessories. Here’s how you can use the Voice Memos app to record audio:
Opening the Voice Memos App
To begin, locate the Voice Memos app on your iPhone or iPad. It is usually found in the Utilities folder, but you can also use the search function to find it quickly. Tap on the app icon to open it.
Starting a New Recording
Once the Voice Memos app is open, you will see a big red record button at the bottom of the screen. When you’re ready to start recording, simply tap on the red button. Your device’s microphone will be activated, and it will start capturing the audio.
Pausing and Resuming the Recording
If you need to pause the recording at any point, tap on the pause button located next to the record button. This will temporarily stop the recording without ending it. To resume, tap on the record button again.
Ending and Saving the Recording
When you’re finished recording, tap on the stop button, which is represented by a square. Your recording will be automatically saved with a timestamp in the Voice Memos app. You can give it a custom name and add any additional notes if needed. Your recordings will be listed in chronological order, making it easy to find and listen to them later.
The Voice Memos app also offers additional features such as trimming recordings and sharing them with others. It provides a simple and convenient way to record audio on your iPhone or iPad without the need for any external devices or apps.
Method 2: Using the QuickTime Player
One of the easiest ways to record audio on your iPhone or iPad is by using the QuickTime Player. This method allows you to connect your device to a computer and utilize the recording capabilities of the QuickTime Player application.
To get started, you will need to connect your iPhone or iPad to a computer using a compatible USB cable. Once connected, open the QuickTime Player application on your computer.
Next, select the iPhone or iPad as the audio source in QuickTime Player. This can typically be done by clicking on the “File” menu and selecting the “New Audio Recording” option. From there, you should see a dropdown menu that allows you to choose the audio source. Select your device from the list.
Once you have set the audio source, you can begin recording. Simply click on the red “Record” button in QuickTime Player to start the recording. You can pause and resume the recording as needed by clicking on the respective buttons.
When you are finished recording, click on the “Stop” button. QuickTime Player will prompt you to save the recording. Choose a location on your computer where you want to save the file, and give it a descriptive name.
By following these steps, you can easily record audio on your iPhone or iPad using the QuickTime Player. This method is particularly useful if you want to capture high-quality audio recordings and have the convenience of editing and saving them on your computer.
Method 3: Using a Third-Party Recording App
When it comes to recording audio on your iPhone or iPad, using a third-party recording app can offer you more advanced features and customization options. Here’s how you can utilize a reliable third-party recording app to capture high-quality audio.
Firstly, you’ll need to choose a reliable third-party recording app from the App Store. Look for apps with positive reviews and a good track record for audio recording. Check if the app supports the file formats you prefer and offers features like noise cancellation or equalization.
Once you’ve selected the app, downloading and installing it on your iPhone or iPad is the next step. Simply open the App Store, search for the app by name, and tap on “Get” or the price tag to initiate the download. Follow the prompts to install the app on your device.
After the installation is complete, locate the app on your device and launch it. Upon opening the app, you may be prompted to grant certain permissions, such as access to the microphone or your device’s storage. Allow the necessary permissions to ensure the app functions properly.
Next, you’ll need to adjust the recording settings within the app. Depending on the app you choose, you may have options to select recording quality (bitrate or sample rate), enable noise reduction, or set a timer for automatic recording. Take a moment to explore the app’s settings and customize them to your preferences.
When you’re ready to start recording, simply tap on the appropriate button within the app’s interface. Most recording apps will have a designated “Record” or “Start” button that you can press to begin capturing audio. To stop the recording, tap on the “Stop” or “Pause” button, depending on the app’s interface.
Upon ending the recording, the app will typically prompt you to save the recorded audio file. Follow the prompts to choose a location within the app to save the file, or select a specific folder on your device. Some apps may also offer additional features like file trimming or editing capabilities.
Once the audio file is saved within the app, you can easily manage and access your recordings. Many recording apps have a user-friendly interface, allowing you to view a list of recorded files, play them back, rename them, or share them via email or social media. Take advantage of these features to keep your recordings organized and easily accessible.
Using a third-party recording app gives you the flexibility to customize your audio recording experience. Explore different apps and find the one that suits your needs and preferences best, whether you’re recording lectures, interviews, or personal voice memos.
Method 4: Using an External Microphone or Audio Interface
Recording audio on your iPhone or iPad can be greatly enhanced by using an external microphone or audio interface. This method allows you to have more control over the sound quality and capture professional-grade audio. Here are the steps to follow:
1. Choosing a compatible external microphone or audio interface: Before purchasing an external device, ensure it is compatible with your iPhone or iPad. Consider factors such as compatibility with your device’s operating system, connector type, and microphone sensitivity.
2. Connecting the external device to the iPhone or iPad: Plug the external microphone or audio interface into the appropriate port on your device. Depending on the device and microphone/interface, you may need an adapter or specific cables.
3. Adjusting the audio settings on the device: Once the external device is connected, go to the Settings app on your iPhone or iPad. Select “Sound & Haptics” or “Sounds & Haptics” and adjust the input/input volume. Make sure to select the external microphone or audio interface as the input source.
4. Starting and stopping the recording with the external device: Launch your preferred recording app on your iPhone or iPad. Once the app is open, the external microphone or audio interface will automatically be detected as the input source. Simply press the record button on the app to start recording, and press it again to stop recording.
5. Transferring and accessing the recordings on the iPhone or iPad: After you’ve finished recording, you can transfer the audio files to your iPhone or iPad. Use a file sharing app, such as Airdrop, Dropbox, or Google Drive, to transfer the files from your computer to your device. Once the files are transferred, you can access and manage them using the Files app on your iPhone or iPad.
With an external microphone or audio interface, you can capture high-quality audio for podcasts, interviews, music recordings, and more. Experience enhanced sound fidelity and take your recordings to the next level using this method.
Conclusion
In conclusion, the ability to record audio on your iPhone and iPad is a powerful feature that opens up a world of possibilities. Whether you need to capture high-quality sound for professional purposes or simply want to have fun with voice memos and music recordings, the convenience and versatility of these devices make it a breeze. With the built-in voice recorder app or the option to explore third-party recording apps, you can easily document important meetings, interviews, or personal thoughts with just a few taps. Additionally, the ability to pair external microphones or use AirPods can further enhance your recording experience. So, grab your iPhone or iPad, unleash your creativity, and start recording audio today!
FAQs
1. Can I record phone calls on my iPhone?
Unfortunately, recording phone calls directly on an iPhone is not supported by Apple. However, you can use third-party apps available on the App Store that allow call recording functionality with certain limitations and legal restrictions. Make sure to check the local laws and regulations regarding call recording before using any third-party app.
2. How can I record audio on my iPad?
Recording audio on an iPad is quite simple. You can use the built-in Voice Memos app, which comes pre-installed on most iPads. Just open the app, tap on the red button to start recording, and tap on it again to stop. You can then save and manage your recorded audio files within the app.
3. Are there any limitations to recording audio on my iPhone or iPad?
While recording audio on your iPhone or iPad is convenient, there may be some limitations to be aware of. For instance, the maximum duration of a recording might vary depending on factors such as available storage space and the app you’re using. Additionally, some apps may have limitations on file formats or quality settings. It’s always a good idea to check the specifications and limitations of the recording app you choose to ensure it meets your needs.
4. Can I edit my recorded audio files on my iPhone or iPad?
Yes, both the iPhone and iPad offer native editing capabilities for audio files. You can use the Voice Memos app on both devices to trim or delete sections of your recorded audio. If you need more advanced editing features, you can also explore third-party audio editing apps available on the App Store.
5. How can I share my recorded audio files from my iPhone or iPad?
Sharing recorded audio files from your iPhone or iPad is hassle-free. You can use various methods depending on your preference. You can send the audio file via email, share it using messaging apps like WhatsApp or iMessage, or upload it to cloud storage services like Dropbox or iCloud Drive. Simply locate the recorded audio file in the respective app and choose the sharing option that suits your needs.