
Welcome to the ultimate guide on how to screenshot on the iPhone 14! With the constant evolution of smartphones, the process of capturing screenshots has become a fundamental feature for users. The iPhone 14, equipped with cutting-edge technology and advanced capabilities, offers various methods to capture and save screenshots effortlessly.
In this article, we will explore the different techniques you can use to take screenshots on the iPhone 14. From utilizing the physical buttons to accessing the handy screenshot tools in the control center, we’ll cover it all. Whether you need to capture a funny meme, save an important conversation, or keep a record of a vital piece of information, this guide will show you how to do it with ease on your iPhone 14.
So, let’s dive right in and discover the simple yet powerful ways to screenshot on your iPhone 14!
Inside This Article
- Methods for Taking Screenshots on iPhone 14
- Using the Side Button and Volume Up Button
- Using Assistive Touch
- Using the Control Center
- Using a Third-Party App
- Conclusion
- FAQs
Methods for Taking Screenshots on iPhone 14
If you recently upgraded to the iPhone 14, you may be wondering how to take screenshots on this new device. Luckily, capturing screenshots on the iPhone 14 is quick and easy. In this article, we will discuss four different methods that you can use to take screenshots on your iPhone 14.
1. Using the Side Button and Volume Up Button:
The most traditional way to take a screenshot on the iPhone 14 is by using the side button and the volume up button at the same time. Simply locate the side button, which is located on the right side of the device, and the volume up button, which is located on the left side. Once you have found these buttons, press them simultaneously, and you will see a flash on your screen, indicating that the screenshot has been successfully captured.
2. Using Assistive Touch:
If you find it challenging to press the side button and volume up button simultaneously, you can also use Assistive Touch. Assistive Touch is a feature on iPhone that provides alternative ways to perform tasks. To enable Assistive Touch, go to Settings, then Accessibility, and select Assistive Touch. Once enabled, a virtual button will appear on your screen. Tap on the virtual button, navigate to Device, then More, and finally, tap on Screenshot. The screen will flash, indicating that the screenshot has been taken.
3. Using the Control Center:
An even quicker way to take a screenshot on the iPhone 14 is by using the Control Center. Simply swipe down from the top-right corner of the screen to access the Control Center. Look for the screenshot button, which looks like a small, white rectangle inside a larger rectangle. Tap on the screenshot button, and your screen will flash, indicating that a screenshot has been captured.
4. Using a Third-Party App:
If you want more advanced screenshot capabilities, such as editing or capturing scrolling screenshots, you can opt for a third-party app. There are several apps available on the App Store that offer additional features for taking screenshots. Simply search for “screenshot app” or similar keywords in the App Store, read the reviews, and choose the one that suits your needs. Once you have installed the app, follow the instructions provided to capture screenshots using the app’s interface.
With these four methods, you can easily capture screenshots on your iPhone 14. Whether you prefer the traditional way of using the side button and volume up button, the convenience of Assistive Touch, the quick access from the Control Center, or the additional options provided by third-party apps – the choice is yours. Start taking screenshots on your iPhone 14 and share your favorite moments with friends and family!
Using the Side Button and Volume Up Button
One of the simplest and most widely-used methods to take a screenshot on the iPhone 14 is by using the physical buttons on the device itself. This method is quick and convenient, requiring just a few simple steps.
To take a screenshot, locate the side button (also known as the sleep/wake button or power button) on the right-hand side of the iPhone 14. At the same time, locate the volume up button, which is positioned on the left-hand side of the device.
Once you have located the side button and volume up button, follow these steps:
- Open the screen or app that you want to capture.
- Press and hold the side button and volume up button simultaneously.
- Release the buttons when you see a flash of the screen and hear a camera shutter sound.
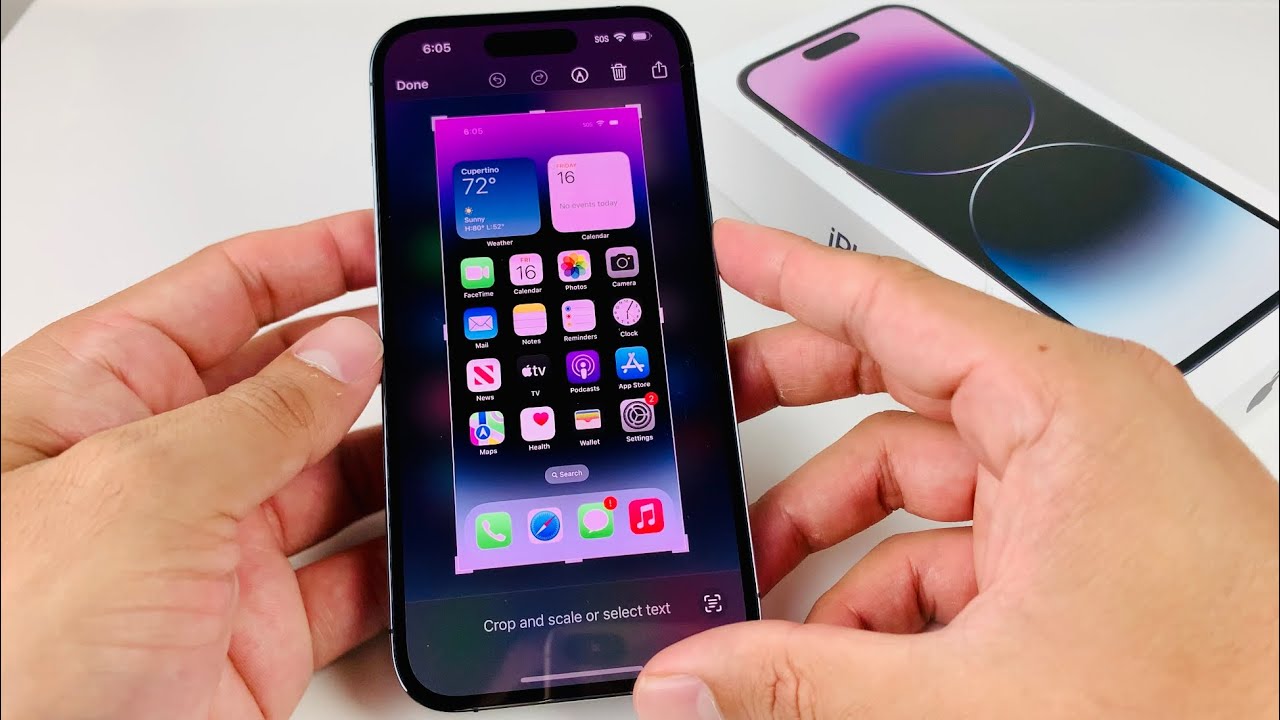
- You will see a preview of the screenshot appear in the lower-left corner of the screen. From there, you can choose to edit, annotate, or share the screenshot as desired.
It’s important to note that the timing of pressing and releasing the buttons is crucial. Pressing and releasing too quickly or holding the buttons for too long may result in unintended actions or no screenshot being captured. It may take a few tries to master the timing, but with practice, it will become second nature.
This method of capturing a screenshot on the iPhone 14 is extremely handy and is particularly useful for capturing moments quickly and effortlessly.
Using Assistive Touch
If you find it difficult to simultaneously press the side button and volume up button on your iPhone 14 to take a screenshot, another convenient option is to use Assistive Touch. Assistive Touch is a feature that allows you to perform various functions on your device with just a few taps on a floating button.
To enable Assistive Touch on your iPhone 14, follow these steps:
- Open the “Settings” app on your iPhone.
- Tap on “Accessibility.”
- Scroll down and select “Touch.”
- Tap on “Assistive Touch” to turn it on.
Once you have enabled Assistive Touch, you can use it to take screenshots on your iPhone 14. Here’s how:
- Locate the Assistive Touch button, which appears as a floating white circle on your screen.
- Tap on the Assistive Touch button to open the menu.
- Tap on “Device.”
- Next, tap on “More.”
- Finally, tap on “Screenshot.”
After tapping on “Screenshot,” your iPhone 14 will capture a screenshot of your current screen. You can then find the screenshot in your Photos app or in the Screenshots album.
Using Assistive Touch to take screenshots on your iPhone 14 can be incredibly convenient, especially if you have difficulty accessing the side button and volume up button simultaneously. It provides a user-friendly alternative that is easily accessible with just a few taps.
Using the Control Center
A convenient way to take a screenshot on your iPhone 14 is by using the Control Center. This method allows you to quickly capture what’s on your screen with just a few taps.
To access the Control Center, start by swiping down from the top-right corner of your iPhone 14 screen. This will reveal a menu that contains various settings and shortcuts.
Once you have opened the Control Center, look for the “Screenshot” button. It typically features a small camera icon. Tap on the button, and you will instantly capture a screenshot of your current screen.
After taking the screenshot, a thumbnail will briefly appear in the bottom-left corner of your screen. You can tap on the thumbnail to make edits to the screenshot using the Markup feature. Alternatively, you can swipe the thumbnail away to save the screenshot to your Photos app without any edits.
If you miss the thumbnail or close it by mistake, don’t worry. The screenshot will still be saved in your Photos app. Simply open the Photos app, go to the “Screenshots” album, and you will find your captured screenshots there.
Using the Control Center to take screenshots is a quick and easy method that doesn’t require any extra apps or complicated steps. It’s a handy tool for capturing important information, funny moments, or any content you want to save and share.
Using a Third-Party App
If the built-in methods for taking screenshots on your iPhone 14 don’t meet your requirements, you can explore the option of using a third-party app. There are several apps available on the App Store that offer advanced screenshot features and customization options.
One popular app for taking screenshots is Snapseed. This powerful photo editing app not only allows you to capture screenshots but also provides editing tools to enhance your images. With Snapseed, you can crop, adjust colors, add filters, and make other modifications to your screenshots before saving or sharing them.
Another popular choice is Lightshot. This app has a simple and intuitive interface, making it easy to capture and edit screenshots on your iPhone 14. It offers a wide range of editing tools, including the ability to add annotations, highlight specific areas, and blur sensitive information.
If you’re looking for more advanced screenshot capabilities, consider trying out Capto. This app not only allows you to take screenshots on your iPhone 14 but also offers screen recording, video editing, and additional features like capturing scrolling webpages or capturing specific windows on your device.
Before using a third-party app, make sure to read the user reviews and check the app’s compatibility with your iPhone 14. Additionally, some apps may require a one-time purchase or offer in-app purchases for certain features, so it’s important to consider your budget and needs before making a decision.
Using a third-party app for taking screenshots on your iPhone 14 can provide you with more flexibility and creative options. Explore the different apps available and find the one that suits your preferences and requirements.
Conclusion
In conclusion, capturing screenshots on the iPhone 14 is an essential feature that allows users to easily save and share information, moments, and experiences with just a few taps. The advanced technology and intuitive design of the iPhone 14 make the screenshot process seamless and user-friendly, ensuring that anyone, from tech enthusiasts to casual users, can effortlessly take screenshots.
Whether you need to capture a funny meme, save an important message, or share a stunning high-score in a game, the iPhone 14 has you covered. With multiple screenshot options, such as capturing the entire screen, a specific window, or even recording a video, the iPhone 14 offers versatility and convenience for all your screenshot needs.
So, go ahead and explore the incredible capabilities of the iPhone 14. Start capturing and sharing your favorite moments with the world, one screenshot at a time!
FAQs
1. How do I take a screenshot on iPhone 14?
2. Is there a specific button combination I need to press to take a screenshot on iPhone 14?
3. Where can I find my screenshots after taking them on iPhone 14?
4. Can I edit or crop screenshots on iPhone 14?
5. Can I share my screenshots directly from my iPhone 14?