
So, you've got an iPhone 10 and you're wondering, "How do I do a screenshot on an iPhone 10?" Well, you've come to the right place. Capturing what's on your screen is a handy way to save memorable moments, important information, or simply to share something interesting with others. In this article, we'll explore the step-by-step process of taking a screenshot on your iPhone 10, along with some additional tips and tricks to make the most of this feature. Whether you're a seasoned iPhone user or new to the iOS ecosystem, you'll soon master the art of capturing and sharing your screen with ease. Let's dive in and uncover the secrets of screenshotting on your iPhone 10.
Inside This Article
- How to Take a Screenshot on iPhone 10
- Using the Side Button and Volume Up Button
- Using AssistiveTouch
- Accessing the Screenshot
- Conclusion
- FAQs
Sure, I can assist you with that. Here's the content for "How to Take a Screenshot on iPhone 10" with each paragraph wrapped in the
tag:
How to Take a Screenshot on iPhone 10
Learning how to take a screenshot on your iPhone 10 can be incredibly useful in various situations. Whether you want to capture a memorable conversation, save important information, or simply share something interesting with friends, knowing the process to take a screenshot can be a game-changer.
One of the most straightforward methods to capture a screenshot on your iPhone 10 is by using the physical buttons. By pressing the Side Button and the Volume Up Button simultaneously, you can quickly capture whatever is displayed on your screen, from a funny meme to a crucial message.
If you prefer a more customizable approach, Apple’s AssistiveTouch feature offers an alternative method to take a screenshot on your iPhone 10. By enabling AssistiveTouch in your device’s settings and configuring it to include the Screenshot function, you can capture screenshots with a few simple taps, providing convenience and flexibility.
Once you’ve successfully captured a screenshot on your iPhone 10, accessing it is a breeze. Simply navigate to the Photos app, where you’ll find your screenshot neatly organized in the Camera Roll or Screenshots album. From there, you can easily view, edit, and share your screenshots as desired, making it effortless to preserve and distribute valuable information and memorable moments.
Using the Side Button and Volume Up Button
One of the simplest ways to take a screenshot on your iPhone 10 is by using the side button and the volume up button. This method is quick and easy, making it convenient for capturing anything on your screen. Whether it’s a funny text conversation, an important email, or a memorable moment in a game, you can capture it with just a few simple steps.
To take a screenshot using the side button and volume up button, simply press the side button and the volume up button simultaneously. You’ll hear a satisfying camera shutter sound, and the screen will flash white for a moment. This indicates that the screenshot has been successfully taken and saved to your Photos app.
Once you’ve taken the screenshot, you can access it in the Photos app or the Camera Roll. From there, you can edit, share, or delete the screenshot as needed. It’s a straightforward process that allows you to capture and manage your screenshots with ease.
Using AssistiveTouch
If using the physical buttons to take a screenshot on your iPhone 10 feels inconvenient, you can utilize the AssistiveTouch feature as an alternative method. AssistiveTouch is a built-in accessibility feature designed to assist users in performing various functions on their devices without relying on physical buttons. To utilize this feature for taking a screenshot, you need to enable it in the Accessibility settings of your iPhone 10.
Once AssistiveTouch is enabled, a virtual button will appear on your screen. To take a screenshot using AssistiveTouch, simply tap the virtual button to access the device’s functions, then select “Device” and tap “More.” From there, tap “Screenshot” to capture the current screen. The screenshot will be saved to your Photos app, just like it would be with the physical button method.
Using AssistiveTouch for taking screenshots can be particularly beneficial for individuals with physical disabilities or those who find it challenging to use the physical buttons. It offers a convenient and accessible way to capture what’s on your screen without the need to press multiple buttons simultaneously. This feature exemplifies Apple’s commitment to inclusivity and accessibility, ensuring that all users can easily and comfortably utilize their devices’ functionalities.
Accessing the Screenshot
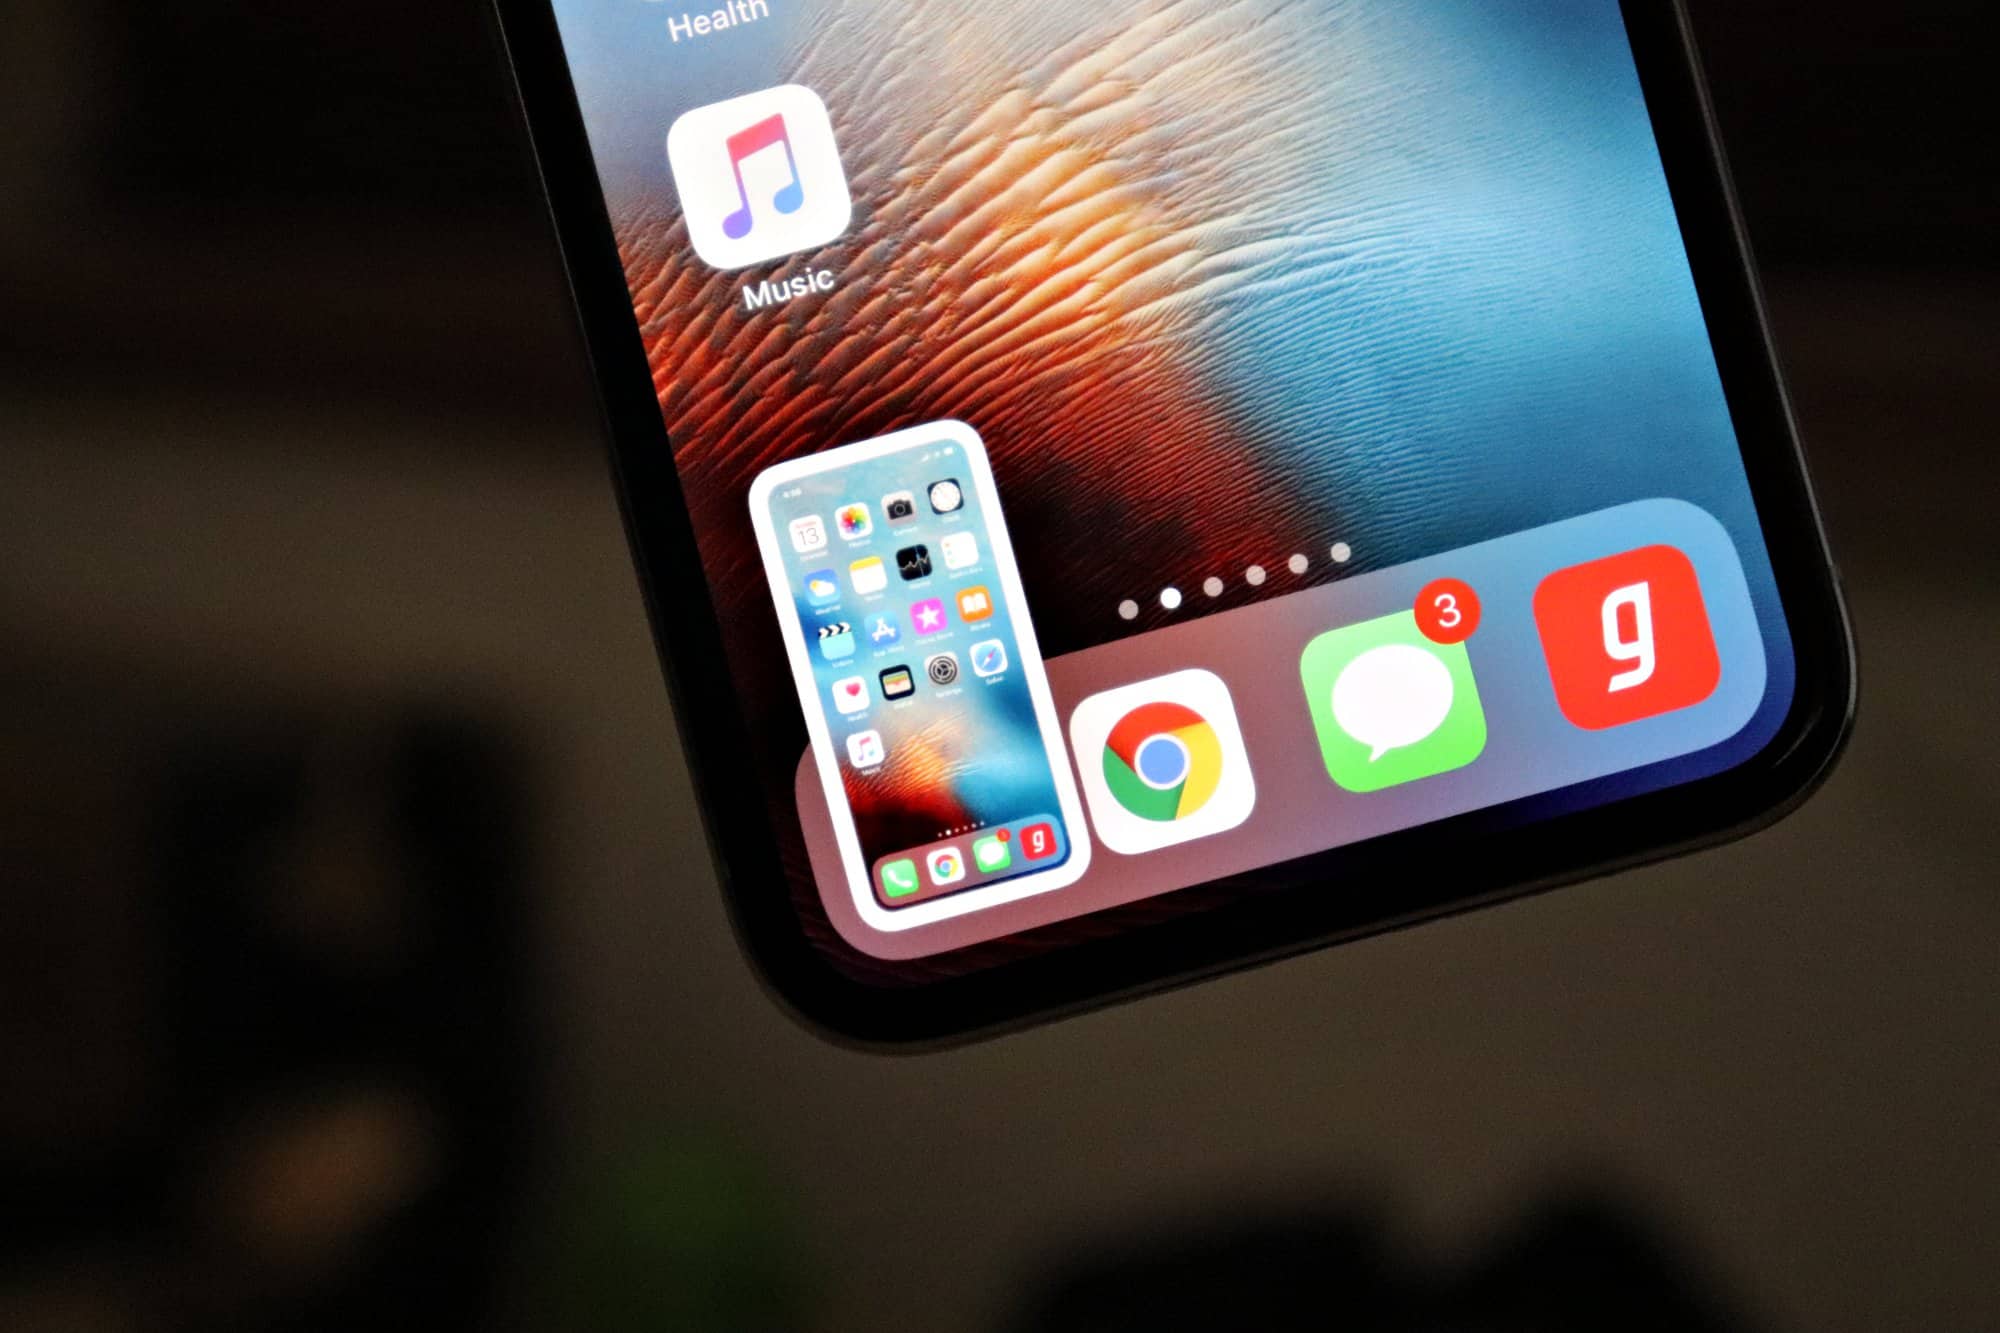
Once you’ve successfully captured a screenshot on your iPhone 10, accessing it is a breeze. A thumbnail of the screenshot will appear in the bottom left corner of the screen immediately after the screenshot is taken. You can tap on this thumbnail to open the screenshot in full-screen mode for a closer look.
If you miss the thumbnail or dismiss it accidentally, don’t worry. The screenshot is automatically saved to your Photos app. Simply open the Photos app and navigate to the “Screenshots” album to find all your saved screenshots. From there, you can view, edit, or share your screenshots as needed.
Additionally, you can access your screenshots directly from the Files app. When you take a screenshot, it is saved as an image file, and you can find it in the “Recents” or “Screenshots” folder within the Files app. This provides another convenient way to manage and organize your screenshots alongside other files on your device.
Conclusion
Mastering the art of taking screenshots on your iPhone 10 can greatly enhance your user experience and simplify the process of capturing and sharing important information. Whether you prefer using the physical buttons or the AssistiveTouch feature, you now have the knowledge to effortlessly capture anything on your screen. The versatility and convenience of this feature make it an indispensable tool for both personal and professional use. With just a few simple steps, you can capture and share memorable moments, important information, or troubleshooting steps. Embrace the power of screenshots and unleash the full potential of your iPhone 10.
FAQs
**Q: How do I take a screenshot on an iPhone 10?**
A: To take a screenshot on an iPhone 10, simply press the side button and the volume up button simultaneously. The screen will flash, indicating that the screenshot has been successfully captured.
Q: Where can I find my screenshots after taking them?
A: After taking a screenshot, you can find it in the "Photos" app under the "Screenshots" album. You can also access it directly from the preview that appears in the bottom left corner of the screen after capturing the screenshot.
Q: Can I edit my screenshots after taking them?
A: Yes, you can edit your screenshots by tapping on the preview that appears in the bottom left corner of the screen after capturing the screenshot. This will open the screenshot in the editing mode, allowing you to crop, annotate, or make other adjustments as needed.
Q: Is there a way to take a screenshot without using the physical buttons?
A: Yes, you can take a screenshot without using the physical buttons by enabling the "AssistiveTouch" feature in the Accessibility settings. Once enabled, you can customize the virtual button to capture a screenshot with a single tap.
Q: Can I share my screenshots directly after taking them?
A: Yes, after taking a screenshot, you can instantly share it by tapping on the preview that appears in the bottom left corner of the screen. This will open the screenshot, and from there, you can easily share it with your contacts via messages, email, or social media.