
Sure, here's the introduction in HTML format:
html
Are you eager to capture a screenshot on your iPhone 12 but not sure how to do it? Worry not, as we’ve got you covered! Taking a screenshot on your iPhone 12 is a simple and useful feature that allows you to save and share important information, memorable moments, or conversations with just a few taps. Whether you’re a seasoned iPhone user or a newcomer to the Apple ecosystem, mastering this skill will undoubtedly come in handy. In this comprehensive guide, we’ll walk you through the step-by-step process of capturing, accessing, and managing your screenshots on the iPhone 12. Let’s dive in and unlock the potential of your device!
Inside This Article
- Preparing Your iPhone 12
- Taking a Screenshot Using Buttons
- Taking a Screenshot Using AssistiveTouch
- Taking a Screenshot Using Siri
- Editing and Sharing Your Screenshot
- Conclusion
- FAQs
Preparing Your iPhone 12
Before you dive into capturing stunning screenshots on your iPhone 12, it’s essential to ensure that your device is set up for seamless screenshot-taking. Here are a few quick and easy steps to prepare your iPhone 12 for this task:
1. Update Your Software: Make sure your iPhone 12 is running on the latest iOS version to access the most advanced screenshot features and functionalities. Head to Settings > General > Software Update to check for any available updates.
2. Adjust Display Settings: Customize your display settings to suit your preferences. Whether it’s adjusting the brightness or enabling Dark Mode for a more eye-friendly experience, tailoring your display settings can enhance the quality of your screenshots.
3. Organize Your Home Screen: Arrange your apps and widgets to create an aesthetically pleasing home screen layout. This not only makes for visually appealing screenshots but also ensures that your content is well-organized and easily accessible.
Taking a Screenshot Using Buttons
One of the most straightforward ways to capture a screenshot on your iPhone 12 is by using the physical buttons on the device. Whether you’re browsing social media, reading an interesting article, or simply want to save a memorable conversation, this method allows for quick and convenient screen captures.
To initiate the process, navigate to the specific screen or content you wish to capture. Once you have the desired content displayed, simultaneously press the Side Button (located on the right side of the device) and the Volume Up Button (found on the left side) at the same time. It’s important to press these buttons simultaneously to ensure a successful screenshot.
Upon pressing the buttons, you’ll notice a brief flash on the screen and hear a camera shutter sound, indicating that the screenshot has been successfully taken. The captured image will then appear as a thumbnail in the lower-left corner of the screen, allowing for immediate access and further actions such as editing or sharing.
Taking a Screenshot Using AssistiveTouch
If using physical buttons to take a screenshot seems cumbersome, you can utilize the AssistiveTouch feature on your iPhone 12. This feature provides a virtual button that allows you to perform various functions, including taking screenshots, with just a few taps.
To enable AssistiveTouch, navigate to Settings, then tap on Accessibility. From there, select Touch and then AssistiveTouch. Toggle the switch to enable it. Once activated, a small virtual button will appear on your screen, providing easy access to a range of functions, including screenshot capture.
To take a screenshot using AssistiveTouch, simply tap the virtual button, select Device, then More, and finally, tap Screenshot. Your screen will flash white, indicating that the screenshot has been successfully captured and saved to your Photos app.
Taking a Screenshot Using Siri
Did you know that you can use Siri, your trusty virtual assistant, to take a screenshot on your iPhone 12? It’s a convenient and hands-free way to capture what’s on your screen without having to fumble with buttons or gestures.
To take a screenshot using Siri, simply activate Siri by saying “Hey Siri” or holding down the side button. Once Siri is listening, you can simply say, “Take a screenshot,” and Siri will instantly capture whatever is on your screen. It’s a quick and effortless way to snap a screenshot, especially when you have your hands full or need to capture a moment without delay.
After Siri takes the screenshot, it will be automatically saved to your Photos app, where you can view, edit, and share it just like any other screenshot. This method is particularly handy for those who prefer voice commands or have limited dexterity, as it provides an alternative way to capture and save important information on your iPhone 12.
Editing and Sharing Your Screenshot
After capturing a screenshot on your iPhone 12, you may want to edit or share it with others. Fortunately, the iOS platform offers a range of convenient options for enhancing and distributing your screenshots.
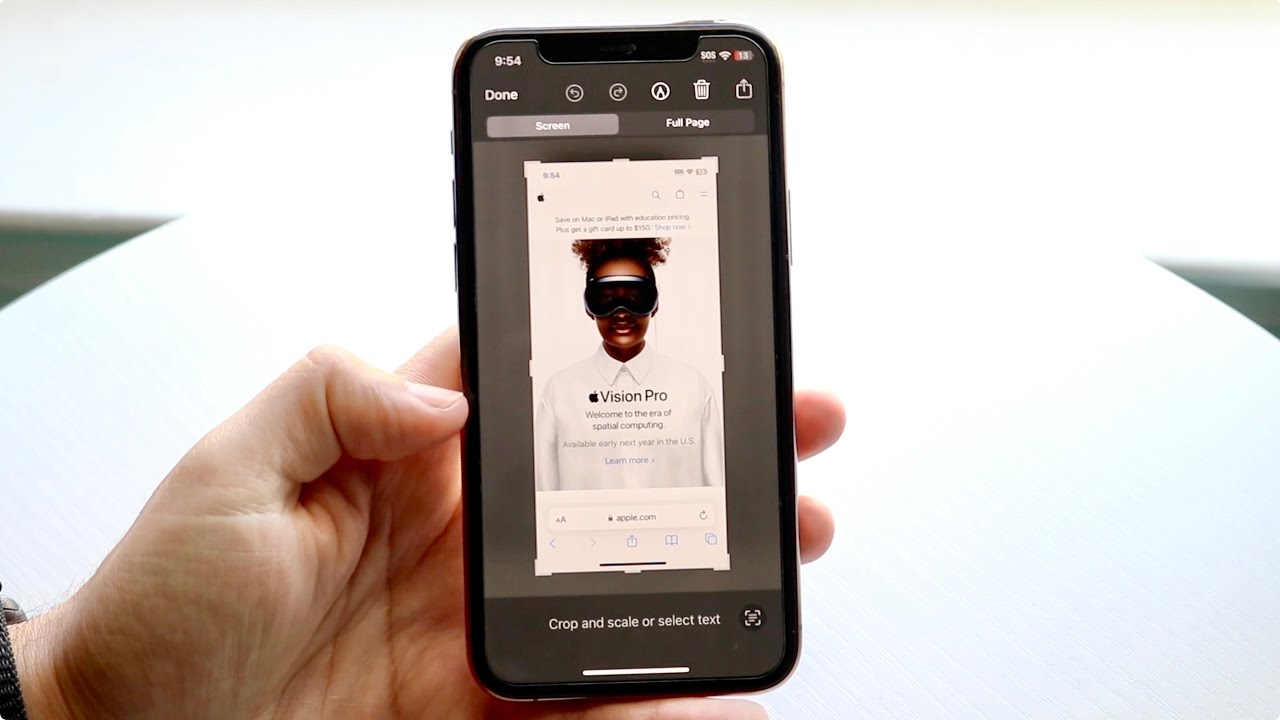
When you take a screenshot, a thumbnail of the image appears in the bottom left corner of the screen. Tapping on this thumbnail opens the screenshot in an editing interface. Here, you can crop, annotate, or add text to the image using the available tools.
Once you’ve made the desired adjustments, you can easily share the screenshot with friends, family, or colleagues. Simply tap the “Done” button in the top left corner, choose the “Save to Photos” option, and then select the sharing method of your choice, such as messaging, email, or social media.
Alternatively, you can utilize the built-in sharing menu by tapping the share icon in the editing interface. This allows you to quickly send the screenshot to your desired contacts or upload it to various platforms, streamlining the process of distributing your captured moments.
Conclusion
Learning how to take a screenshot on your iPhone 12 is a valuable skill that can enhance your communication and productivity. Whether you need to capture a memorable moment, save important information, or share content with others, the screenshot feature provides a convenient and versatile solution. By mastering the simple button combination or utilizing the AssistiveTouch feature, you can effortlessly capture and manage screenshots on your iPhone 12. This capability empowers you to efficiently save and share content, troubleshoot technical issues, and personalize your device. With the ability to capture both the screen and specific elements within apps, the screenshot function elevates the overall user experience. Embrace the power of screenshots to enrich your digital interactions and streamline your mobile experience with the iPhone 12.
FAQs
Q: How do I take a screenshot on iPhone 12?
A: To take a screenshot on iPhone 12, simply press the side button and the volume up button simultaneously. The screen will flash, indicating that the screenshot has been successfully captured.
Q: Where are screenshots saved on iPhone 12?
A: Screenshots taken on iPhone 12 are automatically saved to the Photos app. You can access them by opening the Photos app and navigating to the “Screenshots” album.
Q: Can I edit screenshots on iPhone 12?
A: Yes, you can edit screenshots on iPhone 12 using the built-in Markup tool. After taking a screenshot, tap on the preview that appears in the bottom left corner of the screen, then select “Markup” to edit the screenshot with various tools and annotations.
Q: Is it possible to take a scrolling screenshot on iPhone 12?
A: Currently, iPhone 12 does not have a built-in feature for taking scrolling screenshots. However, third-party apps from the App Store can provide this functionality.
Q: Can I share screenshots directly from my iPhone 12?
A: Absolutely! After taking a screenshot, you can instantly share it by tapping on the preview that appears in the bottom left corner of the screen, then selecting the “Share” option to send it via Messages, Mail, AirDrop, or any other compatible apps.