
Setting up a cellular trail camera is an exciting opportunity for wildlife enthusiasts, hunters, or anyone who wants to monitor a remote area. These advanced devices have revolutionized the way we capture and analyze wildlife activity. With the ability to transmit images and videos wirelessly, cellular trail cameras provide real-time updates on the happenings in the wilderness.
Whether you’re a seasoned trail camera user or just starting out, this comprehensive guide will walk you through the process of setting up a cellular trail camera. We’ll cover everything from choosing the right camera to selecting the right placement, and even how to optimize the camera’s settings for the best results.
Inside This Article
- Choosing the Right Cellular Trail Camera
- Selecting a Suitable Location
- Setting up the Camera Hardware
- Configuring the Cellular Network Connection
- Conclusion
- FAQs
Choosing the Right Cellular Trail Camera
When it comes to setting up a cellular trail camera, the first and most crucial step is choosing the right camera for your needs. With so many options available in the market, it can be overwhelming to make a decision. However, by considering a few key factors, you can ensure that you select a cellular trail camera that will meet your specific requirements.
The primary consideration when choosing a cellular trail camera is the quality of the camera itself. Look for a camera with a high-resolution image sensor to capture clear and detailed photos. The higher the megapixels, the better the image quality. This is especially important if you plan to use the camera for wildlife observation or security purposes.
In addition to image quality, consider the detection range and trigger speed of the camera. A wider detection range will allow you to capture more activity within the camera’s field of view. Similarly, a quick trigger speed is important for capturing fast-moving subjects, such as animals in motion. These features are essential for ensuring that you don’t miss any important moments.
Another essential factor to consider is the cellular network compatibility of the trail camera. Make sure that the camera you choose is compatible with the network providers available in your area. Check the camera’s specifications to ensure that it supports the necessary cellular frequencies and protocols.
Battery life is another crucial consideration, especially if you plan to leave the camera unattended for extended periods. Look for a cellular trail camera with a long battery life or one that supports external power options, such as a solar panel or battery pack. This will ensure that your camera remains operational and captures footage consistently.
Finally, consider the additional features and functionality that the cellular trail camera offers. Some cameras provide advanced features like video recording, time-lapse mode, and remote viewing through a mobile app or web portal. These features can enhance your overall experience and make monitoring and managing the camera easier.
By carefully considering these factors – image quality, detection range, cellular network compatibility, battery life, and additional features – you can select the right cellular trail camera that meets your specific needs. Remember to read reviews, compare prices, and consult with experts if needed to make an informed decision.
Selecting a Suitable Location
When setting up a cellular trail camera, one of the most crucial factors to consider is selecting the right location. The location you choose will determine the effectiveness and success of capturing wildlife and other events. Here are some key considerations to keep in mind when selecting a suitable location:
1. Habitat and Wildlife Patterns: Familiarize yourself with the local habitat and wildlife patterns in the area where you plan to install the camera. Different animals have different habits and preferences for feeding, drinking, and moving. Look for signs of wildlife activity, such as tracks, droppings, or trampled plants, to help you identify potential hotspots.
2. Strategic Placement: Position the camera in an area where wildlife is likely to pass through. This could be along game trails, near water sources, or in feeding areas. Placing it near natural funnels or chokepoints can increase your chances of capturing animals up close. Consider factors such as the prevailing wind direction and sunlight exposure when choosing the placement.
3. Camera Coverage: Assess the camera’s field of view and range to ensure it covers the desired area adequately. Depending on the camera model, the field of view can vary, so make sure it aligns with your monitoring goals. Consider the distance at which you want the camera to trigger and capture images or videos.
4. Accessibility: Choose a location that is easily accessible for camera maintenance and battery replacement. It’s important to regularly check the camera, change batteries, and retrieve data. Select a spot where you can safely and conveniently approach the camera without disturbing the surrounding environment.
5. Security: Keep the security of the camera in mind when selecting a location. Consider placing it out of sight from potential thieves or vandals. You can camouflage the camera with natural elements or use protective cases. Additionally, consider the weather conditions and ensure the camera is sheltered from rain, snow, or direct sunlight.
6. Trial and Error: It’s not always easy to predict the perfect spot for your cellular trail camera right away. Experiment with different locations and angles to find the most effective position that yields the desired results. Pay attention to the pictures or videos captured and make adjustments as needed.
By considering these factors and actively observing the wildlife in the area, you can select a suitable location for your cellular trail camera that maximizes its effectiveness and allows you to capture fascinating images and videos of the natural world around you.
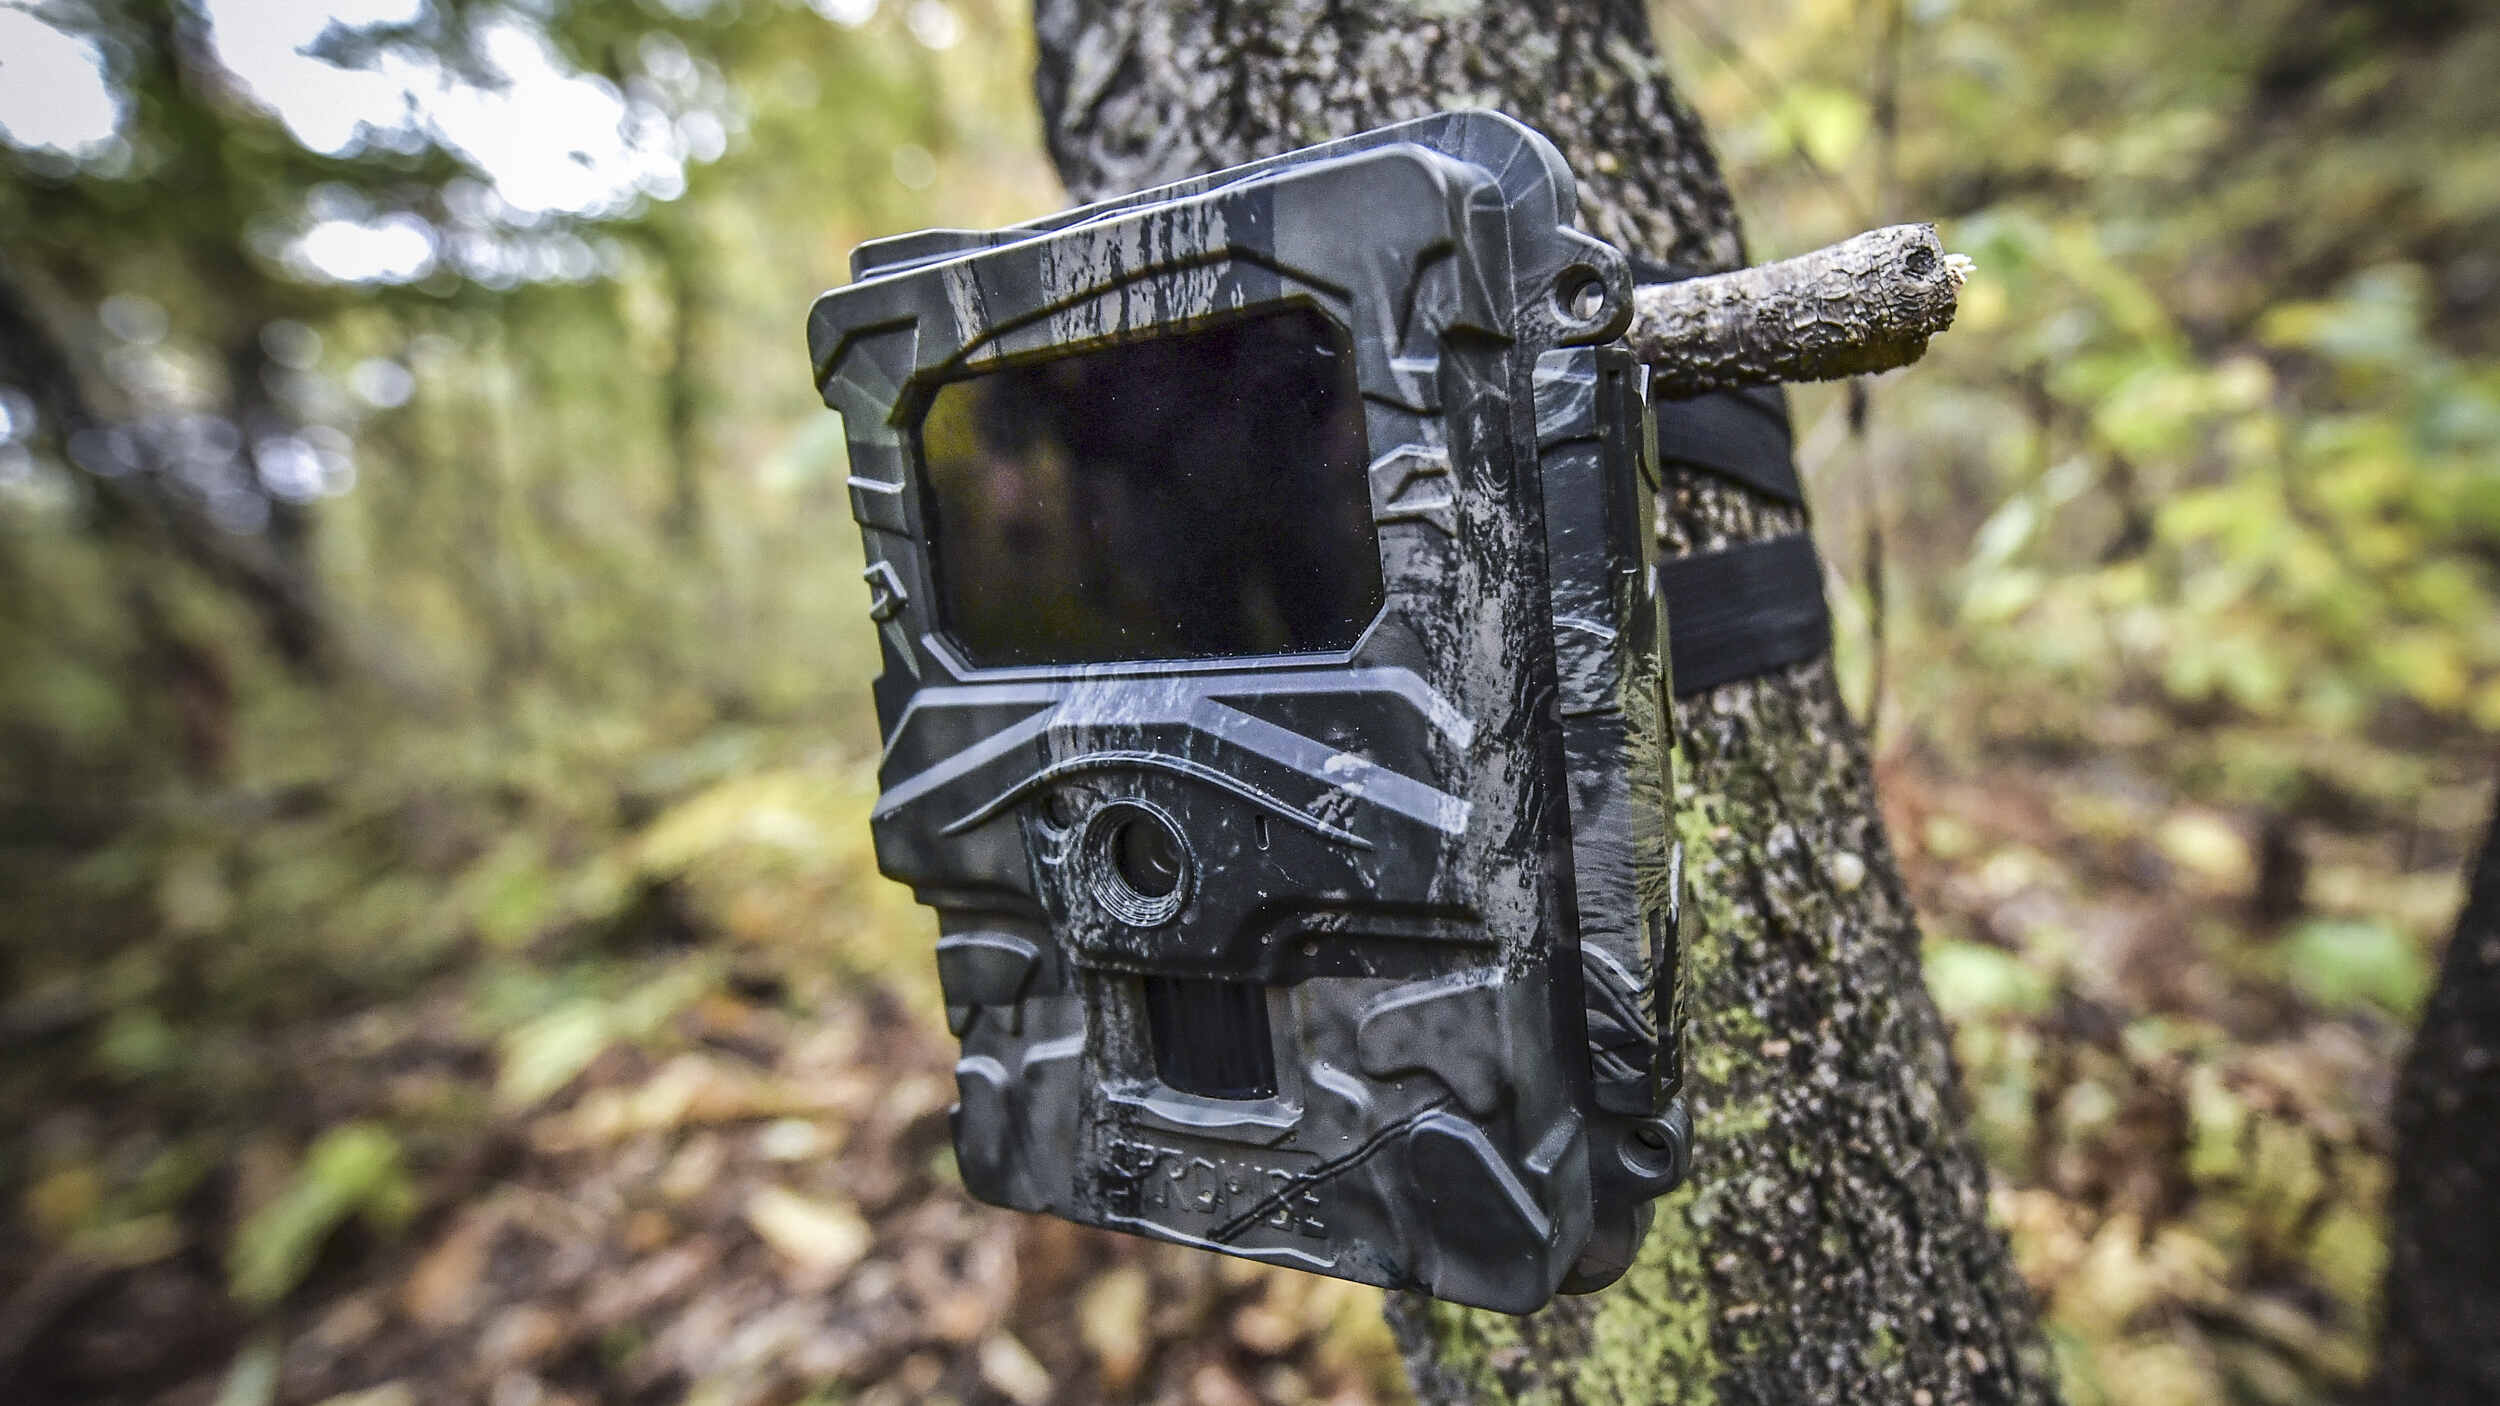
Setting up the Camera Hardware
Once you’ve chosen the right cellular trail camera and selected a suitable location, it’s time to set up the camera hardware. This includes mounting the camera, inserting the batteries, and ensuring proper alignment and positioning.
The first step is to mount the camera securely. Look for a sturdy tree or post at your chosen location. Use straps or screws provided with the camera to attach it. Make sure the camera is stable and won’t be easily knocked off or moved by strong winds or wildlife.
Next, open the camera’s battery compartment and insert the required batteries. Check the camera’s manual or specifications to determine the type and number of batteries needed. Opt for high-quality batteries to ensure longer battery life and reliable performance.
It’s crucial to align and position the camera correctly for optimal performance. Adjust the camera’s angle to capture the desired field of view. Consider the height and distance from the target area to avoid capturing too much or too little in the frame. The camera should be aligned with the trail or target area to ensure accurate detection and capture.
Additionally, if your camera has adjustable settings such as sensitivity, motion detection range, or time-lapse intervals, configure them according to your requirements. Experiment with different settings to find the ideal balance between capturing valuable footage and conserving battery life.
Lastly, test the camera’s functionality before leaving the site. Ensure that it is detecting motion correctly and capturing clear images or videos. If possible, review the captured footage or connect to the accompanying app to confirm that the camera is functioning properly and sending alerts or notifications, if applicable.
By following these steps, you will be able to set up the camera hardware effectively. This will ensure that your cellular trail camera is ready to capture valuable wildlife footage or monitor your desired area remotely.
Configuring the Cellular Network Connection
Once you have chosen the right cellular trail camera and selected a suitable location for it, the next step is to configure the cellular network connection. This is a crucial step as it determines the camera’s ability to transmit images and data wirelessly.
The first thing you need to do is insert a compatible SIM card into the camera. Most cellular trail cameras support standard-sized SIM cards, so make sure you have one available. Insert the SIM card into the designated slot on the camera, following the manufacturer’s instructions.
After inserting the SIM card, turn on the camera and navigate to the settings menu. Look for the cellular network settings option and select it. The camera will scan for available networks in the area.
Once the camera detects the available networks, you will need to choose the network that corresponds to your SIM card’s carrier. Select the network from the list provided, and the camera will attempt to establish a connection.
At this point, you may be prompted to enter the APN (Access Point Name) settings for your specific carrier. The APN settings are necessary for the camera to connect to the cellular network. Consult your carrier’s documentation or website to obtain the correct APN settings.
Once you have entered the correct APN settings, the camera will attempt to establish a connection to the cellular network. This process may take a few moments, so be patient. If the connection is successful, the camera will display a confirmation message.
After the cellular network connection is established, you can proceed to configure other settings, such as the image resolution, trigger sensitivity, and transmission frequency. These settings may vary depending on the specific camera model, so refer to the user manual for detailed instructions.
It is important to note that the camera’s cellular network connection relies on the availability of cellular coverage in the area. If you are using the camera in a remote location with poor or no cellular coverage, the camera may not be able to establish a connection. In such cases, consider choosing a different location or using an external antenna to boost the signal.
Once you have successfully configured the cellular network connection, your cellular trail camera is ready to capture and transmit images wirelessly. You can monitor the camera remotely and receive real-time notifications whenever the camera detects motion or captures an image. This makes it a convenient and efficient solution for wildlife monitoring, security surveillance, and other outdoor applications.
Conclusion
Setting up a cellular trail camera can revolutionize your hunting or wildlife monitoring experience. The convenience of being able to remotely access and receive real-time data and images from your camera is an incredible advantage. With the right cellular camera and a reliable service provider, you can stay connected to your camera and gather valuable insights without having to physically visit the location.
By following the steps outlined in this guide, you can ensure a smooth and successful setup of your cellular trail camera. Remember to choose a suitable location, select the right camera model, activate your cellular plan, and configure the necessary settings. Additionally, don’t forget to regularly check battery levels and adjust camera angles for optimal performance.
With proper maintenance and monitoring, your cellular trail camera will capture stunning wildlife images and provide you with important data for research or hunting purposes. Get ready to embark on an exciting journey of discovery with your cellular trail camera!
FAQs
1. What is a cellular trail camera?
A cellular trail camera, also known as a cellular game camera or wireless trail camera, is a remote scouting tool that uses cellular networks to transmit photos or videos to a user’s smartphone or computer. It allows you to monitor wildlife and capture images or videos in real-time without physically being present at the camera location.
2. How does a cellular trail camera work?
A cellular trail camera uses a SIM card and the available cellular network coverage to transmit captured images or videos. Once the camera is set up in the desired location, it will capture photos or videos based on the trigger settings (e.g., motion detection) and send them to a designated email address or directly to a companion mobile app via cellular data.
3. What are the benefits of using a cellular trail camera?
Using a cellular trail camera offers several advantages. Firstly, you can monitor wildlife activity in real-time from the comfort of your home or anywhere with an internet connection. Secondly, it reduces the need for physical visits to the camera location, saving time and minimizing disturbance to the area. Lastly, cellular trail cameras are ideal for remote or hard-to-reach locations where direct monitoring is challenging.
4. How do I set up a cellular trail camera?
Setting up a cellular trail camera involves a few steps. Firstly, select a suitable location with ample wildlife activity and good cellular network coverage. Next, insert a working SIM card into the camera’s designated slot. Power on the camera and follow the manufacturer’s instructions to connect it to your mobile app or set up email transmission. Finally, mount the camera securely, ensuring it is well-hidden and pointed in the right direction.
5. Are there any monthly fees involved in using a cellular trail camera?
Yes, using a cellular trail camera typically incurs monthly fees. These fees cover the cost of cellular data usage and are necessary for transmitting images or videos. The exact price and data plan options will vary depending on the camera manufacturer, cellular network carrier, and the desired level of data usage. It is important to research and compare different options to find the most suitable plan for your needs.