Setting up Moultrie Mobile is a five-step process that gets your new cellular trail camera activated and connected to the app for remote monitoring.
How to set up Moultrie Mobile
This is a 5-step guide to activating a new camera. You will create an account, activate the device, set up the app, and configure the camera using Live Aim.
Step 1: Create a Moultrie Mobile account
- On an iPhone, search for Moultrie in the App Store, download the app, open it, then tap Create Account at the bottom of the screen.
- On a computer, go to moultrie.com, select Sign In / Sign Up on the top banner, then select Create Account and follow the prompts.
You can also open the app and tap Sign Up to create a new account, or tap Log In if you already have one.
Step 2: Activate your Moultrie Mobile device
This is the core activation process. In the app, open Moultrie and log in if prompted. Tap the Profile icon from the top left of the screen, then tap Activate Device and follow the instructions to pick your plan. Activation can also be reached from Devices > Activate or Devices > Activate Device in the app. On the website, log in at moultrie.com, click My Account in the top right corner, then click Activate Device. The older manuals say to log on to your Moultrie Mobile account via the app or website, choose Activate Device from My Account, and click PURCHASE to complete activation.
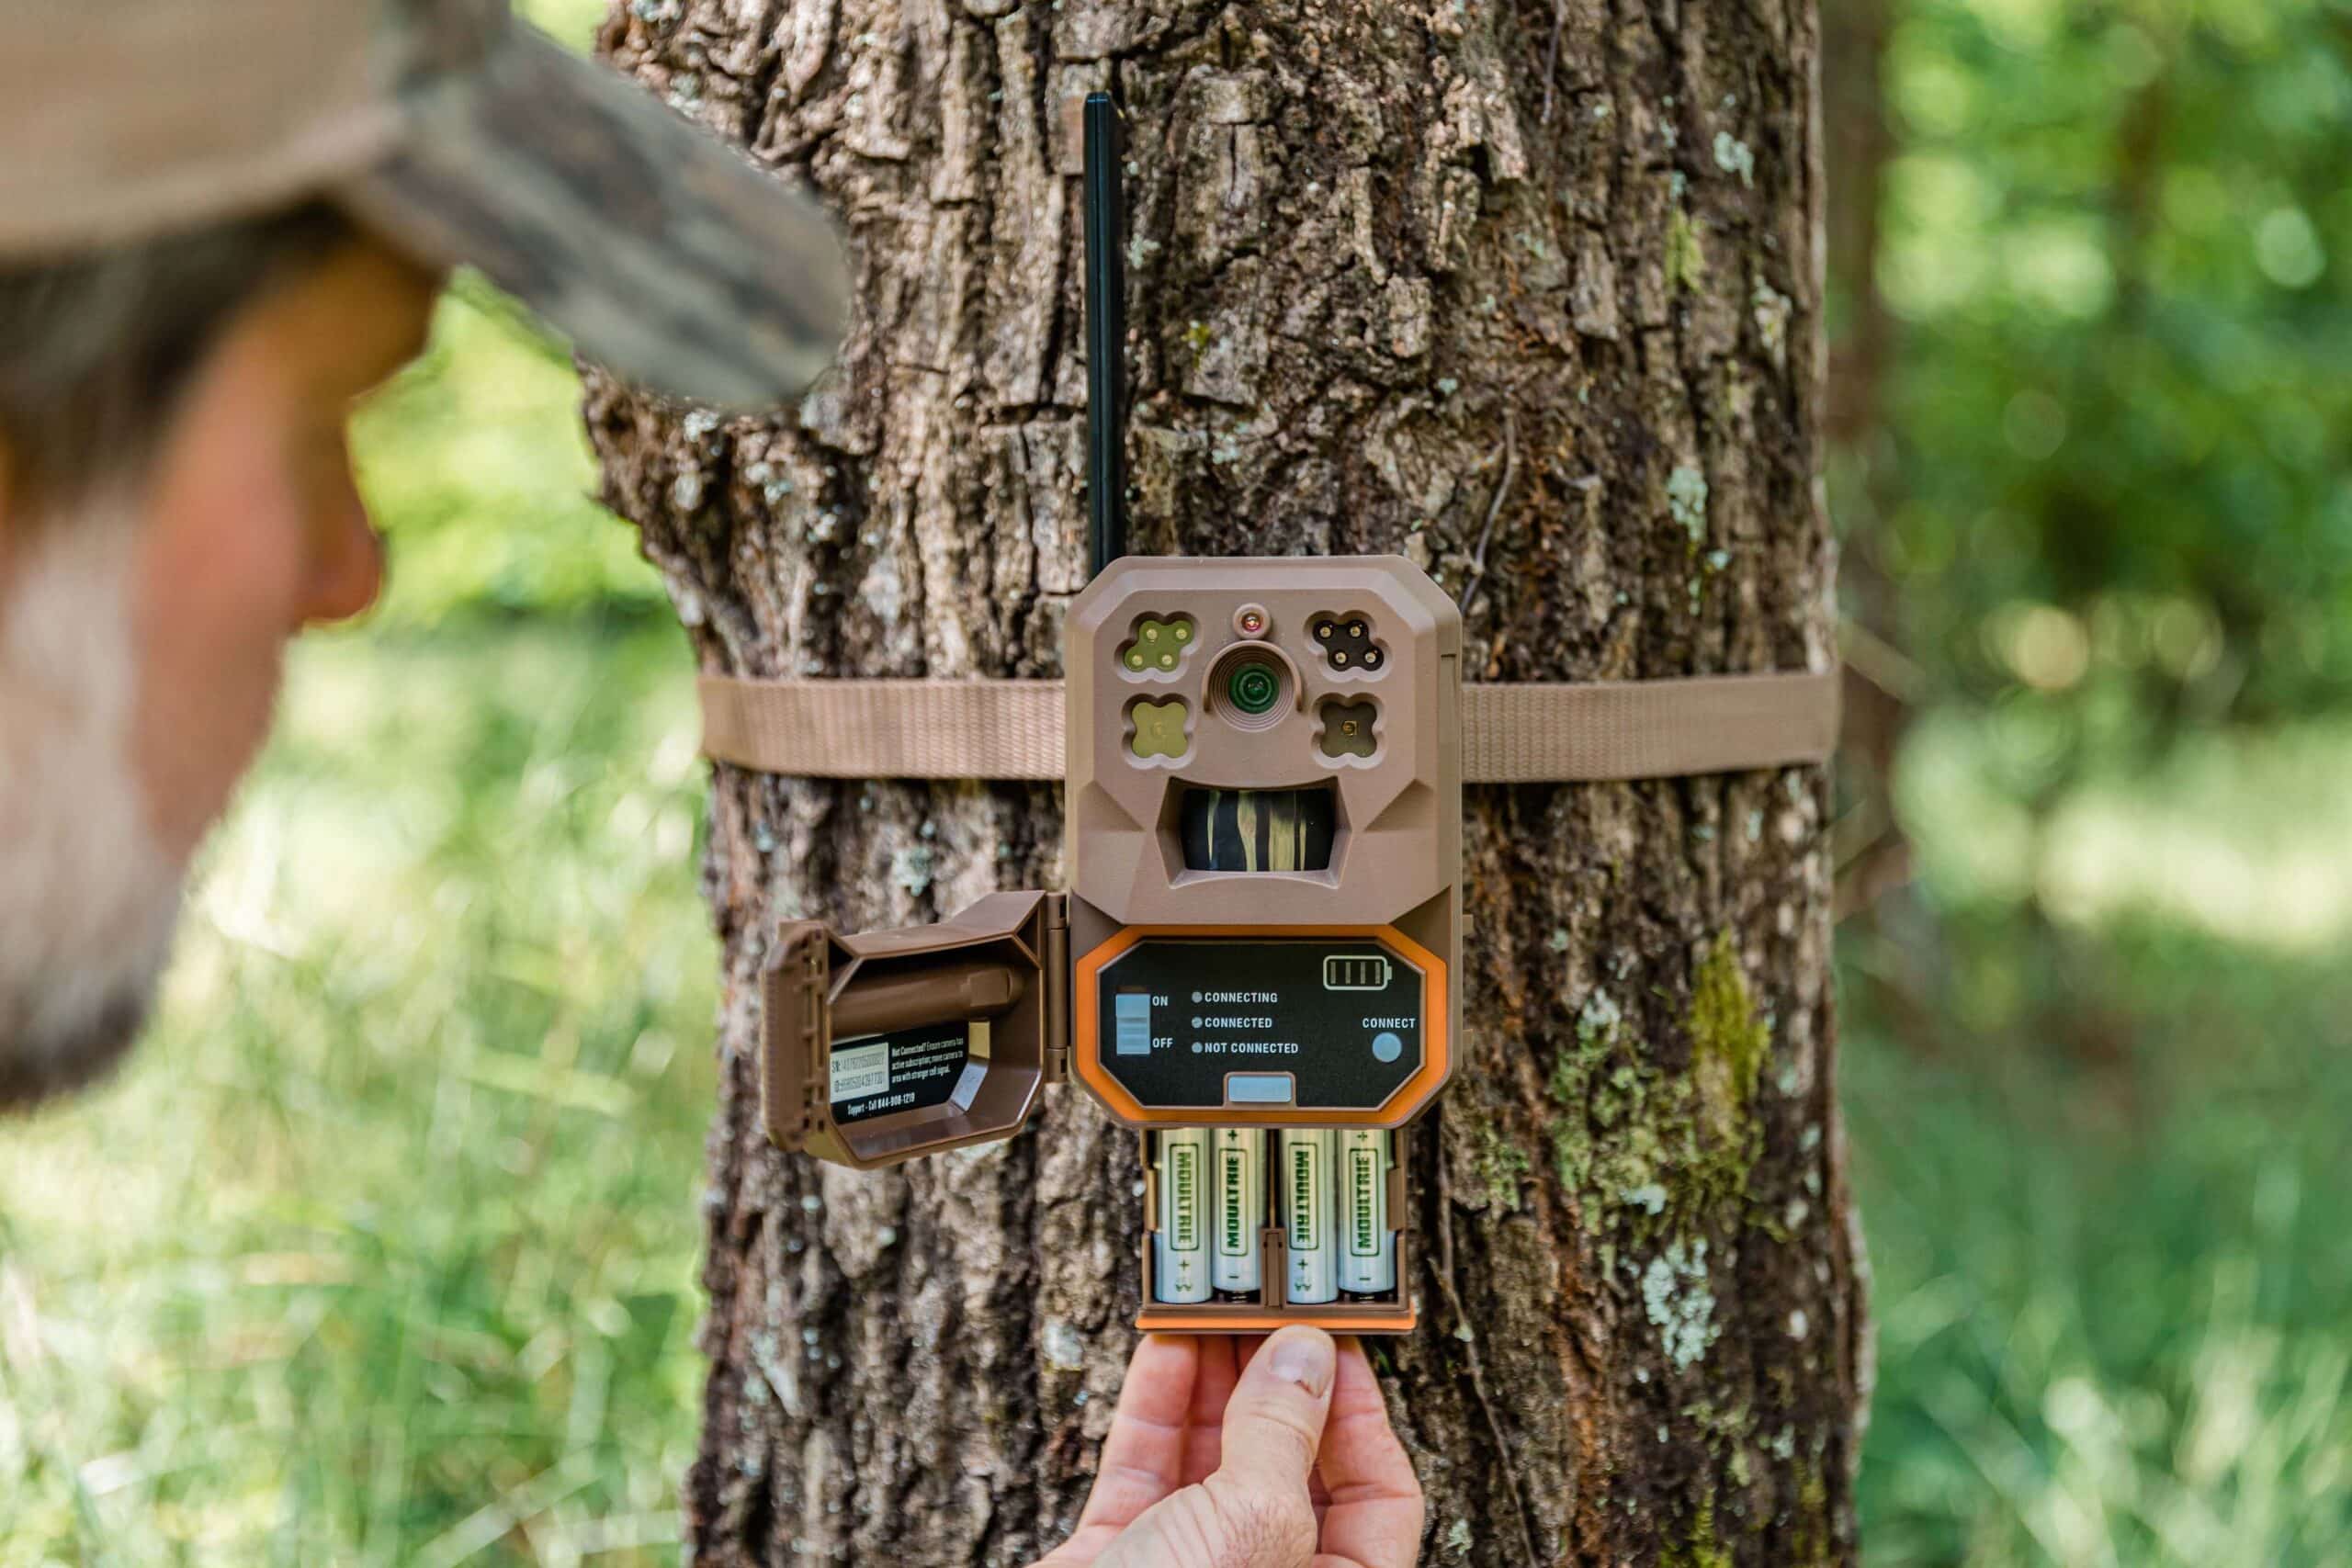
Scan the QR code on the camera, which is located inside the control panel door or inside the camera door, and then complete activation by selecting a data plan. Choose a monthly or annual plan when prompted. If the QR code will not scan, you can manually enter the Device ID numbers instead.
Step 3: Set up the Moultrie Mobile app
Log into the app with your new account. The app download page lists the app for both iPhone and Android and says to install, open, and then Create Account or Sign In. iPhone users need iOS 15.0 or newer. Verify your email if prompted. Ensure the device appears in your account after activation is complete.
Step 4: Configure your camera with Live Aim
Power on the camera. For supported cameras, use the Live Aim feature in the app to adjust the detection angle without waiting for test images. This lets you dial in the perfect angle immediately.
Troubleshooting setup issues
If the QR code will not scan, manually enter the Device ID numbers found on the camera door or control panel door. If the app cannot access the camera for scanning, enable camera permissions for the Moultrie Mobile app in your phone’s settings, then force close and reopen the app before going to Devices > Activate > Scan.
For users interested in tracking a phone location, the Moultrie Mobile ecosystem does not include that feature, but separate tools exist for phone location tracking methods.
Frequently Asked Questions
What is Moultrie Mobile?
Moultrie Mobile is a cellular trail camera system that sends images and videos to your phone or computer in real time, allowing remote monitoring without visiting the camera site.
What cellular network does Moultrie Mobile use?
Moultrie Mobile operates on a reliable cellular network that provides coverage across a wide geographic area, allowing you to deploy cameras in remote locations.
Can I access my Moultrie Mobile account from multiple devices?
Yes, you can access your account from smartphones, tablets, and computers, allowing you to monitor your cameras from any device.
What happens if I lose my QR code?
If you lose the QR code, you can manually enter the Device ID number, which is printed on the camera door or control panel door, to complete activation.
How do I manage my Moultrie Mobile account after setup?
Open the Moultrie app and use the account or profile section to manage your subscription, view captured media, and adjust settings. To manage the account in the app, open Moultrie and use the account/profile flow documented in the app and activation pages.
Related reading: Roblox on Mobile: Setup, Fixes and Gameplay and Is A Tablet A Mobile?.