
Setting up cellular service on your mobile phone is essential for staying connected on the go. Whether you’re a newbie or a tech-savvy individual, configuring your cellular settings can sometimes be a daunting task. But fear not! In this comprehensive guide, we’ll walk you through the step-by-step process of setting up cellular service on your mobile phone. From selecting the right carrier to activating your SIM card, we’ll cover it all. So, grab your phone and get ready to embark on a journey to seamless connectivity. By the end of this article, you’ll be well-equipped to enjoy uninterrupted cellular service and take full advantage of your mobile phone’s capabilities.
Inside This Article
- Overview of Cellular Setup
- Step 1: Check Your Cellular Network Compatibility
- Step 2: Choose a cellular provider
- Step 3: Purchase a cellular plan
- Step 4: Acquire a cellular device
- Step 5: Insert the SIM card
- Step 6: Activate the cellular service
- Step 7: Configure Cellular Settings
- Conclusion
- FAQs
Overview of Cellular Setup
Setting up a cellular network on your mobile device can provide you with the freedom to stay connected and access the internet from virtually anywhere. Whether you have just purchased a new mobile phone or are considering switching cellular providers, it’s essential to understand the steps involved in setting up your cellular service. This overview will guide you through the process, ensuring that you are informed and confident in your decision.
The cellular setup process typically involves several key steps, including checking network compatibility, choosing a cellular provider, purchasing a cellular plan, acquiring a compatible device, inserting a SIM card, activating the service, and configuring the cellular settings on your device. Each step plays a crucial role in ensuring a seamless and reliable connection.
Before diving into the specifics, it’s important to note that cellular setup may vary slightly depending on your location and the available providers in your area. It’s always recommended to consult with your cellular provider’s documentation or customer support for any specific instructions or requirements.
Now, let’s delve into each step of the cellular setup process in more detail, so you can get up and running with your mobile device’s cellular capabilities.
Step 1: Check Your Cellular Network Compatibility
Before setting up cellular service on your mobile phone, it’s important to check whether your device is compatible with the network. This step is crucial as it ensures that you can access a reliable and fast cellular connection. Here’s how you can determine your cellular network compatibility:
1. Research your phone’s supported network bands: Different mobile phones support different network frequencies or bands. You can usually find this information in the phone’s technical specifications or on the manufacturer’s website. Make sure that your phone supports the bands used by the cellular network provider you wish to use.
2. Contact your cellular provider: If you’re unsure about your phone’s network compatibility, reach out to your desired cellular provider. They will be able to provide you with information regarding their network requirements and whether or not your phone is compatible.
3. Use an online compatibility checker: Some cellular providers offer online tools or compatibility checkers that allow you to input your phone’s make and model to determine if it is compatible with their network. This can be a quick and convenient way to confirm compatibility.
4. Consider purchasing an unlocked phone: Unlocked phones offer greater flexibility as they are not tied to a specific carrier. These devices typically support a wider range of network bands, making them more likely to be compatible with different cellular providers.
Compatibility is essential to ensure that you can access the full range of services and benefits offered by your chosen cellular network provider. By confirming compatibility before setting up your cellular service, you can avoid any potential issues and enjoy a seamless mobile experience.
Step 2: Choose a cellular provider
Choosing the right cellular provider is a crucial step in setting up your mobile phone. With numerous options available, it’s essential to consider factors such as coverage, pricing, and customer service. Here are some key considerations to help you make an informed decision:
1. Coverage: Before selecting a cellular provider, check their coverage map to ensure that they have a strong signal in the areas you frequent. It’s important to have reliable coverage for uninterrupted calls, fast internet speeds, and smooth browsing experiences.
2. Network Type: Different providers use different types of cellular networks, such as GSM or CDMA. Ensure that the provider you choose supports your device’s network compatibility. For example, if your phone uses a GSM network, make sure the provider you select offers GSM coverage.
3. Pricing: Evaluate the pricing plans offered by different cellular providers and consider your budget. Look for plans that offer a good balance of data, talk time, and texting options that suit your needs without being excessively expensive.
4. Customer Service: Research the reputation of the cellular provider’s customer service. Read reviews or ask friends for their experiences with different providers. It’s important to choose a provider with responsive customer support to assist you with any issues or inquiries that may arise.
5. Additional Features: Consider any additional features or perks that the cellular provider may offer. These can include international calling plans, data rollover options, or discounts on devices or accessories. Selecting a provider that offers value-added features can enhance your overall mobile phone experience.
By carefully evaluating these factors, you can choose a cellular provider that meets your needs and provides a reliable and seamless mobile phone experience.
Step 3: Purchase a cellular plan
When it comes to setting up your cellular device, one of the most crucial steps is to purchase a suitable cellular plan. A cellular plan is essentially a subscription that allows you to make calls, send texts, and access the internet using your mobile phone. This ensures that you stay connected wherever you go. Here are some key considerations to keep in mind when purchasing a cellular plan.
1. Determine your usage: Before choosing a plan, it’s important to assess your usage. Consider how much data you need, the number of minutes you typically talk on the phone, and how often you send text messages. This will help you choose a plan that aligns with your needs and prevents you from overspending or underutilizing your plan.
2. Research different providers: There are a plethora of cellular service providers in the market, each offering a variety of plans. Take the time to research different providers, compare their offerings, and read customer reviews. Look for providers that have good network coverage in your area and offer competitive pricing.
3. Consider contract vs. no-contract plans: Cellular plans are often available in contract and no-contract options. Contract plans typically require a commitment for a certain period of time, usually one or two years, while no-contract plans offer more flexibility without any long-term commitment. Evaluate your preferences and determine which option suits you best.
4. Review international roaming options: If you frequently travel internationally, it’s important to consider the international roaming options provided by the cellular plan. Look for plans that offer affordable roaming charges or data packages for international usage. This will ensure that you can stay connected without incurring exorbitant costs.
5. Check for additional perks: Some cellular plans come with additional perks such as free streaming subscriptions, loyalty rewards, or discounts on other services. These perks can add value to your plan and enhance your overall user experience. Take note of any extra benefits that come with the plans you’re considering.
Once you’ve done your research and assessed your needs, it’s time to make the purchase. Get in touch with the cellular service provider either online, through their website, or by visiting their physical store. Provide them with all the necessary information, including your personal details, preferred plan, and any additional features you may require. The provider will guide you through the purchasing process and ensure that you have a suitable cellular plan in place.
Step 4: Acquire a cellular device
Acquiring a cellular device is a crucial step in setting up your cellular service. With a wide range of options available in the market, it’s important to choose a device that suits your needs and budget. Whether you prefer the latest flagship smartphones or more affordable options, there’s a cellular device out there for everyone.
Before purchasing a cellular device, it’s essential to consider the operating system you prefer. The two most popular options are Android and iOS. Android offers a wide variety of devices from different manufacturers, giving you more flexibility in terms of features and prices. On the other hand, iOS offers a seamless and user-friendly experience, which is ideal for those already accustomed to the Apple ecosystem.
Once you’ve decided on the operating system, you can start exploring various cellular devices. Look for features that are important to you, such as camera quality, screen size, storage capacity, and battery life. Additionally, consider the brand reputation, customer reviews, and available support options to ensure you’re getting a reliable and well-rounded device.
When it comes to purchasing a cellular device, you have several options. You can buy it directly from a carrier, which often offers convenient payment plans and contract options. Alternatively, you can purchase an unlocked device from a retailer, allowing you to use it with any compatible cellular provider. Another option is buying a used or refurbished device, which can be a more affordable choice.
Before making a final decision, it’s a good idea to visit physical stores or browse reputable online retailers to compare prices, deals, and promotions. Take advantage of customer service representatives who can provide additional information and assist you in finding the perfect cellular device.
Remember to double-check the device’s compatibility with your chosen cellular provider. Some cellular providers may have certain restrictions or requirements regarding the devices they support. Make sure the device is unlocked, or if it’s locked to a specific carrier, ensure that it is compatible with the carrier you have chosen for your cellular service.
Once you have acquired a cellular device, you will be one step closer to enjoying the convenience and connectivity of cellular service. Now, let’s move on to the next step: inserting the SIM card.
Step 5: Insert the SIM card
After selecting a cellular device and purchasing a suitable cellular plan, the next crucial step in setting up your cellular service is inserting the SIM card. A SIM (Subscriber Identity Module) card is a small, rectangular piece of plastic that contains a unique identification number and is used to connect your device to the cellular network.
Here is a step-by-step guide on how to insert the SIM card:
- 1. Locate the SIM card tray: The exact location of the SIM card tray varies depending on the device model. Generally, it is on the side or the top of the phone. Look for a small pinhole or a slot.
- 2. Insert the SIM eject tool or a paperclip: Most phones come with a SIM eject tool, which is a small metal pin used to open the SIM tray. If you don’t have one, you can also straighten a paperclip and use it instead.
- 3. Eject the SIM tray: Gently insert the SIM eject tool or paperclip into the pinhole or slot and apply a small amount of pressure. This will eject the SIM tray.
- 4. Remove the SIM tray: Once the tray is ejected, carefully pull it out using your fingers. Be cautious not to force it out or apply excessive pressure as this could damage the SIM card or the device.
- 5. Place the SIM card: Take the SIM card and align it with the designated slot in the SIM tray. The SIM card contains a notch that matches the shape of the slot, ensuring it is inserted correctly.
- 6. Insert the SIM tray: Once the SIM card is in place, insert the SIM tray back into the device. Make sure it is securely and properly aligned with the slot.
- 7. Push the SIM tray back in: Gently push the SIM tray back into the device until it is fully inserted. You should feel a slight click or resistance when it is properly locked in place.
It’s important to note that not all devices use SIM cards. Some newer models, such as eSIM-enabled devices, have a built-in electronic SIM that eliminates the need for a physical SIM card. For such devices, the activation process may be slightly different, and you may need to refer to the device’s user manual or contact your cellular provider for guidance.
Once the SIM card is inserted, you can proceed to the next step of activating your cellular service and configuring the necessary settings to connect to the cellular network. Remember to follow the device manufacturer’s instructions and guidelines for a seamless setup process.
Step 6: Activate the cellular service
Now that you have your cellular device and SIM card properly inserted, it’s time to activate the cellular service. This step is crucial as it allows you to connect to a network and start using your phone for calls, text messages, and data. Let’s dive into the process of activating your cellular service.
1. Contact your cellular provider: Begin by reaching out to your chosen cellular provider. This can be done through their customer service hotline, website, or visiting a physical store. Provide them with the necessary details, such as your account information and SIM card number, and inform them that you want to activate your cellular service.
2. Verification process: The cellular provider will guide you through a verification process to confirm your identity and ensure the activation is authorized. This may involve providing personal information or validating the SIM card details. Once the verification process is complete, they will proceed with activating your service.
3. Activation time frame: The length of time it takes to activate your cellular service can vary based on the provider and any additional processes they may have in place. In some cases, activation can be completed instantly, while in others, it may take a few hours or even up to 24 hours. The cellular provider will inform you of the expected time frame.
4. Restart your device: Once the cellular service has been activated, it’s recommended to restart your device. This allows it to connect to the network properly and update any necessary settings. After restarting, your phone should display the cellular network name or logo, indicating that the service is successfully activated.
5. Test your connectivity: To ensure that your cellular service is working correctly, make test calls, send text messages, and use data services. Check the signal strength and ensure that you can make and receive calls, send and receive messages, and access the internet without any issues.
6. Troubleshooting: If you encounter any problems during the activation process or experience issues with your cellular service, contact your cellular provider’s customer support. They will assist you in resolving any problems and ensuring that your service is fully functional.
Activating your cellular service is an essential step to get your device up and running. By following the steps provided by your cellular provider and performing the necessary checks, you’ll soon be enjoying all the benefits of being connected through your mobile phone.
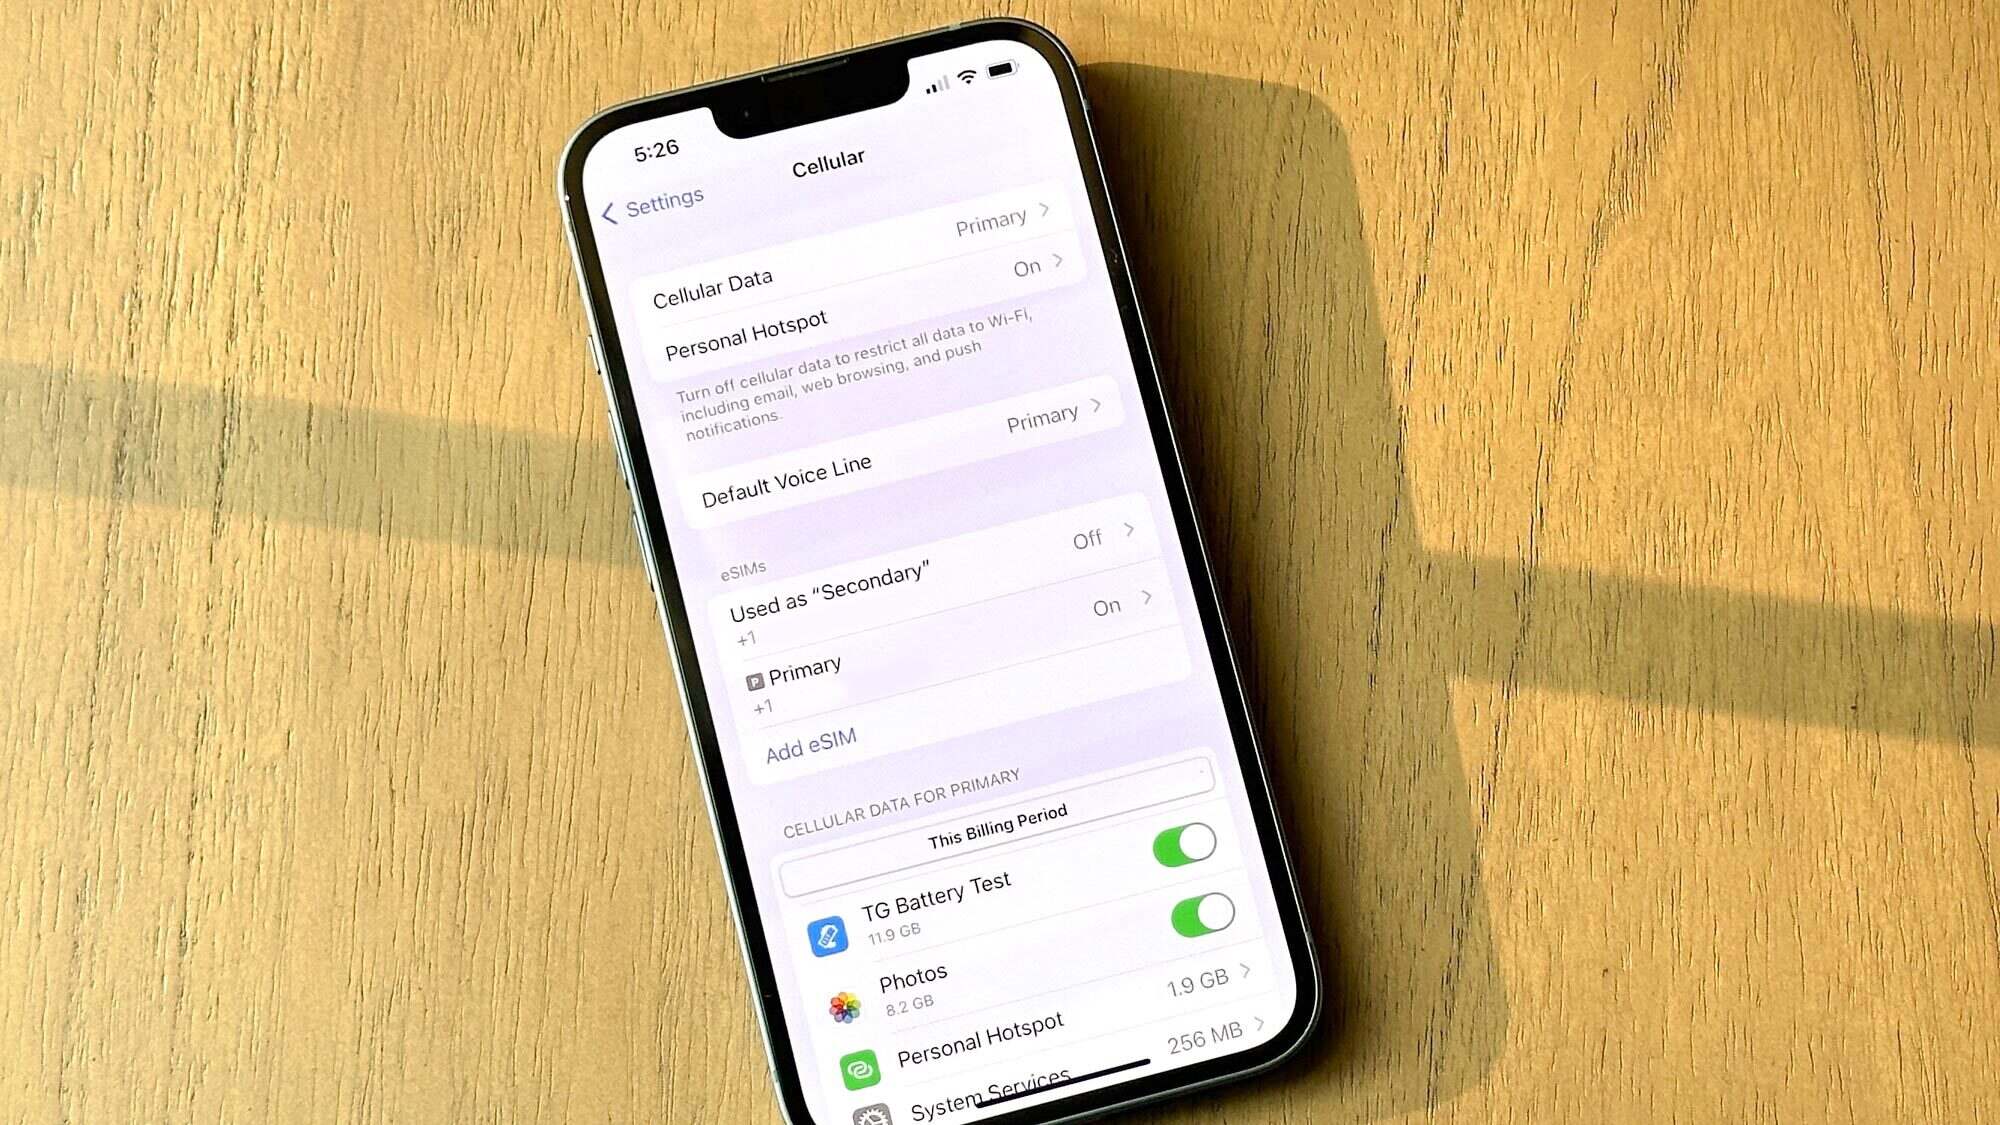
Step 7: Configure Cellular Settings
After successfully activating your cellular service and inserting the SIM card into your device, the next step is to configure the cellular settings. These settings allow your device to connect to the cellular network, ensuring smooth communication and access to a range of cellular features. Here’s a guide on how to configure your cellular settings:
1. Open the Settings app on your mobile phone. This can usually be found on your home screen or in the app drawer.
2. Look for the “Network & Internet” or “Connections” option in the Settings menu. Tap on it to proceed.
3. Next, navigate to the “Cellular Networks” or “Mobile Networks” section. This is where you can configure various settings related to your cellular connection.
4. Select the “Preferred Network Type” option. Here, you can choose between different network modes such as 2G, 3G, 4G, and 5G. The available options may vary depending on your device and cellular provider.
5. If your device supports it, enable the “VoLTE” or “Wi-Fi Calling” feature. These features allow you to make high-quality voice calls over the cellular network or Wi-Fi, respectively.
6. If you’re traveling internationally, enable the “Roaming” option. This allows your device to connect to foreign cellular networks. However, keep in mind that roaming charges may apply, so it’s important to check with your cellular provider beforehand.
7. In some devices, you may find a “Carrier Settings” or “SIM Card” option. Here, you can update your carrier settings or perform SIM card-related actions such as locking or unlocking the SIM card.
8. Lastly, ensure that the “Mobile Data” or “Data Usage” option is enabled. This allows your device to connect to the internet using your cellular data plan.
9. Once you have configured all the necessary settings, exit the Settings app. Your device is now ready to fully utilize its cellular capabilities.
It’s worth noting that the steps and options mentioned above may vary slightly depending on your device’s brand, model, and software version. It’s always a good idea to refer to your device’s user manual or consult the manufacturer’s support website for specific instructions.
By configuring your cellular settings correctly, you can ensure a seamless cellular experience, including reliable network connectivity, fast data speeds, and enhanced functionality.
Conclusion
Setting up cellular service on your mobile phone is a relatively simple process. By following the steps outlined in this article, you can ensure that you have a reliable and efficient connection wherever you go. Whether you’re activating a new device or switching carriers, understanding the basics of cellular setup is essential.
Remember to check compatibility, gather necessary documents, select a suitable plan, and follow the activation instructions provided by your carrier. Additionally, make sure to troubleshoot any issues that may arise by contacting your carrier’s customer support.
With cellular service properly set up on your mobile phone, you can enjoy seamless communication, fast internet access, and a host of other features on the go. Stay connected and make the most out of your device with a robust cellular connection.
FAQs
Q: How do I set up cellular on my mobile phone?
Setting up cellular on your mobile phone is a relatively straightforward process. Here is a step-by-step guide:
- Go to the Settings menu on your mobile phone.
- Select the Cellular or Mobile Networks option.
- Choose the option to add a new network or carrier.
- Enter the necessary information, such as the network name and APN settings, which can usually be obtained from your carrier.
- Save the settings and exit the menu.
- Your mobile phone should now be set up for cellular connectivity.
Q: What is the purpose of setting up cellular on my mobile phone?
Setting up cellular on your mobile phone allows you to connect to a mobile network and access various cellular services, such as making phone calls, sending text messages, and using mobile data to browse the internet. It enables you to stay connected and communicate with others even when Wi-Fi is not available.
Q: Can I set up cellular on any mobile phone?
Cellular connectivity is a standard feature on most modern mobile phones. As long as your mobile phone supports cellular capabilities and is compatible with the network you wish to use, you should be able to set up cellular on your device. However, it’s important to check with your carrier to ensure compatibility and availability of cellular services in your area.
Q: How can I troubleshoot cellular connectivity issues on my mobile phone?
If you are experiencing cellular connectivity issues on your mobile phone, here are a few troubleshooting steps you can try:
- Make sure that cellular data is enabled in your phone’s settings.
- Check if you have a strong signal by looking at the signal bars on your device.
- Restart your mobile phone to reset the network connections.
- Verify that you have an active cellular plan with sufficient credit or data allowance.
- If possible, try inserting your SIM card into another compatible device to see if the issue persists.
- Contact your carrier for further assistance if the problem persists.
Q: Can I use cellular data while roaming?
Yes, you can use cellular data while roaming, but additional charges may apply, depending on your carrier and roaming plan. It’s essential to check with your carrier before using cellular data while traveling abroad to understand the associated costs and options available to you. You can typically enable or disable data roaming in your mobile phone’s settings.
Q: Can I switch between different cellular networks on my mobile phone?
In most cases, you can switch between different cellular networks on your mobile phone if it is unlocked or compatible with multiple carriers. However, this will depend on the specific mobile phone model and the network frequencies supported. You may need to obtain the necessary settings and SIM card from each respective carrier to switch between networks seamlessly. It’s advisable to contact the carriers for further information and assistance in this matter.