
In today’s digital age, capturing moments on our smartphones has become a daily occurrence. One of the unique features that iPhones offer is the Live Photo feature, which brings your still images to life with a snippet of animation. However, you might be wondering how you can convert these Live Photos into videos to easily share and enjoy them on various platforms.
In this article, we will guide you through the process of turning Live Photos into videos on your iPhone. Whether you want to create a compilation of memorable moments or share a dynamic clip on social media, we’ve got you covered. So grab your iPhone, and let’s dive into the world of transforming Live Photos into videos.
Inside This Article
- Converting Live Photo to Video on iPhone (2023)
- Method 1: Using the Photos App
- Method 2: Using Third-Party Apps
- Method 3: Using Online Converters
- Method 4: Using iCloud Photos
- Conclusion
- FAQs
Converting Live Photo to Video on iPhone (2023)
Live Photos are a great way to capture a moment, as they include a few seconds of video before and after the still image. However, there may be times when you want to convert a Live Photo into a video format. Luckily, on the iPhone released in 2023, there are several methods you can use to accomplish this. In this article, we will explore four different methods to help you convert your Live Photos into videos.
Method 1: Using the Photos App
If you prefer a straightforward approach, the built-in Photos app on your iPhone can help you convert Live Photos into videos. Here’s how:
-
Open the Photos app on your iPhone.
-
Select the Live Photo you want to convert.
-
Tap on the Share icon, typically located in the bottom-left corner of the screen.
-
From the options that appear, choose the “Save as Video” option. The Live Photo will be converted into a video file, which you can find in your Camera Roll.
Method 2: Using Third-Party Apps
In addition to the Photos app, there are several third-party apps available on the App Store that can assist in converting Live Photos to videos. Here’s how you can use one of these apps:
-
Download and install a Live Photo to Video converter app from the App Store.
-
Open the app and grant it access to your Photos.
-
Select the Live Photo you want to convert within the app.
-
Follow the instructions provided by the app to convert your Live Photo into a video.
Method 3: Using Online Converters
If you prefer not to install additional apps on your iPhone, you can also convert Live Photos to videos using online converters. Here’s how:
-
Open a web browser on your iPhone.
-
Search for an online Live Photo to Video converter.
-
Select a reliable website from the search results.
-
Upload your Live Photo to the website and follow the provided instructions to convert it into a video file.
Method 4: Using iCloud Photos
If you have iCloud Photos enabled on your iPhone, you can also convert Live Photos to videos using this method. Here’s how:
-
Ensure iCloud Photos is enabled in your iPhone Settings.
-
Open the Photos app and select the Live Photo you want to convert.
-
Tap on the Share icon and choose the “Save as Video” option from the list of sharing options.
-
The Live Photo will be converted into a video format, and you can access it in your iCloud Photos library on all your devices.
These methods provide you with various options to convert your Live Photos into videos on your iPhone released in 2023. Choose the one that suits your preference and enjoy transforming your Live Photos into shareable video memories.
Method 1: Using the Photos App
Converting a Live Photo to a video on your iPhone is a simple and straightforward process using the Photos app. Follow these steps:
- Step 1: Open the Photos app
- Step 2: Select the Live Photo you want to convert
- Step 3: Tap on the Share icon
- Step 4: Choose the “Save as Video” option
First, locate and open the Photos app on your iPhone’s home screen. The Photos app is represented by a multicolored flower icon.
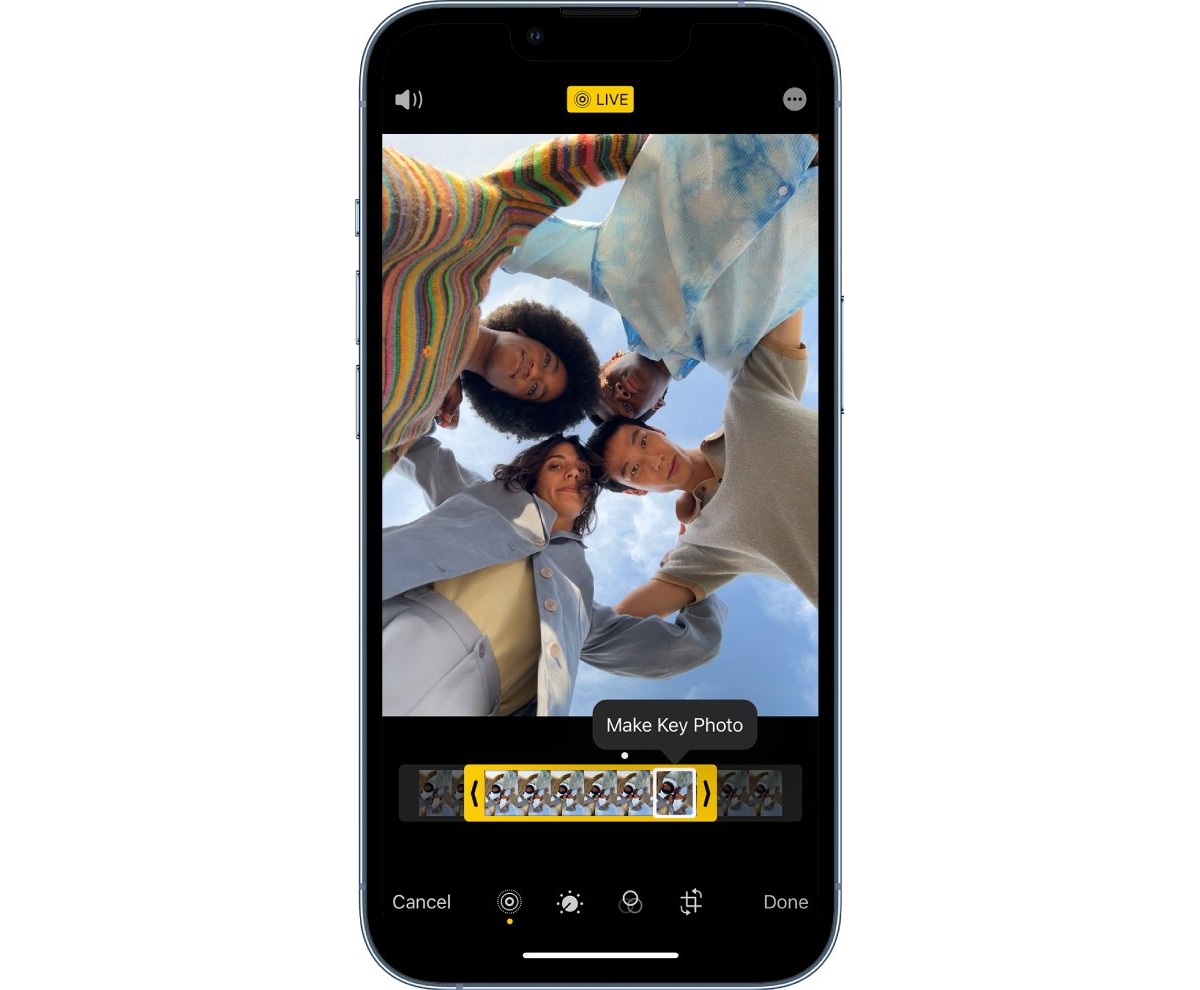
Browse through your photo library and select the Live Photo you wish to convert to a video. Live Photos are marked with a circular icon containing concentric circles.
Once you have chosen the Live Photo, tap on the share icon located at the bottom-left corner of the screen. The share icon is represented by a square with an upward-facing arrow.
From the list of sharing options, swipe left to access more options, and tap on “Save as Video”. This will convert the Live Photo into a video file and save it to your Photos library.
By following these steps, you can easily convert your Live Photo into a video using the Photos app on your iPhone.
Method 2: Using Third-Party Apps
Converting Live Photos to videos on your iPhone becomes a breeze with the help of third-party apps specifically designed for this purpose. Here’s a simple step-by-step guide to using a third-party app to convert your Live Photos:
Step 1: Download and install a Live Photo to Video converter app
Start by browsing the App Store on your iPhone and search for a Live Photo to Video converter app. There are numerous options available, so choose one that has good ratings and reviews. Once you’ve made your decision, download and install the app on your iPhone.
Step 2: Open the app and allow access to your Photos
After the app is successfully installed, open it on your iPhone. You may be prompted to grant the app permission to access your Photos. Make sure to allow access so that the app can retrieve the Live Photos from your device.
Step 3: Select the Live Photo you want to convert
Once you have granted access to your Photos, you will be presented with a gallery or album view within the app. Browse through your Live Photos collection and select the one you want to convert to a video. Tap on the Live Photo to open it.
Step 4: Follow the app’s instructions to convert it to a video
Now that you have your Live Photo open within the app, follow the instructions provided by the app to convert it into a video. The steps may vary depending on the app you are using, but most apps have a simple “Convert” or “Save as Video” option. Tap on that option and wait for the app to process the conversion.
Once the conversion is complete, the app will typically give you the option to save the video to your Photos or share it directly via various platforms such as social media or messaging apps. Choose the desired option based on your preference, and now you have successfully converted your Live Photo into a video using a third-party app!
Remember to explore different third-party apps available in the App Store to find the one that suits your needs and preferences. Some may offer additional features, such as customizing the video settings or adding filters. With a wide range of options at your disposal, you can easily find the perfect app to convert your Live Photos into videos with just a few simple steps.
Method 3: Using Online Converters
Converting Live Photos to videos on your iPhone is easier than you might think, thanks to online conversion tools. If you prefer not to use the built-in Photos app or download third-party apps, online converters provide a convenient solution. Follow these steps to convert your Live Photo to a video using an online converter:
- Step 1: Open a web browser on your iPhone
- Step 2: Search for an online Live Photo to Video converter
- Step 3: Select a reliable website from the search results
- Step 4: Upload your Live Photo and follow the instructions to convert it
Launch Safari or any other web browser on your iPhone. Ensure you have a stable internet connection for a smooth conversion process.
Using the search engine of your choice, look for online converters that specialize in converting Live Photos to videos. There are several reliable options available.
Review the search results and choose a reputable website to trust with your Live Photo. Look for websites that have positive user reviews and offer secure connections.
Once you’ve accessed the website, locate the option to upload your Live Photo. This can usually be found on the homepage or in a dedicated conversion section. Follow the instructions provided by the website to upload and convert your Live Photo to a video.
Be patient during the upload and conversion process, as it may take some time depending on the size of your Live Photo and the website’s processing capabilities. Once the conversion is complete, you should be able to download the video version of your Live Photo directly onto your iPhone.
Using online converters to turn your Live Photos into videos offers a convenient and accessible method for those who prefer to use their web browser instead of downloading additional apps. Give it a try and enjoy your Live Photos in a new video format!
Method 4: Using iCloud Photos
In this method, you can easily convert your Live Photos into videos using the iCloud Photos feature on your iPhone. Follow the simple steps below.
Step 1: Enable iCloud Photos on your iPhone
First, make sure that you have iCloud Photos enabled on your iPhone. To do this, go to your iPhone’s Settings, tap on your name at the top, and select “iCloud”. Then, tap on “Photos” and toggle on the “iCloud Photos” option.
Step 2: Open the Photos app and select the Live Photo you want to convert
Once you have enabled iCloud Photos, open the Photos app on your iPhone. Browse through your photo library and select the Live Photo that you want to convert into a video.
Step 3: Tap on the Share icon and choose the “Save as Video” option
With the selected Live Photo open, tap on the Share icon located at the bottom-left corner of the screen. It looks like a square with an arrow pointing upwards. From the Share menu, scroll horizontally and find the “Save as Video” option. Tap on it to begin the conversion process.
Step 4: Access the video version of your Live Photo from iCloud Photos
After you tap on “Save as Video”, your Live Photo will be converted into a video format. The converted video will now be stored in your iCloud Photos library. You can access it by going to the Photos app and navigating to the “Videos” album. From there, you can view, share, or further edit the video as you wish.
Please note that the methods mentioned above are applicable to iPhones released in 2023. If you are using an older model, the steps may vary slightly. However, the general concept of converting Live Photos to videos remains the same.
In conclusion, the ability to turn Live Photos into videos on an iPhone is a fantastic feature that adds a new dimension to capturing and reliving precious moments. With just a few simple steps, you can easily transform your Live Photos into dynamic videos that can be shared and enjoyed with friends and family.
By utilizing the power of your iPhone’s built-in software, you can take advantage of this function to create captivating videos that bring your memories to life. Whether it’s a special event, a breathtaking landscape, or a candid moment, converting Live Photos into videos adds an extra layer of creativity and emotional impact.
So, the next time you want to bring your Live Photos to life, remember the easy steps to transform them into videos. Don’t let your precious memories stay static; let them come alive and continue to bring joy for years to come.
FAQs
1. Can I turn a Live Photo into a video on my iPhone?
Yes, you can easily turn a Live Photo into a video on your iPhone. It’s a simple process that can be done using the built-in Photos app.
2. How do I convert a Live Photo into a video?
To convert a Live Photo into a video, follow these steps:
- Open the Photos app on your iPhone.
- Select the Live Photo you want to convert.
- Swipe up on the photo to reveal additional options.
- Tap on “Effects.”
- Scroll down and select “Loop”, “Bounce”, or “Long Exposure”.
- Your Live Photo will be converted into a video with the selected effect.
3. Can I customize the duration of the converted video?
By default, the converted video retains the duration of the original Live Photo. However, if you want to customize the duration of the video, you can use a third-party app or video editing software on your iPhone to trim or adjust the length of the video.
4. What are the different effects I can apply to a Live Photo when converting it into a video?
When converting a Live Photo into a video, you can apply various effects such as Loop, Bounce, or Long Exposure. The Loop effect creates a continuous loop of the Live Photo content. The Bounce effect plays the Live Photo content forward and then reverses it. The Long Exposure effect creates a composite image from the Live Photo, giving it a smooth and artistic look.
5. Will converting a Live Photo into a video affect the original Live Photo?
No, converting a Live Photo into a video does not affect the original Live Photo. The Photos app will create a separate video file, leaving the original Live Photo intact. You will have both the original Live Photo and the converted video in your Photos library.