
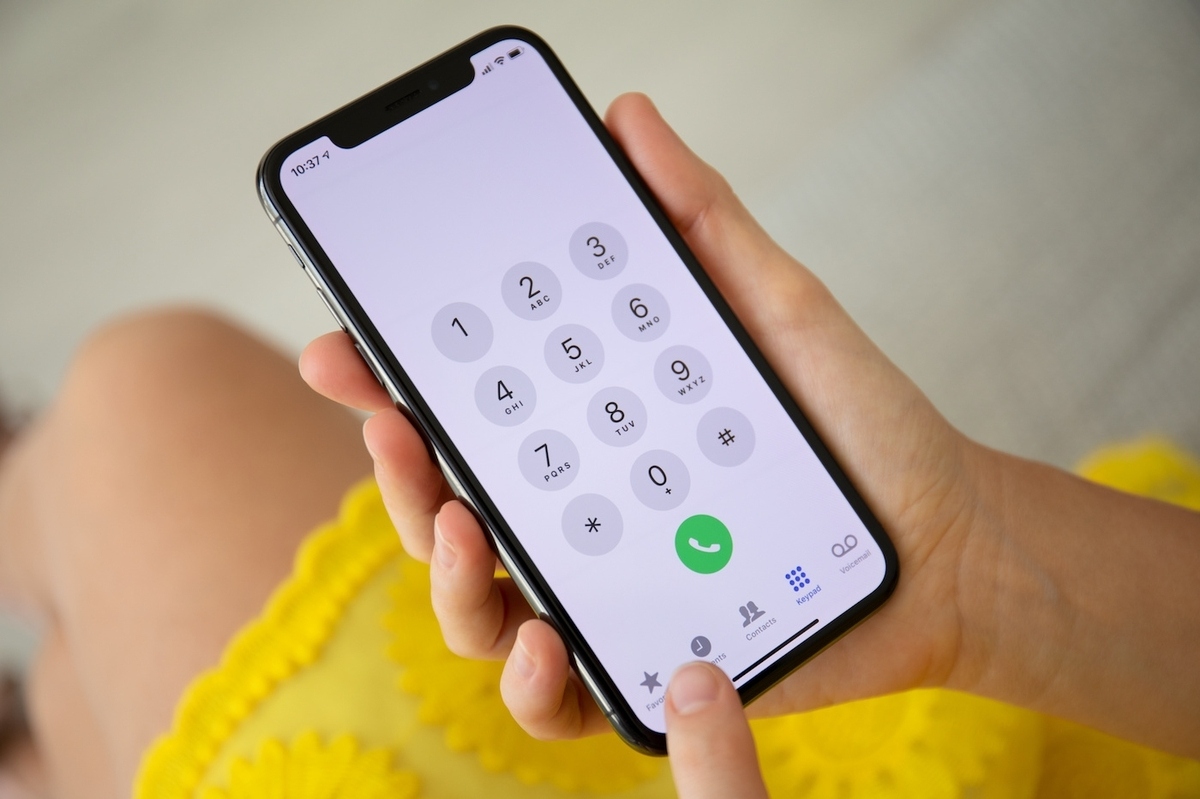
Are you a proud owner of an iPhone? If so, you probably want to ensure that your phone number is verified for various purposes like iMessage, FaceTime, and other essential features. Verifying your phone number on an iPhone is crucial for seamless communication and enjoying the full range of functionalities that the device offers.
In this article, we will guide you through the process of verifying your phone number on an iPhone. Whether you are setting up a new device or have recently changed your phone number, we’ve got you covered. We will provide step-by-step instructions and helpful tips to make the process quick and easy.
So, if you’re ready to unlock the full potential of your iPhone and ensure that your phone number is verified, let’s dive right in!
Inside This Article
- Adding a Phone Number to Your Apple ID
- Verifying Your Phone Number via Two-Factor Authentication
- Verifying Your Phone Number through Text Message
- Troubleshooting Verification Issues
- Conclusion
- FAQs
Adding a Phone Number to Your Apple ID
Adding a phone number to your Apple ID is a simple process that provides you with added convenience and security. By linking your phone number to your Apple ID, you can easily receive verification codes, use iMessage and FaceTime, and enjoy seamless integration of your devices. Here’s how to go about it:
1. Go to the “Settings” app on your iPhone or iPad and tap on your name at the top of the screen.
2. From the Apple ID menu, select “Password & Security.”
3. Next, tap on “Add a Trusted Phone Number” and enter the phone number you want to associate with your Apple ID.
4. You will receive a verification code on the provided phone number. Enter the code when prompted.
5. Once the verification is successful, your phone number will be added to your Apple ID, and you can start enjoying the benefits.
Now that your phone number is linked to your Apple ID, you can use it for various purposes, such as receiving verification codes when signing in to your Apple account on a new device or accessing your Apple services securely.
Note: It is important to ensure that the phone number you add is active and can receive text messages or calls, as this will be crucial in the verification process.
By adding a phone number to your Apple ID, you are taking an important step in securing your account and enhancing your overall Apple experience. With your phone number connected, you’ll have an added layer of protection and convenience at your fingertips.
Verifying Your Phone Number via Two-Factor Authentication
Two-Factor Authentication (2FA) is an added layer of security that provides an extra level of protection for your Apple ID and all your personal information. It requires you to verify your identity not only with your password but also with a temporary verification code sent to your trusted device. Verifying your phone number via 2FA ensures that no one except you can access your account or make changes without your permission.
To verify your phone number via two-factor authentication, follow these easy steps:
- Go to “Settings” on your iPhone and tap on your name at the top of the screen.
- Scroll down and select “Password & Security.”
- Tap on “Set Up Two-Factor Authentication” and then select “Continue.”
- Follow the on-screen instructions to complete the setup process. This may include entering your Apple ID password and answering security questions.
- Once you have set up two-factor authentication, your phone number will automatically be verified.
From now on, whenever you sign in with your Apple ID on a new device or browser, you will be prompted to enter the verification code sent to your trusted device. This code adds an extra layer of security to ensure that only you can access your account.
It is important to note that two-factor authentication functionality may vary depending on your region or the version of iOS running on your device. If you encounter any issues or have further questions, check the Apple Support website or contact their customer service for assistance.
By verifying your phone number via two-factor authentication, you can enjoy peace of mind knowing that your Apple ID and personal information are more secure than ever.
Verifying Your Phone Number through Text Message
Verifying your phone number through text message is a convenient and straightforward method to ensure the security and functionality of your iPhone. When you set up your device or make changes to your Apple ID account settings, you may be prompted to verify your phone number to confirm your identity. This process helps to protect your personal information and prevent unauthorized access to your device.
To verify your phone number through text message, follow these simple steps:
- First, make sure that your iPhone is connected to a reliable cellular network or Wi-Fi.
- Go to the “Settings” app on your iPhone and tap your name at the top of the screen to access your Apple ID settings.
- Select “Password & Security” and then tap “Change Phone Number.”
- Enter your phone number in the designated field and tap “Next.”
- You will receive a text message with a verification code on your iPhone. Enter this code in the corresponding field within the Settings app.
- Once you’ve entered the verification code, your phone number will be successfully verified, and you can proceed with using your iPhone.
Verifying your phone number through text message is crucial for a seamless user experience. It allows you to utilize various features and services, such as iMessage, FaceTime, iCloud, and more. By ensuring the accuracy and validity of your phone number, you can guarantee smooth and secure communication on your iPhone.
If you encounter any issues during the verification process, here are a few troubleshooting tips:
- Make sure you have entered the correct phone number without any typos or missing digits.
- Ensure that your iPhone has a stable internet connection, whether it’s through a cellular network or Wi-Fi.
- If you don’t receive the verification code, you can request a new one by tapping on the “Resend Code” option.
- Double-check that your iPhone is running on the latest version of iOS to avoid any compatibility issues.
By following these steps and troubleshooting tips, you can easily verify your phone number through text message and enjoy a seamless iPhone experience with enhanced security and functionality.
Troubleshooting Verification Issues
Verifying your phone number on your iPhone is an essential step for ensuring your device’s security and enabling certain features like two-factor authentication. However, sometimes you may encounter issues during the verification process. Here are some common troubleshooting techniques to help you overcome these challenges:
1. Double-check your phone number: The most common mistake when verifying your phone number is entering it incorrectly. Make sure you enter the correct number, including the country code and area code, if applicable. Also, ensure that you have a stable and reliable cellular service to receive the verification code.
2. Restart your device: Sometimes, a simple restart can resolve verification issues. Try turning off your iPhone and then turning it back on again. This will refresh the system and may help clear any temporary glitches.
3. Update your iOS: It’s crucial to keep your iPhone’s operating system up to date. Outdated software may not be compatible with the verification process and can lead to issues. Go to Settings > General > Software Update to check for and install any available updates.
4. Check your internet connection: Verifying your phone number requires an internet connection, either through Wi-Fi or cellular data. Ensure that you are connected to a stable network and that your internet speed is sufficient. If you’re using Wi-Fi, try switching to cellular data or vice versa to see if the issue persists.
5. Contact your service provider: If you’re still experiencing verification issues, reach out to your cellular service provider for assistance. They may be able to troubleshoot the issue from their end and provide guidance on how to resolve it.
6. Use a different phone number: In some cases, the issue may be specific to your phone number. If possible, try using a different phone number for verification purposes to see if that resolves the problem. This could be a temporary solution while you investigate any issues with your primary number.
7. Reset your network settings: Resetting your network settings can help resolve connectivity issues that may be interfering with the verification process. Go to Settings > General > Reset > Reset Network Settings. Keep in mind that this will remove saved Wi-Fi passwords, so you’ll need to reconnect to Wi-Fi networks afterward.
8. Contact Apple Support: If all else fails, don’t hesitate to reach out to Apple Support for further assistance. They have dedicated teams to help with verification issues and can guide you through troubleshooting steps specific to your device and software version.
By following these troubleshooting techniques, you should be able to overcome any verification issues you encounter while trying to verify your phone number on your iPhone. Remember to double-check your information, keep your device updated, and reach out for support if needed. Once your phone number is successfully verified, you can enjoy the added security and features it enables.
As we conclude our discussion on verifying your phone number on iPhone, we can see that it is a straightforward process that helps ensure the security of your device and personal information. By following the steps outlined in this article, you can easily verify your phone number and gain peace of mind knowing that your device is authenticated.
Verifying your phone number on iPhone allows you to take advantage of various features and services that require a verified number, such as iMessage, FaceTime, and iCloud. It also helps protect your account from unauthorized access and ensures that you receive important notifications and updates on your device.
Remember to always keep your phone number up-to-date and verify it whenever necessary. By doing so, you can enjoy a seamless and secure mobile experience on your iPhone.
FAQs
Q: Why is it important to verify my phone number on iPhone?
A: Verifying your phone number on iPhone is essential for various reasons. It adds an extra layer of security to your device by allowing you to receive verification codes for two-factor authentication and account recovery. It also enables you to use features like iMessage, FaceTime, and iCloud syncing, which require a verified phone number.
Q: How can I verify my phone number on iPhone?
A: To verify your phone number on iPhone, follow these steps:
- Open the Settings app on your device.
- Scroll down and tap on “Phone”.
- Tap on “My Number” and ensure that your correct phone number is displayed.
- If the number is incorrect, tap on it and enter your correct phone number.
- You may receive a verification code via SMS or a prompt to verify your number. Follow the on-screen instructions to complete the verification process.
Q: What should I do if I didn’t receive a verification code?
A: If you didn’t receive a verification code, try the following troubleshooting steps:
- Ensure that your phone has a stable cellular network connection.
- Check if you have any spam or blocklist settings enabled that may be preventing the code from reaching your device.
- Restart your iPhone and try the verification process again.
- Contact your cellular service provider to confirm that your number is active and able to receive SMS.
Q: Can I verify a phone number that is registered with a different carrier?
A: Yes, you can verify a phone number on iPhone even if it is registered with a different carrier. The verification process is primarily based on sending and receiving SMS messages, which can be done across carriers. However, it’s important to note that international SMS charges may apply if you are verifying a phone number from a different country.
Q: Is it necessary to verify my phone number on every app I use?
A: Each app or service may have its own verification process, and while some apps may require phone number verification, others may offer alternative methods. It’s important to verify your phone number only on trusted and reputable apps to ensure the security and privacy of your personal information. Be cautious while providing your phone number and consider the app’s privacy policy before proceeding with the verification.