
Changing your phone number in your Apple ID is essential for keeping your account up to date and secure. Whether you’ve switched carriers, obtained a new phone number, or just want to update your contact information, it’s important to ensure that your Apple ID reflects your current phone number.
By having the correct phone number associated with your Apple ID, you can easily recover your account, receive account notifications and verification codes, and enjoy a streamlined experience when using Apple services and products. In this article, we will guide you through the step-by-step process of changing your phone number in your Apple ID, so you can stay connected and protect your valuable digital information.
Inside This Article
- Steps to Change Phone Number in Apple ID
- Access Apple ID Settings
- Edit Phone Number
- Verify the New Phone Number
- Update Apple ID Settings
- Conclusion
- FAQs
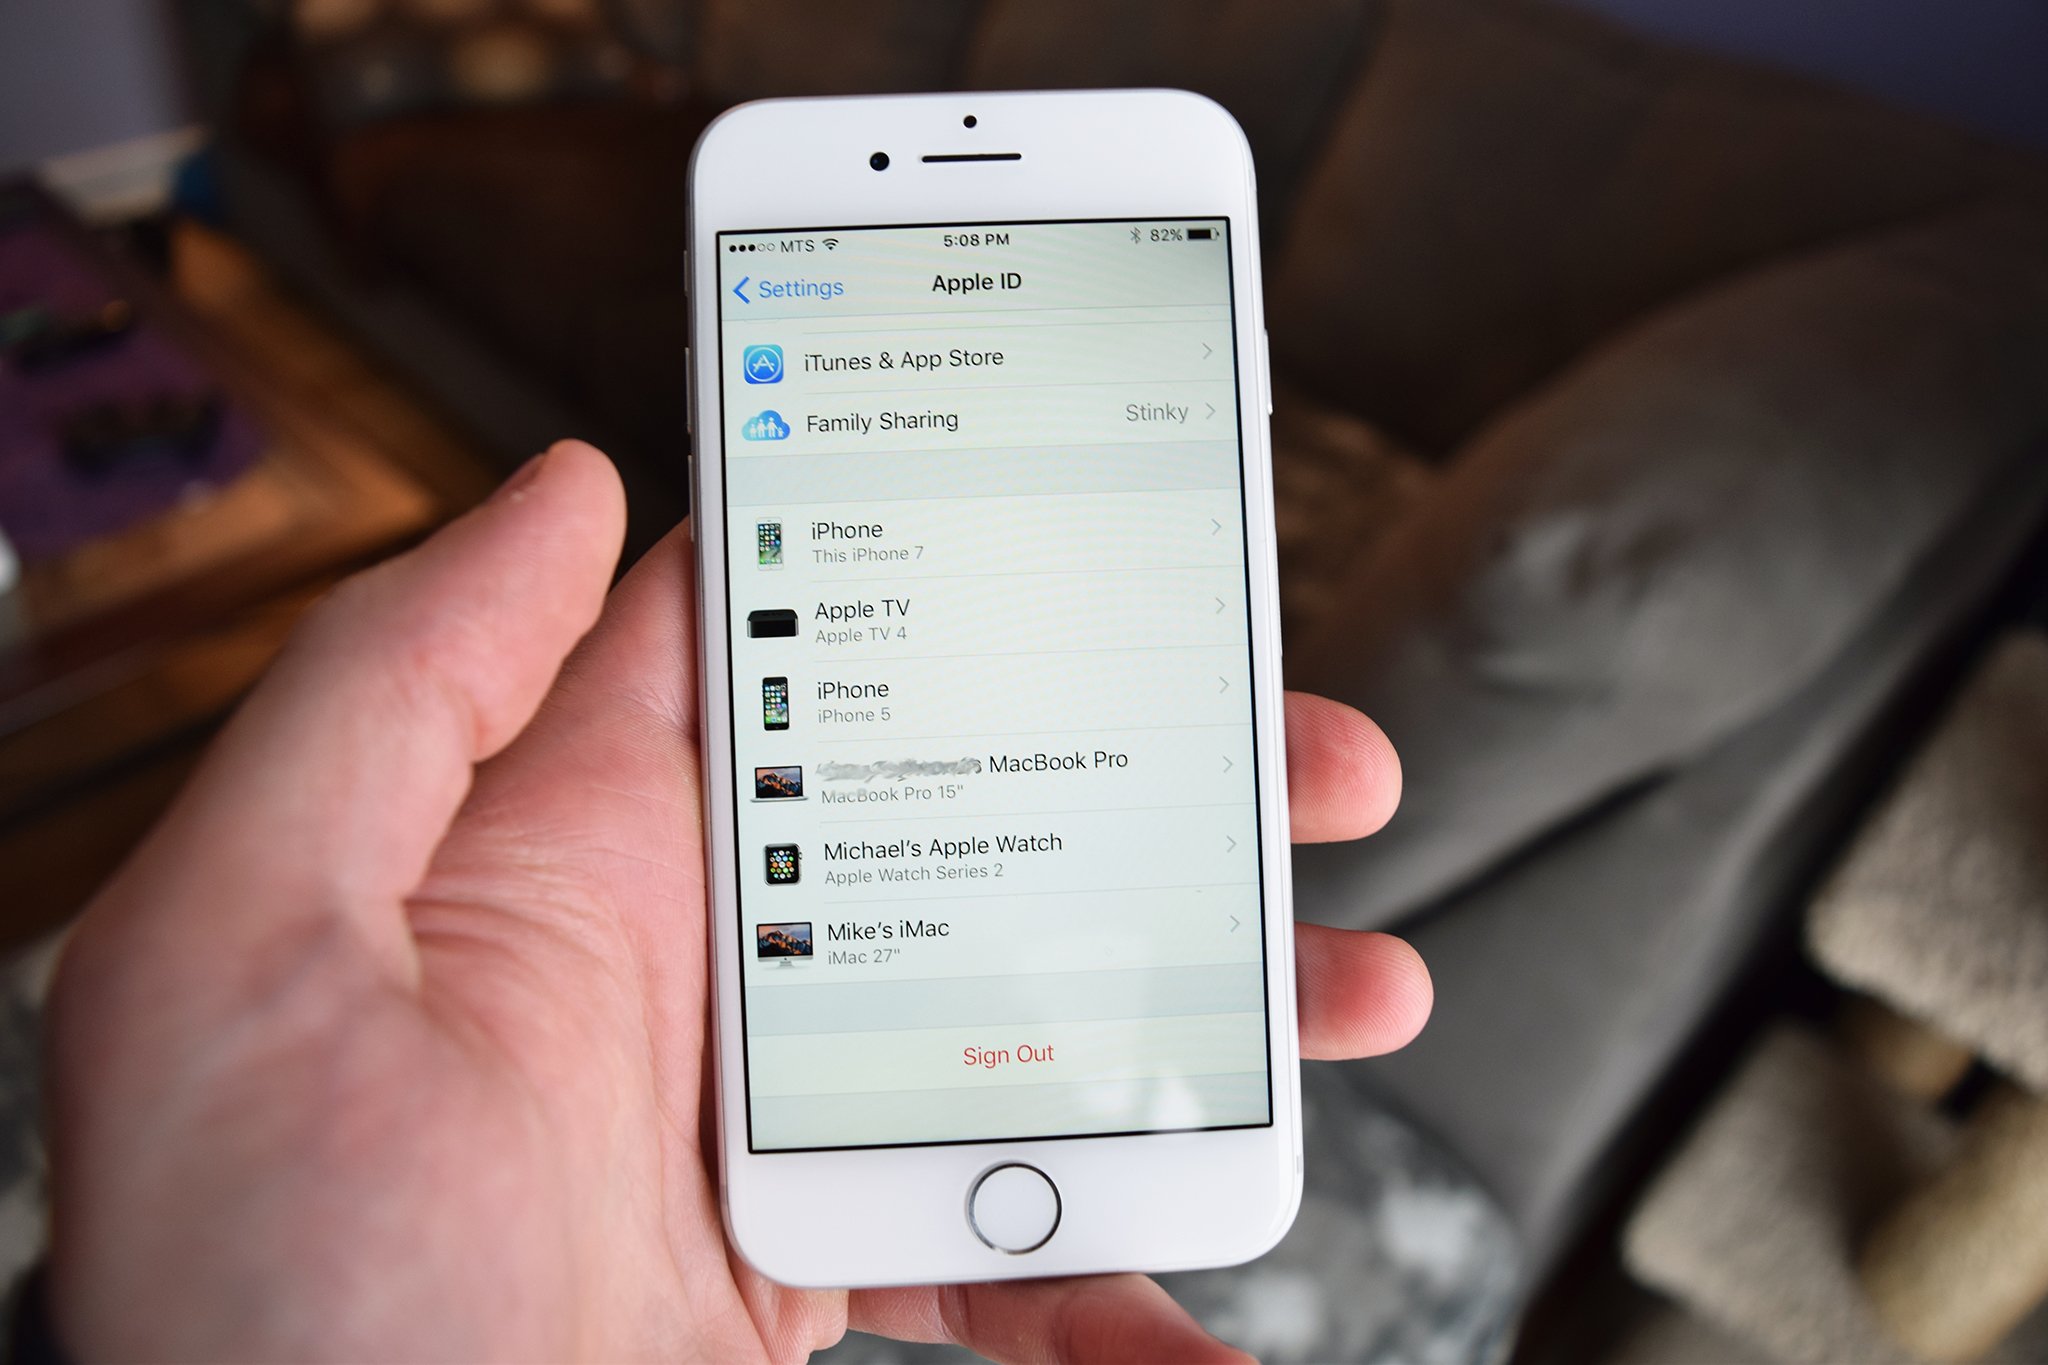
Steps to Change Phone Number in Apple ID
Changing the phone number associated with your Apple ID is a straightforward process that can be done through your device’s settings. By updating your phone number, you ensure that your Apple ID remains up to date and properly linked to your contact information. Follow these simple steps to change your phone number in your Apple ID:
-
Access Apple ID Settings
To begin, navigate to the “Settings” app on your Apple device and tap on your name at the top of the screen. This will take you to your Apple ID settings.
-
Edit Phone Number
In the Apple ID settings menu, locate and tap on the “Phone” option. You will see your current phone number listed. Tap on it to edit the number.
-
Verify the New Phone Number
After tapping on your current phone number, a screen will prompt you to enter your new phone number. Carefully input the new number and ensure its accuracy. Once entered, tap on the “Next” button.
-
Update Apple ID Settings
To finalize the change, Apple will send a verification code to your new phone number. Enter the code when prompted and tap on the “Verify” button. This will confirm the association of your new phone number with your Apple ID. Finally, tap on the “Done” button to save the changes.
Now, your Apple ID is updated with your new phone number, ensuring that your account information is accurate and up to date. It is important to keep your contact information current in case you need to recover your account or receive important notifications from Apple.
Access Apple ID Settings
To change your phone number in your Apple ID, you need to access the Apple ID settings. This can be done easily on your iPhone, iPad, or iPod Touch.
First, open the “Settings” app on your device. This app is represented by a gear icon and can typically be found on your device’s home screen.
Scroll down and tap on your name, which is usually at the top of the Settings menu. This will open the Apple ID settings.
Here, you will see various options related to your Apple ID. Look for the “Phone” option and tap on it.
If your device has Touch ID or Face ID enabled, you may be prompted to authenticate using your fingerprint or facial recognition before you can access the Apple ID settings.
Once you have successfully accessed the Apple ID settings, you can proceed to the next step of changing your phone number.
Edit Phone Number
Once you have accessed your Apple ID settings, you are ready to proceed with editing your phone number. Follow the steps below:
- Locate the “Contact Information” section in the Apple ID settings.
- Under “Contact Information,” you will see your current phone number listed.
- Click on the “Edit” button next to your phone number.
- A new page will open where you can update your phone number.
- Enter your new phone number in the provided field.
- Double-check the number to ensure accuracy.
- If you need to remove your current phone number, click on the “x” button next to it.
- Click “Save” to save your changes.
It is important to note that after you make changes to your phone number, you may need to re-verify it in order to continue using it as your Apple ID contact information. The verification process helps ensure the security of your account.
With these simple steps, you can easily edit your phone number in your Apple ID settings. Keeping your contact information up to date ensures a smooth and secure experience with your Apple devices and services.
Verify the New Phone Number
After editing your phone number in the Apple ID settings, the next step is to verify the new phone number. Verifying the phone number is crucial to ensure that you have access and control over the updated contact information. Follow the steps below to complete the verification process:
1. Open the “Settings” app on your iPhone or iPad.
2. Tap on your Apple ID profile at the top of the Settings menu.
3. Select “Password & Security” from the list of options.
4. Under the “Phone Numbers” section, you will see the option to verify your new phone number. Tap on it.
5. Apple will send a verification code to the new phone number you entered. Check your messages or phone call logs for the code.
6. Enter the verification code in the designated field within the Settings app.
7. Once the code is entered correctly, your new phone number will be successfully verified.
It is important to note that the verification code is time-sensitive, so make sure to enter it promptly when you receive it. If you do not receive the code, you can request a new one by tapping on the “Resend Code” option.
Verifying your new phone number ensures that Apple can securely contact you for account-related notifications or verification purposes. Additionally, it helps protect your account from unauthorized access and provides an extra layer of security.
Once you have successfully verified your new phone number, you can proceed to update your Apple ID settings to save the changes and ensure that your account is associated with the correct contact information.
Update Apple ID Settings
Once you have verified your new phone number, it’s time to update your Apple ID settings. Follow these steps to ensure that your phone number change is reflected across all your Apple devices:
-
Open the “Settings” app on your iPhone or iPad.
-
Scroll down and tap on your name at the top of the screen to access your Apple ID settings.
-
Select “Password & Security”.
-
Tap on “Edit'” next to the “Trusted Phone Numbers” section.
-
Click on the “-” symbol next to your old phone number to remove it.
-
Tap on “Add a Trusted Phone Number” to enter your new phone number.
-
Follow the on-screen instructions to complete the verification process for the new phone number.
-
Once the verification is complete, your new phone number will be added to your list of trusted phone numbers.
-
Make sure that the toggle switch next to your new phone number is turned on to enable it as a trusted number for your Apple ID.
-
Now, your Apple ID settings have been updated with your new phone number. This means that you will receive all the important notifications and security alerts on the new phone number.
It’s important to keep your Apple ID settings up to date to ensure the security and accessibility of your account. By following these steps, you can easily update your phone number in your Apple ID and stay connected with all your Apple devices.
Conclusion
In conclusion, changing your phone number in your Apple ID is a simple process that can be done in just a few steps. By updating your phone number, you can ensure that you receive important notifications and account verification codes on your new number. Remember to always keep your Apple ID updated with your current phone number to avoid any issues with account access and security. If you encounter any difficulties during the process, be sure to reach out to Apple Support for assistance. Now, armed with this knowledge, you can confidently update your phone number in your Apple ID and continue to enjoy the seamless experience of using your Apple devices.
FAQs
FAQ 1: Can I change the phone number associated with my Apple ID?
Yes, you can change the phone number linked to your Apple ID by following a few simple steps. This can come in handy when you switch to a new phone number or want to update your contact information.
FAQ 2: How do I change my phone number in my Apple ID?
To change the phone number associated with your Apple ID, follow these steps:
- Go to the Settings app on your iPhone or iPad.
- Tap on your Apple ID, which is usually located at the top of the Settings menu.
- Choose the “Name, Phone Numbers, Email” option.
- Under the “Phone” section, tap on the phone number you want to change.
- Enter your new phone number and follow the on-screen prompts to verify it.
- Once verified, your new phone number will be updated in your Apple ID.
FAQ 3: Will changing my phone number in my Apple ID affect my iCloud or App Store purchases?
No, changing the phone number associated with your Apple ID will not affect your iCloud or App Store purchases. Your account information, including your previous purchases, will remain intact. However, it is always recommended to have a backup of your important data and ensure that you can access your Apple ID using the new phone number.
FAQ 4: Can I use a landline number or an alternative phone number to change in my Apple ID?
Yes, you can use a landline number or an alternative phone number to change in your Apple ID. When updating your phone number, you have the option to enter any valid phone number that you have access to. Just make sure that you can receive verification codes or calls on the new number to complete the process successfully.
FAQ 5: What should I do if I don’t have access to my old phone number to receive verification codes?
If you don’t have access to your old phone number to receive verification codes, you can choose the option to verify your identity by using other methods like email or answering security questions. This will allow you to regain access to your Apple ID and update your phone number accordingly. It is recommended to keep your contact information up to date to avoid any inconvenience in the future.