
Are you a music lover who recently got a new iPhone? If you’re wondering how to transfer the music from your iPod to your iPhone in the year 2023, you’ve come to the right place. In this article, we’ll guide you through the process of transferring your favorite songs, playlists, and albums from your trusted iPod to your shiny new iPhone. The good news is that it’s easier than ever before with the latest advancements in technology and apps. Whether you have an iPod classic, iPod touch, or any other iPod model, we’ll cover the methods that are compatible with all iPod devices. So get ready to enjoy your music collection on your brand new iPhone. Let’s dive in!
Inside This Article
- Method 1: iTunes Library
- Method 2: Using Third-Party Software
- Method 3: iCloud Music Library
- Conclusion
- FAQs
Method 1: iTunes Library
Transfering music from your iPod to your iPhone can be done easily using iTunes. iTunes is a media management software that allows you to organize and transfer music between your devices.
To transfer music from your iPod to your iPhone using iTunes, follow these steps:
- Connect your iPod to your computer using a USB cable.
- Open iTunes on your computer.
- Select your iPod in the iTunes interface.
- Click on the “Music” tab.
- Ensure that the “Sync Music” option is selected.
- Choose either the “Entire music library” or select specific playlists, artists, or albums that you want to transfer.
- Click on the “Apply” or “Sync” button to start the transfer process.
- Once the transfer is complete, disconnect your iPod from the computer.
- Connect your iPhone to the computer using a USB cable.
- Select your iPhone in the iTunes interface.
- Click on the “Music” tab.
- Ensure that the “Sync Music” option is selected.
- Choose to sync the same music library or select specific playlists, artists, or albums that you want to sync.
- Click on the “Apply” or “Sync” button to start the transfer process to your iPhone.
- Once the transfer is complete, disconnect your iPhone from the computer.
This method allows you to transfer your entire music library from your iPod to your iPhone or select specific songs or playlists. It is a convenient and straightforward way to have all your favorite music on your iPhone.
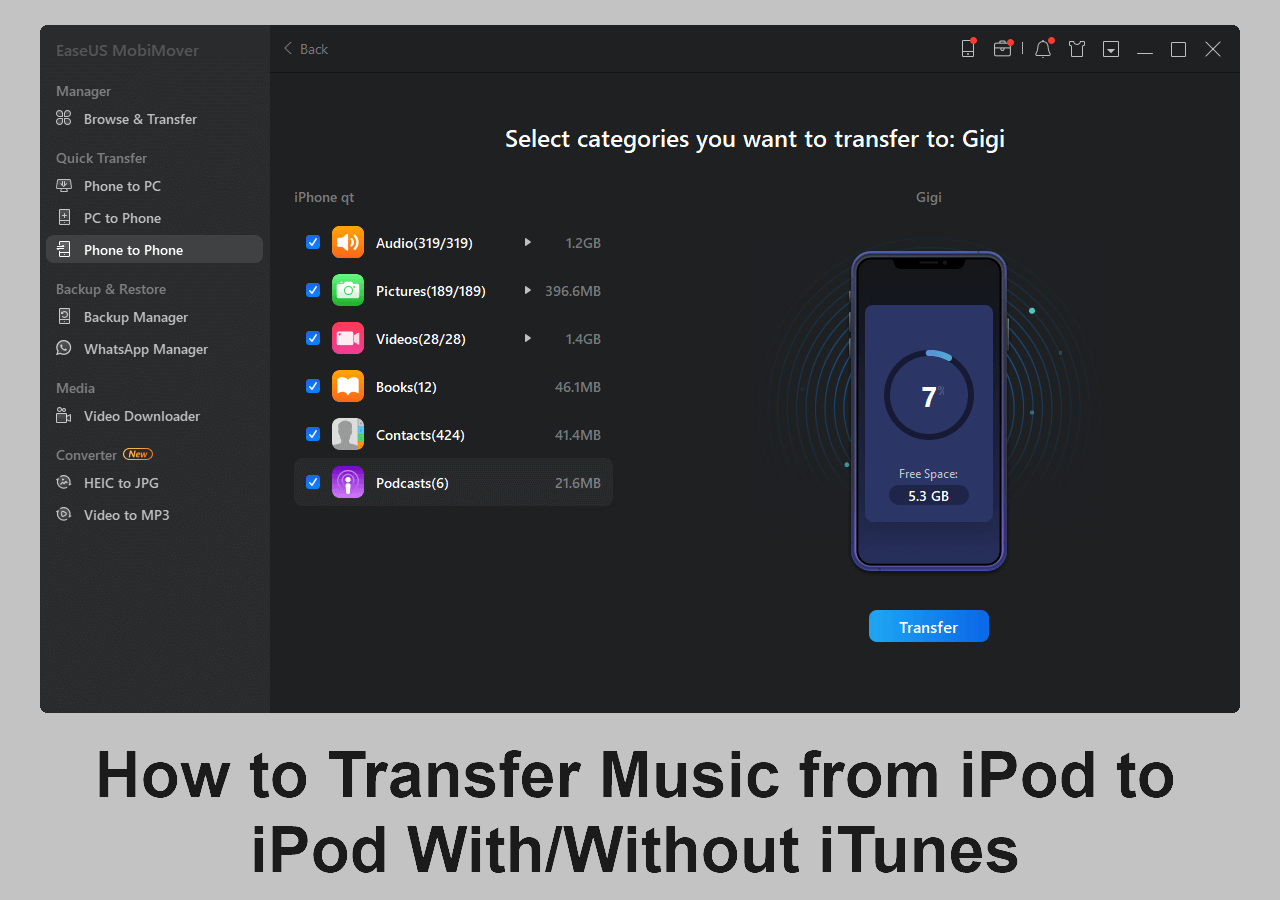
Method 2: Using Third-Party Software
If you’re looking for an alternative way to transfer music from your iPod to your iPhone without using iTunes, you can consider using third-party software. These software tools are designed to provide a more user-friendly and efficient method for transferring files between devices. Here is a step-by-step guide on how to use third-party software to transfer music from your iPod to your iPhone:
1. Research and choose a reliable third-party software: Start by researching and selecting a trusted third-party software that specializes in iPod to iPhone music transfer. Look for software that has positive reviews, a user-friendly interface, and supports both iPods and iPhones.
2. Download and install the software: Once you’ve chosen the software, visit the official website and download the installation package. Follow the on-screen instructions to install the software on your computer.
3. Connect your iPod and iPhone to your computer: Use the USB cables that came with your iPod and iPhone to connect them to your computer. Ensure that the devices are recognized by your computer.
4. Launch the third-party software: Open the software on your computer. It should automatically detect both your iPod and iPhone. If not, follow the software’s instructions to establish the connection.
5. Select the music you want to transfer: Navigate to the music section within the software. You should see the music library of your iPod displayed. Browse through and select the songs you want to transfer to your iPhone.
6. Start the transfer process: Once you’ve selected the music, look for a transfer or sync button within the software. Click on it to initiate the transfer process. The software will begin transferring the selected songs from your iPod to your iPhone.
7. Wait for the transfer to complete: Depending on the size of the music files and the speed of your computer, the transfer process may take a few minutes. Allow the software to complete the transfer before disconnecting your devices.
8. Verify the transferred music on your iPhone: Once the transfer is complete, disconnect your iPod and iPhone from your computer. Open the music app on your iPhone and check if the transferred songs are successfully available in your library.
Using third-party software can provide you with a more straightforward and convenient method to transfer your music from your iPod to your iPhone. Just make sure to choose reputable software that protects your data and offers support in case you encounter any issues during the transfer process.
Method 3: iCloud Music Library
If you prefer a wireless and automated approach to transfer music from your iPod to your iPhone, using iCloud Music Library is a great option. iCloud Music Library is a feature provided by Apple that allows you to sync your music library across multiple Apple devices, including your iPod and iPhone. This means you can access your music collection on any of your devices without the need to physically transfer files.
Here’s how you can transfer music from your iPod to your iPhone using iCloud Music Library:
- Make sure you have an iCloud account and it is set up on both your iPod and iPhone.
- On your iPod, open the Settings app and select “Music”.
- Toggle on the “iCloud Music Library” option.
- Wait for your music library to be uploaded to iCloud. This may take some time depending on the size of your library and your internet connection speed.
- On your iPhone, open the Settings app and select “Music”.
- Toggle on the “iCloud Music Library” option.
- Wait for your iPhone to synchronize with iCloud and download your music library. Again, this process may take some time.
- Once the synchronization is complete, you should be able to access all your music from your iPod on your iPhone.
It’s important to note that using iCloud Music Library requires a stable internet connection, and you may need to have sufficient iCloud storage space to accommodate your music library. Additionally, this method will only transfer the music files that are eligible for iCloud Music Library, which may not include certain DRM-protected songs.
Overall, utilizing iCloud Music Library provides a convenient and seamless way to transfer your music from your iPod to your iPhone. It eliminates the need for manual file transfers and ensures that your music library is always up to date across your Apple devices.
Conclusion
In conclusion, transferring music from iPod to iPhone has become easier than ever thanks to technological advancements. With the help of various methods and tools, you can effortlessly move your favorite tunes from one device to another in just a few simple steps.
Whether you choose to use iTunes, third-party software, or cloud-based solutions, the process is now more seamless and convenient. You no longer have to worry about losing your precious music during the transfer, as these methods ensure all your tracks are safely copied to your iPhone.
Now, you can enjoy your extensive music library on your iPhone without any hassle. So, go ahead and transfer your favorite songs, albums, and playlists from your iPod to your iPhone, and take your music collection wherever you go.
With the power of technology at your fingertips, you can explore a whole new world of possibilities and enjoy your favorite tunes on your iPhone effortlessly.
FAQs
Q: Can I transfer music from my iPod to my iPhone?
A: Yes, you can transfer music from your iPod to your iPhone. There are various methods available to achieve this, such as using iTunes, third-party software, or cloud-based services.
Q: How do I transfer music from my iPod to my iPhone using iTunes?
A: To transfer music from your iPod to your iPhone using iTunes, connect both devices to your computer. In iTunes, select your iPod, go to the “Music” tab, and choose the songs you want to transfer. Then, disconnect your iPod and connect your iPhone. Select your iPhone in iTunes, go to the “Music” tab, and choose to sync the selected music from your iPod.
Q: Are there any third-party software options to transfer music from iPod to iPhone?
A: Yes, there are several third-party software options available that can help you transfer music from your iPod to your iPhone. Some popular ones include iMazing, AnyTrans, and dr.fone – Phone Manager. These tools offer more flexibility and additional features compared to using iTunes.
Q: Can I transfer music from my iPod to my iPhone without a computer?
A: Yes, you can transfer music from your iPod to your iPhone without using a computer by utilizing cloud-based services like iCloud or streaming platforms such as Apple Music or Spotify. These services allow you to sync your music library across devices, making it accessible on your iPhone without the need for a computer.
Q: Will transferring music from my iPod to my iPhone remove the music from my iPod?
A: The process of transferring music from your iPod to your iPhone using iTunes or third-party software typically creates a copy of the music on your iPhone. This means that the songs will still remain on your iPod unless you choose to manually delete them.