
Are you tired of dealing with pesky printer cables and the hassle of connecting your computer to your Canon printer every time you need to print something? Well, we have some good news for you – in this article, we will show you how to add a Canon wireless printer to your home or office network. With a wireless printer, you can enjoy the convenience of printing from any device, anywhere in the vicinity of the printer. Whether you want to print a document from your laptop in the living room or a photo from your smartphone in the bedroom, a wireless Canon printer can make it happen. So, if you’re ready to cut the cords and bring your printing game into the 21st century, keep reading to find out how to add a Canon wireless printer to your setup.
Inside This Article
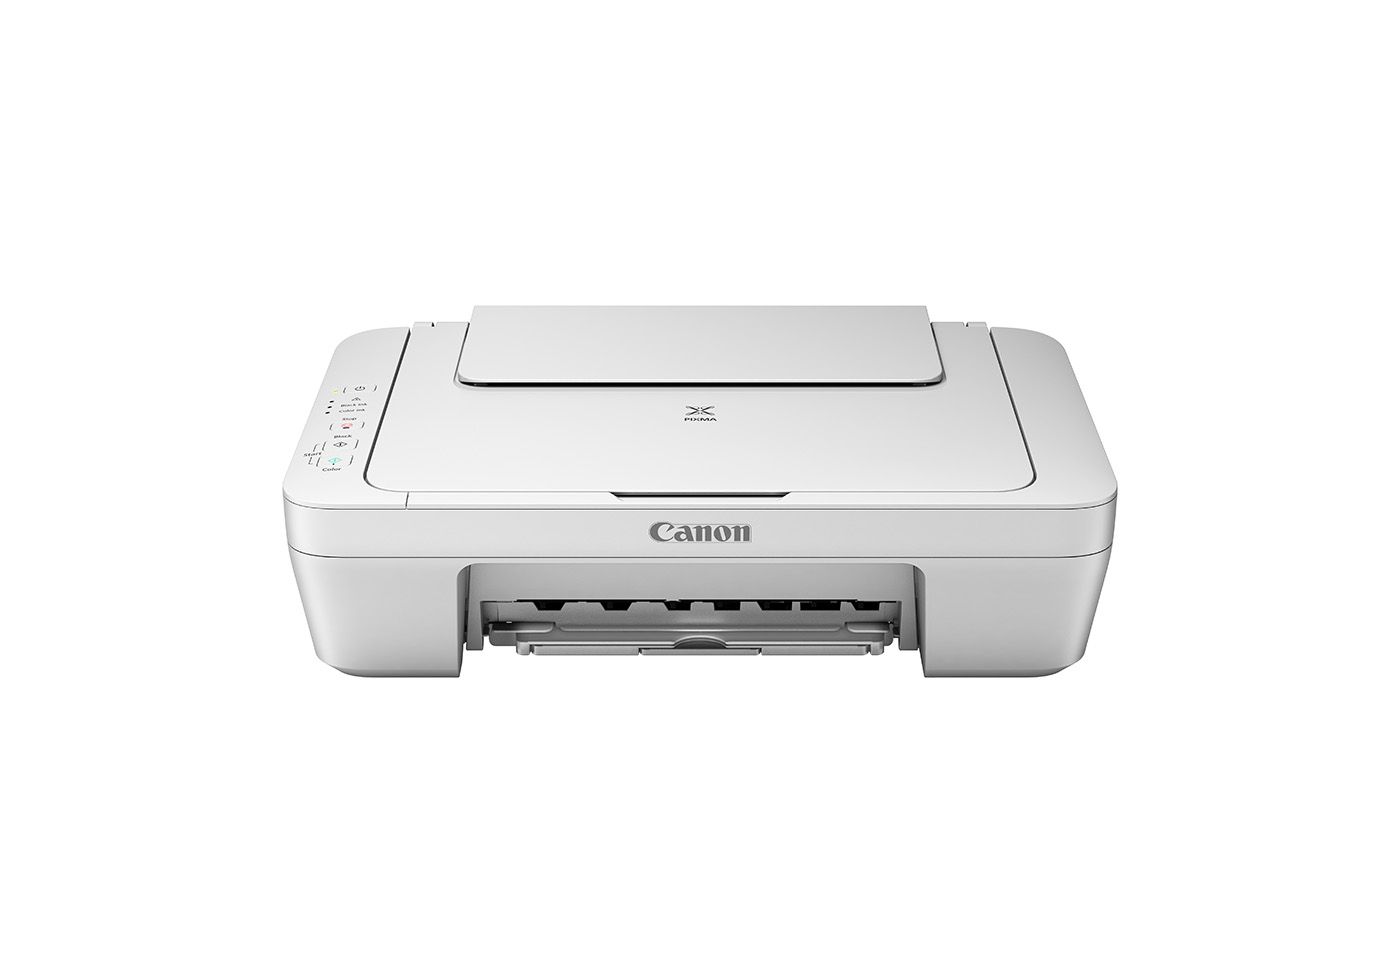
- Overview of Canon Wireless Printer
- Step 1: Setting up the Canon Wireless Printer
- Step 2: Connecting the Canon Wireless Printer to the Network
- Step 3: Installing the Printer Drivers and Software
- Step 4: Adding the Canon Wireless Printer to your Device
- Troubleshooting Common Issues with Canon Wireless Printers
- Conclusion
- FAQs
Overview of Canon Wireless Printer
Canon wireless printers are devices that offer the convenience of printing wirelessly from your computer, smartphone, or tablet. These printers utilize Wi-Fi technology to connect to your devices, eliminating the need for cumbersome cables and allowing you to print documents, photos, or other files from anywhere within the range of your wireless network.
Canon wireless printers come in a variety of models, offering different features and functionalities to suit various needs and budgets. Whether you’re a student, a professional, or a home user, there’s a Canon wireless printer that can cater to your specific requirements.
With a Canon wireless printer, you can enjoy the flexibility of printing documents and photos without being tied down to a specific physical location. You can easily print wirelessly from your living room, office, or even while on the go. This makes printing a hassle-free and seamless experience, allowing you to be more productive and efficient in your everyday tasks.
Setting up and using a Canon wireless printer is relatively straightforward, and in this article, we will guide you through the process step by step. From the initial setup to connecting the printer to your network and installing the necessary drivers and software, we will cover everything you need to know to get started with your Canon wireless printer.
So, if you’re ready to say goodbye to tangled cables and enjoy the convenience of wireless printing, let’s dive into the detailed steps of setting up and adding a Canon wireless printer to your devices.
Step 1: Setting up the Canon Wireless Printer
Setting up a Canon wireless printer is a relatively simple process that can be completed in just a few steps. Before you begin, make sure you have the necessary equipment and tools. Here’s a step-by-step guide to help you get started:
1. Unpack the printer: Remove the printer from its packaging and carefully remove any protective materials. Make sure to read the instruction manual for any specific setup instructions.
2. Connect the power cord: Plug one end of the power cord into the printer and the other end into a power outlet. Ensure that the printer is securely connected to a stable power source.
3. Set up the ink cartridges: Open the ink cartridge compartment and install the provided ink cartridges. Follow the instructions in the manual or on the printer’s display to properly insert the cartridges.
4. Turn on the printer: Press the power button to turn on the printer. Wait for the printer to initialize and go through its startup process.
5. Adjust the settings: Use the printer’s control panel or the display screen to adjust basic settings such as language, date, and time. Follow the prompts on the screen to make the necessary adjustments.
6. Connect to a Wi-Fi network: Most Canon wireless printers support Wi-Fi connectivity. Use the printer’s control panel or the display screen to connect the printer to your Wi-Fi network. Follow the on-screen instructions and enter the necessary network credentials.
7. Test the connection: Once the printer is connected to the Wi-Fi network, it’s a good idea to print a test page to verify the connection and ensure that the printer is functioning correctly.
8. Install the necessary software: To fully utilize the features of your Canon wireless printer, you may need to install the printer drivers and software. Insert the provided installation disc or visit the Canon website to download the required software.
9. Follow the on-screen instructions: Once the software installation is complete, follow the on-screen instructions to finalize the printer setup. This may include registering the printer, configuring settings, and performing any necessary updates.
By following these steps, you can successfully set up your Canon wireless printer and start enjoying the convenience of wireless printing. It’s important to refer to the printer’s manual for any specific instructions that may vary based on the model or additional features of your printer.
Step 2: Connecting the Canon Wireless Printer to the Network
Once you have completed the initial setup of your Canon wireless printer, the next step is to connect it to your network. This allows you to print wirelessly from any device connected to the same network, such as your computer, smartphone, or tablet. Follow these steps to easily connect your Canon wireless printer to the network:
1. Start by making sure that your printer is turned on and in a ready state. Check that it has power and that there are no error messages or flashing lights indicating any issues.
2. Locate the Wi-Fi button or menu on your Canon wireless printer. This button may be labeled differently depending on the model, but it is usually represented by an icon of a wireless signal or has the word “Wi-Fi” next to it.
3. Press and hold the Wi-Fi button on your Canon printer until the wireless indicator light starts flashing. This indicates that the printer is ready to be connected to a network.
4. On your computer or mobile device, navigate to the Wi-Fi settings. Look for the list of available networks and find the one that corresponds to your Canon wireless printer. The network name should contain “Canon” followed by the model number of your printer.
5. Select the Canon wireless printer network and enter the Wi-Fi password, if prompted. The password is usually located on a sticker on the back or bottom of the printer. If you can’t find it, refer to the printer’s manual or contact Canon support for assistance.
6. Once you have entered the Wi-Fi password, your device will connect to the Canon printer network. You may need to wait a few moments for the connection to be established.
7. After the connection is successful, you can proceed to install the necessary printer drivers and software on your device. This will enable you to send print jobs to the Canon wireless printer from your computer or mobile device.
That’s it! You have successfully connected your Canon wireless printer to the network. You can now enjoy the convenience of wireless printing from any device within range of the network. Remember to keep the printer and your device connected to the same network for seamless printing.
Step 3: Installing the Printer Drivers and Software
Once you have set up and connected your Canon wireless printer to the network, the next step is to install the necessary printer drivers and software. These components allow your computer or device to communicate with the printer and ensure proper functionality. Here’s how you can easily install the printer drivers and software:
1. Check for Compatibility: Before you begin the installation process, make sure that your computer or device is compatible with the Canon printer drivers. Visit the Canon website or refer to the user manual to ensure compatibility with your operating system.
2. Download Drivers: Head over to the Canon website and navigate to the ‘Support’ section. Search for your specific printer model and locate the drivers and software download page. Choose the appropriate drivers for your operating system and download them onto your computer.
3. Run the Installer: Locate the downloaded driver file on your computer and double-click on it to run the installer. Follow the on-screen prompts to initiate the installation process. Make sure to carefully read and accept any license agreements or terms of use that may pop up.
4. Connect the Printer: During the installation process, you may be prompted to connect your Canon wireless printer to the computer or device. Follow the instructions provided and ensure that the printer is powered on and in range of the network connection.
5. Complete the Installation: Once the installation of the printer drivers and software is initiated, the setup wizard will guide you through the remaining steps. This may include selecting the installation location, configuring additional settings, or setting up wireless connections. Follow the prompts until the installation is complete.
6. Test the Printer: After the installation is finished, it’s a good idea to test the functionality of your Canon wireless printer. Print a test page or try printing a document to verify that everything is working properly. If any issues arise, refer to the troubleshooting section provided in the user manual or contact Canon support for assistance.
By following these steps, you can easily install the necessary printer drivers and software for your Canon wireless printer. This ensures seamless communication between your device and the printer, allowing you to print documents and photos with ease.
Step 4: Adding the Canon Wireless Printer to your Device
After completing the previous steps of setting up the Canon wireless printer, connecting it to the network, and installing the necessary drivers and software, it’s time to add the printer to your device. Whether you’re using a Windows computer, a Mac, or a mobile device, the process is relatively straightforward.
1. Windows Computer: On your Windows computer, go to the “Start” menu and open the “Settings” app. From there, select “Devices” and then click on “Printers & scanners” in the left-hand menu. Click on the “Add a printer or scanner” button and Windows will automatically search for available printers. Once your Canon wireless printer is detected, click on it and select “Add device.” Windows will then install the necessary drivers and your printer will be added successfully.
2. Mac Computer: If you’re using a Mac computer, click on the Apple menu in the top left corner and select “System Preferences.” In the System Preferences window, click on “Printers & Scanners.” Click on the “+” button on the left side to add a new printer. Your Mac will then search for available printers, and once your Canon wireless printer is found, click on it and select “Add.” Your printer will be added to your Mac successfully.
3. Mobile Device: To add your Canon wireless printer to your mobile device, ensure that your device is connected to the same network as your printer. On your mobile device, go to “Settings” and then select “Printers” or “Printing.” The exact location may vary depending on the device and operating system. Tap on the option to add a new printer, and your device will search for available printers. Once your Canon wireless printer is detected, tap on it and follow any on-screen prompts to complete the setup process.
Adding your Canon wireless printer to your device allows you to print documents, photos, and other files wirelessly without the need for any cumbersome cables. It provides convenience and flexibility, especially in today’s fast-paced digital world. By following these simple steps, you can seamlessly integrate your Canon wireless printer into your computing or mobile setup.
Remember to cross-check the manufacturer’s instructions and consult the user manual for any specific device recommendations or troubleshooting tips that may apply to your Canon wireless printer model.
Troubleshooting Common Issues with Canon Wireless Printers
Canon wireless printers offer the convenience of printing documents and photos wirelessly from your computer, smartphone, or tablet. However, like any technology, they can occasionally encounter issues that may disrupt your printing experience. In this guide, we will explore some common issues that you may encounter with your Canon wireless printer and provide troubleshooting tips to help you resolve them.
1. Connection Problems: One of the most common issues with wireless printers is connectivity problems. If your printer is not connecting to your computer or device, check that both the printer and device are connected to the same Wi-Fi network. Restarting the printer and router can also help resolve connectivity issues. Additionally, ensure that the printer has a strong signal and is within range of the Wi-Fi router.
2. Print Quality Issues: If you notice that your prints are coming out with streaks, smudges, or faded colors, it may be due to print quality issues. Start by checking the ink or toner levels and replace them if necessary. Cleaning the print heads or running a print head alignment can also improve print quality. It is also advisable to use genuine Canon ink or toner cartridges for optimal results.
3. Paper Jams: Paper jams can be frustrating, but they are relatively common with any printer, including wireless models. When dealing with a paper jam, carefully remove any jammed paper from the printer. Check for any torn pieces of paper and clear them out. Make sure you are using the correct type and size of paper recommended for your Canon printer.
4. Printer Offline: Sometimes, your Canon wireless printer may show as “Offline” on your computer or device, even if it is turned on and connected to the network. In such cases, try restarting both the printer and your computer or device. If the issue persists, check the printer settings on your device and ensure it is set as the default printer. Reinstalling the printer drivers and software can also help resolve offline issues.
5. Wireless Signal Interference: Interference from other electronic devices or neighboring Wi-Fi networks can affect the wireless signal of your Canon printer. To minimize signal interference, ensure that the printer is placed away from other devices emitting wireless signals. If possible, change the channel of your Wi-Fi network to avoid overlapping with nearby networks.
6. Slow Printing: If your Canon wireless printer is printing documents or photos at a slow pace, check the print settings on your computer or device. High-resolution images or complex documents can take longer to print. Adjusting the print quality settings to a lower resolution or selecting the “Fast” print mode can help speed up the printing process.
Remember, if you encounter any issues with your Canon wireless printer that you cannot resolve on your own, it’s always a good idea to consult the printer’s user manual or contact Canon’s customer support for further assistance. By following these troubleshooting tips, you can ensure a smooth and hassle-free printing experience with your Canon wireless printer.
Conclusion
In conclusion, adding a Canon wireless printer to your setup is a simple and convenient process. By following the steps outlined in this article, you can quickly connect and configure your printer to enjoy wireless printing from any device in your home or office.
Wireless printing offers numerous benefits, including increased flexibility, convenience, and the ability to print from multiple devices without the hassle of cables. With the advancements in wireless technology, setting up a Canon wireless printer is now easier than ever.
Whether you are a student, professional, or a home user, having a wireless printer can streamline your printing tasks and make your work more efficient. So why wait? Go ahead and add a Canon wireless printer to your setup today, and enjoy the convenience of wireless printing!
FAQs
Q: How do I connect my Canon wireless printer to my computer?
A: To connect your Canon wireless printer to your computer, first, make sure that your printer and computer are both connected to the same Wi-Fi network. Then, using the control panel on your printer, navigate to the wireless settings menu and select the option to connect to a Wi-Fi network. Follow the on-screen instructions to select your network and enter the password if prompted. Once connected, you can install the printer driver on your computer and start printing wirelessly.
Q: Can I print from my mobile devices to a Canon wireless printer?
A: Yes, you can print from your mobile devices to a Canon wireless printer. Canon provides mobile printing solutions, such as the Canon PRINT app, which allows you to print directly from your smartphone or tablet. Simply download the app from your device’s app store, connect your printer and mobile device to the same Wi-Fi network, and follow the instructions in the app to select and print your desired documents or photos.
Q: How do I find the IP address of my Canon wireless printer?
A: To find the IP address of your Canon wireless printer, you can refer to the printer’s instruction manual or follow these steps:
1. Press the Setup button on your printer.
2. Select Network Setup, followed by LAN settings.
3. Choose Confirm LAN settings or IP Address settings.
4. The IP address will be displayed on the printer’s LCD screen.
Q: Can I connect multiple devices to my Canon wireless printer?
A: Yes, you can connect multiple devices to your Canon wireless printer. As long as the devices are connected to the same Wi-Fi network as the printer, they should be able to send print jobs to it. However, please note that some printers have a limit on the number of concurrent connections, so it’s recommended to check your printer’s documentation for any restrictions.
Q: How do I troubleshoot common issues with a Canon wireless printer?
A: If you encounter issues with your Canon wireless printer, here are some common troubleshooting steps you can try:
1. Ensure that the printer and your computer or mobile device are connected to the same Wi-Fi network.
2. Restart your printer, computer, and Wi-Fi router.
3. Update the printer driver on your computer to the latest version.
4. Check for any error messages on the printer’s display and refer to the printer’s manual for troubleshooting steps specific to your model.
5. If all else fails, reach out to Canon customer support for further assistance.