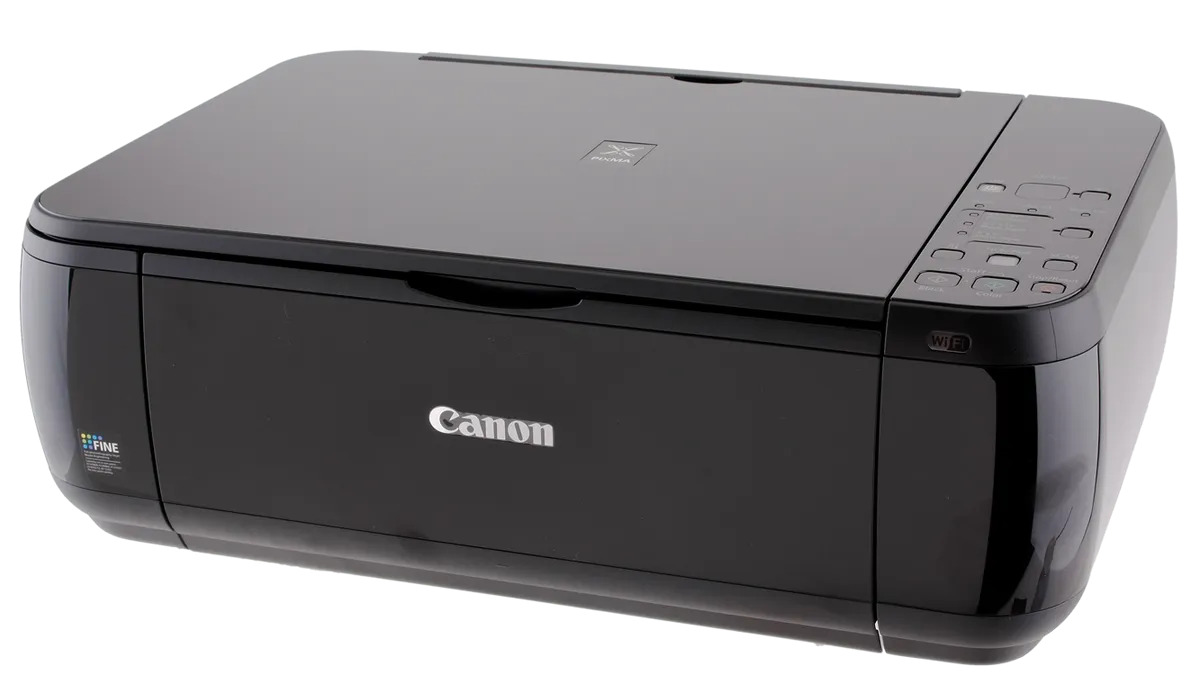
To connect a Chromebook to a Canon wireless printer, both devices must be on the same Wi‑Fi network, then you add the printer in Chromebook settings. If automatic discovery fails, you can set it up manually using the printer’s IP address and the IPP protocol.
How to connect your Chromebook to a Canon wireless printer
The modern method for wireless printer setup relies on the printer’s network connection rather than cloud services. Your Chromebook and Canon printer need to share the same Wi‑Fi network. Once connected, you add the printer through Chromebook settings. If the printer does not appear automatically, a manual IPP setup using the printer’s IP address will work.
Step 1: Connect your Canon printer and Chromebook to the same Wi‑Fi network
- Turn on the Canon printer.
- Verify Canon printer model supports wireless connectivity by checking the user manual or Canon website.
- Connect the printer to your Wi‑Fi network (refer to your printer’s instructions for network setup).
- Turn on the Chromebook and sign in.
- Connect the Chromebook to the identical Wi‑Fi network the printer is using.
- Check Chromebook model compatibility by going to Settings > About Chrome OS > Detailed build information to see if wireless printing is supported.
Step 2: Add your Canon printer in Chromebook settings
- At the bottom right of the Chromebook screen, select the time.
- Select Settings.
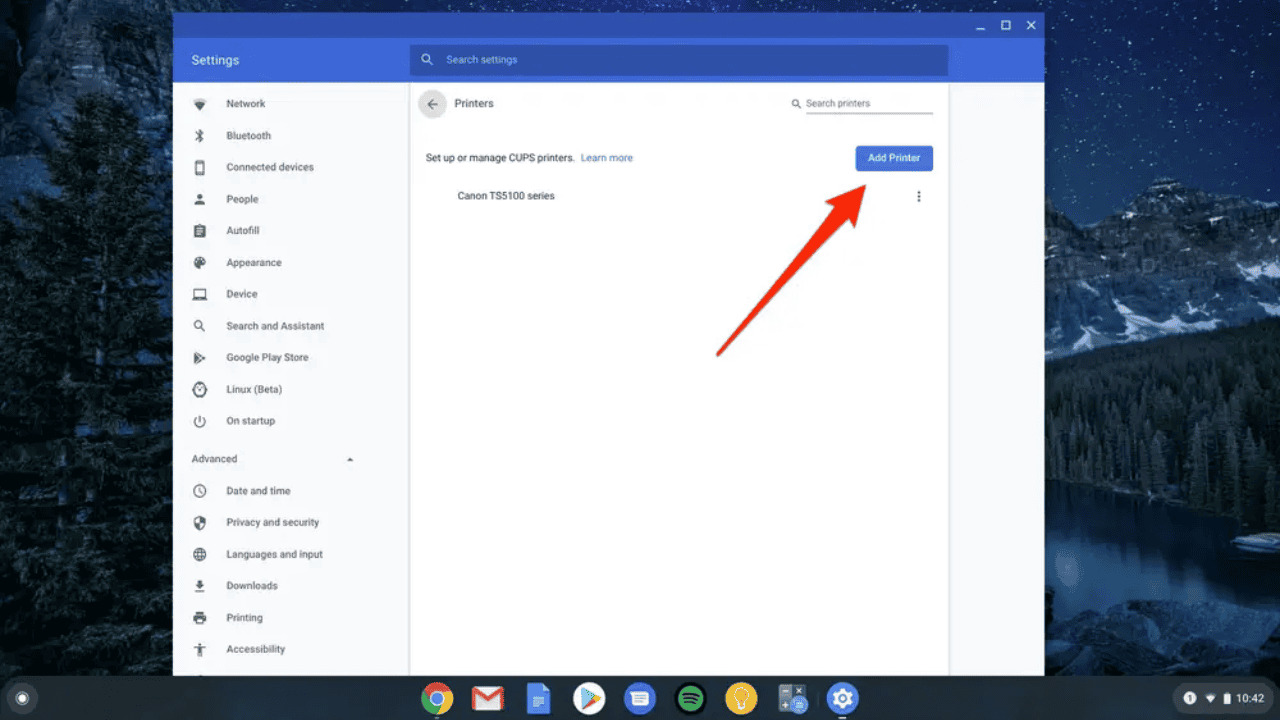
- Under Device, scroll to Printers and scanners or Printing.
- Select Print.
- Under Other available printers, locate your Canon printer and select Save next to it.
- If prompted to finish setup, choose the printer manufacturer (Canon) and model, then select Add.
Step 3: Add the printer manually if it does not appear automatically
- In the same Printers and scanners section, select Add printer manually or Add printer.
- Enter the following details:
- Name: any name you choose.
- Address: the printer’s IP address.
- Protocol: IPP (Internet Printing Protocol).
- Queue: ipp/print.
- Select the printer manufacturer (Canon) and model, then select Add.
To print, press Ctrl + P, open Destination, select the down arrow, choose See more..., and select your Canon printer.
Troubleshooting common connection problems
- Verify both devices are on the same network: Confirm the Chromebook and printer are connected to the identical Wi‑Fi network.
- Find the printer’s IP address: If you need the IP address, check the printer’s display or network settings, or contact the printer manufacturer for instructions.
- Confirm the printer appears under ‘Your saved printers’: If the printer was previously added, check that it is listed there.
- Restart both devices: Power off the Chromebook and printer, then turn them back on and try again.
- Reinstall printer driver from Canon website if driver is outdated or corrupted.
- Check firewall settings on Chromebook that might be blocking printer connection.
- Clear stuck print jobs from the print queue if they cause connection issues.
- Consult Canon customer support if all troubleshooting options fail.
Frequently Asked Questions
Does this require Google Cloud Print?
No. Google Cloud Print is discontinued and no longer supported. The current method uses the printer’s network connection directly.
What protocol should I use for most printers?
Google’s Chromebook help recommends using IPP (Internet Printing Protocol) for manual setup.
What queue should I use for most printers?
For most printers, the queue should be set to ipp/print.
Where do I add the printer on Chromebook?
Go to Settings > Device > Printers and scanners > Print.
What if the Canon printer is not found automatically?
Add it manually using the printer’s IP address, selecting IPP as the protocol and ipp/print as the queue.
Can I print directly from Chrome OS without installing additional drivers?
Yes, Chrome OS has built-in print capabilities for select Canon wireless printers.
How to print from a specific app on Chromebook
Open app, find Print or Share option, select Canon printer, adjust settings, print.
Related reading: How To Connect Laptop To Wireless Canon Printer and How To Connect Canon Mx922 Wireless.