
Are you looking to change the code on your Chamberlain wireless keypad? Perhaps you recently moved into a new home or want to update your access code for added security. Whatever the reason, knowing how to change the code on a Chamberlain wireless keypad is a valuable skill. In this article, we will guide you through the process step-by-step, ensuring that you can easily and confidently update your keypad’s code. With our expert tips and instructions, you’ll have peace of mind knowing that only authorized individuals can gain access to your property. So, let’s dive in and discover how to change the code on a Chamberlain wireless keypad!
Inside This Article
- Overview of Chamberlain Wireless Keypad
- Step 1: Accessing the Keypad Programming Mode
- Step 2: Clearing the Existing Programming
- Step 3: Entering the New Code
- Step 4: Verifying the New Code
- Additional Tips and Troubleshooting
- Conclusion
- FAQs
Overview of Chamberlain Wireless Keypad
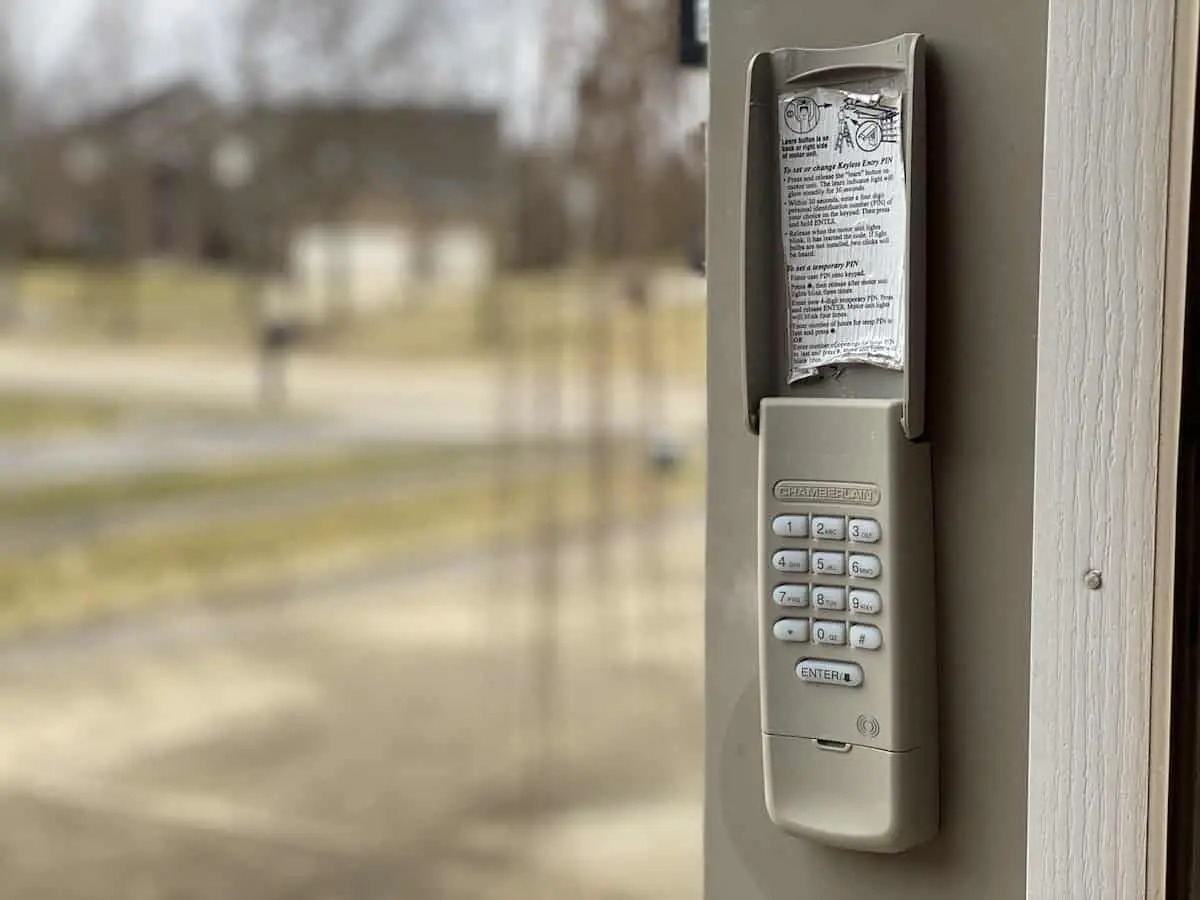
The Chamberlain wireless keypad is a convenient and secure way to access your garage or gate without the need for a physical key or remote control. With its wireless technology, you can easily enter a personalized code to open and close your garage door or gate.
Designed with advanced security features, the Chamberlain wireless keypad ensures that only authorized individuals can gain access to your property. It offers a reliable and easy-to-use solution for homeowners who desire enhanced safety and convenience.
This versatile device is compatible with a wide range of Chamberlain garage door openers and gate operators. It provides a seamless integration with existing systems, allowing for smooth operation and quick setup.
Whether you need to grant access to family members, friends, or service professionals, the Chamberlain wireless keypad offers a hassle-free solution. It eliminates the need to carry around keys or remotes, making it a practical choice for busy households.
Additionally, the keypad is designed with durability in mind. Engineered to withstand various weather conditions, it is built to last and provide reliable performance throughout the seasons.
In the following sections, we will guide you through the process of changing the code on your Chamberlain wireless keypad. By following these simple steps, you can ensure that your property remains secure while enjoying the convenience of wireless access.
Step 1: Accessing the Keypad Programming Mode
The first step in changing the code on a Chamberlain wireless keypad is to access the keypad programming mode. This mode allows you to enter the programming sequence and make changes to the existing code.
To access the keypad programming mode, follow these steps:
- Locate the “Learn” button on your Chamberlain garage door opener. The location of this button may vary depending on the model, so refer to your owner’s manual if you’re unsure.
- Press and release the “Learn” button. This will activate the keypad programming mode on your Chamberlain opener.
- Within 30 seconds of pressing the “Learn” button, enter your current four-digit access code on the wireless keypad and press the “Enter” button. This will successfully put your wireless keypad into programming mode.
Once you have accessed the keypad programming mode, you can proceed to the next step of clearing the existing programming.
Step 2: Clearing the Existing Programming
Before you proceed with changing the code on your Chamberlain Wireless Keypad, it’s essential to clear the existing programming. This ensures that any previously programmed codes are deleted, providing a fresh slate to enter your new code.
To clear the existing programming, follow these simple steps:
- Locate the “Learn” button on the motor unit of your garage door opener. This button is usually found near the antenna wire and is often colored either purple or red.
- Press and hold down the “Learn” button for approximately 10 seconds until the indicator light on the motor unit turns off. This action clears the memory of the opener, erasing any previously programmed codes.
- Release the “Learn” button once the indicator light turns off. This indicates that the existing programming has been successfully cleared.
Clearing the existing programming is an important step in ensuring the security and functionality of your Chamberlain Wireless Keypad. By clearing out any old codes, you prevent unauthorized access and allow for the smooth integration of a new code.
Note that clearing the existing programming will also remove any remote controls or keypads that were previously paired with your garage door opener. With the programming cleared, you can now proceed to the next step of entering your new code.
Step 3: Entering the New Code
Once you have cleared the existing programming on your Chamberlain wireless keypad, you are ready to enter the new code. Follow these simple steps to set the new code:
- Press the “Learn” or “Program” button on the keypad. This button is usually located on the back or side of the keypad.
- You will see a LED light or hear a beep, indicating that the keypad is in programming mode.
- Enter your desired code using the keypad’s number buttons. The code can be anywhere between 3 to 8 digits long, depending on the model of your Chamberlain wireless keypad.
- Make sure to input the code correctly, as any mistake may prevent the keypad from functioning properly.
- After entering the new code, press the “Enter” or “Program” button on the keypad to save the code.
Once you have successfully entered and saved the new code, the keypad will exit programming mode, and you can start using your Chamberlain wireless keypad with the new code to access your garage or gate.
It’s important to note that changing the code on your Chamberlain wireless keypad regularly adds an extra layer of security to your property. Remember to choose a code that is easy for you to remember but hard for others to guess. Avoid using common or predictable codes like birthdates or phone numbers.
Step 4: Verifying the New Code
After entering the new code on your Chamberlain wireless keypad, it is crucial to verify that the code has been successfully set and is functioning correctly. Follow these simple steps to ensure that your new code is working as expected:
1. Close the keypad cover: Once you have entered the new code, close the cover of your Chamberlain wireless keypad securely.
2. Test the new code: Stand in close proximity to your garage door opener and enter the new code on the keypad. Make sure to press each digit carefully and accurately. If the code has been entered correctly, you should hear a clicking sound, indicating that the keypad has successfully transmitted the code to the garage door opener.
3. Observe the garage door: Watch closely as you enter the new code. If the code is correct, the garage door should begin to open or close, depending on the command you have entered.
4. Test from a distance: Step away from the garage door and try operating it using the new code from a distance. This will help ensure that the signal from the keypad can reach the garage door opener effectively. If the garage door responds to the new code from a distance, it means the verification was successful.
5. Repeat the process: It’s always a good idea to repeat the steps above a couple of times to confirm the accuracy and consistency of the new code. By testing the new code multiple times, you can ensure that it is reliably working before completely relying on it for regular use.
Pro tip: If you experience any issues or the new code doesn’t seem to be working, you might need to repeat the programming process from Step 1 to Step 4. Double-check that you are following the instructions correctly and consult the Chamberlain wireless keypad’s user manual for troubleshooting advice.
By following these steps and verifying the new code on your Chamberlain wireless keypad, you can have the peace of mind knowing that your garage door is secure and accessible using the updated code.
Additional Tips and Troubleshooting
When changing the code on a Chamberlain wireless keypad, there are a few additional tips and troubleshooting steps that can help ensure a smooth process and troubleshoot any potential issues. Here are some things to keep in mind:
1. Use a memorable code: When selecting a new code, choose one that is easy to remember but difficult for others to guess. Avoid using commonly used codes like birthdates or addresses, as these can compromise the security of your keypad.
2. Test the new code: After entering the new code, be sure to test it to make sure it works correctly. Close the garage door, enter the new code on the keypad, and open the door again to verify that the code is functioning as intended.
3. Keep the keypad clean: Regularly clean the keypad to prevent dirt and debris from interfering with its operation. Use a soft cloth and mild soap to gently clean the keypad, taking care not to get water inside the device.
4. Replace the battery: If the keypad is not responding or the buttons are not working properly, it may be due to a low battery. Replace the battery with a fresh one, following the manufacturer’s instructions, and test the keypad again.
5. Check the range: If the keypad is not working from a distance, check the range of the wireless signal. Make sure there are no obstacles, such as walls or other electronic devices, blocking the signal between the keypad and the garage door opener.
6. Consult the user manual: If you encounter any issues or have questions about changing the code on your Chamberlain wireless keypad, refer to the user manual provided by the manufacturer. The manual contains detailed instructions and troubleshooting tips specific to your model.
7. Contact customer support: If you have followed all the steps and troubleshooting tips and the keypad is still not functioning properly, consider reaching out to Chamberlain’s customer support. They will be able to assist you further with any technical issues you may be experiencing.
By following these additional tips and troubleshooting steps, you can ensure a successful code change on your Chamberlain wireless keypad. Remember to prioritize the security of your code and regularly maintain the keypad for optimal performance.
Changing the code on a Chamberlain wireless keypad can provide added security for your home or business. By following the instructions provided by the manufacturer, you can easily update the code and ensure that only authorized individuals have access to your property. This simple process can give you peace of mind and enhance the overall security of your premises.
FAQs
1. How do I change the code on a Chamberlain wireless keypad?
To change the code on a Chamberlain wireless keypad, follow these steps:
1. Locate the “Learn” button on the back of your garage door opener.
2. Press and hold the “Learn” button until the indicator light next to it starts blinking.
3. Enter your desired new code on the wireless keypad and press the “Enter” button.
4. Wait for the indicator light on the garage door opener to stop blinking, indicating that the new code has been successfully programmed.
5. Test the new code by entering it on the wireless keypad and verifying that the garage door opens or closes as expected.
2. Can I change the code on my Chamberlain wireless keypad from my smartphone?
No, you cannot change the code on a Chamberlain wireless keypad directly from your smartphone. The code can only be changed using the “Learn” button on the garage door opener itself.
3. Is it necessary to change the code on my Chamberlain wireless keypad regularly?
While it is not necessary to change the code on your Chamberlain wireless keypad regularly, it is a good security practice to do so occasionally. Changing the code adds an extra layer of protection against unauthorized access to your garage.
4. What should I do if I forget the code for my Chamberlain wireless keypad?
If you forget the code for your Chamberlain wireless keypad, you will need to reset it to regain access to your garage. To reset the code, you can follow the same steps as changing the code. Press and hold the “Learn” button on the garage door opener, wait for the indicator light to start blinking, and then enter a new code on the wireless keypad followed by the “Enter” button.
5. Can I set a temporary code for my Chamberlain wireless keypad?
Yes, you can set a temporary code for your Chamberlain wireless keypad to provide temporary access to guests or service providers. Chamberlain wireless keypads usually have a “Temporary PIN” feature that allows you to set a code that will only work for a specified period of time. Refer to the product manual or contact Chamberlain support for specific instructions on setting a temporary code for your wireless keypad.