
If you’re looking to enhance the security and convenience of your garage door, a Genie Wireless Keypad may be the perfect solution. Programming the keypad allows you to control and operate your garage door without a traditional remote. Whether you’re returning home from a jog, want to give temporary access to a neighbor, or simply prefer not to carry around a remote, a Genie Wireless Keypad offers a convenient and secure way to enter your garage. In this article, we will walk you through the step-by-step process of programming your Genie Wireless Keypad, ensuring that you have all the information you need to successfully set it up. So, let’s get started and unlock the full potential of your garage door with a Genie Wireless Keypad!
Inside This Article
- Overview
- Step 1: Get familiar with your Genie Wireless Keypad
- Step 2: Prepare for programming
- Step 3: Enter programming mode
- Step 4: Program PIN code
- Step 5: Test the programmed PIN code
- Step 6: Additional programming options
- Conclusion
- FAQs
Overview
If you own a Genie garage door opener and want to enhance its security and convenience, programming a Genie wireless keypad is a great option. With a wireless keypad, you can easily gain access to your garage without needing a traditional remote or keys. This article will guide you through the process of programming your Genie wireless keypad, ensuring that you have a smooth and hassle-free experience.
Programming a Genie wireless keypad allows you to set a unique PIN code that can be used to open your garage door. This code adds an extra layer of security and convenience, especially when you have family members or guests who need access to your garage. By following a few simple steps, you can have your Genie wireless keypad up and running in no time.
Before we dive into the programming process, it’s important to familiarize yourself with the Genie wireless keypad, ensuring that you understand its layout and functionality. The keypad typically consists of numbered buttons, a “Program” or “Learn” button, and possibly additional control buttons for features like a light control or lock mode. Understanding the keypad’s layout will make the programming process much smoother.
Programming a Genie wireless keypad requires you to enter programming mode on your garage door opener. This mode allows you to configure the keypad to work with your specific opener model. To enter programming mode, you’ll need to locate the “Program” or “Learn” button on your opener and press it according to the instructions provided in your Genie wireless keypad’s user manual. Once in programming mode, you’re ready to proceed with the next steps.
Step 1: Get familiar with your Genie Wireless Keypad
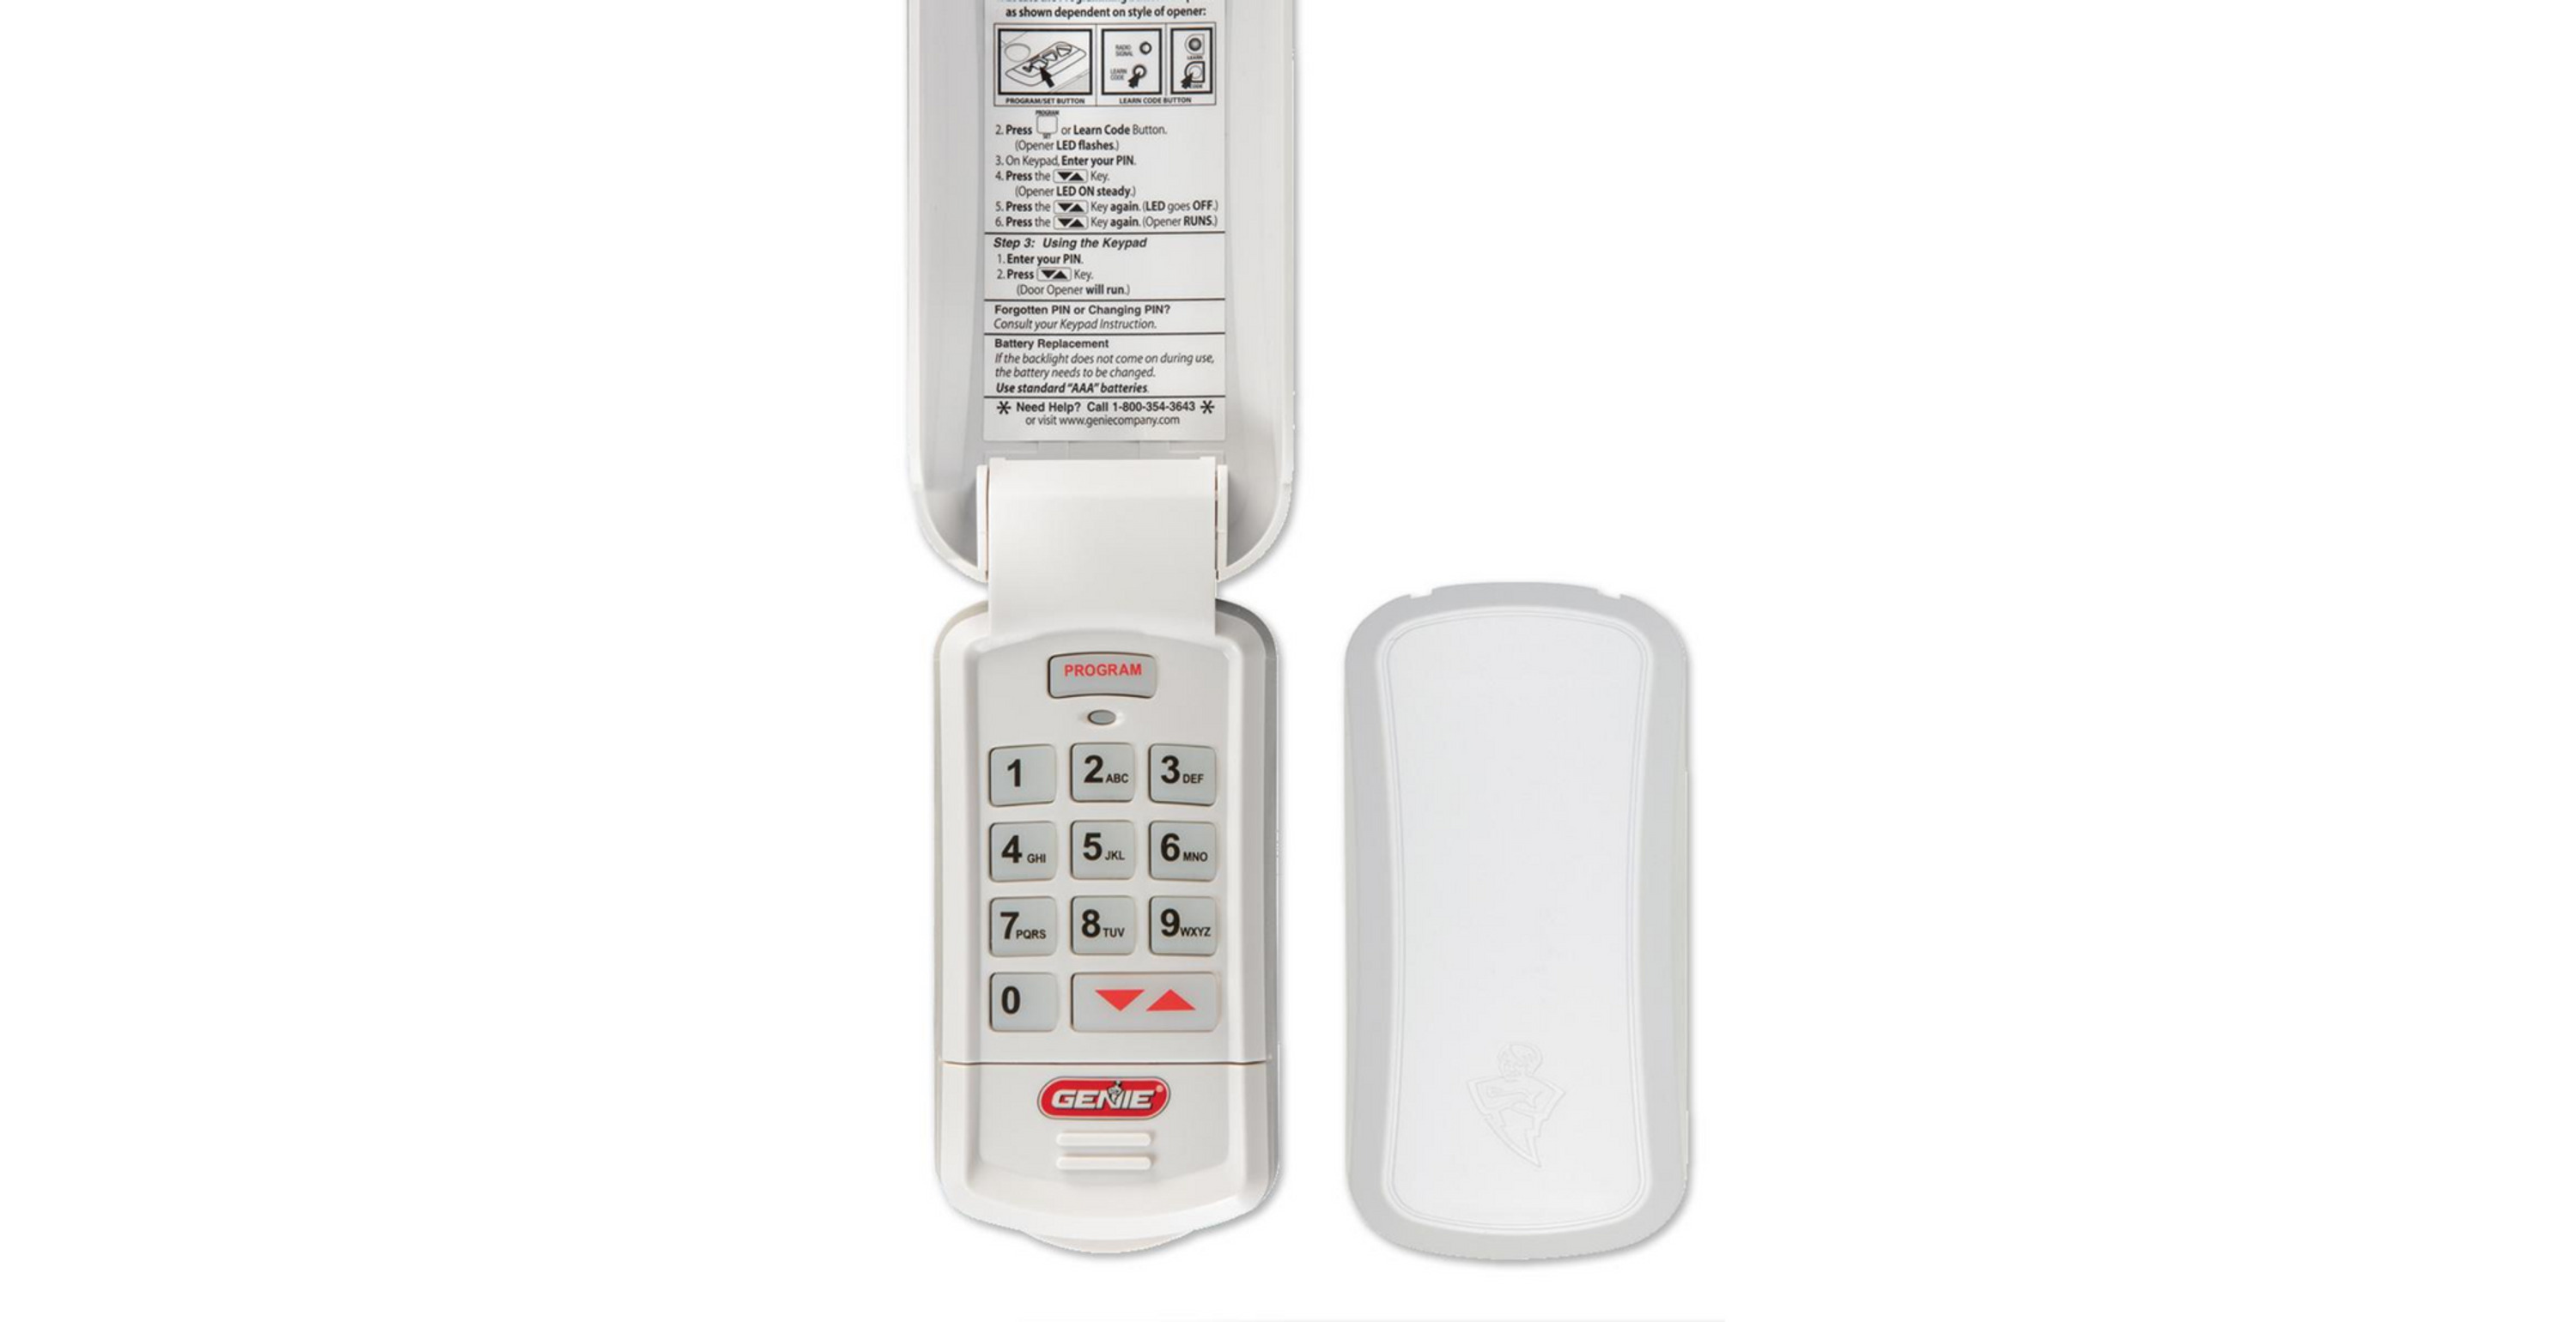
Before you begin programming your Genie Wireless Keypad, it’s important to get familiar with its features and functions. The Genie Wireless Keypad is a convenient accessory that allows you to operate your Genie garage door opener without needing a remote control. It provides a wireless and secure way to open and close your garage door, ensuring peace of mind and convenience.
The Genie Wireless Keypad features a compact and durable design that is built to withstand various weather conditions. It is equipped with a numeric keypad that allows you to enter a Personal Identification Number (PIN) to operate your garage door. Additionally, it has illuminated keys for easy visibility during nighttime use, ensuring that you can easily access your garage at any time.
The keypad also offers the option to program multiple PIN codes, allowing each member of your family or household to have their personalized access code. This feature comes in handy if you need to grant temporary access to someone, such as a friend or neighbor, giving you greater control over who can enter your garage.
Prior to programming, make sure that your Genie Wireless Keypad is securely mounted near your garage door. This ensures that it is easily accessible and protected from direct exposure to harsh weather conditions. It is recommended to mount it at a height that is comfortable for everyone to reach, while also considering the visibility of the keypad’s illuminated keys.
Now that you are familiar with the key features and installation requirements of your Genie Wireless Keypad, you are ready to proceed to the next step and prepare for programming.
Step 2: Prepare for programming
Before you begin programming your Genie Wireless Keypad, you need to ensure that you have everything you need at hand. Here are some steps to help you prepare for the programming process:
1. Check the batteries: Make sure that the keypad has fresh batteries installed. The keypad requires power to function properly, so it’s crucial to ensure that the batteries are not drained or low on power.
2. Locate the programming button: Take a look at your Genie Wireless Keypad and find the programming button. This button is usually located on the back or side of the keypad. It may be marked with a “P” or “PGM” label to indicate its function. Familiarize yourself with the location of this button as you will need to press it during the programming process.
3. Identify the entry door: Determine which entry door you want to program the keypad for. If you have multiple entry doors equipped with Genie garage door openers, you will need to repeat the programming process for each door individually.
4. Clear the memory: If you have previously programmed a PIN code on your Genie Wireless Keypad, you may need to clear the memory before proceeding with programming a new code. Consult the keypad’s user manual to find instructions on how to clear the memory. This step is important to ensure that the new code can be programmed successfully.
Once you have completed these preparation steps, you are ready to move on to the actual programming process. The preparation process ensures that you have all the necessary ingredients for successful programming and helps you avoid any potential issues along the way. So, take a few moments to gather everything you need before proceeding to the next steps.
Step 3: Enter programming mode
Entering programming mode is an essential step in programming your Genie Wireless Keypad. This mode allows you to input all the necessary codes and settings to customize your keypad to your preferred specifications. Follow the steps below to enter programming mode:
Step 1: Locate the “Program” button on your Genie Wireless Keypad. It is usually marked with a small “P” or “Prog” on the keypad’s surface.
Step 2: Press and hold the “Program” button. You might need to use a pointed object like a pen or paperclip to press the button if it’s recessed.
Step 3: While holding the “Program” button, also press the numbered key “8” on the keypad. Keep both buttons pressed simultaneously.
Step 4: Release the “Program” button and the number “8” key. Your Genie Wireless Keypad should now enter programming mode.
In programming mode, the keypad will enter a special state where it is ready to accept the programming commands and settings. This is your opportunity to set up your desired PIN code, RF frequency, or any other customization options offered by your Genie Wireless Keypad model.
Entering programming mode might vary slightly depending on your specific Genie Wireless Keypad model, so it’s vital to refer to your device’s user manual for accurate instructions. Make sure to follow the correct steps to avoid any potential errors during the programming process.
Once you have successfully entered programming mode, you can proceed to the next step to program your PIN code and other settings.
Step 4: Program PIN code
Now that you have entered programming mode on your Genie Wireless Keypad, it’s time to program the PIN code that will be used to unlock your keypad and operate your garage door.
Follow these steps to program your PIN code:
- On your keypad, enter a four-digit PIN code of your choice. Make sure to choose a code that is easy to remember but not easily guessable by others.
- Press the “Program” button on the keypad. You will see the LED light blink twice, indicating that the programming is in progress.
- Next, enter the same four-digit PIN code again to confirm it.
- Press the “Program” button once more. The LED light will blink two more times, confirming that the PIN code has been successfully programmed.
That’s it! You have now programmed a PIN code for your Genie Wireless Keypad. This code will be used to access your garage door and provide an extra layer of security.
Remember to keep your PIN code confidential and avoid sharing it with anyone. If you suspect that your PIN code has been compromised or if you want to change it, you can easily reprogram your Genie Wireless Keypad following the same steps outlined above.
With your PIN code set up, you can confidently use your Genie Wireless Keypad to conveniently open and close your garage door with just a few keystrokes.
Step 5: Test the programmed PIN code
Once you have successfully programmed your PIN code into your Genie Wireless Keypad, it is crucial to test it to ensure that it is working correctly. Testing the programmed PIN code allows you to verify that you can access your garage or gate without any issues.
To test the programmed PIN code, follow these simple steps:
- Approach your garage or gate and stand within range of the Wireless Keypad.
- Enter the PIN code that you programmed into the keypad.
- If the PIN code was entered correctly, the door or gate should open or close. You should hear or see the movement.
- If the door or gate does not respond, re-enter the PIN code making sure to enter it accurately. It is crucial to enter the PIN correctly for successful operation.
If the PIN code still doesn’t work after re-entering it, double-check that you followed the programming steps correctly. Make sure you have entered the PIN code into the keypad exactly as you intended during the programming process.
If you are still unable to get the programmed PIN code to work, consult the Genie Wireless Keypad’s user manual or contact Genie customer support for further assistance.
Remember, testing the programmed PIN code is an essential step to ensure that you have successfully completed the programming process and that your Genie Wireless Keypad is functioning properly.
Step 6: Additional programming options
Once you have successfully programmed your PIN code on your Genie Wireless Keypad, you may explore some additional programming options to further enhance its functionality. Here are a few options you may want to consider:
1. Program multiple PIN codes: If you want to grant access to multiple individuals, you can program multiple PIN codes on your Genie Wireless Keypad. This allows each person to have their own unique code for entry.
2. Temporary access codes: If you have guests or contractors who only need temporary access, you can program temporary access codes that will expire after a certain period of time. This is a convenient option to ensure security while allowing short-term access.
3. Keypad backlighting: If you find it difficult to see the keypad at night or in low light conditions, you can enable the keypad backlighting feature. This will illuminate the keypad, making it easier to enter the PIN code, even in the dark.
4. One-time access codes: In certain situations, you may need to grant one-time access to someone. Genie Wireless Keypads offer the option to program one-time access codes that can be used only once. This is a great solution for temporary workers or service personnel.
5. Security lockout: To ensure the security of your property, you can set up a security lockout feature on your Genie Wireless Keypad. This feature prevents unauthorized access after a certain number of incorrect PIN code attempts.
6. Remote control compatibility: If you have a Genie garage door opener with remote control capabilities, you can sync your Genie Wireless Keypad to work alongside the remote control. This offers you the convenience of controlling your garage door with either the keypad or the remote.
7. Home automation integration: With the advancement of technology, you may want to explore options for home automation integration. Some Genie Wireless Keypads have the capability to integrate with smart home systems, allowing you to control your garage door through voice commands or smartphone apps.
By exploring these additional programming options, you can customize your Genie Wireless Keypad to suit your specific needs and enhance the security and convenience of your garage door access.
Conclusion
In conclusion, programming a Genie wireless keypad is a simple process that allows you to conveniently control your Genie garage door opener. By following the step-by-step instructions provided, you can easily program your keypad to work with your Genie opener, adding an extra layer of security and convenience to your daily routine.
With the flexibility and convenience offered by a Genie wireless keypad, you can enjoy the ease of accessing your garage without the need for keys or remotes. Whether you want to provide temporary access to visitors or family members or simply want to enjoy the convenience of a hands-free entry, programming a Genie wireless keypad is a valuable addition to your Genie garage door opener system.
Now that you have learned how to program a Genie wireless keypad, you can start enjoying the benefits of a secure and hassle-free access to your garage. Remember to consult your Genie opener’s manual for any specific instructions or troubleshooting steps, and always follow safety precautions when working with garage door openers.
FAQs
1. What is a Genie wireless keypad?
A Genie wireless keypad is an accessory that allows you to control your Genie garage door opener without needing a physical remote control. It is a wireless device that can be mounted outside your garage and provides a convenient way to open and close your garage door using a security code.
2. How do I program my Genie wireless keypad?
To program your Genie wireless keypad, follow these steps:
- Locate the Learn button on your Genie garage door opener.
- Press and release the Learn button, and then within 30 seconds, enter the PIN code you want to use on the keypad.
- Press and hold the ENTER button on the keypad for about 10 seconds until the lights on the garage door opener blink.
- Release the ENTER button, and then press the PIN code you entered on the keypad.
- Press the ENTER button again to confirm the programming.
3. Can I program multiple garage door openers to one Genie wireless keypad?
Yes, you can program multiple garage door openers to one Genie wireless keypad. Each opener will have a unique PIN code that you can enter on the keypad to control it. Follow the programming steps mentioned above for each garage door opener you want to program.
4. How do I change the PIN code on my Genie wireless keypad?
To change the PIN code on your Genie wireless keypad, follow these steps:
- Enter your current PIN code on the keypad.
- Press and hold the ENTER button for about 10 seconds until the lights on the garage door opener blink.
- Release the ENTER button, and then enter your new PIN code on the keypad.
- Press the ENTER button again to confirm the new PIN code.
5. What should I do if my Genie wireless keypad is not working?
If your Genie wireless keypad is not working, try the following troubleshooting steps:
- Check the battery of the keypad and replace it if necessary.
- Verify that the keypad is within range of the garage door opener.
- Make sure the keypad is properly programmed to the garage door opener.
- If the keypad is still not working, consult the user manual or contact Genie customer support for further assistance.