
Are you struggling to connect your Netgear N300 Wireless Router? Don’t worry, we’re here to help! In this article, we will guide you through the step-by-step process of connecting your Netgear N300 Wireless Router, ensuring a smooth and hassle-free experience. With its fast speed and wide coverage, the N300 is an excellent choice for those looking to set up a reliable home wireless network. Whether you’re a beginner or have some experience with routers, our comprehensive guide will provide you with all the information you need to get your Netgear N300 up and running in no time. So, let’s dive in and discover how to connect your Netgear N300 Wireless Router!
Inside This Article
- Prerequisites
- Step 1: Gather all the necessary equipment
- Step 2: Connect the router to a power source
- Step 3: Connect your computer to the router
- Step 4: Access the router’s web-based setup page
- Step 5: Configure the router settings
- Step 6: Test the wireless connection
- Troubleshooting Tips
- Conclusion
- FAQs
Prerequisites
Before you can connect your Netgear N300 wireless router, there are a few prerequisites you should be aware of. Don’t worry, these are simple and straightforward requirements that will ensure a smooth setup process.
1. Internet Connection: To connect the Netgear N300 wireless router, you need an active internet connection. Make sure you have a working broadband or DSL internet service provided by your ISP.
2. Modem: You will also need a modem to connect to the internet. The modem acts as a bridge between your router and the internet service provider. Ensure that your modem is properly set up and functioning correctly.
3. Ethernet Cable: You will need an Ethernet cable to establish a wired connection between your modem and the router. Ensure that you have the necessary cables available, and they are in good condition.
4. Computer or Device: You will require a computer or device to access the router’s web-based setup page. This device should have an internet browser installed, such as Chrome, Firefox, or Safari.
5. WiFi Name and Password: It’s a good idea to have a WiFi name (SSID) and password in mind for your wireless network. You will need to configure these settings during the setup process. Ensure that your chosen WiFi name and password are unique and secure.
By ensuring that you have these prerequisites in place, you will be well-prepared and ready to connect your Netgear N300 wireless router. Let’s move on to the next steps and get your network up and running!
Step 1: Gather all the necessary equipment
Before you begin setting up your Netgear N300 wireless router, it’s important to gather all the necessary equipment to ensure a smooth and hassle-free installation process. Here’s a list of the essential items you’ll need:
1. Netgear N300 wireless router: This is the main device that will enable you to establish a wireless network connection in your home or office. Make sure you have the router on hand before proceeding with the setup.
2. Ethernet cable: You’ll need an Ethernet cable to establish a wired connection between your router and your computer. This cable will be used during the initial setup process to access the router’s web-based setup page.
3. Power adapter: The Netgear N300 router comes with a power adapter that you’ll need to connect the router to a power source. Ensure that you have the appropriate power adapter for your region.
4. Computer or laptop: You’ll need a computer or laptop with an Ethernet port to connect to the router during the setup process. Ensure that your computer meets the minimum system requirements specified by Netgear.
5. Internet service provider (ISP) information: To configure your Netgear N300 router, you’ll need the necessary information from your ISP, such as your username and password. Contact your ISP to obtain this information if you don’t have it already.
6. Optional: Wi-Fi devices: If you plan on connecting multiple devices wirelessly to your network, make sure you have the devices nearby during the setup process. This could include smartphones, tablets, smart TVs, or gaming consoles.
By ensuring that you have all the necessary equipment ready, you’ll be able to proceed with setting up your Netgear N300 wireless router without any interruptions. Once you have everything prepared, you’re ready to move on to the next step, which is connecting the router to a power source.
Step 2: Connect the router to a power source
Once you have gathered all the necessary equipment for setting up your Netgear N300 Wireless Router, it’s time to connect it to a power source. This step is essential as it provides power to the router, allowing it to function properly and provide a wireless internet connection to all your devices.
To connect the router to a power source, follow these simple steps:
- Locate the power adapter that came with the router. It should have a plug on one end and a rectangular box on the other end.
- Identify a nearby power outlet where you can plug in the power adapter. Make sure the outlet is easily accessible and not hidden behind furniture or other obstacles.
- Insert the plug of the power adapter into the power outlet. Ensure that the plug is securely inserted and making a firm connection.
- Take the other end of the power adapter (the one with the rectangular box) and locate the power port on the back of the router. It is usually labeled as “Power” or has a power symbol next to it.
- Align the connector of the power adapter with the power port on the router and insert it gently. Make sure it is inserted fully to establish a proper connection.
- Once the power adapter is connected to the router, double-check that everything is securely connected and there are no loose cables.
- Finally, turn on the power switch located on the back of the router. You should see the power LED indicator light up, indicating that the router has successfully powered on.
By following these steps, you have successfully connected your Netgear N300 Wireless Router to a power source. This is an essential step in setting up the router and making it ready to be configured for your wireless network.
Step 3: Connect your computer to the router
Now that you have your Netgear N300 Wireless Router powered on and connected to the internet, the next step is to connect your computer to the router. This will allow your computer to communicate with the router and access the internet wirelessly.
To do this, you will need an Ethernet cable. An Ethernet cable is a type of networking cable that is used to connect devices to a network router or modem. It has a rectangular connector on each end, similar to a phone cable but larger. If you don’t have an Ethernet cable, you can easily purchase one from a computer or electronics store.
Start by locating the Ethernet ports on the back of your computer and the back of the Netgear N300 router. The Ethernet ports will have a small image of a computer next to them, and they are usually labeled with “LAN” or “Ethernet.”
Take one end of the Ethernet cable and plug it into the Ethernet port on the back of your computer. Make sure it is securely inserted into the port, as a loose connection can lead to a weak or unstable internet connection.
Next, take the other end of the Ethernet cable and plug it into one of the Ethernet ports on the back of the Netgear N300 router. Again, make sure it is securely connected.
Once you have connected the Ethernet cable to both your computer and the router, you should see a steady and solid light on the Ethernet port of the router. This indicates that the connection between your computer and the router has been established.
Now, you’re almost ready to start browsing the internet! But first, make sure to power on your computer if it’s not already powered on. Give it a few moments to recognize the connection, and you should be able to access the internet through the Netgear N300 Wireless Router.
If you encounter any issues with the connection, double-check that the Ethernet cable is securely connected to both your computer and the router. You may also try restarting both your computer and the router to see if that resolves the issue.
Once your computer is successfully connected to the Netgear N300 router, you can move on to the next step of configuring the router’s settings to ensure a secure and optimized wireless connection.
Step 4: Access the router’s web-based setup page
After connecting your computer to the Netgear N300 wireless router, it’s time to access the router’s web-based setup page. This is where you can configure and customize various settings to optimize your router’s performance.
To access the web-based setup page, you will need to open a web browser on your computer. It could be Google Chrome, Mozilla Firefox, or Internet Explorer – whichever browser you prefer. Simply click on the browser’s icon to launch it.
Once the browser is open, locate the address bar at the top of the window. Type in the default IP address for the Netgear N300 router, which is usually “192.168.1.1” or “192.168.0.1”. Press the Enter key on your keyboard or click the “Go” button next to the address bar.
Now, you should see the Netgear router’s login page displayed in your browser. This is where you will need to enter your username and password to gain access to the router’s settings. If you haven’t changed the default login credentials, you can find them in the user manual or on the bottom of the router itself.
After entering the correct login details, click on the “Login” or “Submit” button to proceed. Once you are logged in, you will be redirected to the router’s web-based setup page, where you can begin configuring the various settings.
On the setup page, you will find different tabs and sections, such as “Wireless Settings,” “Network Settings,” and “Security.” Each tab allows you to customize specific aspects of your router’s functionality, such as setting up a wireless network name (SSID), enabling password protection, or configuring advanced network settings.
Take some time to explore and familiarize yourself with the options available on the web-based setup page. You can refer to the Netgear N300 user manual for more detailed instructions on how to configure specific settings.
Once you have made the desired changes to your router’s settings, don’t forget to click on the “Apply” or “Save” button to save the changes and ensure they take effect. It is also recommended to restart your router for the settings to fully apply.
That’s it! You have successfully accessed the router’s web-based setup page and are now ready to configure the Netgear N300 wireless router to meet your specific needs.
Step 5: Configure the router settings
Configuring the settings of your Netgear N300 Wireless Router is an important step to ensure a secure and optimal wireless connection. By customizing the router’s settings, you can personalize your network name (SSID), set a strong password, enable encryption protocols, and manage other advanced features. Follow the steps below to configure your router settings:
1. Open a web browser on the computer connected to the router.
2. In the address bar, type the default IP address of the router. Usually, it is “192.168.1.1” or “192.168.0.1”. Press Enter to access the router’s web interface.
3. You will be prompted to enter the username and password. By default, the username is “admin” and the password is “password”. Enter the credentials and click on the Login or Submit button.
4. Once logged in, you will be presented with the router’s web-based setup page. Here, you can navigate through different sections to configure various settings.
5. Start by changing the default SSID (network name) to a unique and easily identifiable name. This will make it easier for you to identify your network when connecting to it.
6. Next, proceed to set a strong password for your Wi-Fi network. Use a combination of uppercase and lowercase letters, numbers, and special characters to create a secure password.
7. Enable WPA2-PSK (Wi-Fi Protected Access 2 – Pre-Shared Key) as your wireless security mode. This encryption protocol provides better security compared to older encryption methods.
8. For advanced users, you can explore additional settings such as port forwarding, parental controls, guest network, and Quality of Service (QoS) options.
9. After making the desired changes, click on the Save or Apply button to save the settings.
10. Once the changes are saved, your router will reboot, and the new settings will take effect. It may take a few seconds for the router to restart.
11. Reconnect your devices to the Wi-Fi network using the updated network name (SSID) and password.
By following these steps, you can easily configure the settings of your Netgear N300 Wireless Router and ensure a secure and reliable wireless connection for all your devices.
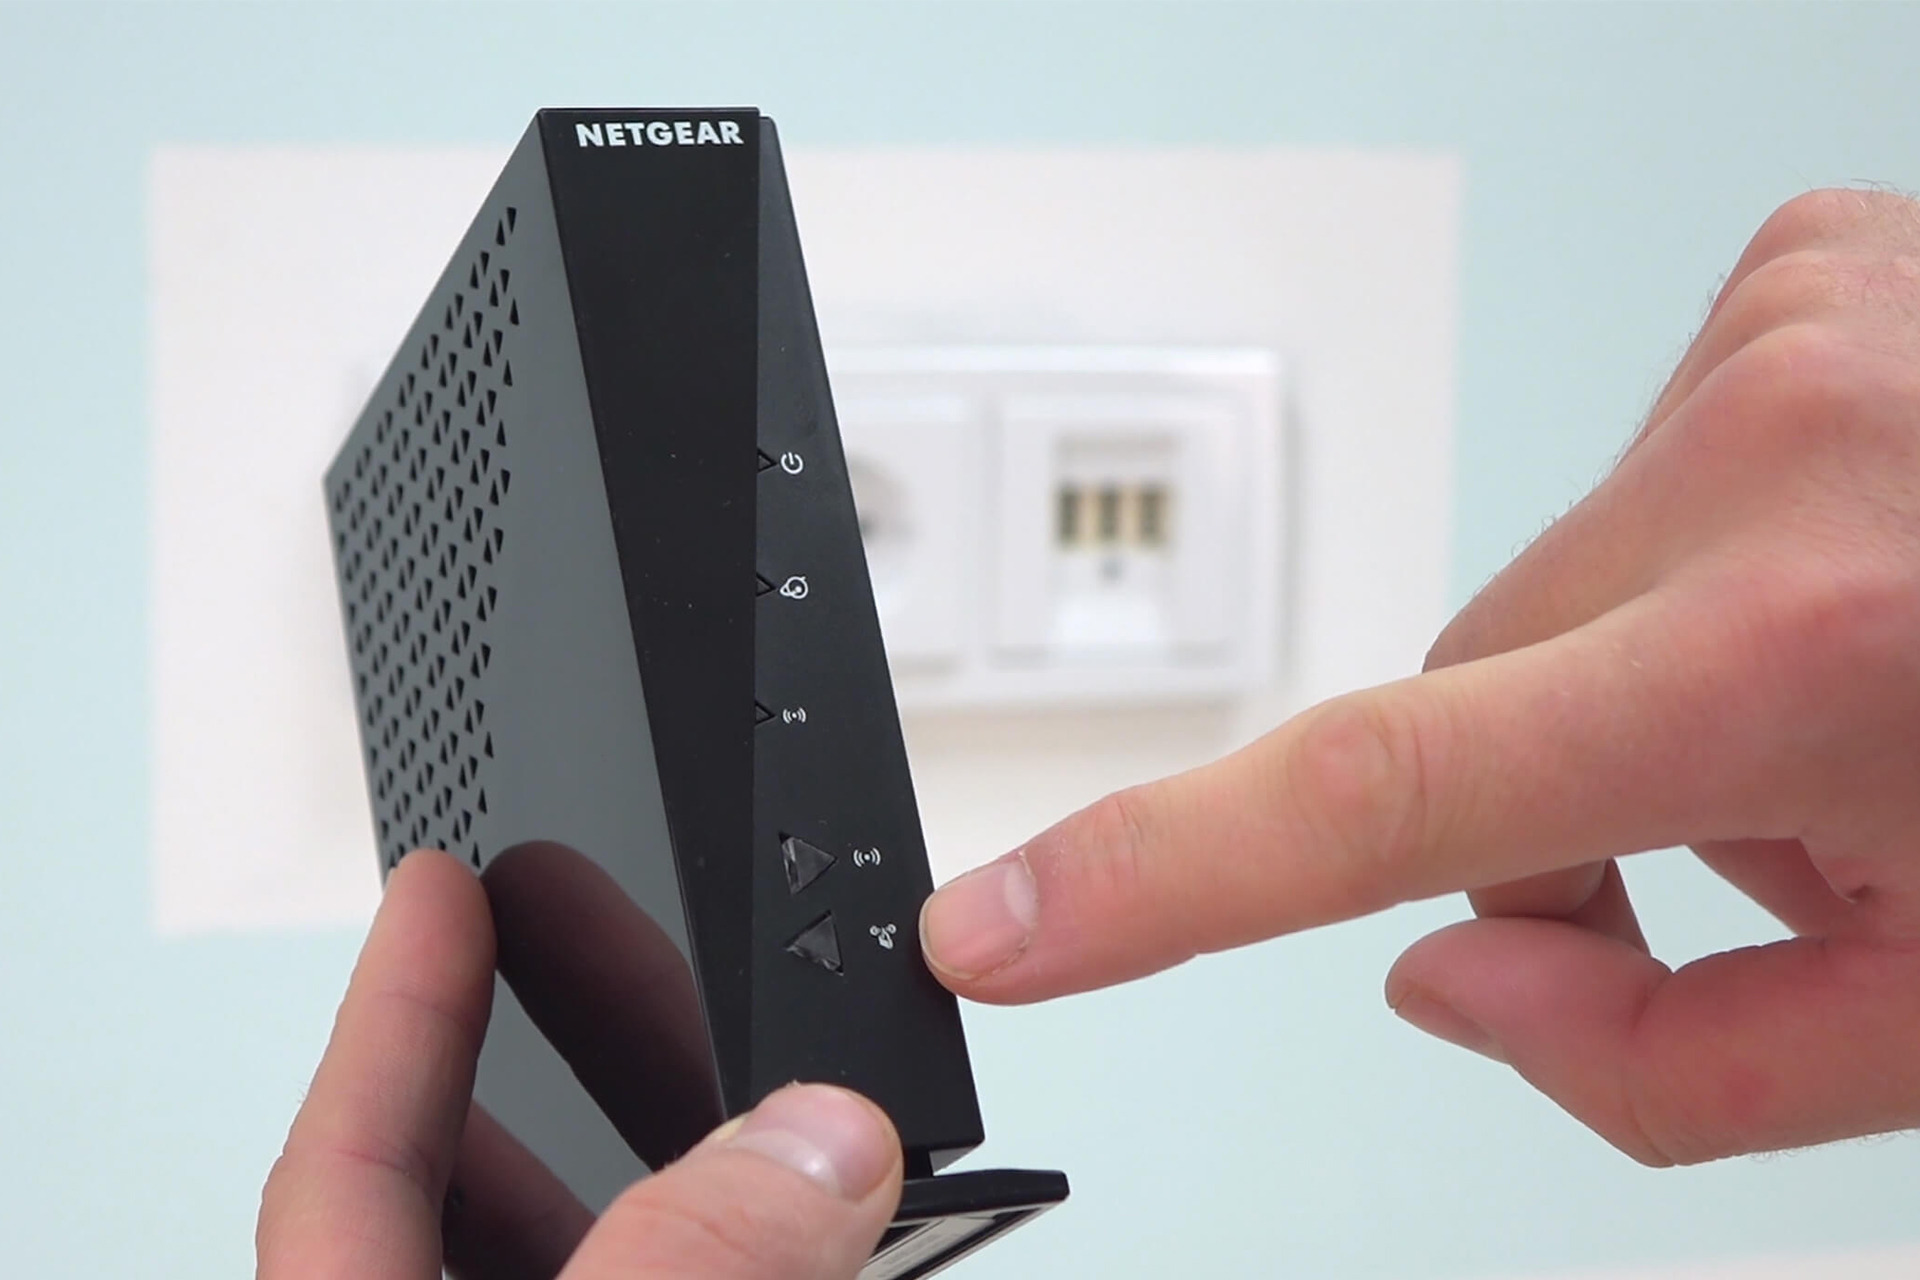
Step 6: Test the wireless connection
After completing the configuration of your Netgear N300 Wireless Router, it is important to test the wireless connection to ensure proper functionality. Here are a few steps to help you perform this crucial test:
-
Move to a location where you can be in range of the router’s Wi-Fi signal. Ideally, this should be in the same room or a nearby area to eliminate any potential interference.
-
On your computer or mobile device, locate the Wi-Fi icon in the system tray or settings menu. Click or tap on the icon to view the list of available Wi-Fi networks.
-
Look for the network name (SSID) associated with your Netgear N300 Wireless Router. It should be visible in the list of available networks. Click or tap on the network name to connect.
-
If prompted, enter the network security key or password for your router. This key is typically located on a label at the back or bottom of the device. Make sure to enter it correctly to establish a secure connection.
-
Once you have successfully connected to your Netgear N300 Wireless Router, open a web browser and visit a website to ensure that you have internet access. You can also try loading different websites or streaming videos to test the speed and stability of the connection.
-
If you are able to browse the internet and perform online activities without any issues, congratulations! Your wireless connection is working correctly. However, if you encounter any difficulties or errors, there might be a problem with the router’s configuration or your internet service provider’s connection. In such cases, you may need to troubleshoot further.
It’s important to note that the wireless connection may vary depending on various factors such as distance, obstructions, or interference from other devices. If you experience weak or inconsistent signals, consider moving closer to the router, adjusting the antenna position, or checking for any potential sources of interference.
Troubleshooting Tips
While setting up your Netgear N300 Wireless Router, you may encounter some common issues. Here are some troubleshooting tips to help you resolve them:
-
Check the power source: Ensure that the router is properly connected to a power source and that the power adapter is plugged in securely. If the router does not turn on or there are no lights on the front panel, try plugging it into a different power outlet.
-
Verify the internet connection: Make sure that your internet service is active and working. Check with your internet service provider to ensure that there are no outages in your area.
-
Restart the router and modem: Sometimes, simply restarting the router and modem can resolve connectivity issues. Power off both devices, wait for a few seconds, and then power them back on. Allow the devices to fully restart before attempting to connect again.
-
Check the Ethernet cables: Ensure that all Ethernet cables are securely connected to the correct ports on both the router and the computer. A loose or faulty cable can cause connection problems.
-
Update firmware: It’s important to keep your router’s firmware up to date. Visit the Netgear support website, enter your router’s model number, and download the latest firmware version. Follow the instructions provided to update the firmware.
-
Reset the router: If all else fails, you can try resetting the router to its factory defaults. Locate the reset button on the back of the router, press and hold it for about 10 seconds, and then release. Note that resetting the router will erase all customized settings, so you will need to reconfigure the router after the reset.
-
Contact customer support: If you have tried all the troubleshooting steps and are still experiencing issues, it may be best to reach out to Netgear customer support for further assistance. They can provide specialized guidance and help resolve any advanced technical problems you may be facing.
By following these troubleshooting tips, you can address common issues when setting up your Netgear N300 Wireless Router and ensure a smooth and seamless connectivity experience.
Conclusion
Connecting a Netgear N300 wireless router is a straightforward process that allows you to enjoy a fast and reliable internet connection. By following the step-by-step instructions provided in this article, you can easily set up your router and connect your devices to it in no time.
Once your Netgear N300 wireless router is connected, you can experience the benefits of a stable and secure network connection. Whether you’re streaming movies, playing online games, or simply browsing the web, this router provides excellent performance and coverage, ensuring a seamless internet experience.
Remember to keep your router’s firmware up to date to take advantage of the latest enhancements and security features. Additionally, regularly monitoring your network settings and updating your wireless password can help protect your network from unauthorized access.
Now that you’re equipped with the knowledge to connect and optimize your Netgear N300 wireless router, you can enjoy uninterrupted internet connectivity and make the most out of your online activities.
FAQs
1. How do I connect my Netgear N300 wireless router?
To connect your Netgear N300 wireless router, follow these simple steps:
- Ensure that your modem is connected to the router’s WAN (Internet) port.
- Connect your computer or device to one of the router’s LAN ports using an Ethernet cable.
- Power on the router and wait for the lights to stabilize.
- Open a web browser and type in the router’s default IP address (usually 192.168.1.1) into the address bar.
- Enter the default username and password provided in the router’s documentation or on the router’s label.
- Follow the setup wizard to configure your wireless network, including network name (SSID) and password.
- Save the settings and reboot the router. Your Netgear N300 wireless router is now connected.
2. How can I change the Wi-Fi password on my Netgear N300 router?
To change the Wi-Fi password on your Netgear N300 router, follow these steps:
- Open a web browser and enter the router’s IP address into the address bar.
- Enter the router’s admin username and password to log in.
- Navigate to the wireless settings section.
- Locate the option to change the Wi-Fi password or passphrase.
- Enter the new password and save the settings.
3. How do I reset my Netgear N300 router to factory defaults?
To reset your Netgear N300 router to factory defaults, follow these steps:
- Locate the reset button on the back or bottom of the router.
- Using a paperclip or similar object, press and hold the reset button for about 10 seconds.
- The router will restart and the settings will be restored to factory defaults.
4. Can I use my Netgear N300 router as a wireless access point?
Yes, you can use your Netgear N300 router as a wireless access point. Connect one of the LAN ports on the router to the LAN port of your main router using an Ethernet cable. Disable DHCP on the Netgear N300 router, and configure the wireless settings to match your main router’s network. This will allow the Netgear N300 to extend the wireless coverage of your network.
5. How do I update the firmware on my Netgear N300 router?
To update the firmware on your Netgear N300 router, follow these steps:
- Download the latest firmware from the Netgear support website.
- Open a web browser and enter the router’s IP address into the address bar.
- Enter the router’s admin username and password to log in.
- Navigate to the firmware update section.
- Select the downloaded firmware file and click the update button.
- Wait for the update to complete. Do not interrupt the process.
- After the update is finished, reboot the router.