
Welcome to our comprehensive guide on how to log into your Netgear wireless router. Netgear routers are known for their reliability, performance, and user-friendly interface, making them a popular choice for both home and business users. Whether you need to change your network settings, set up advanced features, or troubleshoot any issues, accessing your router’s login page is the first step.
In this article, we will walk you through the step-by-step process of logging into your Netgear wireless router. From finding the router’s IP address to entering the correct credentials, we’ll cover it all. By the end of this guide, you’ll have the knowledge and confidence to access your router’s settings and make any necessary configurations.
So, let’s dive in and learn how to log into your Netgear wireless router!
Inside This Article
- Setting up your Netgear wireless router
- Connecting your computer to the Netgear wireless router
- Accessing the Netgear router’s admin panel
- Changing the wireless network settings on your Netgear router
- Conclusion
- FAQs
Setting up your Netgear wireless router
Setting up a Netgear wireless router is a straightforward process that allows you to create a reliable and secure Wi-Fi network in your home or office. Whether you’re a tech-savvy individual or a beginner, this guide will walk you through the essential steps to get your router up and running in no time.
The first step is to ensure that you have all the necessary equipment. This includes a Netgear wireless router and an Ethernet cable to connect it to your modem. It’s also a good idea to have your Internet Service Provider (ISP) details handy, as you may need them during the setup process. Once you have everything ready, let’s move on to the next step.
Begin the setup process by connecting your Netgear router to the modem using the Ethernet cable. Make sure both devices are powered on and that the cable is securely attached to the WAN port on the router. You should see the Link LED light up, indicating a successful connection.
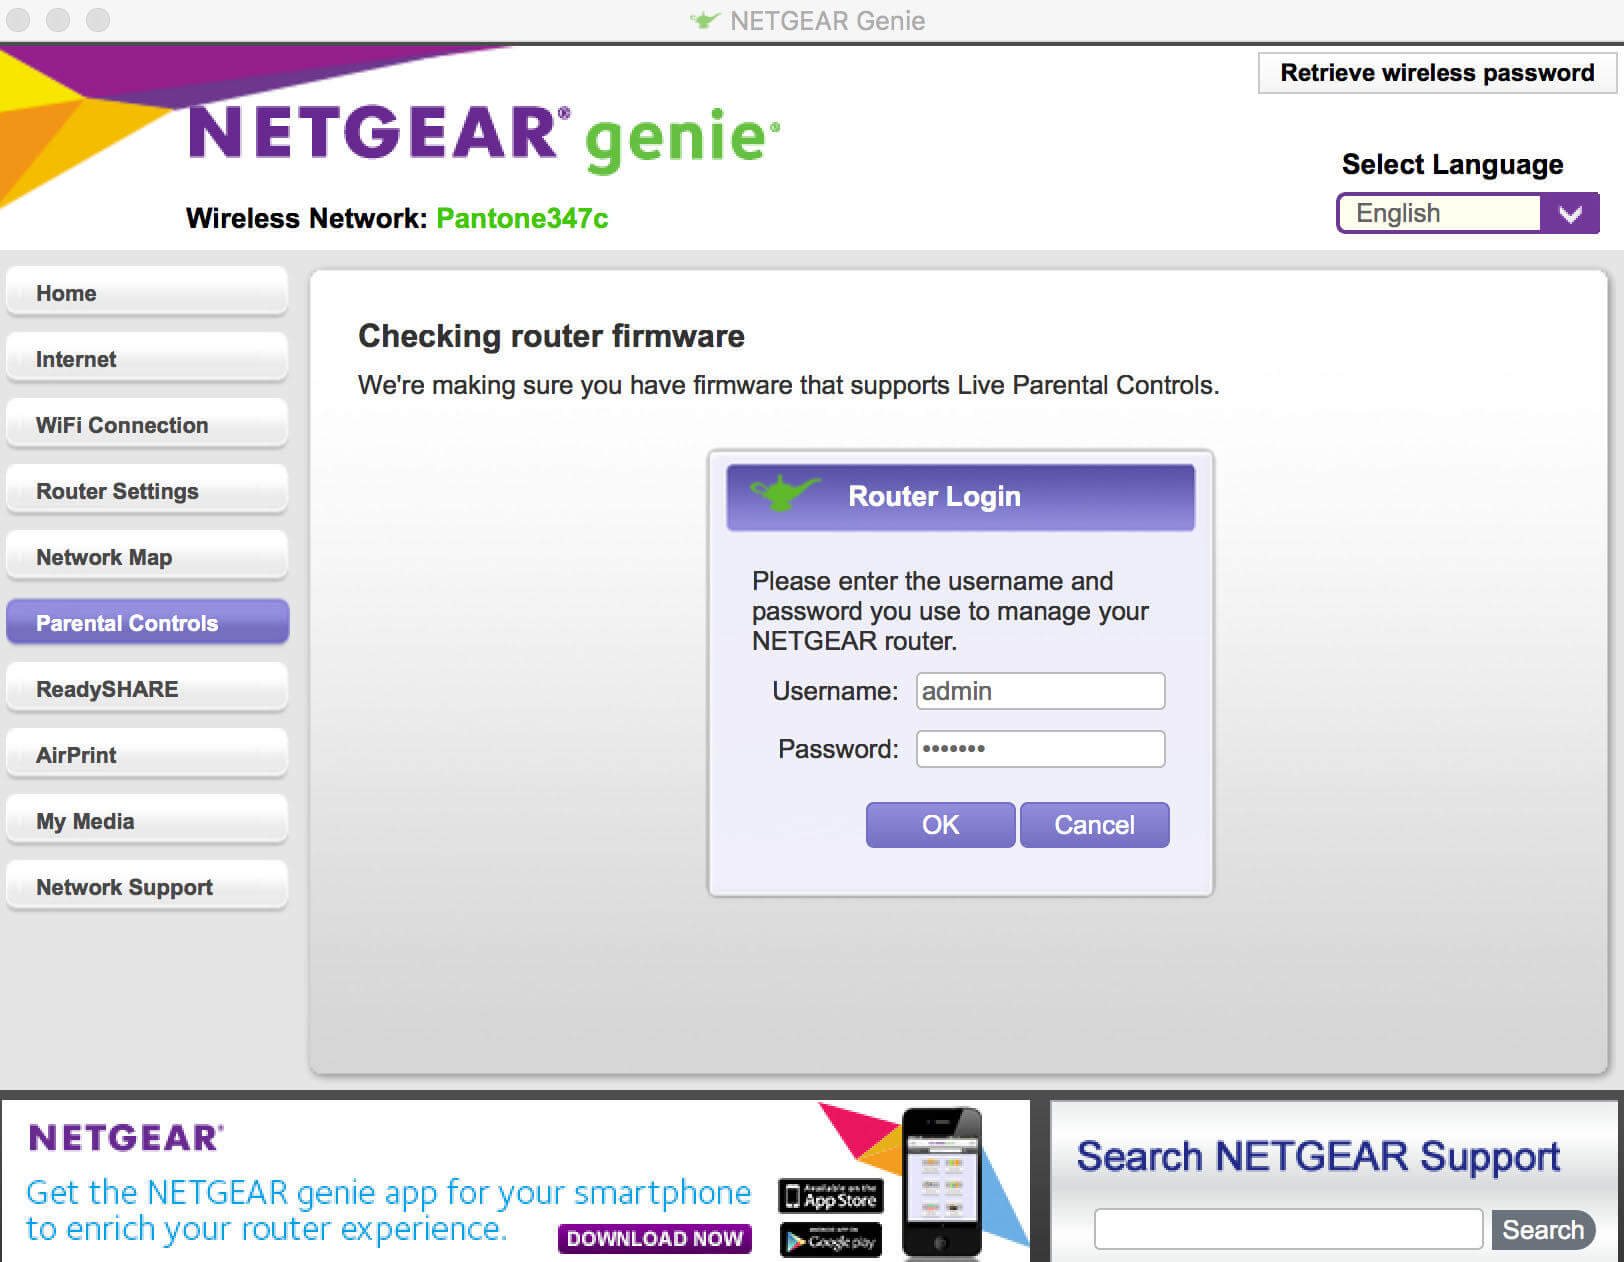
Next, open a web browser on a device connected to the router. In the address bar, type in the default IP address of your Netgear router, which is commonly “192.168.1.1.” Press Enter, and you should be directed to the login page of the router’s administration portal.
On the login page, enter the default username and password for your Netgear router. Typically, the username is “admin,” and the password is “password.” If these credentials don’t work, check the documentation that came with your router or browse the Netgear website for the correct information.
Once you’ve successfully logged in, you’ll be greeted with the router’s administration interface. This is where you can configure various settings and customize your network according to your preferences. Take some time to explore the different options and familiarize yourself with the available features.
During the setup process, you’ll also have the opportunity to change the default login credentials for your Netgear router. This is an important step in ensuring the security of your network. Choose a strong and unique username and password combination that you’ll remember, but others won’t be able to guess.
After you’ve made all the desired changes, be sure to save the settings. Your Netgear wireless router will then restart to apply the new configurations. Once it’s back online, you can start connecting your devices to the Wi-Fi network and enjoy fast and reliable internet access.
If you encounter any issues during the setup process, don’t panic. Netgear provides comprehensive documentation and support resources on their website. You can also reach out to their customer support team for assistance or consult online forums and communities for troubleshooting tips.
With the setup complete, you can now enjoy the benefits of a secure and efficient Wi-Fi network powered by your Netgear wireless router. Whether you’re streaming, gaming, or simply browsing the web, you can count on your Netgear router to deliver a seamless internet experience.
Connecting your computer to the Netgear wireless router
When setting up your Netgear wireless router, it’s important to establish a secure and reliable connection between your computer and the router. This connection allows you to access the router’s administration portal and configure its settings to meet your specific needs. Here’s a step-by-step guide on how to connect your computer to the Netgear wireless router:
Step 1: Power on your Netgear router and connect it to your modem using an Ethernet cable. Ensure that both devices are turned on and properly connected.
Step 2: On your computer, navigate to the system tray or taskbar and click on the network icon. This will bring up a list of available networks.
Step 3: Look for the network name (SSID) of your Netgear router in the list and click on it. If you haven’t changed the default network name, it will usually be labeled as “Netgear” or something similar.
Step 4: Once you’ve selected the network, you will be prompted to enter the network password or key. This password can usually be found on the back or bottom of the router, labeled as “Passphrase” or “Network Key”. Enter the password and click “Connect”.
Step 5: Your computer will now attempt to connect to the Netgear wireless router. Once the connection is established, you should see a confirmation message or icon indicating a successful connection.
Step 6: Open a web browser on your computer and enter the default IP address of the Netgear router in the address bar. The default IP address is typically “192.168.1.1” or “192.168.0.1”. Press “Enter” to proceed.
Step 7: You will be directed to the router’s login page, where you need to enter the default username and password. The default username is usually “admin”, and the default password is either “password” or “1234”. Consult the router’s documentation or label for the correct credentials.
Step 8: Once you’ve successfully logged in, you will have access to the Netgear router’s administration portal. Here, you can configure various settings such as wireless network name, password, security options, and more. Explore the options and make changes according to your preferences.
By following these steps, you can establish a successful connection between your computer and the Netgear wireless router. Remember to keep your network secure by regularly updating your router’s firmware and changing the default login credentials. Enjoy seamless internet connectivity and enhanced network performance with your Netgear router!
Accessing the Netgear router’s admin panel
Accessing the admin panel of your Netgear wireless router is a straightforward process that allows you to configure and manage various settings for your network. By logging into the router’s interface, you can easily customize security options, set up parental controls, update firmware, and much more.
To access the admin panel, you will need to know the default IP address of your Netgear router. In most cases, the default IP address is either “192.168.1.1” or “192.168.0.1”. You can find this information in the documentation that came with your router or by searching for your specific model online.
Once you have determined the correct default IP address, open a web browser on a device connected to the same network as your Netgear router. Type the IP address into the browser’s address bar and hit Enter.
This action will take you to the Netgear router login page, where you will be prompted to enter your username and password. By default, the username is often “admin”, and the password is either “password” or “admin”. However, it’s important to note that this default login information is subject to change for security purposes, so you should check your router’s manual or follow any instructions provided by Netgear to confirm the correct username and password.
Once you have entered the correct login credentials, you will be logged into the Netgear router’s admin panel. Here, you can explore the various sections and options available to manage your network.
It is crucial to change the default username and password for your router to ensure the security of your network. Within the admin panel, locate the “Administration” section and select the “Set Password” option. Follow the instructions to change the login credentials to a strong, unique password that is not easily guessable.
Remember to keep a record of your new username and password in a secure place, as you will need them to log in to the admin panel in the future.
In case you encounter any issues logging into the Netgear router’s admin panel, try the following troubleshooting steps:
- Double-check that you are entering the correct IP address in the browser’s address bar. Typos can easily occur, so it’s essential to verify the accuracy of the entered address.
- Ensure that your device is connected to the same network as the Netgear router. If you are connected to a different network, you will not be able to access the admin panel.
- If you have changed the default IP address of your Netgear router, make sure to enter the new IP address in the browser’s address bar.
- If you have forgotten your username or password, you may need to perform a factory reset on the router. Press and hold the reset button on the back of the router for 10-15 seconds until the lights on the router flash. This will revert all settings, including the login credentials, to their default values.
By following these steps, you will be able to easily access the Netgear router’s admin panel and manage your network settings efficiently.
Changing the wireless network settings on your Netgear router
If you’re looking to enhance your Wi-Fi experience or make some adjustments to your wireless network, making changes to the wireless network settings on your Netgear router can give you the control and flexibility you need. Whether you want to change the network name (SSID), password, security settings, or even the channel, Netgear routers offer a user-friendly interface that allows you to make these modifications with ease. Here’s a step-by-step guide on how to change the wireless network settings on your Netgear router.
Step 1: Access the Netgear router’s administration portal. To do this, you’ll need to open a web browser and enter the router’s IP address in the address bar. The default IP address for Netgear routers is typically something like 192.168.1.1 or 192.168.0.1. Once you’ve entered the IP address, press Enter.
Step 2: Enter the login credentials. You’ll be prompted to enter the username and password to access the router’s administration portal. By default, the username is usually “admin,” and the password is either “password” or “admin” (without the quotation marks). If you’ve changed the login credentials in the past and can’t remember them, you may need to perform a factory reset on the router.
Step 3: Navigate to the wireless settings. Once you’re logged into the Netgear router’s administration portal, look for the “Wireless” or “Wireless Settings” tab. Click on it to access the wireless network settings page.
Step 4: Change the network name (SSID). On the wireless settings page, you should see an option to change the network name (SSID). This is the name that appears when you search for available Wi-Fi networks. Enter the desired name in the designated field. Remember, choose a unique and easily recognizable name to distinguish your network from others.
Step 5: Change the password. If you want to change the Wi-Fi password, look for the field that allows you to enter a new password. Create a strong, secure password for your wireless network. It’s recommended to use a combination of uppercase and lowercase letters, numbers, and special characters to ensure the security of your network.
Step 6: Adjust the security settings. Netgear routers offer a range of security options, including WEP, WPA, and WPA2. Choose the security protocol that best suits your needs. WPA2 is the most secure option available, so it is highly recommended.
Step 7: Modify the channel. If you’re experiencing interference or a weak signal, changing the Wi-Fi channel can help improve the performance of your wireless network. Look for the channel selection option and choose a different channel from the drop-down menu. Experiment with different channels to find the one that provides the best signal strength.
Step 8: Save and apply the changes. After making all the necessary adjustments to the wireless network settings, click on the “Apply” or “Save” button to save the changes and update the settings on your Netgear router. It may take a few moments for the changes to take effect.
By following these steps, you can easily change the wireless network settings on your Netgear router. Remember to save the new settings and reconnect your devices to the updated network for the changes to take effect. Enjoy a customized and secure Wi-Fi experience with your Netgear router!
The process of logging into your Netgear wireless router is a relatively simple and straightforward one. By following the steps outlined in this article, you can gain access to your router’s settings and customize them according to your preferences. Whether it’s adjusting your network name and password, setting up parental controls, or optimizing your router’s performance, logging into your Netgear wireless router grants you the control and flexibility you need.
Remember to keep your router’s login credentials secure and regularly update them to protect your network from unauthorized access. Additionally, if you encounter any difficulties or have specific questions about your Netgear router, consulting the manufacturer’s documentation or reaching out to customer support can provide further assistance.
Logging into your Netgear wireless router allows you to harness the full potential of your network and ensure a seamless and secure internet experience for all connected devices. So go ahead and log in to your Netgear wireless router—the power to customize and optimize your network awaits!
FAQs
1.
Can I log into my Netgear wireless router from any device?
Yes, you can log into your Netgear wireless router from any device that is connected to the same network. Whether you are using a computer, laptop, smartphone, or tablet, as long as you are connected to the router’s network, you can access the login page.
2.
What is the default username and password for logging into a Netgear router?
The default username and password for most Netgear routers is usually “admin” for both fields. However, it’s always a good practice to check the product documentation or the manufacturer’s website to ensure you have the correct login credentials.
3.
How do I access the Netgear router login page?
To access the Netgear router login page, open a web browser and type in the default IP address of the router, which is commonly “192.168.1.1” or “192.168.0.1”. Press Enter, and you should be redirected to the login page where you can enter your username and password.
4.
What should I do if I forgot the login credentials for my Netgear router?
If you have forgotten the login username and password for your Netgear router, you can perform a factory reset to restore the router to its default settings. This will reset all configuration settings, including the login credentials. After the reset, you can use the default username and password to log in and then set up a new username and password.
5.
Is it possible to change the default username and password for my Netgear router?
Yes, it is highly recommended to change the default username and password for your Netgear router to enhance the security of your network. Once you have logged into the router’s administration interface, you can navigate to the appropriate settings to change the username and password to something more unique and secure.