
Are you looking to change the password on your Netgear wireless router? Well, you’ve come to the right place! Whether you need to update your password for security reasons or simply because you forgot it, we’ve got you covered. Changing the password on your Netgear router is an essential step in safeguarding your network and preventing unauthorized access. In this article, we will walk you through the step-by-step process of changing your password on a Netgear wireless router. Don’t worry if you’re not a tech wizard – our easy-to-follow instructions will guide you every step of the way. So, let’s get started and ensure that your wireless network remains secure!
Inside This Article
- Basic steps to change password on a Netgear Wireless Router
- Accessing the router’s settings
- Logging in to the router’s interface – Entering the default username and password – Creating a new administrator password for enhanced security
- Navigating to the password change section – Finding the “Wireless Settings” or “Security” tab in the interface – Locating the “Password” or “Passphrase” field
- Changing the password – Entering a new strong password or passphrase – Saving the changes and rebooting the router for the settings to take effect
- Conclusion
- FAQs
Basic steps to change password on a Netgear Wireless Router
Changing the password on your Netgear Wireless Router is an essential step to keep your network secure. With the increase in cyber threats, it’s important to regularly update your router’s password to prevent unauthorized access. Fortunately, the process is straightforward and can be done in a few simple steps.
1. Accessing the router’s settings
The first step is to connect your device, such as a computer or laptop, to the Netgear Wireless Router. Make sure it is connected to the router either through a wired connection or via Wi-Fi. Once connected, open a web browser and enter the router’s IP address in the address bar. The IP address is typically 192.168.1.1 or 192.168.0.1, but it can vary based on your router model. Press Enter to access the router’s login page.
2. Logging in to the router’s interface
On the login page, you will be prompted to enter a username and password. By default, the username is usually admin and the password is either password or 1234. If you haven’t changed these login credentials in the past, try these default values. Once you’re logged in, it’s crucial to create a new administrator password to enhance the security of your router. Choose a strong password that includes a combination of letters, numbers, and special characters.
3. Navigating to the password change section
After setting up a new administrator password, locate the “Wireless Settings” or “Security” tab in the router’s interface. The exact location may vary depending on your router model, but it is commonly found under the “Advanced” or “Setup” section. Look for the “Password” or “Passphrase” field, which is where you will change the existing password. Some routers may require you to enter the current password before proceeding.
4. Changing the password
Enter a new strong password or passphrase in the designated field. Ensure that your new password is unique and not easily guessable. It’s recommended to use a combination of uppercase and lowercase letters, numbers, and special characters. Avoid using common words or personal information that can be easily associated with you. Once you have entered the new password, save the changes and reboot the router for the settings to take effect. You can now connect to your Netgear Wireless Router using the new password and enjoy a more secure network.
By following these basic steps, you can easily change the password on your Netgear Wireless Router and protect your network from potential threats. Remember to regularly update your password to maintain a high level of security for your router and connected devices.
Accessing the router’s settings
Before you can change the password on your Netgear Wireless Router, you first need to access the router’s settings. This involves connecting your device to the router and opening a web browser to enter the router’s IP address.
The first step is to connect your device, such as a laptop or smartphone, to the Netgear router. You can do this by using an Ethernet cable or by connecting to the router’s Wi-Fi network. Make sure that your device is within range of the router for a stable connection.
Once your device is connected, open a web browser such as Chrome, Firefox, or Safari. In the address bar of the browser, enter the IP address of your Netgear router. The default IP address for most Netgear routers is 192.168.1.1, but it may vary depending on the specific model you have.
After entering the router’s IP address, press Enter. This will take you to the Netgear router’s login page, where you can begin accessing the router’s settings.
Logging in to the router’s interface – Entering the default username and password – Creating a new administrator password for enhanced security
Once you have successfully connected your device to the Netgear wireless router, you can proceed to log in to its interface to access its settings. This will allow you to customize various aspects of your wireless network, including changing the password. Here are the steps to log in to your Netgear router’s interface:
1. Open a web browser on the device that is connected to the router.
2. In the address bar of the web browser, type in the IP address of your Netgear router. The default IP address is usually “192.168.1.1” or “192.168.0.1”. Press Enter to proceed.
3. A login page will appear, prompting you to enter the username and password. By default, the username is typically “admin” and the password is often “password” or “admin”. However, it is important to note that some models may have different default login credentials. If you are unsure, you can refer to the router’s documentation or check the label on the router itself.
4. Enter the default username and password into the appropriate fields and click on the “Login” or “Submit” button. If the credentials are correct, you will be granted access to the router’s interface.
It is highly recommended to change the default password to ensure the security of your network. To create a new administration password, follow these steps:
1. Once logged in to the router’s interface, navigate to the “Administration” or “Settings” section.
2. Look for the option to change the administrator password. This can typically be found under a sub-menu labeled “Password” or “Security.
3. Enter a strong and unique password of your choice into the designated field. Make sure to use a combination of uppercase and lowercase letters, numbers, and symbols.
4. After entering the new password, click on the “Save” or “Apply” button to save the changes. The router may require a reboot for the new password to take effect.
By creating a new administrator password, you add an extra layer of protection to your Netgear wireless router, safeguarding your network from unauthorized access.
Navigating to the password change section – Finding the “Wireless Settings” or “Security” tab in the interface – Locating the “Password” or “Passphrase” field
Once you have logged in to your Netgear Wireless Router’s interface, you can navigate to the section where you can change the password. The exact location of this section may vary slightly depending on the model of your router, but the general steps remain the same.
First, look for a tab or menu option labeled “Wireless Settings” or “Security” in the router’s interface. This is where you will find the options related to your wireless network settings.
Click on the “Wireless Settings” or “Security” tab to access the options within. This tab is usually located in the left-hand sidebar or at the top of the interface. Once you have accessed this tab, you will be able to configure various security settings for your wireless network, including changing the password.
Within the “Wireless Settings” or “Security” tab, you will need to locate the “Password” or “Passphrase” field. This is where the current password for your wireless network is displayed. It may be labeled as “Network Key,” “Security Key,” or something similar.
Take note of the current password before proceeding with any changes. This will ensure that you can reconnect your devices to the network using the new password without any issues.
Now that you have located the “Password” or “Passphrase” field, you are ready to change the password. Simply delete the existing password and enter your desired new password. It is recommended to use a strong, unique password to ensure the security of your network.
After entering the new password, save the changes by clicking the “Apply” or “Save” button. This will update the password for your wireless network.
Once the changes are saved, it is a good practice to reboot your Netgear Wireless Router for the new password settings to take effect. You can do this by clicking on the “Reboot” or “Restart” option, usually found in the router’s interface under the “Administration” or “Maintenance” tab.
By following these steps, you can easily navigate to the password change section on your Netgear Wireless Router and update the password for your wireless network. Remember to choose a strong password and keep it secure to protect your network from unauthorized access.
Changing the password – Entering a new strong password or passphrase – Saving the changes and rebooting the router for the settings to take effect
Once you have navigated to the password change section in your Netgear Wireless Router’s interface, it’s time to update your password with a new strong password or passphrase.
When choosing a new password, it is important to create a password that is unique, complex, and not easily guessable. A strong password typically includes a combination of uppercase and lowercase letters, numbers, and special characters.
Consider using a passphrase instead of a single word as it can be easier to remember while still providing a higher level of security. For example, “il0ve2pl@yn3t” is a strong password that incorporates numbers, letters, and special characters.
Enter your new password or passphrase in the “Password” or “Passphrase” field provided in the router’s interface. Make sure to follow any specific requirements or limitations mentioned by the router’s manufacturer.
After entering the new password, double-check for any typos or errors to ensure accuracy. It’s essential to get it right because an incorrect password will prevent you from accessing your network.
Once you are confident that the new password is correctly entered, proceed to save the changes. Look for a “Save” or “Apply” button within the interface and click on it to confirm the password change.
After saving the changes, it is important to reboot your Netgear Wireless Router for the new password to take effect. Rebooting the router will ensure that the changes are applied to the system and all connected devices will need to use the updated password to access the network.
To reboot your Netgear Wireless Router, navigate to the “Administration” or “Router Settings” section within the interface. Look for an option to restart or reboot the router and click on it. Allow the router to fully restart before attempting to connect to your network again.
By following these steps and entering a new strong password or passphrase, saving the changes, and rebooting your Netgear Wireless Router, you will successfully change the password and enhance the security of your network.
Conclusion
Changing the password on your Netgear wireless router is a crucial step in securing your home network. By following the steps outlined in this guide, you can take control of your network’s security and protect it from unauthorized access.
Remember, a strong password is the first line of defense against potential intruders. Create a unique and complex password that combines numbers, letters, and special characters. Regularly changing your password further enhances the security of your network.
With the ability to easily change your Netgear router’s password, you can ensure that your personal information and network remain safe from cyber threats. Take advantage of this simple but effective security measure today and enjoy a worry-free browsing experience.
FAQs
Q: How do I change the password on my Netgear wireless router?
A: Changing the password on a Netgear wireless router is a straightforward process. Simply follow these steps:
- Connect your device (computer, laptop, or smartphone) to the Netgear wireless router via a wired or wireless connection.
- Open your preferred web browser and enter the router’s IP address into the address bar. The default IP address for Netgear routers is typically 192.168.1.1 or 192.168.0.1.
- Enter the router’s username and password when prompted. If you haven’t changed these yet, the default username is usually “admin” and the default password is “password” or “1234”.
- Once logged in, navigate to the wireless settings or security settings section.
- Locate the password field or passphrase field and enter your desired new password.
- Save the changes and exit the router’s settings page.
Your Netgear wireless router will now have a new password set, providing enhanced security for your network.
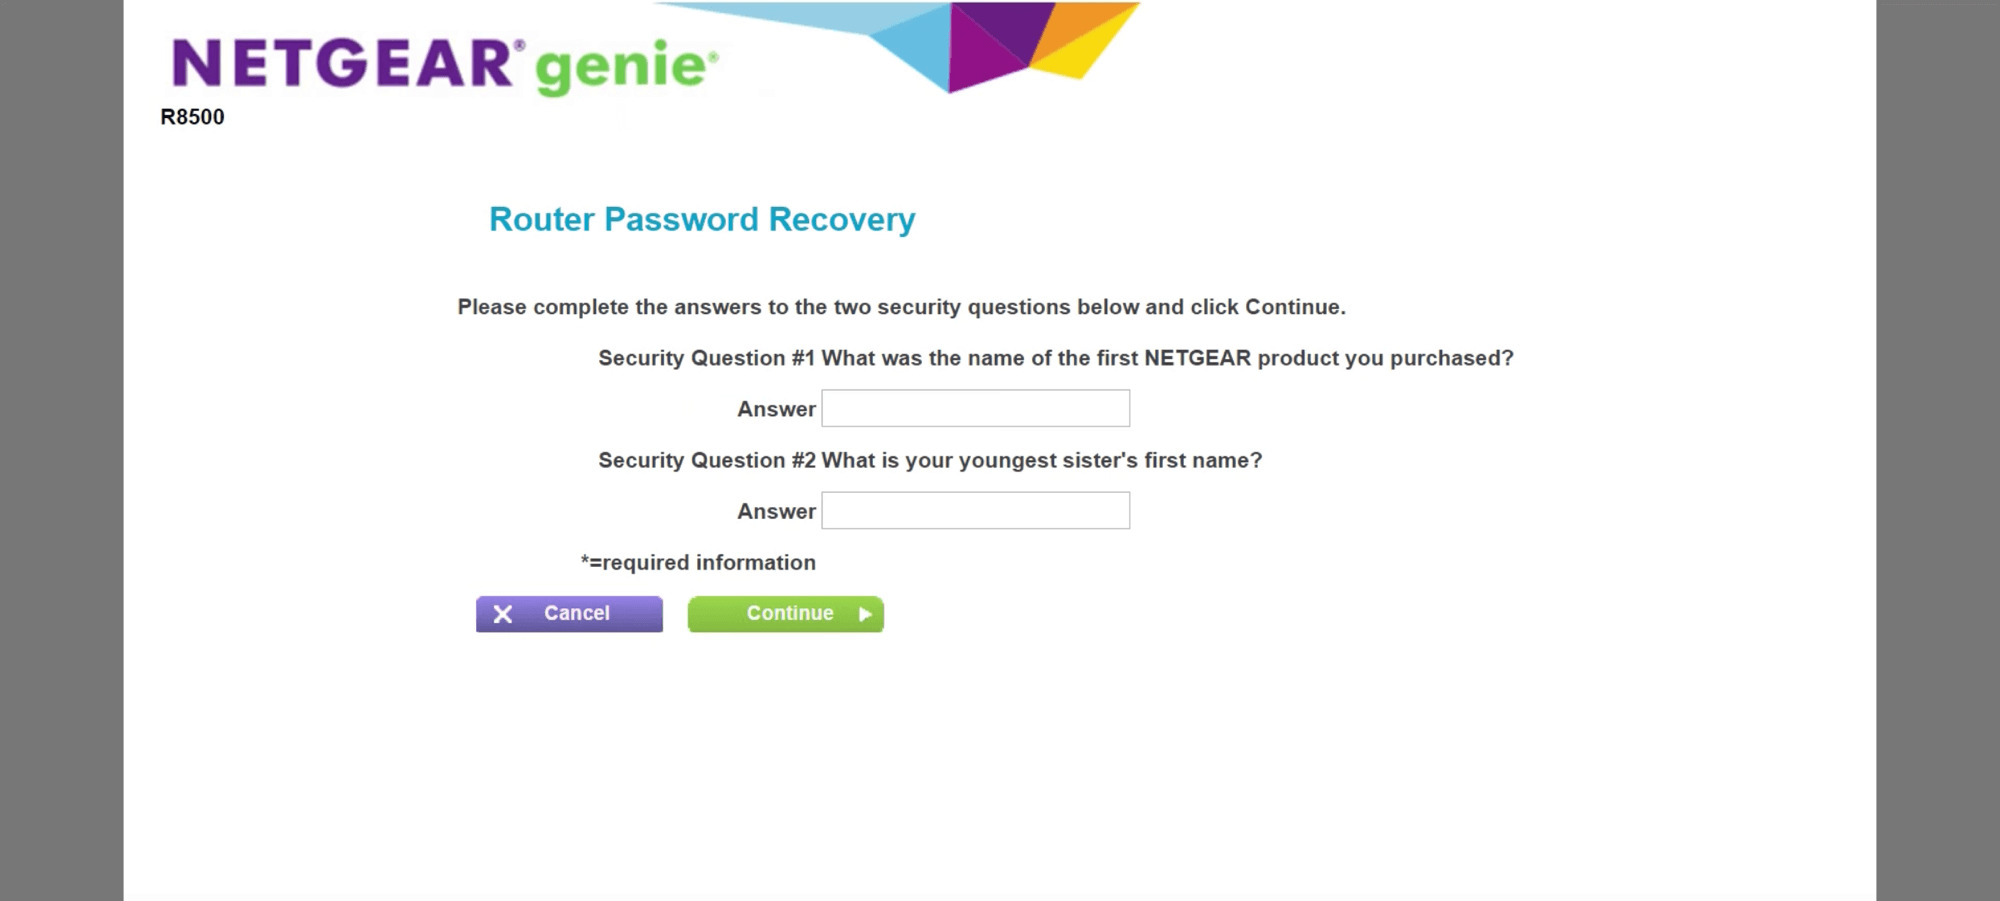
Q: Can I reset my Netgear router password if I forgot it?
A: Yes, if you have forgotten your Netgear router password, you can reset it to its default factory settings. To do this, locate the reset button on the back or bottom of your router, usually a small pinhole. Use a paperclip or a similar small object to press and hold the reset button for at least 10 seconds. Once reset, you can use the default username and password to log in to the router’s settings page and change the password as desired.
Q: What measures should I take to ensure the security of my Netgear wireless router?
A: To ensure the security of your Netgear wireless router, here are some recommended measures:
- Change the default username and password to a strong, unique combination.
- Regularly update the Netgear router’s firmware to the latest version.
- Enable WPA2 encryption for your wireless network.
- Create a strong, complex password for your wireless network.
- Disable remote management access if not required.
- Enable MAC address filtering to allow only trusted devices to connect to your network.
- Regularly monitor connected devices and network activity.
By implementing these measures, you can significantly enhance the security of your Netgear wireless router.
Q: How can I change the Wi-Fi network name (SSID) on my Netgear router?
A: To change the Wi-Fi network name (SSID) on your Netgear router, follow these steps:
- Connect your device to the Netgear router using a wired or wireless connection.
- Open a web browser and enter the router’s IP address into the address bar.
- Enter the router’s username and password to log in to the settings page.
- Navigate to the wireless settings section.
- Locate the SSID field and enter your desired network name.
- Save the changes and exit the settings page.
Your Netgear router will now broadcast the new Wi-Fi network name (SSID) for devices to connect to.
Q: Can I change the password for my Netgear router’s administrator account?
A: Yes, you can change the password for your Netgear router’s administrator account. Follow these steps to do so:
- Access the Netgear router’s settings page using a web browser.
- Login to the settings page using the current username and password.
- Navigate to the administration or account settings section.
- Locate the option to change the administrator password.
- Enter your current password and then your desired new password.
- Save the changes and exit the settings page.
From now on, you will need to use the new password to log in to the Netgear router’s settings page as the administrator.