
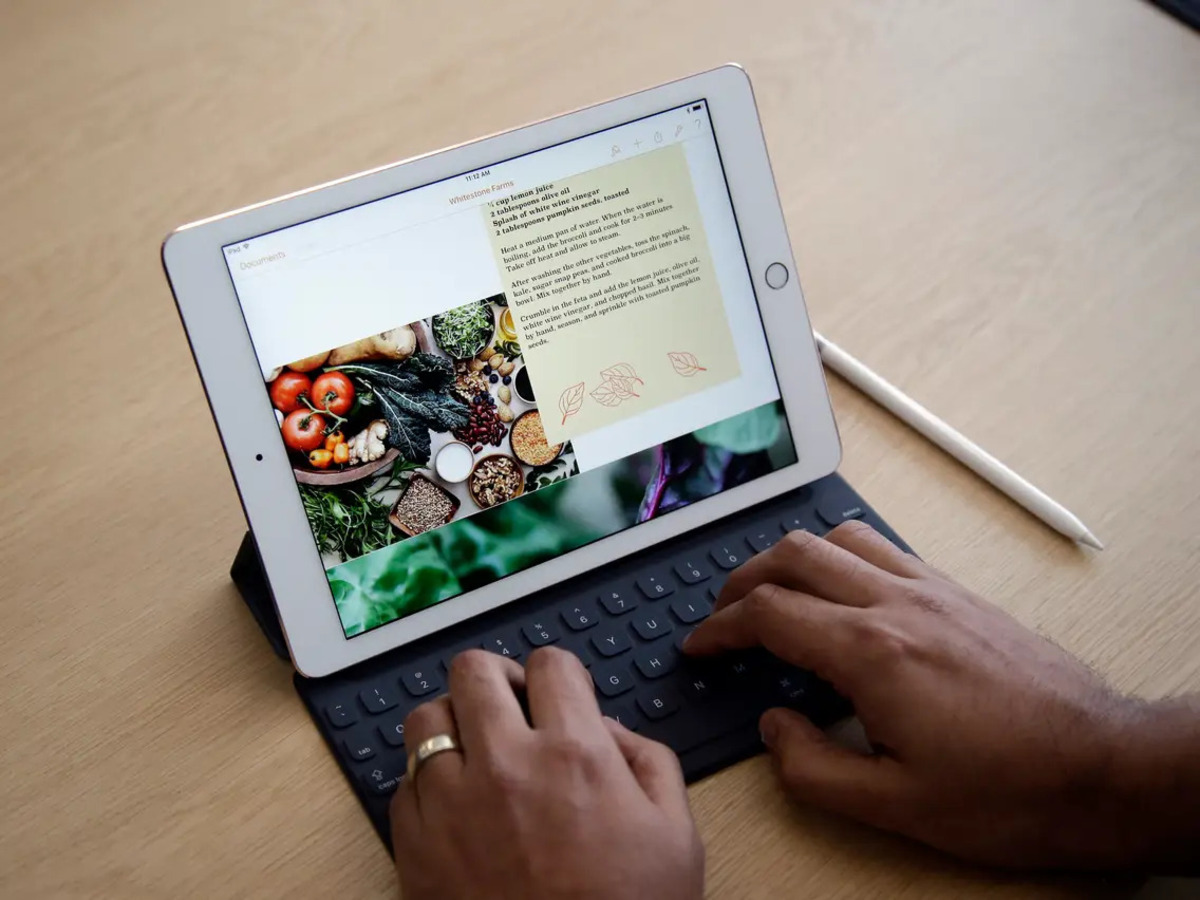
In today’s digital age, the ability to connect your iPad to a wireless printer has become increasingly important. Whether you need to print documents, photos, or even boarding passes, having a seamless connection between your iPad and printer can make your life much easier. Luckily, with advances in technology, setting up this connection is now simpler than ever.
In this article, we will guide you through the step-by-step process of connecting your iPad to a wireless printer. Whether you have an iPad Pro, iPad Air, or iPad Mini, rest assured that you’ll find the instructions you need to get your devices working together seamlessly. So grab your iPad and your wireless printer, and let’s get started on this exciting journey towards effortless printing!
Inside This Article
- Step 1: Check Printer Compatibility
- Step 2: Connect iPad and Printer to the Same Wi-Fi Network
- Step 3: Install Printer App on Your iPad
- Step 4: Add Printer on Your iPad
- Step 5: Print from Your iPad to Wireless Printer
- Troubleshooting Tips
- Conclusion
- FAQs
Step 1: Check Printer Compatibility
Before attempting to connect your iPad to a wireless printer, it is essential to confirm whether your chosen printer model is compatible with iOS devices like the iPad. Not all printers have built-in support for wireless printing from an iPad, so taking a moment to check for compatibility will save you time and frustration later on.
To determine if your printer is compatible, check the printer’s specifications or the manufacturer’s website. Look for any indications that the printer supports AirPrint, Apple’s wireless printing technology. AirPrint-enabled printers are designed to seamlessly connect with iOS devices, including the iPad, without the need for additional software or setup.
If your printer does not support AirPrint, don’t worry. There are alternative methods available that allow you to connect your iPad to a non-AirPrint printer. These methods usually involve using third-party apps or software to establish the connection between your iPad and the printer. However, keep in mind that the setup process might be more involved and may not offer the same level of convenience as AirPrint.
Checking the printer’s compatibility before proceeding will ensure that you can establish a seamless connection between your iPad and the wireless printer, allowing you to print documents, photos, and more with ease.
Step 2: Connect iPad and Printer to the Same Wi-Fi Network
One of the crucial steps in connecting your iPad to a wireless printer is ensuring that both devices are connected to the same Wi-Fi network. This is imperative for seamless communication between the iPad and the printer. Follow the steps below to connect your iPad and printer on the same Wi-Fi network:
1. Check Wi-Fi Connectivity: Begin by checking if your iPad is connected to a Wi-Fi network. Open the Settings app on your iPad, tap on Wi-Fi, and make sure it is connected to your desired Wi-Fi network. If not, select the appropriate network and enter the password if prompted.
2. Power on Your Printer: Ensure that your printer is turned on and connected to the Wi-Fi network. Most modern wireless printers have built-in Wi-Fi capabilities and can automatically connect to your Wi-Fi network.
3. Confirm Printer Connection: Once your printer is powered on, check if it is connected to the Wi-Fi network. Some printers have LCD screens that display the network connection status, while others may have indicator lights. Consult your printer’s manual for specific instructions on confirming the Wi-Fi connection.
4. Restart Your Router: If your printer is not connecting to the Wi-Fi network, try restarting your router. Simply unplug your router from the power source, wait for a few seconds, and then plug it back in. This can help resolve any temporary network issues and allow your printer to connect successfully.
5. Reset Network Settings (Optional): If your iPad still cannot detect the printer on the Wi-Fi network, you may need to reset the network settings on your iPad. However, proceed with caution as this will also erase other saved Wi-Fi networks and passwords on your iPad. To reset network settings, go to the Settings app, tap on General, select Reset, and then choose Reset Network Settings.
6. Connect Printer to Wi-Fi (If Not Connected): If your printer is still not connected to the Wi-Fi network, consult your printer’s manual or manufacturer’s website for instructions on connecting it to the Wi-Fi network. Typically, this involves accessing the printer’s settings menu, selecting Wi-Fi, and following the on-screen prompts to connect to your desired network.
Once you have successfully connected both your iPad and printer to the same Wi-Fi network, you are ready to move on to the next step of installing the printer app on your iPad.
Step 3: Install Printer App on Your iPad
Once you have ensured that your wireless printer is compatible with your iPad and connected to the Wi-Fi network, the next step is to install the printer app on your iPad. The printer app acts as a bridge between your iPad and the printer, enabling seamless communication and control.
Installing the printer app is a straightforward process. Follow these steps:
1. Launch the App Store on your iPad. The App Store can easily be accessed from the home screen.
2. Tap on the search icon located at the bottom right corner of the screen. This will open the search bar.
3. Type in the name of the printer brand or model you are using. For example, if you are using a Canon printer, type in “Canon Printer” in the search bar.
4. A list of apps related to your printer brand or model will appear. Look for the official printer app developed by the manufacturer. It usually has the manufacturer’s logo as the app icon.
5. Tap on the app you want to install. This will open the app page with more details.
6. Tap on the “Get” or “Install” button to download and install the printer app on your iPad. You may be prompted to enter your Apple ID password or use Touch ID/Face ID for authentication.
7. Once the app is installed, you will find its icon on your iPad’s home screen. Tap on the icon to launch the printer app.
8. Follow the on-screen instructions provided by the app to complete the setup process. This usually involves connecting the app to your Wi-Fi network and selecting your printer from a list of available devices.
9. After the setup process is complete, you can start using the printer app to print documents, photos, and more directly from your iPad.
By installing the printer app on your iPad, you gain the ability to print wirelessly and conveniently. The printer app provides a user-friendly interface with various printing options, such as selecting the number of copies, adjusting print quality, and choosing specific print settings.
Make sure to regularly update the printer app to enjoy the latest features and improvements.
Step 4: Add Printer on Your iPad
After successfully installing the printer app on your iPad and connecting it to the same Wi-Fi network as your wireless printer, the next step is to add the printer to your device. This will allow you to easily print documents, photos, and other files directly from your iPad.
To add a printer on your iPad, follow these steps:
- Open the Settings app on your iPad. It’s the icon that looks like gears turning.
- Scroll down and tap on “Printers & Scanners”.
- Tap on the “Add Printer or Scanner” option. Your iPad will start searching for nearby printers.
- Once your printer is detected, tap on its name to select it.
- If prompted, enter the printer’s access code or PIN. This information can usually be found on the printer itself or in the printer’s manual.
- After entering the access code, your iPad will establish a connection with the printer. Once the connection is established, a checkmark will appear next to the printer’s name.
- Tap on “Done” to save the printer settings.
Now that you have successfully added the printer to your iPad, you can start printing from your device. Whenever you want to print something, simply open the file or document on your iPad, tap the “Share” button, and select the “Print” option. Your iPad will communicate with the printer, and your document will be printed wirelessly.
It’s worth noting that not all printers support wireless printing from an iPad. If you encounter any issues during the setup process or if your printer is not compatible, refer to the printer’s manual or contact the manufacturer for further assistance.
Step 5: Print from Your iPad to Wireless Printer
Now that your iPad is connected to your wireless printer, you can easily print documents and images directly from your device. Here’s how:
1. Open the document or image you want to print on your iPad.
2. Tap the Share button, which is usually represented by a square with an arrow pointing upwards. This button is typically located at the top or bottom of the screen, depending on the app you’re using.
3. In the sharing options that appear, look for the Print icon. It looks like a small printer. Tap on it.
4. The Printer Options screen will appear, allowing you to choose the printer you want to use. Select your wireless printer from the list of available printers.
5. Adjust any print settings if necessary, such as the number of copies or the page range. You can also select the paper size and orientation.
6. Tap the Print button to start the printing process.
7. Wait for your iPad to send the print job to your wireless printer. Depending on the size of the document or image, it may take a few moments to complete.
8. Once the printing is finished, retrieve your printed document from the printer’s output tray. If you’re printing images, make sure to let them dry before handling.
And that’s it! You have successfully printed from your iPad to a wireless printer. Enjoy the convenience and flexibility of wireless printing right from your device!
Troubleshooting Tips
Connecting your iPad to a wireless printer can sometimes be a bit challenging, but with a few troubleshooting tips, you can get your printer up and running in no time. Here are some common issues you might encounter and how to resolve them:
1. Make sure the printer and iPad are connected to the same Wi-Fi network: One of the most crucial steps in setting up a wireless printer is ensuring that both your printer and iPad are connected to the same Wi-Fi network. If they aren’t, you won’t be able to establish a connection between the two devices. Check your network settings on both devices and make sure they are connected to the same Wi-Fi network.
2. Restart your printer and iPad: If you’re experiencing connectivity issues, try restarting both your printer and iPad. This simple action can often resolve minor technical glitches that may be preventing them from communicating effectively.
3. Update printer and iPad software: Outdated software can sometimes cause compatibility issues between your printer and iPad. Ensure that both devices are running the latest software updates. You can do this by checking for updates in the settings menu on your iPad and visiting the manufacturer’s website for any available printer firmware updates.
4. Check printer connection status: Sometimes printers can go offline or lose connection. Check the printer’s display or indicator lights to ensure that it is connected to the Wi-Fi network. If the connection is lost, try reconnecting the printer to the Wi-Fi network and then attempt to connect it to your iPad again.
5. Reset network settings on iPad: If all else fails, you can try resetting the network settings on your iPad. This will erase all saved Wi-Fi networks and reconnect to them as if it were a new device. To do this, go to Settings > General > Reset > Reset Network Settings. Note, however, that this will also remove any saved Wi-Fi passwords, so make sure you have them handy to connect to the network again.
6. Consult manufacturer support: If you’ve tried all the troubleshooting tips and are still unable to connect your iPad to the wireless printer, it’s a good idea to reach out to the manufacturer’s support team. They will have specific knowledge about your printer model and can guide you through any additional steps or provide further assistance.
By following these troubleshooting tips, you can overcome common issues and successfully connect your iPad to your wireless printer. Enjoy the convenience of printing directly from your iPad hassle-free!
Conclusion
Connecting your iPad to a wireless printer can greatly enhance your productivity and convenience. By following the steps outlined in this article, you can easily set up a seamless connection between your iPad and your wireless printer. Whether you need to print documents, photos, or other files, having the ability to print directly from your iPad can save you time and effort.
Remember to ensure that your iPad and wireless printer are connected to the same Wi-Fi network for a successful connection. Additionally, make sure that your printer is compatible with AirPrint or has a dedicated app for iPad printing.
Now that you have the knowledge and the confidence, go ahead and connect your iPad to your wireless printer. Enjoy the convenience of printing effortlessly from your iPad, no matter where you are!
FAQs
1. Can I connect my iPad to any wireless printer?
Yes, you can connect your iPad to most wireless printers that support AirPrint. However, it’s important to check if your specific printer model is compatible with iPad printing before attempting to connect.
2. How do I find out if my printer supports AirPrint?
To find out if your printer supports AirPrint, you can refer to the printer’s manufacturer website or refer to the printer’s documentation. Most printer manufacturers will clearly indicate if their printers are AirPrint-compatible.
3. Do I need any special apps to connect my iPad to a wireless printer?
No, you do not need any special apps to connect your iPad to a wireless printer through AirPrint. AirPrint is a built-in feature in iPads and does not require any additional apps for printing.
4. How do I connect my iPad to a wireless printer?
To connect your iPad to a wireless printer, follow these steps:
- Make sure your iPad and the wireless printer are on the same Wi-Fi network.
- Open the app from which you want to print.
- Select the file or document you want to print.
- Tap the Share button (usually represented by an arrow pointing upwards).
- Select the Print option.
- Choose the printer that you want to print to.
- Adjust any print settings if necessary, and then tap Print.
5. Can I print from any app on my iPad using AirPrint?
Most apps that support printing on the iPad will have the Print option available. However, it’s important to note that not all apps may have this feature. It’s always a good idea to check if the app you want to print from supports AirPrint before attempting to print.