
Setting up a wireless printer on your Mac can be a convenient and hassle-free way to print documents and photos from any room in your home or office. With the increasing popularity of wireless technology, printing wirelessly has become an essential feature for many users. However, if you’re not familiar with the process, it may seem daunting at first. But fear not! In this article, we will guide you through the step-by-step process of setting up a wireless printer on your Mac. Whether you have a brand-new printer or an old one lying around, we’ve got you covered. By the end of this guide, you’ll be able to wirelessly print your documents and photos with ease, saving you time and effort. So, let’s dive in and get your printer up and running!
Inside This Article
- How To Set Up Wireless Printer On Mac
- Step 1: Check Compatibility
- Step 2: Connect the Printer to your Wi-Fi Network
- Step 3: Install Printer Drivers on your Mac
- Step 4: Add the Printer to your Mac’s Printer List
- Conclusion
- FAQs
How To Set Up Wireless Printer On Mac
Setting up a wireless printer on your Mac can bring convenience and productivity to your printing tasks. In just a few simple steps, you can easily connect your printer to your Mac over Wi-Fi and start printing wirelessly. Here’s a step-by-step guide to help you set up your wireless printer on Mac.
Step 1: Check Compatibility
Before diving into the setup process, it’s important to ensure that your printer is compatible with your Mac. Check the manufacturer’s website or the printer’s manual to confirm compatibility with macOS. Additionally, ensure that your Mac is connected to the same Wi-Fi network you want to connect your printer to.
Step 2: Connect the Printer to your Wi-Fi Network
Most modern wireless printers have built-in Wi-Fi capabilities. To connect your printer to the Wi-Fi network, follow these steps:
- Turn on your printer and navigate to its settings menu.
- Find and select the “Network” or “Wireless” option.
- Select the Wi-Fi network you want to connect to and enter the password if prompted.
- Wait for the printer to establish a connection with the Wi-Fi network.
Once your printer is connected to the Wi-Fi network, move on to the next step.
Step 3: Install Printer Drivers on your Mac
In order for your Mac to recognize and communicate with the wireless printer, you need to install the appropriate printer drivers. The drivers can usually be downloaded from the manufacturer’s website or provided on a CD that comes with the printer. Follow these steps to install the drivers:
- Visit the manufacturer’s website and navigate to the “Support” or “Downloads” section.
- Search for your printer model and select the appropriate driver for macOS.
- Download and run the driver installation file on your Mac.
- Follow the on-screen instructions to complete the installation.
Once the driver installation is complete, your Mac will be ready to connect to the wireless printer.
Step 4: Add the Printer to your Mac’s Printer List
Now that you have installed the printer drivers, it’s time to add the printer to your Mac’s printer list. Follow these steps:
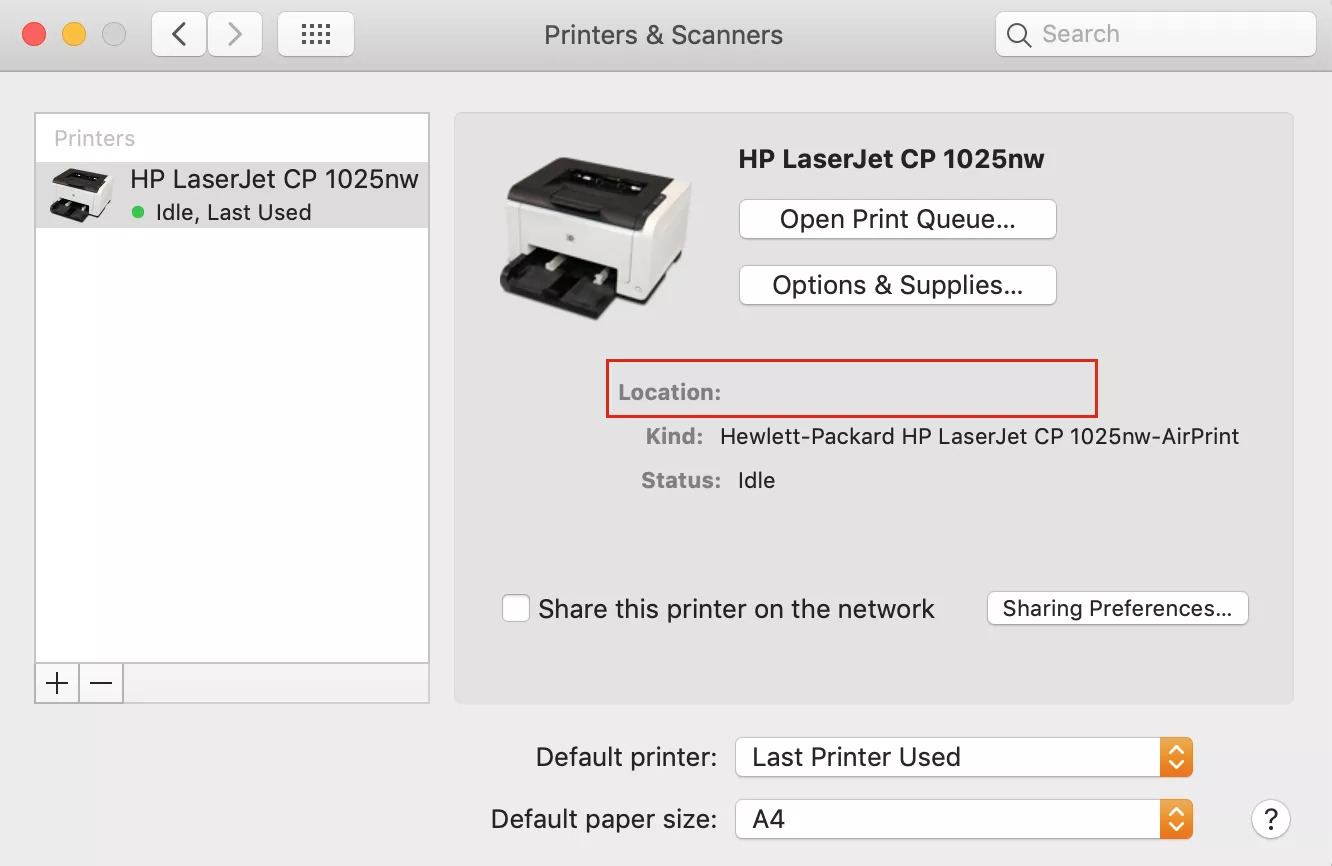
- Open “System Preferences” from the Apple menu or the Dock.
- Select “Printers & Scanners” or “Print & Fax”.
- Click the “+” button to add a new printer.
- Select your printer from the list of available printers.
- Click “Add” to add the printer to your Mac.
Once added, your Mac will establish a connection with the wireless printer. You can now select the wireless printer as your default printing option and start printing wirelessly from your Mac.
By following these simple steps, you can set up a wireless printer on your Mac and enjoy the convenience of wireless printing. Now you can print documents, photos, and more without the hassle of connecting your Mac directly to the printer. Say goodbye to tangled cables and hello to seamless and wireless printing!
Step 1: Check Compatibility
Before setting up a wireless printer on your Mac, it is crucial to check its compatibility. Not all printers are compatible with Mac operating systems, so it’s important to make sure that the printer model you have is supported. You can do this by visiting the manufacturer’s website or checking the documentation that came with the printer.
Incompatible printers may not have the necessary drivers or software to connect wirelessly with your Mac. Therefore, it is essential to verify compatibility to avoid any potential issues or compatibility conflicts later on.
Additionally, make sure that your Mac’s operating system is up to date. Newer printer models may require the latest macOS version to function properly. Updating your operating system is relatively simple. Just navigate to the Apple menu, click on “System Preferences,” and then select “Software Update.”
By ensuring that your printer is compatible with your Mac and that your operating system is updated, you can proceed with setting up your wireless printer with confidence.
Step 2: Connect the Printer to your Wi-Fi Network
Connecting your wireless printer to your Wi-Fi network is an essential step to ensure seamless printing. Here are the steps to connect your printer to your Wi-Fi network on your Mac:
- Make sure your printer is turned on and in a ready state.
- On your Mac, open the System Preferences by clicking on the Apple menu in the top-left corner of the screen and selecting “System Preferences.”
- In the System Preferences window, click on the “Printers & Scanners” icon.
- On the left-hand side of the Printers & Scanners window, you will see a list of printers already added to your Mac. Click the “+” button at the bottom of the list to add a new printer.
- A pop-up window will appear with a list of nearby printers available on your Wi-Fi network. Select your printer from the list.
- If your printer is not listed, click on the “Add Printer or Scanner…” option. This will initiate a search for new printers on your network.
- Once your printer is selected or added, click on the “Add” button.
- Your Mac will now attempt to connect to your printer. Depending on the printer model, you may be prompted to enter the Wi-Fi network password. Follow the on-screen instructions to complete the connection process.
- Once your printer is successfully connected to your Wi-Fi network, it will appear in the Printers & Scanners window on your Mac.
Congratulations! You have successfully connected your wireless printer to your Wi-Fi network on your Mac. Now you can enjoy the convenience of printing wirelessly from your Mac to your printer.
Step 3: Install Printer Drivers on your Mac
After connecting your wireless printer to your Wi-Fi network, the next step is to install the printer drivers on your Mac. Printer drivers are software programs that allow your computer to communicate with the printer and control its functions. Here’s how you can easily install the printer drivers on your Mac:
1. Check for Automatic Installation: In many cases, when you connect a printer to your Mac, the operating system automatically detects the printer and installs the necessary drivers. To check if the drivers are automatically installed, go to the Apple menu and click on “System Preferences.” Then, click on “Printers & Scanners.” If your printer is listed on the left-hand side panel, it means the drivers have been installed automatically.
2. Download Drivers from Printer Manufacturer’s Website: If the drivers were not automatically installed, you can manually download them from the printer manufacturer’s website. Visit the official website of your printer’s manufacturer and navigate to the Support or Downloads section. Look for the specific model of your printer and download the compatible drivers for your Mac.
3. Install the Drivers: Once the drivers are downloaded, locate the downloaded file and double-click on it to begin the installation process. Follow the on-screen instructions to complete the installation. It is recommended to close all other applications before installing the drivers to avoid any conflict.
4. Verify the Installation: After the installation is complete, go back to the Apple menu and click on “System Preferences.” Then, click on “Printers & Scanners.” Your printer should now be listed on the left-hand side panel. You can click on the printer to make it your default printer or modify its settings if needed.
By following these simple steps, you can easily install the necessary printer drivers on your Mac. Now you are ready to start using your wireless printer for all your printing needs.
Step 4: Add the Printer to your Mac’s Printer List
Once you have connected your wireless printer to your Wi-Fi network and installed the necessary drivers on your Mac, the final step is to add the printer to your Mac’s Printer List. This will allow you to easily select and print documents using your wireless printer.
To add the printer, follow these steps:
- Click on the Apple menu in the top-left corner of your Mac’s screen and select “System Preferences.”
- In the System Preferences window, click on the “Printers & Scanners” icon.
- On the left-hand side of the Printers & Scanners window, you will see a list of printers that are already added to your Mac. To add a new printer, click on the “+” button below the list.
- A pop-up window will appear, displaying a list of nearby printers that your Mac has detected. Select your wireless printer from the list.
- If your printer does not appear in the list, make sure that it is turned on and connected to the same Wi-Fi network as your Mac. You may need to refer to the printer’s user manual for further assistance.
- After selecting your wireless printer, your Mac will automatically find and install the necessary drivers for the printer. This process may take a few seconds.
- Once the driver installation is complete, your wireless printer will be added to your Mac’s printer list. You can give it a name if you prefer.
And that’s it! You have successfully added your wireless printer to your Mac’s Printer List. Now you can easily select and print documents using your wireless printer from any application on your Mac.
If you experience any issues during the setup process or encounter any printing problems afterwards, refer to your printer’s user manual or contact the manufacturer’s support for further assistance.
Conclusion
Setting up a wireless printer on your Mac can greatly improve your printing experience by providing convenience and flexibility. With the simple steps outlined in this article, you can easily connect and configure your wireless printer, allowing you to print wirelessly from any device within your network.
By following the guidelines and troubleshooting tips, you can overcome any potential challenges and enjoy seamless printing on your Mac. Remember to keep your printer firmware updated and ensure compatibility with your Mac’s operating system for optimal performance.
Whether you’re a student, a professional, or simply someone who needs to print regularly, the ability to set up a wireless printer on your Mac is an invaluable convenience. With easy access to printing from your MacBook, iMac, or other Mac devices, you can streamline your workflow and save time.
So go ahead, follow the steps provided, and enjoy the freedom and convenience that a wireless printer brings to your Mac setup.
FAQs
1. Can a wireless printer be set up on a Mac?
Yes, absolutely! Setting up a wireless printer on a Mac is a fairly straightforward process. Mac computers have built-in tools that make connecting and configuring wireless printers easy and hassle-free.
2. What do I need to set up a wireless printer on my Mac?
To set up a wireless printer on your Mac, you will need the following:
- A wireless printer that supports AirPrint or has Wi-Fi connectivity
- A stable Wi-Fi network
- Your Mac computer with the latest macOS version
3. How do I connect my Mac to a wireless printer?
To connect your Mac to a wireless printer, follow these steps:
- Ensure that your printer is connected to the same Wi-Fi network as your Mac.
- On your Mac, click on the Apple menu and select “System Preferences.”
- Go to “Printers & Scanners.”
- Click the “+” button to add a new printer.
- Your Mac will detect the wireless printer. Select it and click “Add.”
- Your Mac will install the necessary drivers and set up the wireless printer.
4. What if my wireless printer is not detected by my Mac?
If your Mac does not detect your wireless printer, try the following troubleshooting steps:
- Make sure your printer is turned on and connected to the Wi-Fi network.
- Restart your printer and Mac.
- Check for any software updates on your Mac and install them.
- Reset the printing system on your Mac by going to “System Preferences” > “Printers & Scanners” > right-click on the printer list > “Reset Printing System.”
- If all else fails, consult the user manual of your wireless printer for further troubleshooting steps.
5. Can I print from my iPhone or iPad to a wireless printer connected to my Mac?
Yes, if you have set up a wireless printer on your Mac, you can print from your iPhone or iPad. As long as your iOS device and the Mac with the connected printer are on the same Wi-Fi network, you can use AirPrint to wirelessly send print jobs from your iOS device to the printer connected to your Mac.