
In today’s digital age, wireless technology has become a vital component of our everyday lives. From smartphones to smart homes, connectivity is key. When it comes to improving our computer setup, one of the biggest game-changers is the ability to connect a wireless keyboard and mouse. Gone are the days of tangled cords and limited mobility. With a wireless keyboard and mouse, you can enjoy the freedom of working or gaming from a distance, without sacrificing functionality or comfort.
In this comprehensive article, we will delve into the step-by-step process of connecting a wireless keyboard and mouse to your computer. Whether you’re a tech-savvy enthusiast or a beginner, we will guide you through the necessary steps and provide valuable tips to ensure a seamless and hassle-free setup. So, let’s get started and unlock the true potential of your computer setup with a wireless keyboard and mouse.
Inside This Article
- Pairing the Wireless Keyboard and Mouse
- Checking the Compatibility of Devices
- Connecting the Wireless Receiver
- Troubleshooting Common Connection Issues
- Conclusion
- FAQs
Pairing the Wireless Keyboard and Mouse
Pairing a wireless keyboard and mouse is a straightforward process that allows you to connect these peripherals to your computer without the limitations of cords and cables. Whether you’re upgrading to a new set or starting fresh, here are the steps to follow to pair your wireless keyboard and mouse:
1. Ensure that both your wireless keyboard and mouse are powered on and have fresh batteries. Having sufficient battery power is crucial for proper functioning and successful pairing.
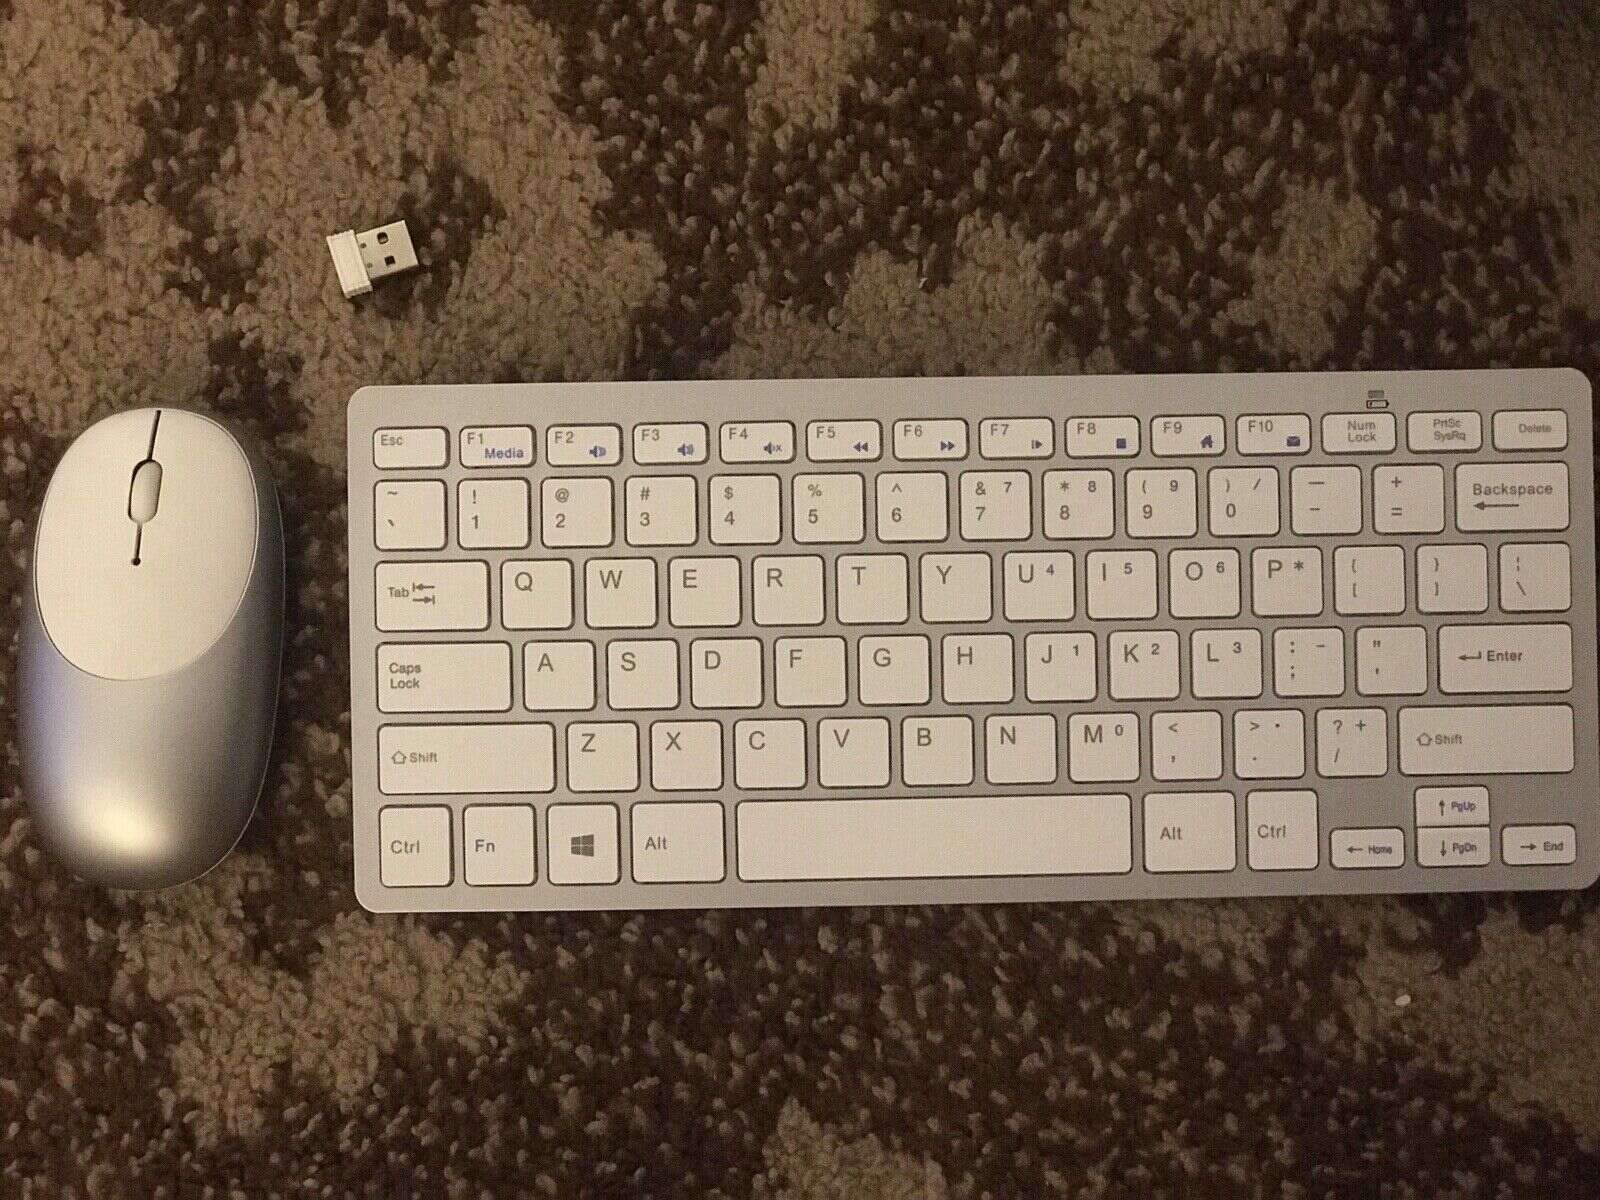
2. Locate the wireless receiver that came with your keyboard and mouse set. This small USB device is responsible for establishing the wireless connection between your computer and the peripherals. Plug the receiver into an available USB port on your computer. If your computer has multiple USB ports, choose one that is easily accessible.
3. Once the receiver is plugged in, the pairing process should initiate automatically. If not, look for the pairing button on the bottom of your keyboard and mouse. Press and hold the pairing button until the LED light on the receiver starts blinking rapidly.
4. On your computer, navigate to the Bluetooth or Wireless settings. Depending on your operating system, you might find these settings in the Control Panel or the System Preferences menu. Look for the option to add a new device and select it.
5. Your computer will start scanning for available devices. When your keyboard and mouse appear in the list of detected devices, click on them to start the pairing process. Follow any on-screen prompts or instructions to complete the pairing.
6. Once the pairing is successful, your wireless keyboard and mouse should be ready to use. Test them by typing on the keyboard and moving the mouse, ensuring that they respond properly and smoothly.
Remember that the exact pairing process may vary depending on the brand and model of your wireless keyboard and mouse. Always refer to the instruction manual or the manufacturer’s website for specific guidelines and troubleshooting steps if needed. With a successful pairing, you’ll enjoy the freedom and convenience of a wireless setup for your computer peripherals!
Checking the Compatibility of Devices
Before attempting to connect a wireless keyboard and mouse, it is essential to ensure that the devices you have are compatible with each other. Checking the compatibility beforehand will save you time and frustration in the setup process. Here are a few crucial factors to consider:
1. Operating System: Make sure that your wireless keyboard and mouse support the operating system of your device. Whether you are using Windows, macOS, or Linux, compatibility between the devices and the operating system is crucial for a seamless connection.
2. Connection Type: Check the connection type of both the wireless keyboard and mouse and verify if it matches the available ports on your computer. Common connection types include USB, Bluetooth, and RF (Radio Frequency).
3. Wireless Technology: Pay attention to the wireless technology used by the keyboard and mouse. Some devices may use older wireless technologies that might not be compatible with newer operating systems or devices.
4. Device Specifications: Check the technical specifications of your computer or device to ensure that it meets the requirements for connecting a wireless keyboard and mouse. This includes checking the type and version of USB ports, Bluetooth capabilities, and any other necessary hardware.
5. Brand Compatibility: While not always necessary, it is worth considering the compatibility between the brand of your keyboard and mouse. Some manufacturers design their devices to work seamlessly together, providing enhanced features and functionality.
By confirming the compatibility of your wireless keyboard and mouse with your device and operating system, you will be able to avoid any potential connectivity issues. It is recommended to consult the user manuals or check the manufacturer’s website for detailed compatibility information.
Connecting the Wireless Receiver
Once you have successfully paired your wireless keyboard and mouse, the next step is to connect the wireless receiver to your computer. The wireless receiver acts as the bridge between your computer and the input devices, allowing them to communicate wirelessly.
To connect the wireless receiver, follow these steps:
- Locate the USB port on your computer where you will plug in the wireless receiver. It is usually located on the back or side of the computer.
- Insert the wireless receiver into the USB port. Make sure it fits securely and is fully inserted into the port.
- Wait for your computer to recognize the wireless receiver. This process may take a few moments as the computer installs the necessary drivers.
- Once the receiver is recognized, check if your keyboard and mouse are functioning properly. Move the mouse and type on the keyboard to ensure that the computer is receiving the input signals.
- If your keyboard and mouse are not working, try restarting your computer. Sometimes, a simple reboot can resolve any connection issues.
- If the problem persists, double-check that your wireless receiver is connected to the correct USB port. Try plugging it into a different USB port to see if that resolves the issue.
It’s important to note that some wireless keyboards and mice may have different methods of connecting the receiver. Always refer to the manufacturer’s instructions for specific guidance on how to connect the wireless receiver to your computer.
Once the wireless receiver is connected and your input devices are functioning properly, you can start using your wireless keyboard and mouse without any wires cluttering up your workspace. Enjoy the freedom and convenience of wireless connectivity!
Troubleshooting Common Connection Issues
While connecting a wireless keyboard and mouse can be a convenient way to enhance your productivity and declutter your workspace, it’s not uncommon to run into some connection issues along the way. Don’t fret! By following these troubleshooting tips, you’ll be able to resolve common connectivity problems and get your keyboard and mouse up and running smoothly.
1. Ensure Proper Power Supply: The first step in troubleshooting connection issues is to check the power supply of your wireless keyboard and mouse. Make sure the batteries are properly inserted and have enough charge. If using rechargeable batteries, recharge them if necessary. Sometimes, a simple power-related issue is the root cause of the connection problem.
2. Check for Interference: Wireless devices can be susceptible to interference from other electronic devices such as smartphones, routers, or even other wireless keyboards and mice. Make sure there are no nearby devices that could cause signal interference. Additionally, metal objects or walls between the devices and the receiver can weaken the signal. Try moving the receiver closer to eliminate any potential barriers.
3. Re-pair the Devices: If your keyboard or mouse is not connecting despite having a strong signal, it may be necessary to re-pair the devices with the wireless receiver. Refer to the manufacturer’s instructions to put your keyboard and mouse in pairing mode and then initiate the connection with the receiver. This process typically involves pressing certain buttons on both the devices and the receiver to establish a new connection.
4. Update Drivers and Firmware: Outdated drivers or firmware can sometimes cause connection issues with wireless keyboards and mice. Check the manufacturer’s website for any available updates and install them accordingly. Updating the drivers and firmware can not only improve the device’s performance but also resolve any compatibility issues that might be causing the connection problem.
5. Reset the Receiver: If all else fails, try resetting the wireless receiver. Most wireless receivers have a small reset button that can be pressed with a paperclip or a small pin. Press and hold the button for a few seconds, and then try connecting the keyboard and mouse again. This action will reset the receiver and allow it to establish new connections with the devices.
6. Contact Manufacturer Support: If you have tried all the troubleshooting steps and your wireless keyboard and mouse still refuse to connect, it may be time to reach out to the manufacturer’s support. They will be able to provide further assistance and guide you through any specific troubleshooting steps tailored to your device model.
By following these troubleshooting tips, you should be able to resolve common connection issues with your wireless keyboard and mouse. Remember, patience is key as you work through the process. Soon enough, you’ll have your wireless setup working seamlessly and enjoy the freedom of a clutter-free workspace.
Conclusion
Connecting a wireless keyboard and mouse to your device can greatly enhance your efficiency and convenience. With the advancements in technology, wireless peripherals have become increasingly popular, offering ease of use and flexibility.
In this article, we have explored the step-by-step process of connecting a wireless keyboard and mouse. From ensuring compatibility to activating the pairing mode and establishing the connection, we have provided you with a comprehensive guide. Remember to refer to the instruction manual of your specific device for any variations or additional steps.
By following these instructions, you can enjoy the freedom of a clutter-free workspace and the smooth functionality that wireless peripherals offer. Whether you are using a desktop computer, laptop, or even a smart TV, connecting a wireless keyboard and mouse is a straightforward process that can greatly enhance your productivity.
So, go ahead and enjoy the convenience of wireless connectivity for your input devices. Say goodbye to tangled cables and hello to a more seamless and enjoyable computing experience.
FAQs
1. Can I connect a wireless keyboard and mouse to any device?
Yes, you can connect a wireless keyboard and mouse to any device that supports Bluetooth or has a USB port. Whether it’s a laptop, desktop computer, tablet, or even a smart TV, as long as the device has the necessary compatibility, you can easily connect and use a wireless keyboard and mouse.
2. How do I connect a wireless keyboard and mouse to my device?
The exact steps may vary depending on the specific brand and model of your wireless keyboard and mouse, but generally, the process involves the following steps:
- Make sure your keyboard and mouse have batteries and are turned on.
- Enable Bluetooth on your device or insert the USB receiver into an available port.
- Press the Connect button on the keyboard or mouse and wait for your device to detect and pair with them.
- Follow any additional on-screen instructions, if necessary.
3. What if my device doesn’t have Bluetooth?
If your device doesn’t have built-in Bluetooth, you can use a USB Bluetooth adapter to add Bluetooth functionality. Simply plug the adapter into an available USB port on your device, and then follow the same steps as mentioned above to connect your wireless keyboard and mouse.
4. Can I connect multiple wireless keyboards and mice to the same device?
In most cases, you can only connect one wireless keyboard and mouse to a device at a time. This is because each wireless keyboard and mouse pair usually operates on a specific frequency to avoid interference. However, some advanced devices or software may allow you to connect multiple wireless keyboards and mice simultaneously.
5. How do I know if my wireless keyboard and mouse are connected successfully?
Once you have completed the pairing process, check if your wireless keyboard and mouse are responsive. Try typing on the keyboard and moving the mouse to see if the input is registered on your device’s screen. If the keyboard and mouse are functioning correctly, it means they are connected successfully. You may also see a notification or indicator on your device indicating the connection status of the keyboard and mouse.