
If you own a wireless keyboard, you know how convenient it is to type without being tethered by cables. However, over time, your wireless keyboard can accumulate dust, dirt, and grime, which can affect its performance and cleanliness. Proper cleaning and care are essential to maintain the longevity and functionality of your wireless keyboard.
In this article, we will provide you with step-by-step instructions on how to clean your wireless keyboard effectively. Whether it’s sticky keys, crumbs lodged between the keys, or an overall grimy appearance, we have you covered. By following these simple cleaning techniques, you’ll be able to restore your wireless keyboard to its optimal condition and enjoy a satisfying typing experience once again.
So, let’s dive in and learn how to clean your wireless keyboard with ease!
Inside This Article
- Why Clean Your Wireless Keyboard?
- Cleaning Tools and Materials
- Step-by-Step Guide to Cleaning Your Wireless Keyboard
- Conclusion
- FAQs
Why Clean Your Wireless Keyboard?
Keeping your wireless keyboard clean is crucial for maintaining its performance and longevity. Here are some reasons why you should make cleaning your wireless keyboard a priority:
1. Hygiene: Over time, your keyboard accumulates dirt, dust, and grime from your fingertips, food crumbs, and other particles that can harbor bacteria and germs. Regular cleaning can help eliminate these contaminants and promote a clean and healthy workspace.
2. Improved Functionality: When dirt and debris build up between the keys, it can hinder the keyboard’s responsiveness. By regularly cleaning your wireless keyboard, you can prevent sticky or unresponsive keys, ensuring smooth and efficient typing.
3. Longevity: Cleaning your keyboard regularly can extend its lifespan. Dust and debris can accumulate inside the keyboard, potentially leading to mechanical issues or damage. By keeping it clean, you can prevent these problems and help your keyboard last longer.
4. Aesthetics: A clean keyboard not only functions better but also looks more visually appealing. It can contribute to a professional and organized workspace, enhancing your overall computing experience.
5. Preventive Maintenance: Routine cleaning allows you to identify and address any potential issues early on. This enables you to take necessary action, such as fixing loose keys or identifying signs of wear and tear, before they escalate into major problems.
By understanding the importance of cleaning your wireless keyboard, you can ensure its optimal functioning and longevity.
Cleaning Tools and Materials
When it comes to cleaning your wireless keyboard, having the right tools and materials is essential for a thorough and effective cleaning process. Here are the key items you’ll need:
1. Soft microfiber cloth or lint-free cloth: This is the go-to tool for wiping away dust, dirt, and grime from the surface of your wireless keyboard. Make sure it is clean and free from any abrasive particles that could scratch the keys.
2. Isopropyl alcohol or cleaning solution: This is a crucial component for deep cleaning your keyboard. Ensure you use a cleaning solution that is safe for electronic devices and contains a high percentage of isopropyl alcohol. Dilute it with water if necessary.
3. Cotton swabs: These tiny tools are great for reaching the nooks and crannies of your keyboard, especially between the keys. Dip them in the cleaning solution to effectively remove dirt and debris.
4. Compressed air duster: This handy tool can blast away dust and crumbs from hard-to-reach areas, such as underneath the keys. Ensure you use short bursts of air to avoid any liquid residue on your keyboard.
5. Toothbrush: A soft-bristled toothbrush can be used to gently scrub the surface of your keyboard and remove any stuck-on debris. Make sure it is clean and dry before using it on your keyboard.
Remember, it’s crucial to use these tools and materials responsibly and follow the manufacturer’s instructions to avoid any damage to your wireless keyboard.
Step-by-Step Guide to Cleaning Your Wireless Keyboard
Keeping your wireless keyboard clean is essential for its optimal performance and longevity. Over time, dust, crumbs, and other debris can accumulate between the keys, affecting the keyboard’s responsiveness and functionality. To help you keep your wireless keyboard in tip-top shape, follow this step-by-step guide to effectively clean and maintain it:
1. Disconnect and power off: Before you start cleaning your wireless keyboard, make sure to disconnect it from your computer or device and power it off. This will prevent any accidental input or damage during the cleaning process.
2. Shake it out: Turn your wireless keyboard upside down and shake it gently to dislodge any loose debris or crumbs that may have gotten trapped between the keys. Be careful not to shake too vigorously, as this may damage the internal components.
3. Use compressed air: Using a can of compressed air, carefully blow between the keys to remove any remaining debris. Ensure that you hold the can upright to prevent any liquid from escaping. A few quick bursts should be sufficient to clear out most of the dust and dirt.
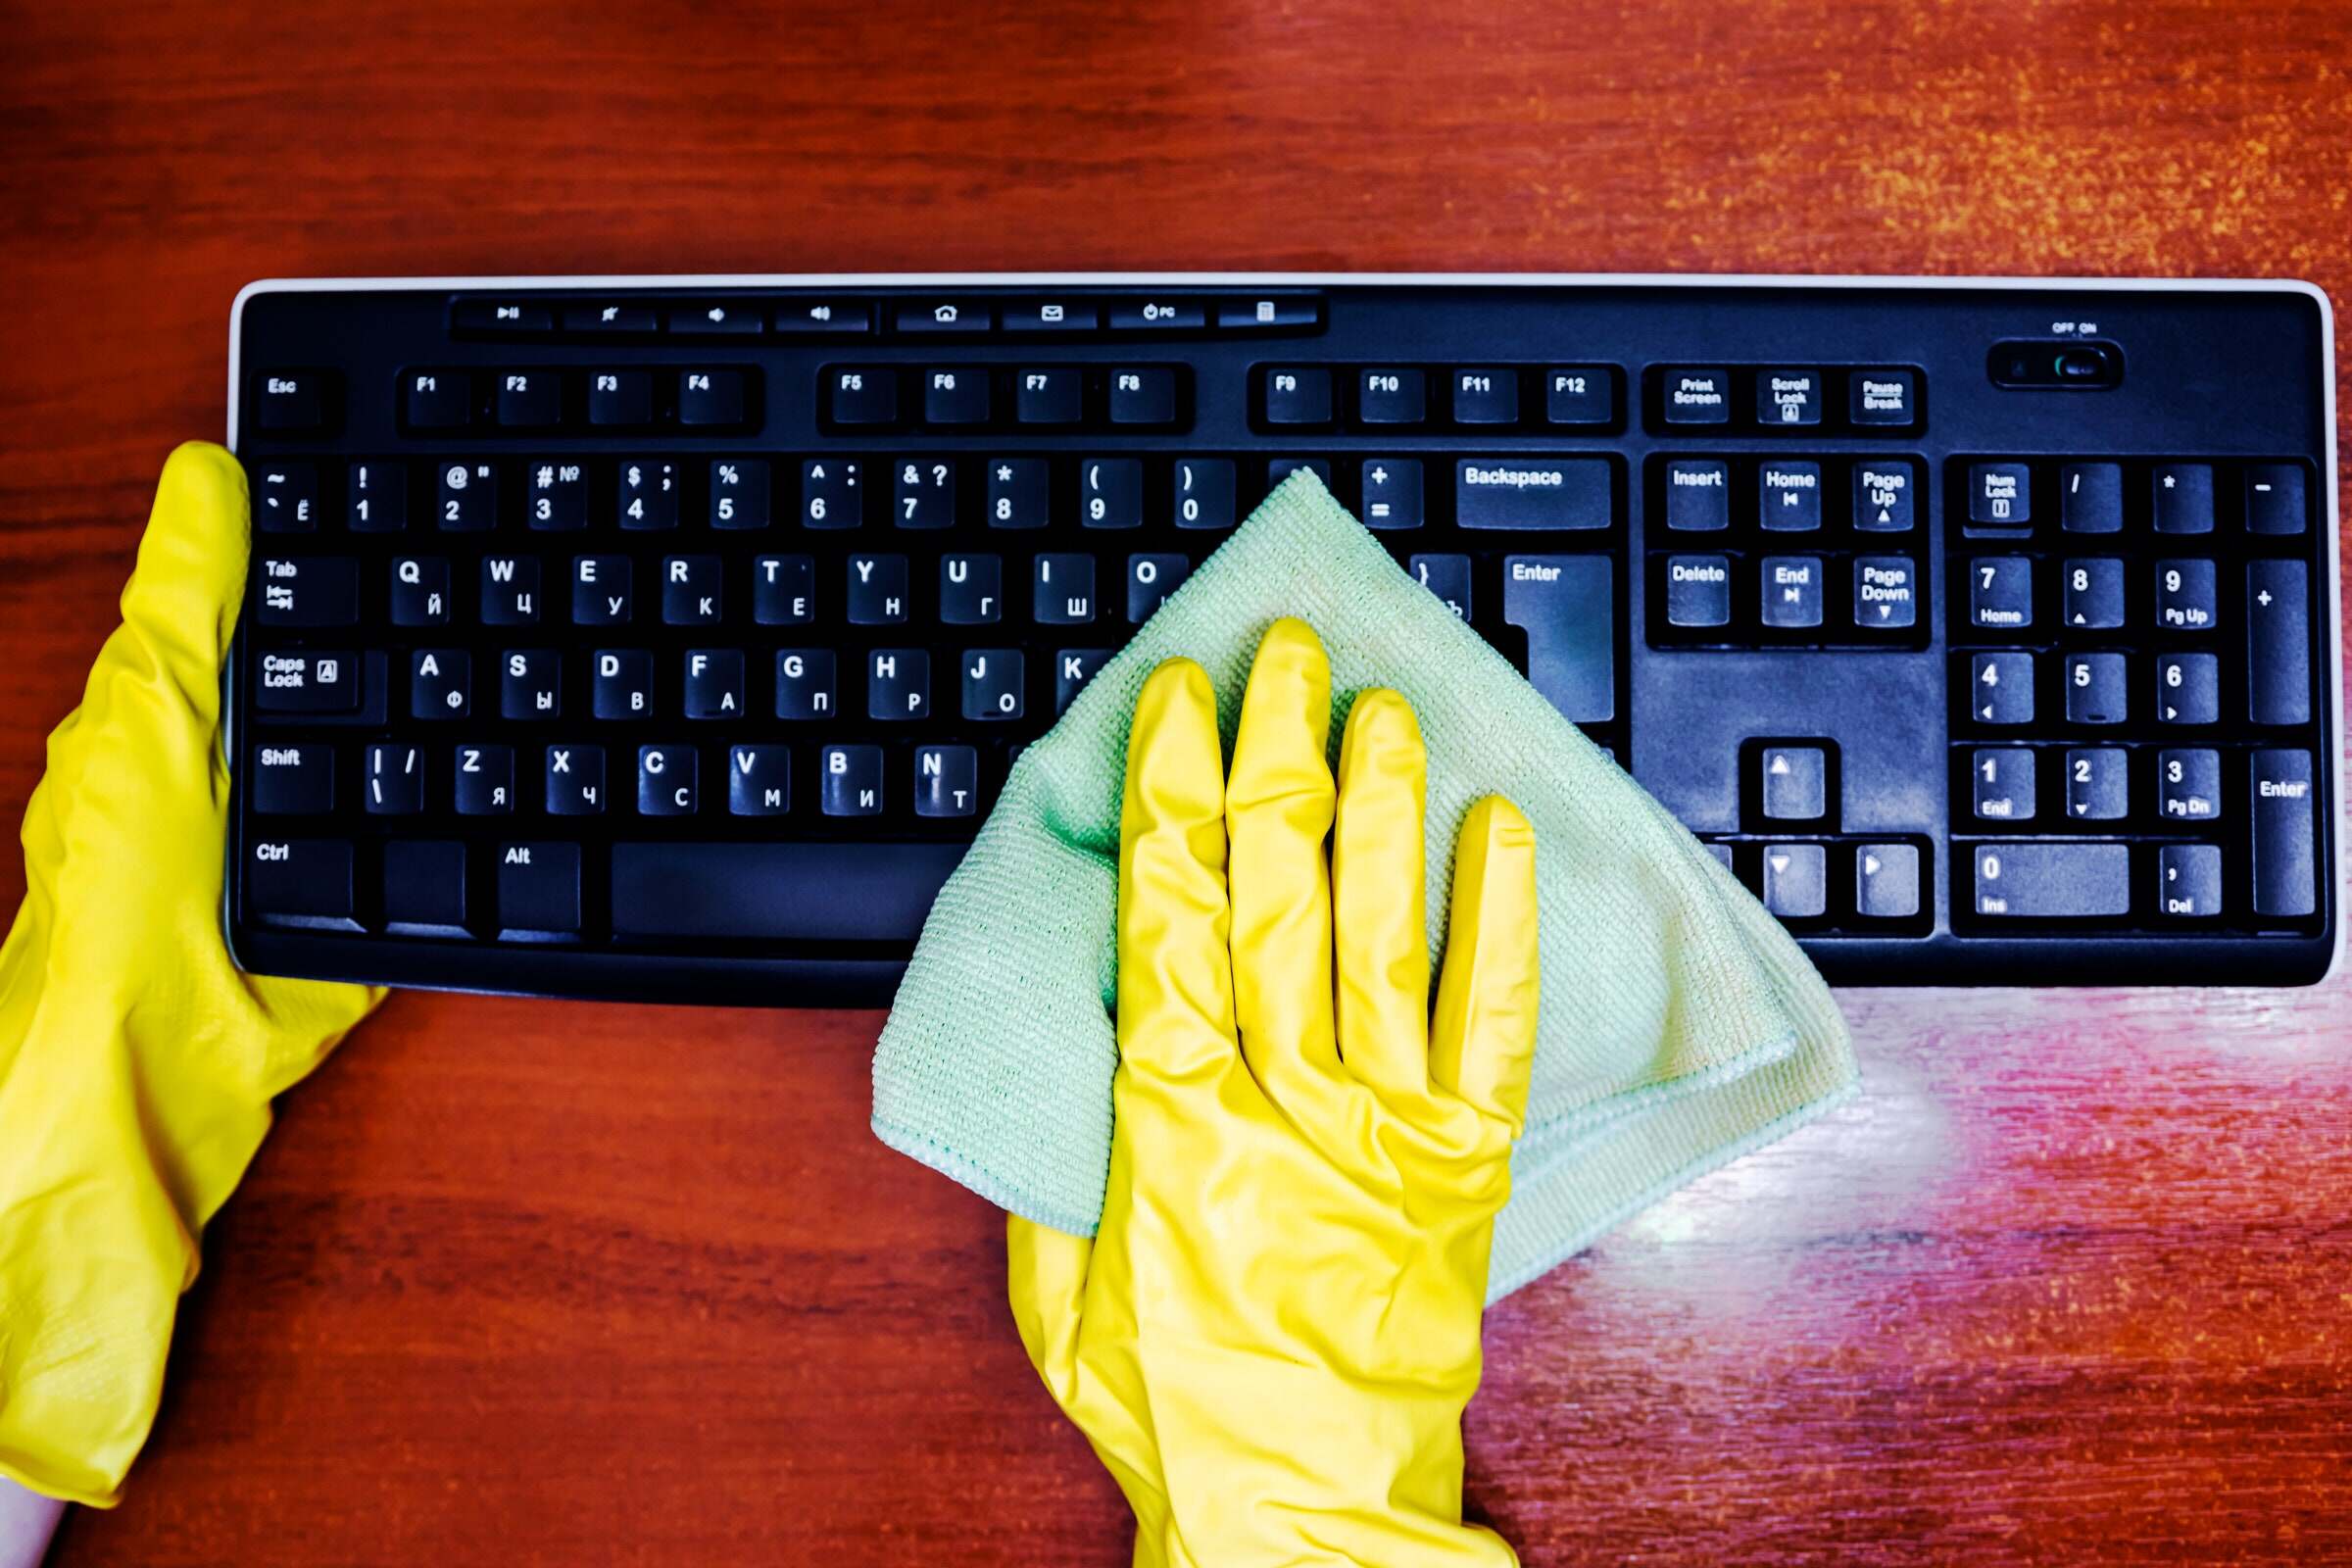
4. Wipe with a microfiber cloth: Moisten a clean microfiber cloth with a small amount of isopropyl alcohol or a gentle electronic cleaner. Gently wipe the surface of each key, removing any smudges or stubborn dirt. Be sure not to use excessive liquid, as this can damage the keyboard.
5. Clean the keyboard base: Use a slightly damp cloth or cotton swab to carefully clean the base of the keyboard, paying attention to the areas around the keys. Avoid using excessive moisture and make sure to dry the keyboard thoroughly afterward.
6. Allow it to dry: After cleaning, let your wireless keyboard air dry completely before reconnecting or turning it back on. This will ensure that no moisture remains trapped within the keyboard, which can lead to damage or malfunctioning.
7. Reconnect and test: Once the keyboard is dry, reconnect it to your computer or device and power it on. Test all the keys to ensure they are functioning properly. If you notice any issues, repeat the cleaning process or consult the manufacturer for further assistance.
8. Regular maintenance: To keep your wireless keyboard in optimal condition, it’s recommended to clean it regularly, especially if you frequently eat, drink, or work in a dusty environment. Establish a cleaning routine that works for you, and your keyboard will thank you with continued smooth performance.
By following these simple steps, you can keep your wireless keyboard clean and maintain its performance for years to come. Remember to disconnect, power off, shake, blow, wipe, clean the base, allow to dry, and test. Incorporating regular maintenance into your routine will not only enhance your typing experience but also prolong the lifespan of your wireless keyboard.
Conclusion
In conclusion, keeping your wireless keyboard clean is not only essential for its longevity but also for your own hygienic and comfortable typing experience. By following the simple steps outlined in this article, you can easily maintain a clean and functional wireless keyboard.
Regular cleaning, using the right tools and techniques, is key to removing dust, dirt, and debris from your keyboard. Remember to always turn off and disconnect the keyboard before cleaning, and be cautious when using liquid cleaners to avoid any damage to the device.
By incorporating regular cleaning into your routine, you can prevent sticky keys, germ buildup, and reduce the risk of hardware malfunctions. A clean wireless keyboard not only looks better but also ensures smooth and comfortable typing, making your work or gaming experience more enjoyable.
So, take the time to give your wireless keyboard the attention it deserves and enjoy a clean and hassle-free typing experience!
FAQs
Here are some frequently asked questions about cleaning a wireless keyboard:
1. Can I clean my wireless keyboard with water?
It is not recommended to clean a wireless keyboard with water as it can damage the internal components. Instead, use a damp cloth or a specialized electronic cleaning solution.
2. Can I use alcohol to clean my wireless keyboard?
Yes, you can use isopropyl alcohol to clean your wireless keyboard. However, make sure to use it sparingly and apply it to a microfiber cloth rather than directly on the keyboard to avoid any liquid damage.
3. How do I clean the keys of my wireless keyboard?
To clean the keys, you can use a soft-bristle brush to remove any debris or dust. If the keys are sticky or have stubborn grime, gently wipe them with a cloth dampened with isopropyl alcohol.
4. Can I remove the keys from my wireless keyboard to clean them?
In most wireless keyboards, the keys are not designed to be easily removable. Attempting to remove the keys may cause damage to the keyboard. Instead, use a soft brush or compressed air to clean between the keys.
5. What should I do if my wireless keyboard gets wet?
If your wireless keyboard gets wet, immediately disconnect it and turn it off. Allow it to dry completely before attempting to use it again. If you spilled something sticky like soda or juice, you may need to remove the keys and clean them individually once the keyboard is dry.
Remember, always refer to the manufacturer’s instructions or consult customer support for specific cleaning guidelines for your wireless keyboard model.