
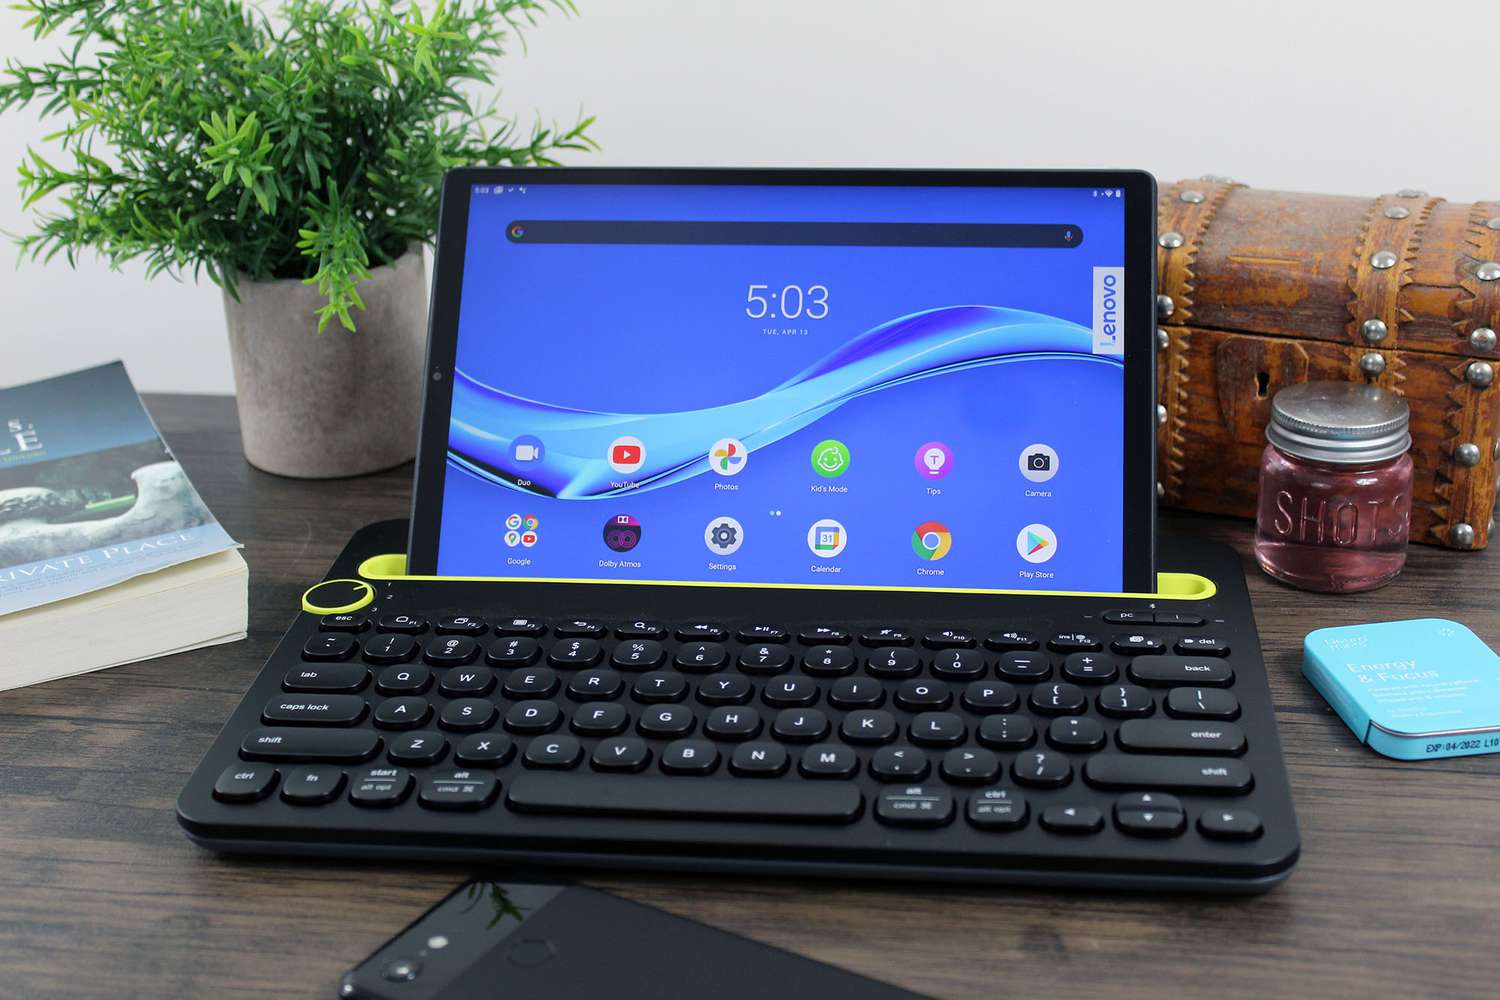
In today’s digital age, wireless technology has become an integral part of our lives. From smartphones to laptops, we rely on these devices to stay connected and productive. One commonly used accessory that enhances the convenience and functionality of laptops is a wireless keyboard. Having the ability to link a wireless keyboard to your laptop can provide a seamless typing experience without the hassle of cables and wires.
If you’re wondering how to link a wireless keyboard to your laptop, you’ve come to the right place. In this article, we will walk you through the step-by-step process of connecting a wireless keyboard to your laptop. Whether you have a Windows laptop or a Macbook, we will cover both scenarios to ensure that you can enjoy the benefits of a wireless keyboard no matter which operating system you use.
Inside This Article
- Step 1: Turn on the Wireless Keyboard
- Step 2: Enable Bluetooth on the Laptop
- Step 3: Pair the Keyboard with the Laptop
- Step 4: Test the Connection
- Troubleshooting Tips
- Conclusion
- FAQs
Step 1: Turn on the Wireless Keyboard
Before you can connect your wireless keyboard to your laptop, you need to make sure that the keyboard is turned on and ready to pair. Follow these simple steps to turn on your wireless keyboard:
1. Locate the power switch on the keyboard. It is usually located on the side or the back of the keyboard, depending on the model.
2. Slide the power switch to the “On” position. Some keyboards may have a separate button instead of a switch. Press and hold this button until the keyboard powers on.
3. Check if there is an indicator light on the keyboard. This light indicates that the keyboard is powered on and ready to be connected. If the light is not illuminated, make sure the batteries are inserted correctly or that the keyboard is properly charged.
Once you have turned on your wireless keyboard, you can proceed to the next step of connecting it to your laptop.
Step 2: Enable Bluetooth on the Laptop
Enabling Bluetooth on your laptop is crucial to establish a connection with your wireless keyboard. Here’s how you can do it:
- Click on the Start menu and search for “Bluetooth settings.”
- Click on the “Bluetooth & other devices” option from the search results.
- In the Bluetooth settings window, toggle the Bluetooth switch to the “On” position.
- Your laptop will start searching for nearby Bluetooth devices.
- Once the search is complete, you should see your wireless keyboard listed under the “Other devices” section.
- Click on the keyboard’s name to initiate the pairing process.
It’s worth noting that the steps to enable Bluetooth may vary slightly depending on your laptop’s operating system. However, most laptops have a similar process to enable Bluetooth functionality.
Once Bluetooth is enabled on your laptop, you are ready to move on to the next step of pairing the keyboard with your laptop.
Step 3: Pair the Keyboard with the Laptop
Now that you have turned on the wireless keyboard and enabled Bluetooth on your laptop, it’s time to pair the two devices. Follow these simple steps to establish a connection:
1. On your laptop, navigate to the Bluetooth settings. This can usually be found in the system tray or in the settings menu.
2. Click on “Add a device” or “Pair new device.” This will prompt your laptop to start scanning for available Bluetooth devices.
3. On your wireless keyboard, look for a button labeled with the Bluetooth symbol or a pairing button. Press and hold this button for a few seconds until the LED indicator starts flashing. This indicates that the keyboard is in pairing mode.
4. Once your laptop detects the wireless keyboard, it will display the device name on the list of available devices. Click on the keyboard’s name to initiate the pairing process.
5. Some laptops may require a pairing code to be entered. If prompted, check the user manual of your wireless keyboard or look for the default code provided. Enter the code and continue.
6. Wait for a moment as your laptop establishes the connection with the wireless keyboard. Once the pairing is successful, you should see a notification confirming the connection.
7. Test the connection by typing on the wireless keyboard. You should see the characters appearing on your laptop’s screen, indicating that the devices are successfully paired.
8. Congratulations! You have now successfully paired your wireless keyboard with your laptop. You can now enjoy the convenience and freedom of typing without being tethered to your laptop.
Remember, if you encounter any issues during the pairing process, refer to the troubleshooting tips mentioned earlier or consult the user manual for your specific keyboard and laptop model.
Step 4: Test the Connection
Once you have successfully paired your wireless keyboard with your laptop, it’s time to test the connection. Follow these steps to ensure that your keyboard is working properly:
1. Open a text document or any application where you can type on your laptop.
2. Start typing on the wireless keyboard and check if the letters and characters appear on your screen. Ensure that the keys are responsive and there is no delay or lag in the input.
3. Test out the special function keys and shortcuts on the keyboard. This includes multimedia keys, volume control, brightness adjustment, and any other additional features your keyboard may have. Make sure that these functions work as expected.
4. Try using the touchpad or trackpad (if available) on the wireless keyboard. Move the cursor around the screen and verify that it responds accurately to your gestures and commands.
5. If your keyboard has backlighting, test the illumination feature to make sure it functions correctly.
6. Finally, try using the keyboard from various distances and angles to ensure that the connection remains strong and stable. Walk around the room, change positions, and observe if there are any dropouts in the connection.
If you encounter any issues during the testing process, refer to the troubleshooting tips section or consult the instruction manual of your specific wireless keyboard and laptop model.
Troubleshooting Tips
When trying to connect a wireless keyboard to your laptop, you may encounter a few issues. Here are some troubleshooting tips to help you resolve common problems:
-
Ensure the keyboard is charged or replace the batteries: If the keyboard isn’t functioning, it’s possible that the batteries are low or depleted. Check the battery levels and replace them if necessary. This simple step can often solve connectivity issues.
-
Restart both the keyboard and laptop: Sometimes, a simple restart can fix the problem. Turn off both your wireless keyboard and laptop. Then, turn them back on and try reconnecting. This can help reset any temporary glitches that may be affecting the connection.
-
Ensure there are no interference sources nearby: Wireless keyboards can be affected by interference from other devices such as smartphones, routers, or other wireless peripherals. Make sure there are no sources of interference nearby and try moving away from them to establish a stable connection.
-
Update the driver software for the keyboard: Outdated or incompatible drivers can cause connectivity issues. Visit the manufacturer’s website or check for updates using device management tools on your laptop. Install the latest driver software for your wireless keyboard to ensure compatibility and optimal performance.
By following these troubleshooting tips, you should be able to overcome common obstacles and successfully link your wireless keyboard to your laptop.
Conclusion
In conclusion, linking a wireless keyboard to a laptop is a simple and convenient process that can greatly enhance your productivity and comfort. By following the steps outlined in this article, you can easily connect your wireless keyboard to your laptop and enjoy the freedom of a clutter-free workspace. Remember to ensure your keyboard is compatible with your laptop and that both devices have Bluetooth capabilities. Once connected, you’ll be able to enjoy the benefits of a wireless keyboard, such as increased flexibility, improved ergonomics, and enhanced typing experience. So go ahead and take the leap into a more efficient and comfortable computing experience by connecting a wireless keyboard to your laptop today!
FAQs
1. How do I link a wireless keyboard to my laptop?
To link a wireless keyboard to your laptop, follow these steps:
- Make sure the keyboard has batteries and is turned on.
- Open the Bluetooth settings on your laptop. This can usually be done by clicking on the Bluetooth icon in the taskbar or going to the Control Panel and accessing the Bluetooth settings from there.
- Put the keyboard into pairing mode. This is usually done by pressing and holding the Bluetooth button or a specific key combination on the keyboard.
- In the Bluetooth settings on your laptop, click on the “Add a device” or “Pair” button.
- Select the wireless keyboard from the list of available devices.
- Follow any additional prompts or instructions on your laptop to complete the pairing process.
- Once the pairing is successful, you should be able to use the wireless keyboard with your laptop.
2. Can I link multiple wireless keyboards to a single laptop?
In most cases, you can only connect one wireless keyboard to a single laptop at a time. However, some wireless keyboards come with the ability to connect to multiple devices simultaneously, allowing you to switch between them as needed. Make sure to check the documentation or specifications of your wireless keyboard to see if it supports this feature.
3. What should I do if my laptop does not detect the wireless keyboard?
If your laptop does not detect the wireless keyboard, try the following troubleshooting steps:
- Ensure that the keyboard is turned on and has batteries.
- Make sure the keyboard is in pairing mode.
- Restart your laptop and try pairing the keyboard again.
- Update the Bluetooth drivers on your laptop.
- Bring the keyboard closer to your laptop to ensure a strong Bluetooth connection.
- Try pairing the keyboard with a different device to see if the issue is with the keyboard or the laptop.
- If none of these steps work, there may be an issue with either the keyboard or the laptop’s Bluetooth hardware. Consider contacting the manufacturer for further assistance.
4. Can I use a wireless keyboard with a non-Bluetooth laptop?
Yes, you can use a wireless keyboard with a non-Bluetooth laptop by using a USB receiver. Wireless keyboards often come with a USB receiver that you can plug into a USB port on your laptop. The keyboard will then communicate with the laptop using a wireless connection through the USB receiver.
5. How far can I be from my laptop while using a wireless keyboard?
The operating range of a wireless keyboard can vary depending on the model and manufacturer. However, most wireless keyboards have a range of around 30 feet (10 meters). Keep in mind that obstacles such as walls or other devices can affect the range and stability of the wireless connection. It’s best to stay within a reasonable distance from your laptop to ensure a reliable connection.