
Setting up a wireless security camera is a smart and effective way to protect your home or business. With the advancements in technology, these cameras have become more accessible, affordable, and user-friendly. Whether you want to monitor your property for security purposes, keep an eye on your children or pets, or simply have peace of mind knowing that your space is being watched, wireless security cameras offer a convenient solution. Gone are the days of cumbersome wiring and complicated installations. Now, you can set up a wireless security camera with ease and minimal hassle. In this article, we will guide you through the step-by-step process of setting up a wireless security camera, ensuring that you have all the knowledge you need to secure your space effectively.
Inside This Article
- Overview
- Step 1: Choose the Right Wireless Security Camera
- Step 2: Select the Ideal Location for Placement
- Step 3: Set Up the Camera Hardware
- Step 4: Connect the Camera to Your Wi-Fi Network
- Step 5: Download and Configure the Camera’s App
- Step 6: Adjust Camera Settings for Maximum Security
- Step 7: Test the Camera and Troubleshoot Any Issues
- Conclusion
- FAQs
Overview
Wireless security cameras are an excellent way to add an extra layer of protection to your home or business. By utilizing the power of wireless technology, these cameras offer flexibility in terms of placement while still providing high-quality video surveillance. Whether you want to monitor your property, keep an eye on your children or pets, or deter potential intruders, setting up a wireless security camera can be a straightforward and effective solution.
In this article, we will guide you through the step-by-step process of setting up a wireless security camera. From choosing the right camera to configuring the camera’s app, we will cover all the essential steps to get your camera up and running in no time.
By following these instructions and taking the necessary precautions, you can enjoy the peace of mind that comes with having a reliable and efficient security system in place. So let’s dive in and learn how to set up your own wireless security camera!
Step 1: Choose the Right Wireless Security Camera
When it comes to setting up a wireless security camera, selecting the right camera is crucial. With a multitude of options available in the market, it’s essential to choose a camera that meets your specific needs and requirements. Here are some key factors to consider when making your decision:
- Indoor vs Outdoor: Determine whether you need an indoor or outdoor camera. Outdoor cameras are built to withstand the elements, while indoor cameras are designed for indoor use.
- Resolution: Look for a camera with a high resolution to ensure crisp and clear video footage. Today, cameras with 1080p or even 4K resolution are widely available.
- Field of View: Consider the field of view offered by the camera. A wide-angle lens will allow you to monitor a larger area without the need for multiple cameras.
- Night Vision: If you require surveillance during nighttime, opt for a camera that has infrared or night vision capabilities. This will enable you to capture clear footage even in low light conditions.
- Motion Detection: Choose a camera with motion detection technology. This feature will alert you whenever motion is detected within the camera’s field of view, providing an extra layer of security.
- Storage Options: Consider how the camera stores video footage. Some cameras offer cloud storage, while others have built-in SD card slots for local storage.
- Integration with Home Automation Systems: If you have a home automation system in place, look for a camera that seamlessly integrates with it. This will allow you to control and monitor your camera alongside other smart devices.
By considering these factors, you can choose a wireless security camera that is tailored to your specific needs, ensuring optimal performance and peace of mind.
Step 2: Select the Ideal Location for Placement
Choosing the right location for your wireless security camera is crucial to ensure optimal coverage and surveillance. Here are some key points to consider when selecting the ideal placement:
1. Determine the area to be monitored: Identify the specific areas of your property that require surveillance. This could include entrances, windows, driveways, or outdoor spaces where valuable items are kept.
2. Consider the camera’s field of view: Evaluate the camera’s field of view and make sure it covers the desired monitoring area effectively. This will depend on the camera’s specifications, such as the viewing angle and zoom capabilities.
3. Ensure easy accessibility: Choose a location that allows for easy access to the camera for maintenance, battery changes, or adjustments. Installing the camera at a height where it is not easily tampered with or vandalized is also important.
4. Assess the lighting conditions: Take into account the lighting conditions of the area. If monitoring an outdoor space, consider whether there is adequate lighting at all times or if additional lighting is needed for clear footage during nighttime.
5. Avoid obstructions: Ensure that there are no obstructions such as trees, bushes, or walls that can obstruct the camera’s view. Clear any potential obstacles to maximize the efficiency of the surveillance coverage.
6. Consider power source and connectivity: Determine the proximity to a power source if the camera is not battery-powered. Additionally, check for the availability of a Wi-Fi signal in the chosen location to ensure seamless connectivity.
7. Evaluate weather conditions: Consider the weather conditions in the area where the camera will be placed. Ensure that the camera is waterproof and built to withstand extreme temperatures, humidity, or other environmental factors.
8. Maintain privacy: Take privacy concerns into account when selecting the camera’s placement. Make sure the camera is not pointing towards private areas or neighboring properties to respect privacy boundaries.
By considering these factors, you can select the ideal location for your wireless security camera, ensuring comprehensive coverage and optimal performance for your surveillance needs. Remember to consult the camera’s user manual or seek professional advice if unsure about the best placement options for your specific camera model.
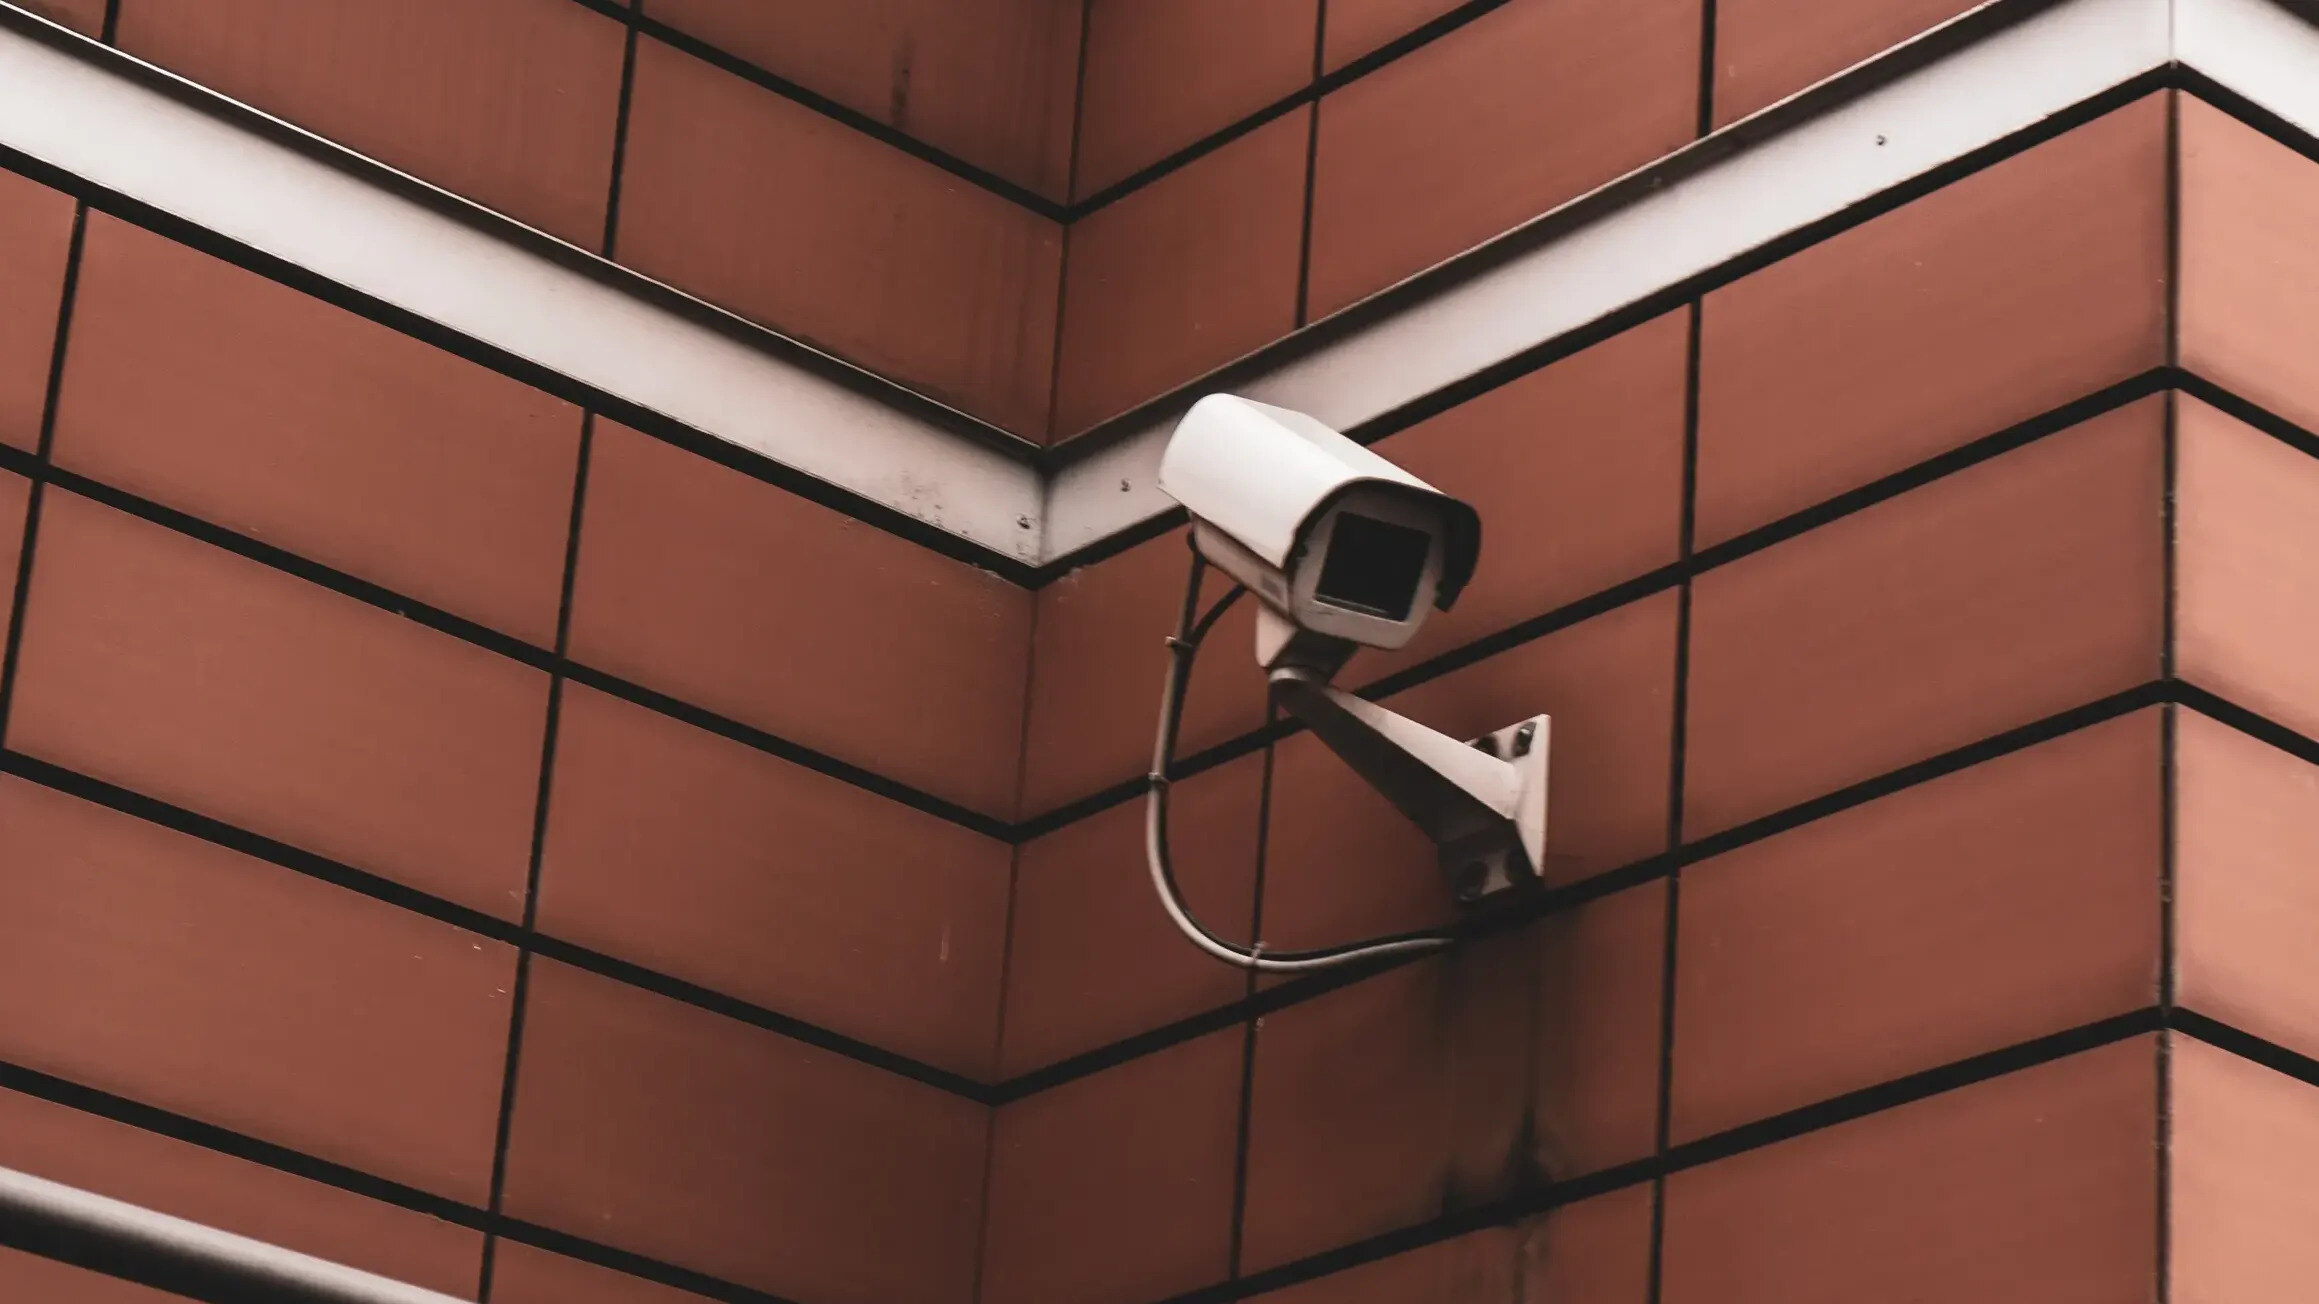
Step 3: Set Up the Camera Hardware
Now that you have chosen the right wireless security camera and found the perfect location for placement, it’s time to set up the camera hardware. This step is crucial to ensure that your camera is installed properly and can function effectively to protect your home or business.
Here are some simple steps to follow to set up the camera hardware:
- Remove the camera from its packaging and carefully inspect it for any damage.
- Locate the mounting bracket or stand that comes with the camera. This will be used to secure the camera in place.
- Decide whether you want to mount the camera on a wall, ceiling, or other location. Make sure the chosen location provides a clear view of the area you want to monitor.
- Use a pencil to mark the spots where you will install the mounting bracket or stand. Ensure that the marks are level and secure.
- Drill holes into the marked spots and insert anchor screws if needed, depending on the wall or surface you are mounting the camera onto.
- Attach the mounting bracket or stand to the wall or surface using the provided screws and a screwdriver. Ensure that it is securely and tightly fastened.
- Place the camera onto the mounting bracket or stand and fasten it securely. Make sure the camera is facing the desired direction.
- If the camera has adjustable angles, position it to cover the area of interest effectively.
- Double-check that the camera is tightly secured and will not move or fall off the mounting bracket or stand.
By following these steps, you can successfully set up the camera hardware and ensure that it is securely installed in the desired location. This will allow the camera to function optimally and provide reliable surveillance for your property.
Step 4: Connect the Camera to Your Wi-Fi Network
Once you have chosen the right wireless security camera and found the ideal location for placement, it’s time to connect the camera to your Wi-Fi network. This step is crucial as it allows you to access the camera remotely and receive real-time notifications on your smartphone or computer.
To connect the camera to your Wi-Fi network, follow these steps:
- Refer to the camera’s instruction manual or user guide to locate the Wi-Fi setup option. This can usually be found in the camera’s settings menu.
- Make sure you are within the range of your Wi-Fi router. It’s important to have a strong and stable Wi-Fi signal for optimal camera performance.
- Open the camera’s app on your smartphone or launch the camera’s web interface on your computer.
- Select the Wi-Fi setup option and choose your Wi-Fi network from the list of available networks.
- Enter the password for your Wi-Fi network when prompted. Make sure to enter it correctly to avoid any connection issues.
- Wait for the camera to establish a connection with your Wi-Fi network. This may take a few moments, so be patient.
- Once the camera is successfully connected to your Wi-Fi network, you will receive a confirmation message or notification on your device.
It’s worth mentioning that some wireless security cameras offer the option to connect to your network using an Ethernet cable. This can be useful if you are experiencing poor Wi-Fi signal in the camera’s placement location. Simply connect one end of the Ethernet cable to the camera and the other end to your router, and follow the on-screen instructions to complete the setup process.
Connecting your wireless security camera to your Wi-Fi network is a crucial step in ensuring its functionality and allowing you to access its features remotely. By following these steps, you’ll be on your way to a secure and reliable surveillance system.
Step 5: Download and Configure the Camera’s App
Once you have set up the hardware of your wireless security camera, the next step is to download and configure the camera’s app on your smartphone or tablet. This app allows you to control and monitor your camera remotely, view live footage, and access additional features.
Here are the steps to download and configure the camera’s app:
- Open the app store on your device: Whether you are using an iPhone or an Android device, open the respective app store – App Store for iPhone users or Google Play Store for Android users.
- Search for the camera’s app: In the app store’s search bar, type in the name of the camera’s app. Make sure to search for the official app provided by the camera manufacturer.
- Download and Install the app: Once you have found the app, tap on the download or install button to initiate the installation process. The app will be downloaded and installed on your device.
- Launch the app: After the installation is complete, locate the camera’s app on your device’s home screen or in the app drawer. Tap on the app icon to launch it.
- Create an account or log in: Depending on the camera’s app, you may need to create a new account or log in with an existing account. Follow the on-screen instructions to complete this step.
- Add the camera to the app: Once you have created an account or logged in, you will need to add your wireless security camera to the app. This process may vary depending on the camera brand and model, but typically involves scanning a QR code or entering the camera’s unique identification number.
- Configure camera settings: After adding the camera to the app, you can configure various settings such as motion detection sensitivity, recording preferences, and notification alerts. Customize these settings according to your preferences and security needs.
- Test the app functionality: Once you have configured the camera’s settings, test the app’s functionality by accessing the live view feature. Ensure that you can view the live feed from your camera and control any additional features, such as pan, tilt, and zoom.
By downloading and configuring the camera’s app, you will have full control and access to your wireless security camera, making it easier for you to monitor your property and enhance your home security system.
Step 6: Adjust Camera Settings for Maximum Security
Now that you have set up your wireless security camera and connected it to your Wi-Fi network, it’s time to make sure you have the right settings in place to maximize its security. Adjusting the camera settings properly will help to ensure that your camera operates efficiently and effectively, giving you peace of mind knowing that your property is being monitored vigilantly.
Here are some important settings to consider:
- Change the Default Admin Password: The first and most crucial step is to change the default administrator password. Leaving the default password in place leaves your camera vulnerable to unauthorized access. Choose a strong, unique password that is not easily guessable, and remember to update it periodically for added security.
- Enable Encryption: Check if your camera supports encryption, such as WPA2 or AES. Enabling encryption adds an extra layer of security by encrypting the data transmitted between your camera and the recording device or mobile app.
- Set up Motion Detection: Most wireless security cameras have built-in motion detection capabilities. Use the camera’s app or web interface to configure motion detection settings. Adjust the sensitivity level to avoid false alarms while ensuring that important events and movements are captured.
- Configure Alert Notifications: Take advantage of the camera’s alert notification feature. This allows you to receive real-time notifications on your mobile device or email when motion is detected or any other specified event occurs. Customize the settings according to your preference to ensure you are promptly informed of any potential security breaches.
- Enable Two-Factor Authentication: If supported, enable two-factor authentication for an additional layer of security. This requires you to provide a verification code in addition to your password when accessing your camera’s app or interface, ensuring that only authorized users can access the camera’s settings and footage.
- Adjust Video Quality and Recording Options: Depending on your camera’s capabilities, you may have the option to adjust video quality, resolution, and recording options. Higher quality settings may provide clearer images but consume more storage space. Find the right balance that suits your needs.
- Secure Remote Access: If you plan to access your camera remotely, ensure that you set up a secure connection. Avoid using default ports and consider using a virtual private network (VPN) to encrypt your connection and protect against unauthorized access.
- Regularly Update Firmware: Manufacturers often release firmware updates to patch security vulnerabilities or improve camera performance. Regularly check for firmware updates and apply them to keep your camera secure and up to date.
By adjusting these camera settings, you can enhance the overall security of your wireless security camera and protect your property effectively. Remember to revisit these settings periodically to ensure that your camera continues to operate at its maximum potential.
Step 7: Test the Camera and Troubleshoot Any Issues
Now that your wireless security camera is set up and connected to your Wi-Fi network, it’s time to test the camera and ensure everything is working properly. Testing the camera will not only give you peace of mind but also allow you to identify and troubleshoot any potential issues that may arise.
The first thing you should do is check the camera’s live feed. Using the camera’s dedicated app or web interface, access the live view feature to see if the camera is capturing clear and crisp footage. Make sure the camera is pointed in the right direction and that the view is not obstructed by any objects.
If the image quality is compromised, you may need to adjust the camera’s focus, brightness, or resolution settings. Most cameras offer these options within their app or web interface, allowing you to fine-tune the settings to get the best possible video quality.
Another important aspect to test is the camera’s motion detection capabilities. Walk in front of the camera to see if it accurately detects and records motion. Check the sensitivity settings to ensure they are optimized for your specific environment. You don’t want the camera to trigger false alarms due to excessive sensitivity, nor do you want it to miss important events because it’s not sensitive enough.
Once you’ve confirmed that the camera is capturing high-quality video and detecting motion correctly, it’s time to test the camera’s remote access capabilities. This is especially important if you plan to monitor the camera’s feed from your smartphone or computer while you’re away from home or the office.
Access the camera’s live feed from a different network, such as your mobile data or a friend’s Wi-Fi, to ensure that you can connect to the camera remotely without any issues. Check if the live feed is stable, the video loads quickly, and that you can control any pan, tilt, or zoom features if available on the camera.
If you encounter any issues during the testing process, don’t panic. Most camera manufacturers provide detailed troubleshooting guides on their website or within their app. Refer to these resources to resolve any connectivity, video quality, or functionality problems you may encounter.
If you’re unable to resolve the issues on your own, reach out to the camera manufacturer’s customer support for assistance. They often have dedicated support teams who can help troubleshoot the problem or provide possible solutions.
Conclusion
Wireless security cameras are an excellent addition to any home or business, providing peace of mind and enhanced security. Setting up a wireless security camera may seem daunting at first, but with the right knowledge and tools, it can be a straightforward process.
By following the steps outlined in this guide, you can ensure that your wireless security camera is installed correctly and operating effectively. Remember to carefully choose the right location for your camera, secure the wireless network, and optimize the camera’s settings for maximum performance.
Whether you are looking to monitor your home, keep an eye on your business, or simply enhance the security of your property, investing in a wireless security camera is a wise decision.
With the freedom and flexibility that wireless cameras offer, you can conveniently monitor your surroundings from anywhere at any time. So, take the necessary steps to set up a wireless security camera and enjoy the peace of mind and security it brings.
FAQs
1. Can I access the wireless security camera remotely?
Absolutely! Most wireless security cameras come with built-in Wi-Fi capabilities. This allows you to connect the camera to your home network and access it remotely using a mobile app or a web portal. You can view live video feeds, receive motion detection alerts, and even control the camera’s settings from anywhere with an internet connection.
2. How do I set up a wireless security camera?
Setting up a wireless security camera is relatively straightforward. First, choose a suitable location for your camera, ensuring that it has a clear view of the area you want to monitor. Next, connect the camera to your home Wi-Fi network using the provided instructions. After that, install any necessary software or mobile apps on your smartphone or computer to access the camera’s features. Finally, customize the settings according to your preferences, such as motion detection sensitivity or recording modes.
3. Can I use a wireless security camera outdoors?
Yes, many wireless security cameras are designed for outdoor use. These cameras are weatherproof and can withstand various weather conditions, such as rain, snow, and extreme temperatures. However, it’s essential to check the camera’s specifications before purchasing to ensure that it is suitable for outdoor installation.
4. Do wireless security cameras require batteries?
It depends on the specific camera model. Some wireless security cameras are battery-powered, making them easy to install and relocate. These cameras typically require periodic battery replacements or recharging. On the other hand, other wireless security cameras are powered by an electrical outlet or wired connection, eliminating the need for batteries. Consider your preferences and the camera’s intended usage before choosing between battery-powered or wired options.
5. Can I integrate a wireless security camera with other smart home devices?
Yes, many wireless security cameras are compatible with popular smart home platforms, such as Amazon Alexa or Google Assistant. This allows you to control your camera using voice commands and integrate it with other smart devices, such as smart door locks or motion sensors. Make sure to check compatibility details and follow the manufacturer’s instructions to set up the integration properly.