
Taking a screenshot on an Android phone has become an essential feature for many users. Whether you want to capture a memorable moment from a social media feed, save a conversation, or show an error message to troubleshoot with tech support, knowing how to take a screenshot can be incredibly useful. Android devices offer various methods for capturing screenshots, allowing you to choose the one that suits your needs. In this article, we will walk you through the different ways to take a screenshot on an Android phone. So whether you’re a seasoned Android user or new to the platform, read on to discover the simple steps to capture and save screenshots with ease.
Inside This Article
- How To Take A Screenshot On An Android Phone
- Using the Physical Buttons
- Using the Power and Volume Combination
- Using the Quick Settings Panel
- Using a Third-Party Screenshot App
- Conclusion
- FAQs
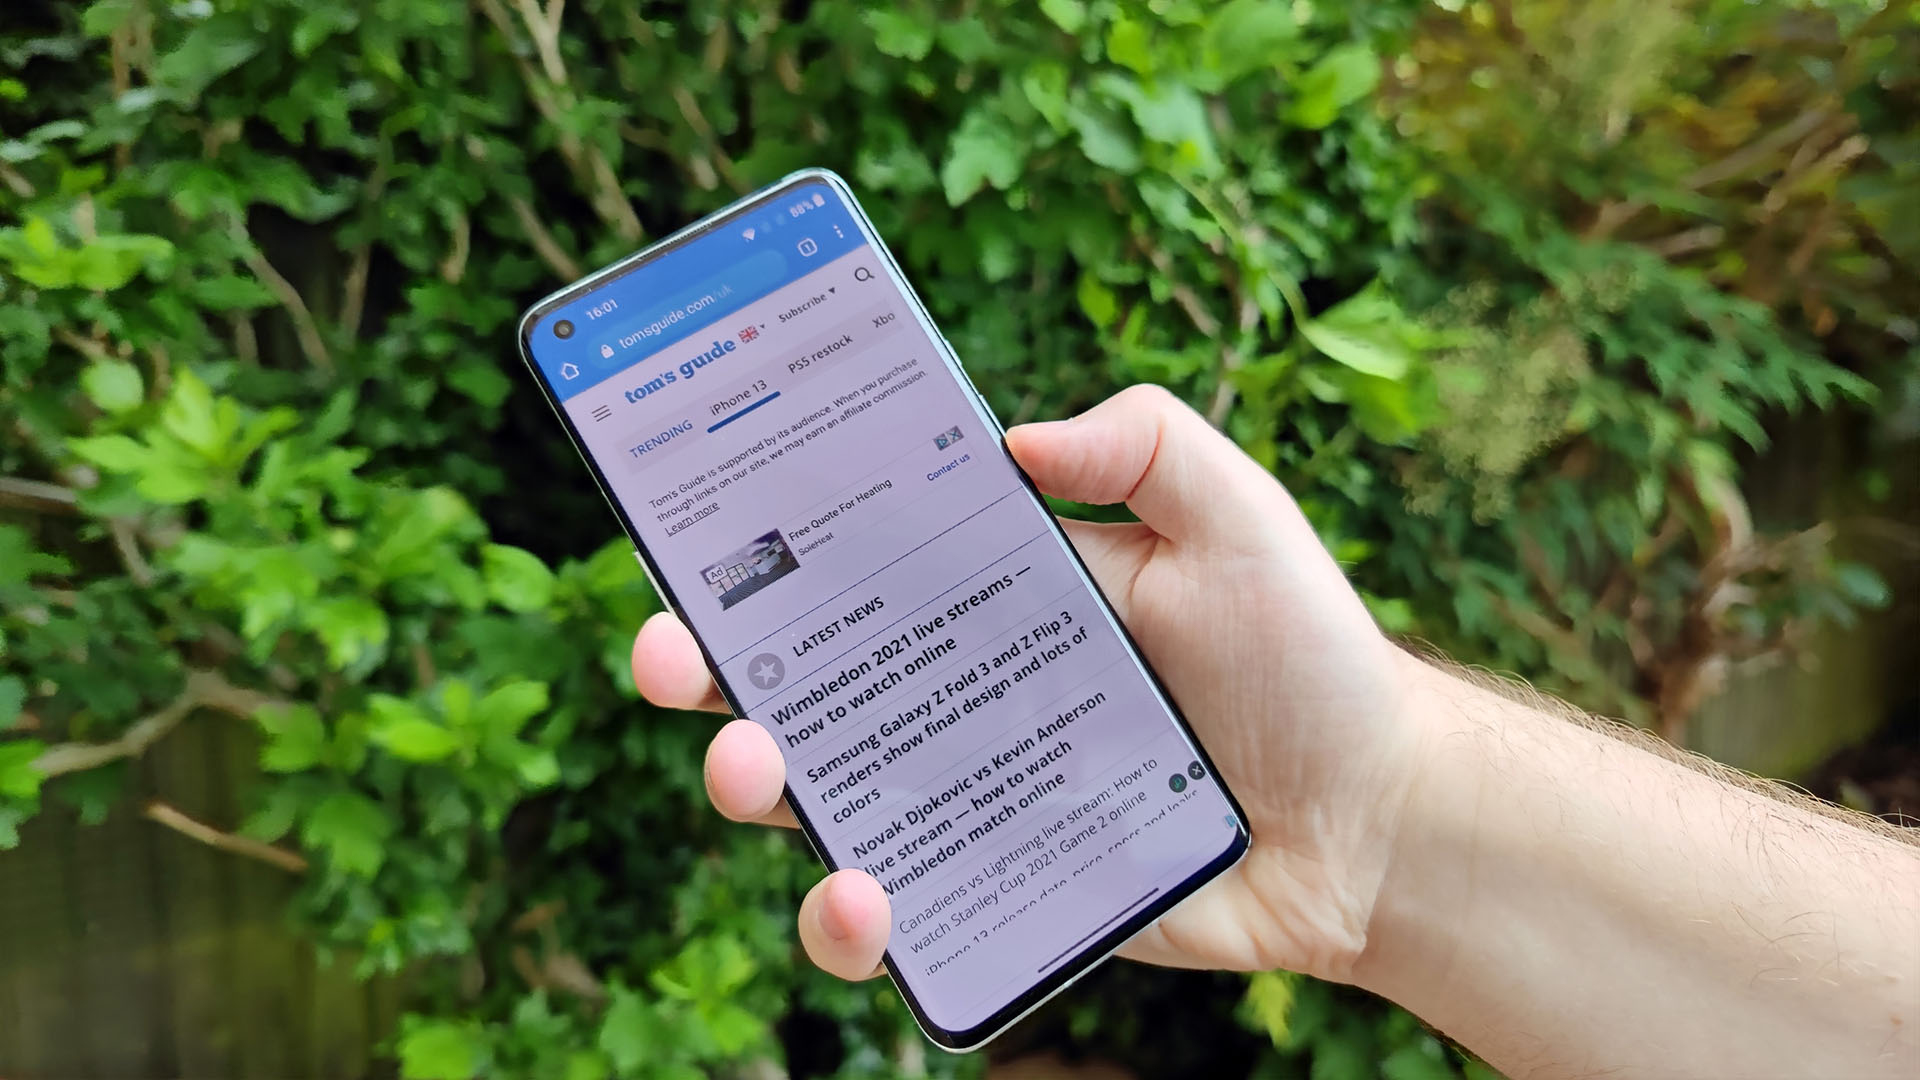
How To Take A Screenshot On An Android Phone
Have you ever wanted to capture a moment on your Android phone screen? Whether it’s a funny meme, an important conversation, or an interesting article, taking a screenshot allows you to save and share that content. In this article, we will explore different methods to capture screenshots on an Android phone.
Using the Physical Buttons
The most common and straightforward method of taking a screenshot on an Android phone is by using the physical buttons. Here’s how you can do it:
- Open the screen or app that you want to capture.
- Press and hold the volume down button and the power button simultaneously.
- After a brief moment, you should see a flash or a notification indicating that the screenshot has been taken.
- You can then find the screenshot in the Photos or Gallery app on your Android phone.
Using the Palm Swipe Gesture
Some Android phones offer a more convenient method called the palm swipe gesture. This feature allows you to take a screenshot by swiping your hand across the screen. Here’s how to use it:
- Go to the Settings app on your Android phone.
- Scroll down and find the “Advanced features” or “Gestures” section.
- Enable the “Palm swipe to capture” option.
- Once enabled, open the screen or app you want to capture.
- Place the side of your hand on the screen and swipe across from right to left or left to right.
- You should see a visual indication or hear a sound confirming that the screenshot has been captured.
Using the Notification Panel or Quick Settings
Another convenient method to take a screenshot on some Android phones is through the notification panel or quick settings. Follow these steps to use this method:
- Open the screen or app you want to capture.
- Swipe down from the top of the screen to open the notification panel.
- Look for the quick settings icons, usually represented by small icons like a screen capture or a pencil.
- Tap on the screenshot icon to capture the screen.
- You might need to swipe down again to fully capture the entire screen.
- You will see a visual feedback or a notification indicating that the screenshot has been saved.
Taking a screenshot on an Android phone is a simple and useful feature that allows you to capture and share information with ease. Whether you prefer using the physical buttons, the palm swipe gesture, or the notification panel, now you know how to capture those memorable moments or save important information with just a few simple steps.
So, next time you come across something worth saving, go ahead and capture it like a pro using one of these methods!
Using the Physical Buttons
One of the most common and straightforward ways to take a screenshot on an Android phone is by using the physical buttons. This method works on most Android devices and is relatively easy to do.
To capture a screenshot using the physical buttons, follow these simple steps:
- Open the screen that you want to capture.
- Simultaneously press and hold the power button and the volume down button for a few seconds.
- You will see a visual confirmation, such as a flash on the screen or a sound, indicating that the screenshot has been captured.
- The screenshot will be saved in your phone’s default photo gallery or in a dedicated “Screenshots” folder.
It’s important to note that the location where the screenshots are saved may vary depending on the Android device and the customized user interface. However, you can usually find them by looking in the Gallery app or the Photos app.
This method is effective and reliable, making it a go-to option for many Android users. However, it may not work on devices with unique buttons or alternative methods for taking screenshots.
Now that you know how to use the physical buttons to capture a screenshot on your Android phone, let’s explore another method that offers a touch-free solution – the palm swipe gesture.
Using the Power and Volume Combination
If your Android phone doesn’t support the palm swipe gesture or if you find it more convenient to use physical buttons, you can take a screenshot by pressing a combination of the power button and volume buttons.
Here’s how you can do it:
- Open the screen you want to capture.
- Press and hold the power button and volume down button simultaneously.
- Keep holding the buttons until you see a capture animation or hear a sound indicating that the screenshot has been taken.
- You can now access your screenshot through the notification panel or in the gallery app.
Note that the combination of buttons might be different depending on your specific Android device. In some cases, it could be the power button and volume up button, or the power button and home button. Refer to your device’s user manual or do a quick online search to find the specific combination for your device.
This method is particularly useful when capturing screenshots of games, video playback, or any other scenario where the palm swipe gesture might not be as effective.
Keep in mind that the timing of pressing the buttons is important. If you release the buttons too quickly or press them for too long, it might not trigger the screenshot function. Experiment and practice to get the timing right.
Using the power and volume combination to take a screenshot is a straightforward method that is available on the majority of Android devices. It provides a reliable way to capture what’s on your screen without the need for any additional settings or gestures.
Using the Quick Settings Panel
Another convenient way to take a screenshot on an Android phone is by using the Quick Settings panel. Here’s how:
- Start by viewing the screen you want to capture.
- Swipe down from the top of the screen to open the Notification panel.
- Look for the Quick Settings tile labeled “Screenshot” or a similar icon, which may appear differently depending on the phone model and Android version.
- Tap on the “Screenshot” tile to capture the screen instantly.
- A notification will appear, indicating that the screenshot has been saved.
- To view the screenshot, simply tap on the notification or go to your phone’s Gallery app, where it will be listed among your other photos or screenshots.
Using the Quick Settings panel to take a screenshot is especially convenient if your phone has a larger screen size or if reaching for the physical buttons feels awkward. It provides a quick and straightforward method to capture your screen without any additional steps.
Remember that the appearance and placement of the Quick Settings panel may vary slightly depending on your Android phone’s manufacturer and version of the operating system. However, most Android devices include a dedicated “Screenshot” or similar tile in the Quick Settings panel for easy access.
It’s worth noting that some phones may also offer additional options within the Quick Settings panel, such as scrolling screenshots or screen recording. These features can be incredibly useful for capturing longer web pages or recording your device’s screen for tutorials or troubleshooting purposes.
Now that you know how to use the Quick Settings panel to take a screenshot on your Android phone, you can easily capture and save important information, share funny moments, or troubleshoot issues by sharing screenshots with others.
Using a Third-Party Screenshot App
If the above methods don’t work for your Android phone or if you’re looking for more advanced screenshot features, you can opt to use a third-party screenshot app. These apps offer additional customization options and advanced editing tools to enhance your screenshots. Here are some popular third-party screenshot apps you can try:
- Screenshot Easy: This app allows you to take screenshots with a single tap or by shaking your phone. It also offers features like image editing, cropping, and sharing options to easily manage your screenshots.
- Super Screenshot: With Super Screenshot, you can capture screenshots in various ways, including scrolling screenshots, long screenshots, and screen recording. It also includes editing tools like drawing, cropping, and text annotation.
- Screen Master: This app not only lets you capture screenshots but also allows you to record the screen and create GIFs. It offers a built-in photo editor with features like cropping, adding text, and applying filters.
To use these third-party apps, simply download and install them from the Google Play Store. Once installed, follow the on-screen instructions to set up the app and start capturing screenshots with the customized features they offer.
It’s important to note that while third-party screenshot apps provide additional functionality, they may also come with ads or require in-app purchases for certain features. Make sure to read user reviews and check the app’s ratings before downloading to ensure you choose a reliable and trustworthy app.
In summary, if the native methods of taking screenshots on your Android phone don’t work or if you’re interested in more advanced features, using a third-party screenshot app is a great option. Explore different apps and choose based on the features that best suit your needs. Happy screenshotting!
Conclusion
In conclusion, knowing how to take a screenshot on your Android phone can be a handy skill to have. Whether you want to capture a memorable moment from a video call, share a funny conversation from a messaging app, or save a receipt for future reference, being able to take screenshots gives you the power to capture and share anything on your screen.
With the variety of Android phones on the market, there may be slight differences in the button combinations or settings names for taking screenshots. However, the common methods we discussed should work on most Android devices.
Remember to consider the purpose and intended use of the screenshot when choosing the method that best suits your needs. Whether it’s using the hardware buttons, using the system’s built-in screenshot function, or downloading a dedicated app, taking screenshots on your Android phone is a breeze once you know the right steps.
So go ahead and start capturing and sharing your favorite moments and important information with ease. Happy screenshotting!
FAQs
Here are some frequently asked questions about taking screenshots on an Android phone:
1. How do I take a screenshot on my Android phone?
To take a screenshot on an Android phone, simply press the power button and the volume down button simultaneously and hold them for a few seconds. The screen will flash, indicating that the screenshot has been captured. You can access your screenshots in the device’s photo gallery or in the Screenshots folder.
2. Are there any other methods to take a screenshot on an Android phone?
Yes, there are alternative methods to take a screenshot on an Android phone. Some devices have a built-in screenshot button in the notification panel. You can also use various apps available on the Google Play Store that offer additional features for capturing screenshots.
3. Can I edit my screenshots after taking them?
Absolutely! Once you’ve taken a screenshot on your Android phone, you can easily edit it using the built-in editing tools or by using third-party photo editing apps from the Play Store. You can crop, add text, draw, and apply filters to your screenshots to enhance them before sharing or saving them.
4. How can I share my screenshots with others?
To share your screenshots, you have several options. You can simply open the screenshot from your device’s photo gallery, then tap on the share button to choose your preferred sharing method, such as email, messaging apps, social media platforms, or cloud storage services. You can also directly share screenshots from the notification panel if your device supports this feature.
5. Can I take a screenshot of a specific part of my screen?
Yes, you can take a screenshot of a specific part of your screen on most Android phones. After pressing the power button and the volume down button, a menu may appear at the bottom of the screen offering options like “Capture More” or “Crop.” By selecting these options, you can capture and crop a specific portion of the screen instead of the whole display.