
Taking and emailing screenshots is a useful skill that can come in handy in various situations. Whether you want to capture an image of your phone’s screen to share information, troubleshoot an issue, or document an important moment, knowing how to take and email screenshots can save time and make communication more effective.
In this article, we will explore the step-by-step process of taking screenshots on different types of Mobile Phones and explain how to email them directly from your device. From iPhones to Androids, we will cover everything you need to know to capture and share screenshots effortlessly.
So, if you’ve ever wondered how to take and email screenshots on your Mobile Phone, look no further. Let’s dive in and discover the easy and efficient ways to master this essential skill.
Inside This Article
- The Importance of Screenshots
- Taking Screenshots on Different Devices
- How to Take Screenshots on Windows
- How to Take Screenshots on Mac
- How to Take Screenshots on Android
- How to Take Screenshots on iOS
- Editing and Annotating Screenshots
- Saving and Sharing Screenshots
- Conclusion
- FAQs
The Importance of Screenshots
Screenshots have become an integral part of our digital lives, serving a variety of purposes. Whether you’re an individual user or a professional, screenshots can be incredibly valuable for a multitude of reasons. Let’s explore the importance of screenshots and why you should consider utilizing them in your daily routine.
1. Recording Information: Screenshots are an excellent way to capture and preserve important information displayed on your digital devices. Whether it’s a receipt, a confirmation page, or an error message, taking a screenshot ensures that you have a visual record that can be referenced later.
2. Troubleshooting and Tech Support: Screenshots are invaluable when it comes to troubleshooting technical issues. When you encounter an error or encounter a problem with your device or software, taking a screenshot allows you to easily communicate the issue to tech support or search for solutions online. A picture is worth a thousand words, especially when it comes to explaining technical difficulties.
3. Collaboration and Communication: Screenshots are a vital tool for effective collaboration and communication. They enable you to quickly capture and share information, ideas, and concepts with others. Whether you’re working on a project, providing feedback, or sharing instructions, screenshots make it easy to visually convey your thoughts and ensure clear understanding.
4. Documentation and Training: Screenshots are an essential component of documentation and training materials. They provide visual aids that enhance the understanding and retention of information. Screenshots can help create step-by-step guides, tutorials, and user manuals. They make it easier for users to follow instructions and learn new processes.
5. Social Media and Marketing: Screenshots are prevalent in today’s social media-driven world. They allow individuals and businesses to share and promote content, products, or services visually. From sharing app reviews to showcasing a new feature, screenshots are an effective and eye-catching way to engage with an audience and generate interest.
6. Memory Preservation: Screenshots serve as a digital memory bank. Whether it’s capturing memorable moments from a video call, preserving funny conversations, or saving important messages, screenshots help us cherish and recall precious memories. They offer a convenient way to keep track of sentimental moments that might otherwise be forgotten.
From recording information to troubleshooting, collaboration to social media marketing, and memory preservation, screenshots play a vital role in our digital lives. By understanding the importance of screenshots and leveraging their benefits, you can enhance productivity, communication, and overall digital experience.
Taking Screenshots on Different Devices
Whether you’re using a Windows PC, a Mac, an Android device, or an iOS device, taking screenshots is a useful feature that allows you to capture and share what’s on your screen. Each device has its own method for taking screenshots, so let’s explore how to do it on different devices.
Windows
Taking screenshots on Windows can be done in a few different ways. One common method is to use the “Print Screen” button on your keyboard. Simply press the “Print Screen” button, and the screenshot will be copied to your clipboard. You can then paste it into an image editing program, such as Paint, to save and edit the screenshot.
Another method is to use the Snipping Tool, which is a built-in screenshot tool on Windows. You can open the Snipping Tool, select the type of screenshot you want to take (such as a rectangular snip or a free-form snip), and then capture the screenshot. The Snipping Tool also allows you to annotate and save your screenshots directly.
Mac
If you’re using a Mac, taking screenshots is just as easy. You can use the keyboard shortcut Command + Shift + 3 to capture a screenshot of the entire screen. The screenshot will be saved as a file on your desktop. To capture a specific area of the screen, you can use the keyboard shortcut Command + Shift + 4. This will turn your cursor into a crosshair, allowing you to select the area you want to capture.
For even more control, you can use Command + Shift + 4 + Spacebar to capture a specific window or menu. When you press this keyboard shortcut, your cursor will turn into a camera icon, and you can click on the window or menu you want to capture.
Android
On Android devices, the method for taking screenshots can vary depending on the device and the version of Android you’re using. However, a common method is to press the Volume Down button and the Power button simultaneously. Hold both buttons for a few seconds, and your screenshot will be captured and saved to your device.
In some Android devices, you can also swipe down from the top of the screen to access the Quick Settings panel, where you may find a dedicated “Screenshot” button that you can tap to capture a screenshot.
iOS
On iOS devices, taking screenshots is also simple and consistent across different devices. To capture a screenshot on an iPhone or iPad, you can press the Sleep/Wake button (also known as the Side button) and the Volume Up button simultaneously. The screen will flash momentarily, indicating that the screenshot has been taken. You can find your screenshots in the Photos app.
If you have an iPhone X or newer, you can also take a screenshot by pressing the Sleep/Wake button and the Volume Up button simultaneously, or by using a gesture. Simply swipe up from the bottom of the screen and quickly swipe left or right to take a screenshot.
Now that you know how to take screenshots on different devices, you can easily capture and share important information or memorable moments with just a few simple steps. Whether you’re using Windows, Mac, Android, or iOS, taking screenshots is a valuable skill to have in the digital age.
How to Take Screenshots on Windows
Windows, being the most widely used operating system, offers several methods to take screenshots. Whether you want to capture your entire screen, a specific window, or just a portion of your display, Windows provides simple and effective ways to do so. In this section, we will walk you through three different methods to take screenshots on Windows.
1. Using the Print Screen Key: The simplest way to take a screenshot on Windows is by using the Print Screen (PrtScn) key. Pressing this key captures the entire screen and stores it in the clipboard. To save the screenshot as an image, open an image editing software (such as Paint or Photoshop), create a new file, and paste the screenshot using the Ctrl + V keys. Then, you can save the image in your desired format.
2. Using the Snipping Tool: Windows also provides the Snipping Tool, a built-in utility that allows you to capture specific portions of your screen. To access the Snipping Tool, open the Start menu, search for “Snipping Tool,” and click on the application. Once the Snipping Tool opens, click on “New” to start the screenshot capture. You can choose to capture a rectangular area, a specific window, or even a free-form shape. After capturing the screenshot, you can annotate and save it directly from the Snipping Tool.
3. Using Windows Key + Shift + S: If you are using Windows 10, there is a quick shortcut to capture screenshots called “Windows Key + Shift + S.” Pressing these keys allows you to select a specific portion of the screen you want to capture. Once selected, the screenshot is copied to the clipboard, and you can paste it into an image editing software or directly into a document or email.
Taking screenshots on Windows is incredibly useful for various purposes, such as capturing error messages, sharing important information, or creating visual tutorials. By mastering these screenshot methods, you can effectively communicate and share information with others, making your daily tasks more efficient and streamlined.
How to Take Screenshots on Mac
Mac computers offer several convenient methods for capturing screenshots, whether you want to capture the entire screen, a specific window, or a selected portion. So, if you’re a Mac user wondering how to take screenshots, you’ve come to the right place. In this guide, we’ll walk you through the different methods available.
Capture the Entire Screen:
To capture the entire screen on your Mac, simply press the Command (?) + Shift (?) + 3 keys simultaneously. You’ll hear a camera shutter sound, and the screenshot will be saved as a file on your desktop. The file will be named “Screen Shot [Date] at [Time].png” by default.
Capture a Specific Window:
If you want to capture a specific window, such as an application or a dialogue box, press the Command (?) + Shift (?) + 4 keys together. Your cursor will turn into a crosshair. Move the crosshair to the window you want to capture and click on it. The screenshot of the window will be saved on your desktop.
Capture a Selected Portion:
If you only want to capture a specific portion of the screen, press the Command (?) + Shift (?) + 4 keys. Your cursor will again turn into a crosshair. Click and drag the crosshair to select the area you want to capture. Once you release the mouse button, the screenshot of the selected portion will be saved on your desktop.
These methods provide quick and easy ways to capture screenshots on your Mac. It’s worth noting that you can also modify the screenshot options by holding down the Control (?) key in addition to the other key combinations mentioned above. This gives you more flexibility in capturing screenshots with different specifications.
Now that you know how to take screenshots on your Mac, you’re ready to capture and save important moments, share information with others, or troubleshoot technical issues more easily. Experiment with these methods to find the one that works best for your needs.
How to Take Screenshots on Android
Android devices offer a straightforward and convenient way to capture screenshots. Whether you want to save a memorable moment, record an important conversation, or share useful information, taking screenshots on Android is a breeze. Here’s a step-by-step guide to help you capture and save screenshots on your Android device.
1. Press the Power and Volume Down buttons simultaneously: The first method works on most Android devices. Locate the Power button, usually found on the right side or the top of the device, and the Volume Down button, typically positioned on the same side. Press and hold both buttons together until you see a visual notification or hear a camera shutter sound. This indicates that the screenshot has been successfully captured.
2. Use the three-finger swipe gesture: If you find the simultaneous button press method cumbersome, you can try the three-finger swipe gesture option. Ensure this feature is enabled by going to Settings > Gestures > Three-finger screenshot or a similar option. Once enabled, simply swipe down your three fingers across the screen simultaneously to capture a screenshot. You may need to practice this a few times to get the timing right.
3. Use your device’s dedicated screenshot button: Some Android devices have a dedicated screenshot button located either on the front or side of the device. Look for a button with a camera icon or labeled as “Screenshot.” Pressing this button will instantly capture a screenshot without the need to press any combination of buttons.
4. Use the power menu option: On certain Android devices running newer versions of Android, you can access a screenshot option directly from the power menu. Press and hold the Power button until the power menu appears, then select the “Screenshot” or “Take a screenshot” option to capture the image on your screen.
5. Use a third-party screenshot app: If the built-in methods don’t work for you, or if you want more advanced screenshot features, you can explore third-party screenshot apps available on the Google Play Store. These apps often offer additional editing and sharing options, allowing you to enhance and personalize your screenshots.
Once you’ve taken a screenshot, you’ll want to access it for editing or sharing. By default, Android saves screenshots in the “Screenshots” folder within your device’s internal storage. To view your screenshots, open the Photos app or the Gallery app and navigate to the “Screenshots” album or folder.
Taking screenshots on Android is a useful skill that comes in handy for various situations. Whether you need to capture a funny meme, document a software bug, or save an important conversation, these simple methods will allow you to effortlessly capture and save screenshots on your Android device.
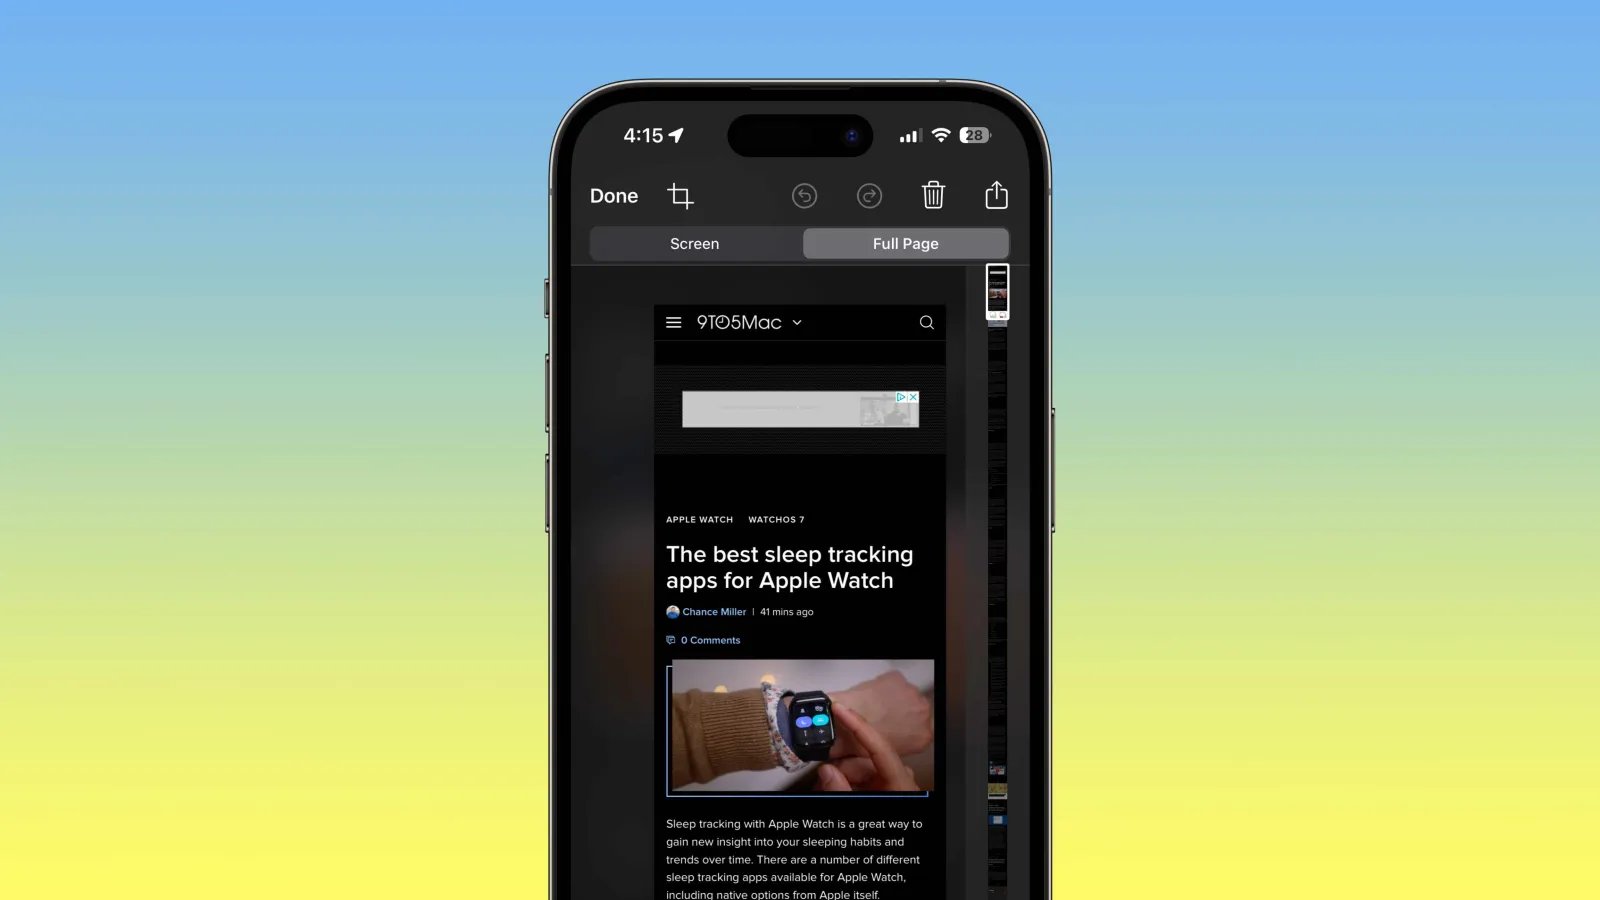
How to Take Screenshots on iOS
Have you ever wanted to capture something interesting or memorable on your iPhone or iPad? Taking screenshots on iOS devices is quick and easy. Whether you want to capture a funny conversation, important information, or a stunning image, here’s how you can take screenshots on iOS.
To take a screenshot on an iPhone or iPad running iOS 14 or later, follow these simple steps:
- Locate the content you want to capture on your screen.
- Position your fingers in the following way: place your thumb on the power button, also known as the side button, located on the right side of the device, and place your index finger on the volume up button, located on the left side.
- Simultaneously press the power button and the volume up button. You will hear a shutter sound and see a flash on the screen, indicating that the screenshot has been taken.
- The screenshot will appear as a thumbnail in the lower-left corner of the screen. You can tap on it to edit or share it immediately, or you can access it later in the Screenshots album within the Photos app.
Please note that if your device has a home button, the process is slightly different. Follow these steps:
- Locate the content you want to capture on your screen.
- Position your fingers in the following way: place your thumb on the home button, located at the bottom center of the device, and place your index finger on the power button, also known as the side button, located on the right side.
- Simultaneously press the home button and the power button. You will hear a shutter sound and see a flash on the screen, indicating that the screenshot has been taken.
- The screenshot will appear as a thumbnail in the lower-left corner of the screen. You can tap on it to edit or share it immediately, or you can access it later in the Screenshots album within the Photos app.
Once you have taken a screenshot, you can easily edit and annotate it before sharing. From the thumbnail preview, tap on it to enter the editing mode. Here, you can crop the image, add text or shapes, draw, or use the markup tools to highlight specific areas.
To save the screenshot, simply tap “Done” and choose whether you want to save it to your Photos app or delete it. The screenshot will be stored in the Screenshots album within the Photos app, making it easily accessible whenever you need it.
Sharing screenshots on iOS devices is effortless. After capturing and editing the screenshot, tap on the share button, which resembles a box with an arrow pointing upwards. Choose your preferred method of sharing, whether it’s via email, social media, or any other compatible app installed on your device.
There you have it! Taking screenshots on iOS devices is a handy feature that allows you to capture and share important moments or information at any time.
Editing and Annotating Screenshots
Once you’ve captured a screenshot, you may want to make some edits or annotations to highlight specific information or draw attention to certain elements. Luckily, there are plenty of tools and software available that make the editing and annotating process quick and easy.
One popular choice for editing screenshots is Adobe Photoshop. With its advanced editing capabilities, you can crop, resize, and adjust the colors of your screenshot with precision. Additionally, you can add text, arrows, shapes, and other graphical elements to emphasize important details.
If you’re looking for a more lightweight option, there are many free screenshot editing tools available online. These tools often provide simple but effective editing features, such as adding text, drawing lines, blurring sensitive information, or adding highlights. Some popular options include Snagit, Greenshot, and Lightshot.
Another handy feature that many editing tools offer is the ability to capture specific areas of the screen as separate screenshots, allowing you to easily focus on and edit individual sections of an image. This can be particularly useful when you want to highlight specific details or compare different elements within a screenshot.
In addition to editing tools, there are also applications specifically designed for annotating screenshots. These applications provide various annotation options like adding text boxes, callouts, arrows, or symbols to provide clear explanations or directions. Some notable annotation tools include Skitch, Evernote, and Markup Hero.
Whether you’re using a feature-rich image editing software or a simple online tool, the ability to edit and annotate screenshots is invaluable. It allows you to customize and enhance your screenshots to effectively communicate your message or share important information with others.
Remember, while editing and annotating screenshots can be helpful, it’s crucial to use these features thoughtfully and tactfully. Avoid cluttering your screenshot with excessive annotations or edits, as it can make it difficult for others to comprehend your intended message.
Now that you know how to capture, edit, and annotate screenshots, you’re well-equipped to convey your ideas and share information effectively.
Saving and Sharing Screenshots
Once you have taken a screenshot, it’s important to know how to save and share it effectively. This way, you can easily refer back to important information or share it with others. Here are some methods for saving and sharing your screenshots:
1. Saving Screenshots:
When you take a screenshot, it is automatically saved on your device. The location where the screenshot is saved may vary depending on the operating system and device you are using.
On Windows: Screenshots are usually saved in the Pictures > Screenshots folder.
On Mac: Screenshots are saved on the desktop by default, but you can also choose a different location.
On Android: Screenshots are saved in the Photos or Gallery app, in a folder named Screenshots.
On iOS: Screenshots are saved in the Photos app, in the Camera Roll or Screenshots album.
2. Sharing Screenshots:
Sharing screenshots can be done in various ways, depending on your preferences and the options available on your device. Here are a few common methods:
Email: One of the easiest ways to share a screenshot is by attaching it to an email. Simply compose the email, attach the screenshot file, and send it to the desired recipient.
Social Media: If you want to share the screenshot on social media platforms, such as Facebook, Twitter, or Instagram, most devices have built-in sharing options. Locate the screenshot in your device’s gallery or photos app, select the share button, and choose the desired social media platform.
Cloud Storage: Another way to share screenshots is by uploading them to a cloud storage service, such as Google Drive, Dropbox, or iCloud. Once uploaded, you can generate a shareable link and send it to others.
Messaging Apps: If you prefer sharing screenshots through messaging apps like WhatsApp or Messenger, you can select the screenshot from your device’s gallery or photos app, tap the share button, and choose the messaging app to send it directly to your contact.
File Transfer: If you’re sharing screenshots with someone nearby, you can use file transfer methods like Bluetooth or Airdrop, depending on your device. Simply enable file transfer on both devices, locate the screenshot file, and send it to the recipient.
Remember to consider the nature of the information in the screenshot and the privacy preferences of the recipient when sharing. Ensure you have consent to share any sensitive or personal information.
Taking and sharing screenshots can be incredibly useful in various situations. Whether you need to save an important piece of information, share a funny meme, or troubleshoot a technical issue, knowing how to save and share screenshots can streamline your communication and collaborations tasks. So make sure to utilize these methods and share your screenshots efficiently!
Conclusion
Mastering the art of taking and emailing screenshots is an essential skill for anyone who frequently uses their mobile phone. Whether you need to capture an important message, share a funny meme, or report a technical issue, knowing how to capture and send screenshots can save you time and simplify communication.
By following the steps outlined in this article, you can confidently take screenshots on your mobile device and send them via email. Remember to consider the specific instructions based on your phone’s operating system, be it Android or iOS. A well-captured screenshot can be a valuable tool to convey information, troubleshoot problems, or simply share memorable moments with friends and colleagues.
So, go ahead and put this newfound knowledge to the test. Capture, send, and share screenshots with ease, and explore the possibilities that come with harnessing the power of visual communication on your mobile phone.
FAQs
1. How do I take a screenshot on my mobile phone?
To take a screenshot on your mobile phone, simply locate the combination of buttons that triggers the screenshot function. This may vary depending on the make and model of your phone. For most Android devices, you can typically press the power button and volume down button simultaneously. On an iPhone, you can press the power button and the home button simultaneously. Once you have pressed the correct buttons, your phone will capture an image of the current screen and save it to your photo gallery.
2. Can I email a screenshot directly from my mobile phone?
Yes, you can easily email a screenshot directly from your mobile phone. After taking the screenshot, locate the image in your photo gallery and open it. On most phones, you will find an option to share the image. Select the email application from the sharing options and compose a new email. Attach the screenshot to the email and enter the recipient’s email address. Finally, click send to email the screenshot.
3. Are there any specific file formats required for emailing screenshots?
When emailing screenshots from your mobile phone, you don’t need to worry about specific file formats. Screenshots are typically saved as image files, such as PNG or JPEG. These file formats are widely supported by email clients and can be easily attached to emails without any compatibility issues.
4. Can I crop or edit a screenshot before emailing it?
Yes, many mobile phones offer built-in photo editing tools that allow you to crop or edit screenshots before emailing them. After capturing the screenshot, open it in the photo gallery and look for editing options. You can crop the image to remove unwanted portions or make adjustments to enhance its appearance. Once you are satisfied with the edits, you can proceed to email the modified screenshot.
5. Are there any third-party apps that can assist with taking and emailing screenshots?
Yes, there are numerous third-party apps available for both Android and iOS devices that can enhance your screenshot-taking and emailing experience. These apps provide additional features like instant sharing options, advanced editing tools, and cloud storage integration. Some popular apps include Lightshot, Screenshot Easy, and Snapseed. Simply search the app store for screenshot-related keywords and explore the options based on your specific needs.