
Transferring data from one Apple ID to another can be a daunting task, especially if you have a vast amount of information stored on your device. Whether you’re switching to a new device or simply want to merge two Apple IDs into one, the process can seem complex and overwhelming.
However, fear not! In this article, we will guide you through the steps of transferring your data from one Apple ID to another seamlessly. From contacts and calendars to apps and media, we will provide you with the necessary information and tips to ensure a smooth transition.
So, if you’re ready to take the leap and make the switch, keep reading to discover the methods and tools you can use to transfer all your important data from one Apple ID to another.
Inside This Article
- Backup and Preparation
- Sign Out and Sign In – How to sign out from the current Apple ID on all devices – Steps to sign in with the new Apple ID
- Transferring Purchases and Data
- Troubleshooting and Tips – Common issues and possible solutions during the transfer process – Tips to ensure a smooth data transfer between Apple IDs
- Conclusion
- FAQs
Backup and Preparation
Before transferring data from one Apple ID to another, it is crucial to create a backup of your data to ensure that nothing important gets lost in the process. Follow this step-by-step guide to create a backup of your data:
- Start by connecting your iPhone, iPad, or iPod Touch to a Wi-Fi network.
- Open the Settings app on your device and tap on your name at the top.
- Next, tap on “iCloud” and then on “iCloud Backup.”
- If it is not already enabled, toggle the “iCloud Backup” switch to turn it on.
- Tap on “Back Up Now” to initiate the backup process. This might take some time depending on the size of your data and the speed of your internet connection.
- Once the backup is complete, you can verify it by going to Settings > [your name] > iCloud > iCloud Storage > Manage Storage. The backup should be listed there with the current date and time.
In addition to creating a backup, it is important to ensure that all of your devices are connected to the same iCloud account. This is necessary because the data transfer process relies on iCloud syncing to move your files and information smoothly between devices. Follow these steps to ensure device synchronization:
- On each device, open the Settings app and tap on your name at the top.
- Go to “iCloud” and ensure that the same Apple ID is signed in across all devices. If not, sign out and sign in with the correct Apple ID.
- Confirm that the “iCloud Drive” switch is turned on for each device.
- Verify that all devices are connected to the same Wi-Fi network.
By creating a backup of your data and ensuring device synchronization, you will be better prepared to transfer your data seamlessly between Apple IDs. These steps are essential to ensure the success and smoothness of the data transfer process.
Sign Out and Sign In – How to sign out from the current Apple ID on all devices – Steps to sign in with the new Apple ID
When transferring data from one Apple ID to another, it is crucial to sign out from the current Apple ID on all devices. Follow these steps to ensure a seamless transition:
1. Go to the Settings app on your iPhone or iPad.
2. Scroll down and tap on your Apple ID, located at the top of the settings menu.
3. In the Apple ID menu, scroll down and tap on “Sign Out”.
4. You will be prompted to confirm the sign out. Tap on “Sign Out” again to proceed.
5. Enter your Apple ID password when prompted.
6. Once you have successfully signed out of the current Apple ID, you can now sign in with the new Apple ID:
7. Go back to the Settings app and tap on “Sign In to your iPhone” or “Sign In to this device” at the top of the settings menu.
8. Enter the email address and password associated with the new Apple ID and tap on “Next”.
9. You may be prompted to verify your identity through a verification code sent to your trusted device or phone number. Follow the prompts to complete the verification process.
10. Once you have successfully signed in with the new Apple ID, you can proceed with transferring your data to the new account.
Remember to sign out from the current Apple ID on all devices to ensure that your data is effectively transferred to the new Apple ID. Signing in with the new Apple ID will enable you to access all your content and services seamlessly.
Transferring Purchases and Data
Transferring your purchased media, apps, and subscriptions from one Apple ID to another is an important aspect of the data transfer process. Here’s how you can do it:
1. Purchased Media and Apps:
To transfer your purchased media, such as music, movies, TV shows, and apps, you can use the “Family Sharing” feature. This allows you to share your purchases with up to six family members who are part of the same Family Sharing group. Simply set up Family Sharing on the new Apple ID and invite the previous Apple ID to join the group. This way, all purchases made with the previous Apple ID will be accessible on the new Apple ID.
2. Subscriptions:
For transferring subscriptions, it’s important to note that subscriptions are tied to the Apple ID used to purchase them. Unfortunately, there is no direct way to transfer subscriptions from one Apple ID to another. You will need to manually cancel the subscription on the old Apple ID and resubscribe using the new Apple ID. Make sure to check the terms and conditions of your subscriptions to minimize any disruptions.
3. Transferring Photos and Contacts:
When it comes to transferring your photos, contacts, and other essential data, you have a couple of options:
– iCloud: The easiest and most convenient way to transfer photos and contacts is by using iCloud. Ensure that you are signed in to the same iCloud account on both the old and new devices. Go to the iCloud settings and enable syncing for photos and contacts. This will automatically transfer your photos and contacts to the new Apple ID without any hassle.
– iTunes or Finder: If you prefer a more manual approach, you can use iTunes on a computer or Finder on macOS Catalina or later. Connect your old device to the computer and sync it with iTunes or Finder. This will create a backup of your device, including your photos and contacts. Then, connect your new device and restore the backup onto it. This will transfer all your data, including photos and contacts, to the new Apple ID.
Remember to double-check that all your data has been successfully transferred before disconnecting or erasing any devices.
By following these methods, you can ensure a smooth transfer of your purchased media, apps, subscriptions, and essential data from one Apple ID to another.
Troubleshooting and Tips – Common issues and possible solutions during the transfer process – Tips to ensure a smooth data transfer between Apple IDs
During the process of transferring data from one Apple ID to another, you might encounter some common issues. Don’t worry, though, as there are solutions to address these problems and ensure a seamless transition of your important data.
1. Issue: “Cannot Sign Out of iCloud”
Solution: If you’re unable to sign out of iCloud on a specific device, ensure that you have removed all associated accounts or have disabled Find My iPhone/iPad/Mac. You may also try signing out from the iTunes & App Store in your device settings.
2. Issue: “Error in Transferring Purchases”
Solution: If you face an error while transferring purchased media or apps, check if you’re signed in with the correct Apple ID on all devices. Update your apps and iTunes to the latest versions, restart your device, and try again. You can also reach out to Apple Support for further assistance.
3. Issue: “Data Loss or Missing Files”
Solution: Before initiating the transfer, ensure you have a recent backup of your data. If you encounter any missing files or data loss during the process, restore your device from the backup and try transferring again. It’s always a good practice to have multiple backups in case of any unexpected issues.
4. Issue: “Syncing Problems with Contacts and Calendar”
Solution: If you’re experiencing problems syncing contacts or calendar entries, ensure that both the old and new Apple IDs are properly set up for syncing. Double-check your account settings and enable the necessary options for contacts and calendar sync. Restart your device and wait for sync to complete.
5. Issue: “Slow or Intermittent Data Transfer”
Solution: If the data transfer process is slow or disconnects frequently, check your internet connection and make sure it’s stable. Avoid transferring large amounts of data when your connection is weak. Consider performing the transfer over a Wi-Fi connection and close unnecessary apps or processes running in the background.
To ensure a smooth data transfer between Apple IDs, here are some additional tips:
– Make sure all devices involved in the transfer are connected to the internet and logged in with their respective Apple IDs.
– Keep your devices charged or connected to a power source to avoid interruptions during the transfer process.
– If possible, perform the transfer during a time when you won’t need immediate access to your devices or data, as it may take some time for the process to complete.
– Stay patient and allow the transfer to complete without interruptions, as interrupting the process can lead to incomplete data transfer or potential data loss.
By following these troubleshooting tips and best practices, you can overcome common issues and ensure a smooth and successful transfer of your data between Apple IDs.
Conclusion
In conclusion, transferring data from one Apple ID to another can be a seamless and efficient process, thanks to the various methods and tools available. Whether you’re upgrading to a new device, sharing content with family members, or simply consolidating your accounts, it’s important to follow the steps and guidelines provided by Apple to ensure a smooth transfer. From using iCloud and iTunes to utilizing third-party software, you have multiple options at your disposal.
Remember to back up your data before initiating any transfer and take note of any limitations or restrictions imposed by Apple. By carefully planning and executing the data transfer, you can ensure that your important files, contacts, photos, and other content are seamlessly migrated to the new Apple ID without any loss or inconvenience. So, go ahead and make the move, confident in the knowledge that you can easily transfer your data from one Apple ID to another.
FAQs
1. Can I transfer data from one Apple ID to another?
Yes, it is possible to transfer data from one Apple ID to another. Apple provides several methods to transfer data, such as using iCloud, iTunes, or the “Transfer to a new iPhone” feature.
2. How do I transfer data using iCloud?
To transfer data using iCloud, ensure that both Apple IDs are signed in to the same iCloud account. Enable iCloud Backup on the source device and create a backup. Then, sign in to the target device using the new Apple ID and restore the backup from iCloud.
3. Can I transfer purchased apps and media?
Yes, you can transfer purchased apps and media by logging in to the new Apple ID and downloading the apps or media again from the App Store or iTunes Store. Make sure to use the same Apple ID that was used to make the original purchases.
4. What if I want to transfer data using iTunes?
If you prefer to transfer data using iTunes, connect the source device to a computer and create a backup using iTunes. Then, connect the target device to the same computer and restore the backup to the new Apple ID.
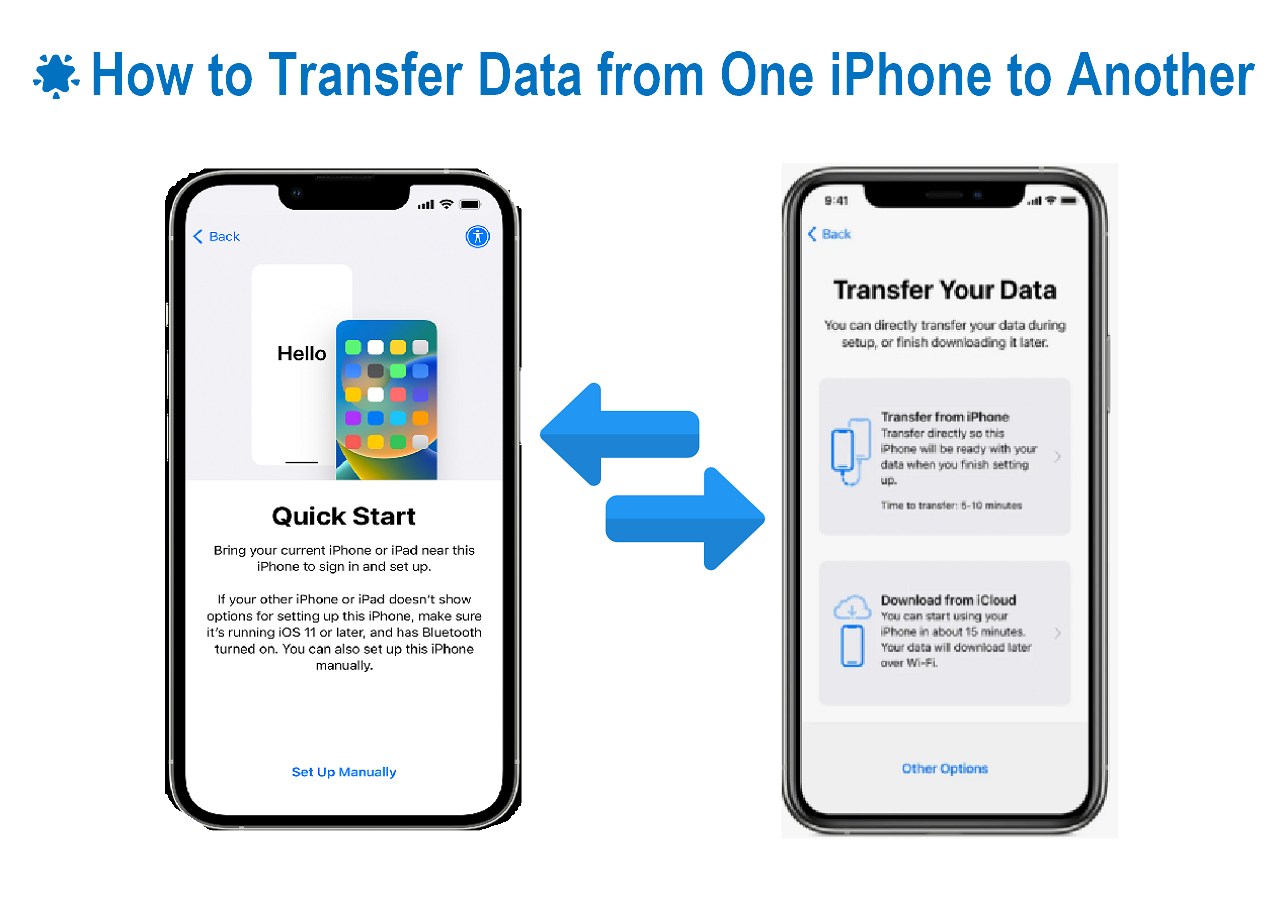
5. What is the “Transfer to a new iPhone” feature?
The “Transfer to a new iPhone” feature is available when setting up a new device. It allows you to transfer data directly from the old device to the new one, including apps, settings, messages, and more. Simply follow the on-screen prompts to complete the transfer.