
Are you tired of dealing with tangled cables and messy connections when trying to transfer photos from your Canon camera to your Mac? Well, you’re in luck! In this article, we will show you how to transfer photos from your Canon camera to your Mac wirelessly, without the hassle of cables. Gone are the days of fumbling with cords and struggling to find the right USB port. With wireless transfer, you can easily and conveniently transfer your photos with just a few simple steps. Whether you’re a professional photographer or a casual enthusiast, this guide will walk you through the process, so you can seamlessly transfer your precious memories and moments to your Mac. Say goodbye to the cable clutter and hello to hassle-free photo transfers!
Inside This Article
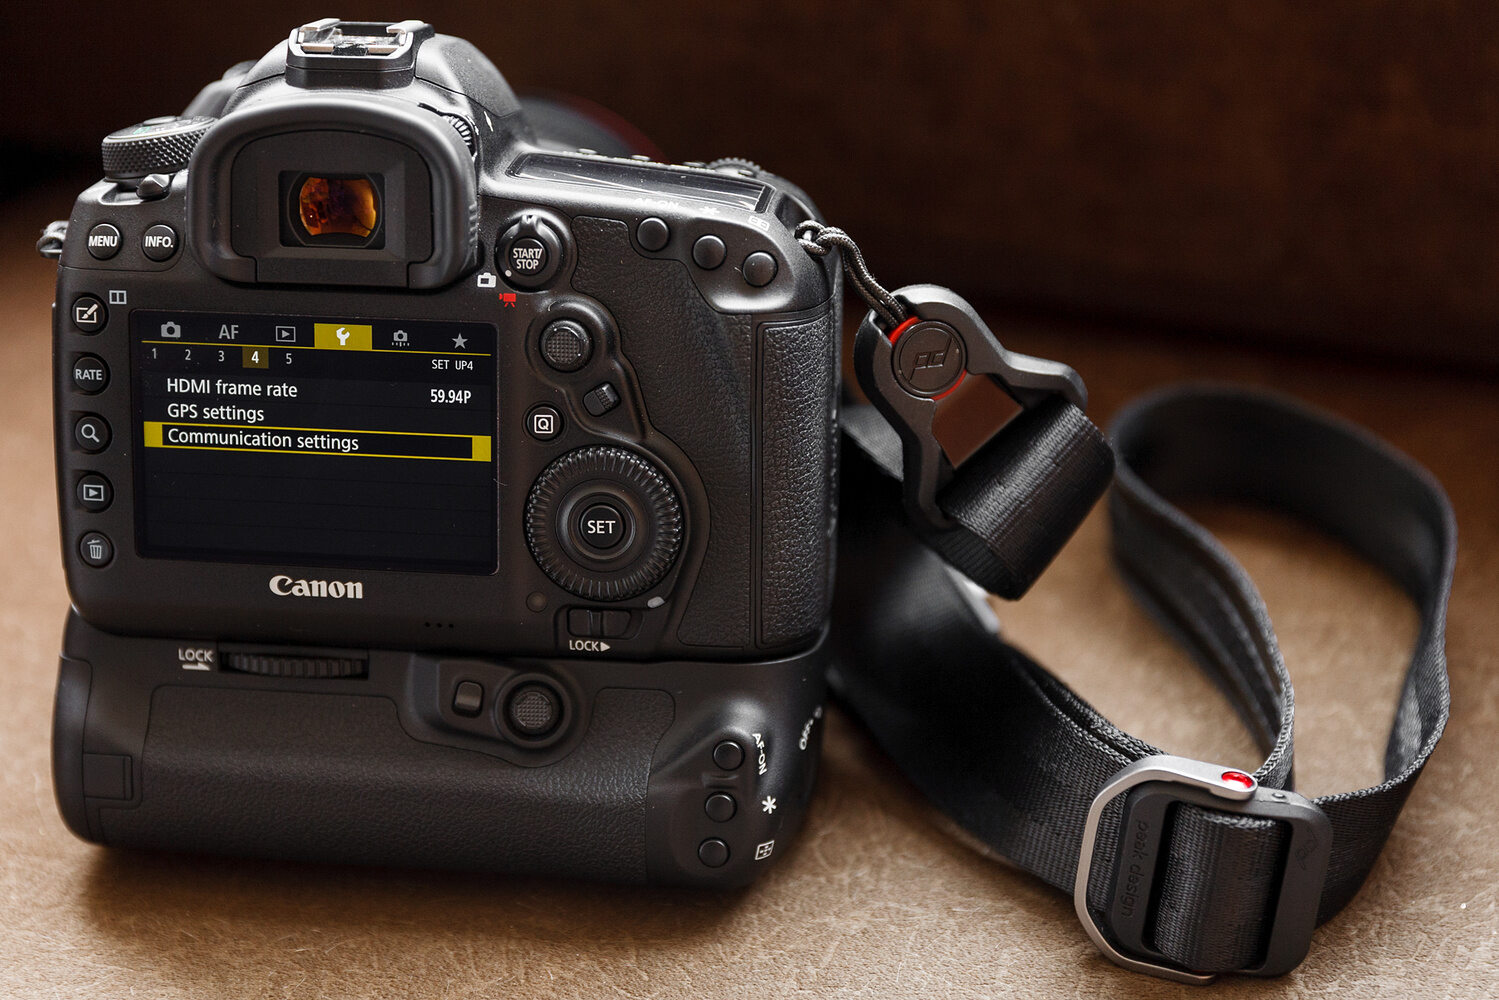
- Understanding Canon to Mac wireless transfer
- Setting up your Canon camera for wireless transfer
- Connecting your Canon camera to your Mac wirelessly
- Transferring photos from your Canon camera to your Mac wirelessly
- Conclusion
- FAQs
Understanding Canon to Mac wireless transfer
In this digital era, capturing breathtaking moments on your Canon camera is a joyous experience. However, transferring those precious photos to your Mac can sometimes be a hassle. Luckily, Canon offers wireless transfer capabilities, allowing you to seamlessly transfer photos from your camera to your Mac without the need for cables or adapters.
Wireless transfer provides convenience, flexibility, and freedom of movement. It eliminates the need for physical connections, making it easier to transfer photos from your Canon camera to your Mac. This wireless technology enables you to transfer photos quickly and efficiently, allowing for instant access to your memories.
With Canon’s wireless transfer feature, you can transfer photos wirelessly from your camera to your Mac using Wi-Fi connections. This technology leverages your camera’s built-in Wi-Fi capabilities and the Wi-Fi network on your Mac to establish a seamless connection between the two devices.
Canon’s wireless transfer feature also enables you to transfer photos directly from your camera to your Mac using specialized software. This software acts as a bridge between your camera and your Mac, facilitating the transfer process and ensuring that your photos are safely transferred and stored on your Mac.
Whether you’re a professional photographer or an avid hobbyist, Canon’s wireless transfer feature offers immense convenience and flexibility. It allows you to transfer your photos wirelessly, freeing you from the restrictions of physical cables. Moreover, wireless transfer eliminates the need for traditional transfer methods, such as SD card readers or USB cables.
By understanding how Canon’s wireless transfer works, you can fully leverage the power of this feature and simplify the process of transferring photos from your Canon camera to your Mac. So, whether you’re capturing stunning landscapes or unforgettable moments, rest assured that Canon’s wireless transfer will make it easy to transfer your photos to your Mac.
Setting up your Canon camera for wireless transfer
If you want to transfer photos from your Canon camera to your Mac wirelessly, you’ll need to set up your camera for wireless transfer first. Fortunately, Canon cameras come with built-in Wi-Fi capabilities that allow for seamless wireless connectivity.
The first step is to check if your Canon camera has Wi-Fi functionality. Most of the newer Canon cameras have this feature, but it’s always a good idea to consult the camera manual or the Canon website to confirm. Once you’ve confirmed that your camera has Wi-Fi capability, you can move on to the next steps.
The next step is to enable Wi-Fi on your Canon camera. This can usually be done through the camera’s menu settings. Look for the Wi-Fi option and make sure it is turned on. You may also have the option to choose a network or create a new network. Follow the on-screen instructions to complete the setup process.
After enabling Wi-Fi on your camera, it’s time to connect it to your Mac. On your Mac, ensure that Wi-Fi is turned on and look for the available networks. Your Canon camera should appear as an available Wi-Fi network. Select it and enter any required password or authentication details.
Once connected, open the Canon EOS Utility software on your Mac. This software allows you to control your camera remotely and transfer photos wirelessly. If you don’t have the EOS Utility software installed, you can download it from the Canon website and follow the installation instructions.
With the EOS Utility software open, you should see your Canon camera listed as a connected device. Click on the camera name to establish a connection. Follow the on-screen prompts to establish a seamless and secure connection between your camera and your Mac.
Now that your Canon camera is set up for wireless transfer and connected to your Mac, you can start transferring your photos. The EOS Utility software provides a straightforward interface for selecting and transferring photos. Simply choose the photos you want to transfer and click on the “Transfer” button.
During the transfer process, make sure your camera is within range of your Mac’s Wi-Fi signal to ensure a stable connection. Large files may take longer to transfer, so be patient while the process completes. Once the transfer is finished, you can find your photos in the designated folder on your Mac.
Setting up your Canon camera for wireless transfer may take a few extra steps initially, but the convenience and flexibility it offers are well worth it. With wireless transfer, you can easily and quickly transfer your photos from your Canon camera to your Mac, eliminating the need for cables and manual file transfers. So, follow these steps, get your Canon camera connected to your Mac wirelessly, and enjoy the seamless transfer of your precious memories.
Connecting your Canon camera to your Mac wirelessly
If you want to transfer photos from your Canon camera to your Mac without the hassle of cables, you’ll be pleased to know that it’s possible to connect them wirelessly. This convenient method allows you to transfer your photos with ease and eliminates the need for physical connections. Here’s a step-by-step guide to help you get started:
1. Ensure Wi-Fi capability: Make sure that your Canon camera has built-in Wi-Fi capability. This feature allows the camera to communicate wirelessly with your Mac.
2. Enable Wi-Fi on your camera: On your camera’s menu, navigate to the Wi-Fi settings and enable the Wi-Fi feature. You may need to refer to your camera’s user manual for specific instructions on how to access this menu.
3. Connect your Mac to a Wi-Fi network: Before connecting your camera, make sure your Mac is connected to a Wi-Fi network. Choose a network that is stable and has a strong connection to ensure a smooth transfer process.
4. Launch the Canon Camera Connect app: On your Mac, download and install the Canon Camera Connect app from the App Store. This app is designed to facilitate wireless communication between your camera and your Mac.
5. Open the app and connect your camera: Once the app is installed, open it on your Mac. Follow the instructions provided to establish a connection between your Canon camera and your Mac. This usually involves selecting your camera from a list of available devices and entering a password if prompted.
6. Choose the photos to transfer: Once the connection is established, you can browse through the photos stored on your Canon camera using the Camera Connect app. Select the photos you want to transfer to your Mac by tapping on them or using the app’s selection tools.
7. Start the transfer process: After selecting the desired photos, locate the transfer button within the app and initiate the transfer process. The app will transfer the selected photos wirelessly from your Canon camera to your Mac. The time required for the transfer will depend on the number and size of the photos.
8. Check the transferred photos on your Mac: Once the transfer is complete, you can access the transferred photos on your Mac. They will typically be saved in a designated folder or location specified within the Canon Camera Connect app.
By following these steps, you can easily connect your Canon camera to your Mac wirelessly and transfer your photos without the need for cables. Enjoy the convenience and freedom of wirelessly transferring your cherished memories and capturing more moments with your Canon camera!
Transferring photos from your Canon camera to your Mac wirelessly
If you’re a photography enthusiast who uses a Canon camera and a Mac computer, one of the most convenient ways to transfer your photos is wirelessly. This eliminates the need for cables and allows you to quickly and easily transfer your images to your Mac. In this article, we’ll guide you through the process of transferring photos from your Canon camera to your Mac wirelessly.
The first step in the wireless photo transfer process is to ensure that your Canon camera is equipped with built-in Wi-Fi capabilities. Many newer Canon camera models come with Wi-Fi functionality, allowing for seamless wireless transfer. Check your camera’s manual or the manufacturer’s website to confirm if your specific model has this feature.
Once you’ve confirmed that your Canon camera supports wireless transfer, the next step is to connect it to your Mac. Start by turning on the Wi-Fi function on your camera. Navigate through the camera’s menu to locate the Wi-Fi settings. Enable the Wi-Fi feature, and your camera will start broadcasting a wireless signal.
Now it’s time to connect your Mac to the Wi-Fi network created by your Canon camera. On your Mac, go to the Wi-Fi settings and select the network name shown on your camera. Enter the password if prompted, which is often displayed on the camera’s screen. Once connected, your Mac and Canon camera are linked, and you can proceed with the wireless photo transfer.
Open the default photo management application on your Mac, such as Photos or Image Capture. These applications are pre-installed on most Mac computers and are designed to recognize connected cameras. When you open the application, it will automatically detect your Canon camera. Select the camera from the list of connected devices.
After selecting your Canon camera, you’ll see a list of photos displayed on the screen. Choose the photos you want to transfer to your Mac by selecting them individually or using the “Select All” option. Then, click on the “Import” or “Transfer” button to initiate the wireless transfer process.
During the transfer, you may be asked to specify a location on your Mac where the photos will be saved. Choose the desired folder or create a new one for organizing your transferred images. The transfer speed and duration will depend on various factors, such as the number and size of photos being transferred and the wireless connection speed between your camera and Mac.
Once the transfer is complete, you can disconnect the Wi-Fi connection between your Canon camera and Mac. You can now access and view your transferred photos on your Mac, edit them, share them with others, or organize them in your preferred photo management software.
Transferring photos from your Canon camera to your Mac wirelessly is a convenient and efficient way to manage your photography workflow. It eliminates the need for cables and simplifies the process of transferring your images. With a few simple steps, you can easily transfer your photos and continue capturing beautiful moments with your Canon camera.
Conclusion
Transferring photos from a Canon camera to a Mac wirelessly can be a convenient and efficient way to manage your photography workflow. With the right combination of equipment and software, you can easily transfer your images without the need for cables or memory cards.
By following the steps outlined in this article, you can take advantage of wireless technology to quickly and seamlessly transfer your photos from your Canon camera to your Mac. Whether you’re a professional photographer or simply a photography enthusiast, this wireless transfer method can save you time and effort, allowing you to focus on what you love most – capturing incredible moments.
So, go ahead and give wireless photo transfer a try. With just a few clicks and settings adjustments, you’ll be able to enjoy the convenience and flexibility of wirelessly transferring your images from your Canon camera to your Mac computer.
FAQs
1. Can you transfer photos from a Canon camera to a Mac wirelessly?
Yes, it is possible to transfer photos from a Canon camera to a Mac wirelessly. Canon cameras equipped with built-in Wi-Fi capabilities or those using a wireless adapter can establish a connection with your Mac and transfer photos directly without the need for cables or card readers.
2. What steps do I need to follow to transfer photos wirelessly?
To transfer photos wirelessly from your Canon camera to a Mac, you need to follow these steps:
– Make sure your Canon camera has Wi-Fi capabilities or is compatible with a wireless adapter.
– Enable Wi-Fi on your camera and connect it to the same Wi-Fi network as your Mac.
– On your Mac, go to the “System Preferences” and select “Network.” Ensure that Wi-Fi is enabled.
– Open the appropriate software on your Mac for importing photos and select the option to import from a Wi-Fi-enabled camera.
– Follow the on-screen instructions to connect to your Canon camera and proceed with the photo transfer process.
3. What software should I use on my Mac for wireless photo transfer from a Canon camera?
Canon provides specific software called “EOS Utility” for Canon DSLR cameras and “Canon CameraWindow” for Canon point-and-shoot cameras. You can download and install this software from the Canon website to facilitate wireless photo transfer on your Mac.
4. Can I transfer photos wirelessly from a Canon camera to a Mac without any additional software?
Yes, you can. If your Canon camera supports the Picture Transfer Protocol (PTP), which most Canon cameras do, you can transfer photos wirelessly without installing additional software. Simply connect your camera to your Mac using a USB cable, and the camera will appear as a device on your Mac. You can then access and transfer the photos using the Mac’s native file transfer functionality.
5. Are there any alternative methods to transfer photos from a Canon camera to a Mac wirelessly?
Yes, apart from using Wi-Fi or the Picture Transfer Protocol, you can also use a wireless memory card reader that is compatible with your Canon camera and Mac. These devices act as an intermediary between your camera’s memory card and your Mac, allowing you to transfer photos wirelessly. Simply insert your camera’s memory card into the wireless reader, connect it to your Mac, and follow the device-specific instructions to complete the photo transfer process.