
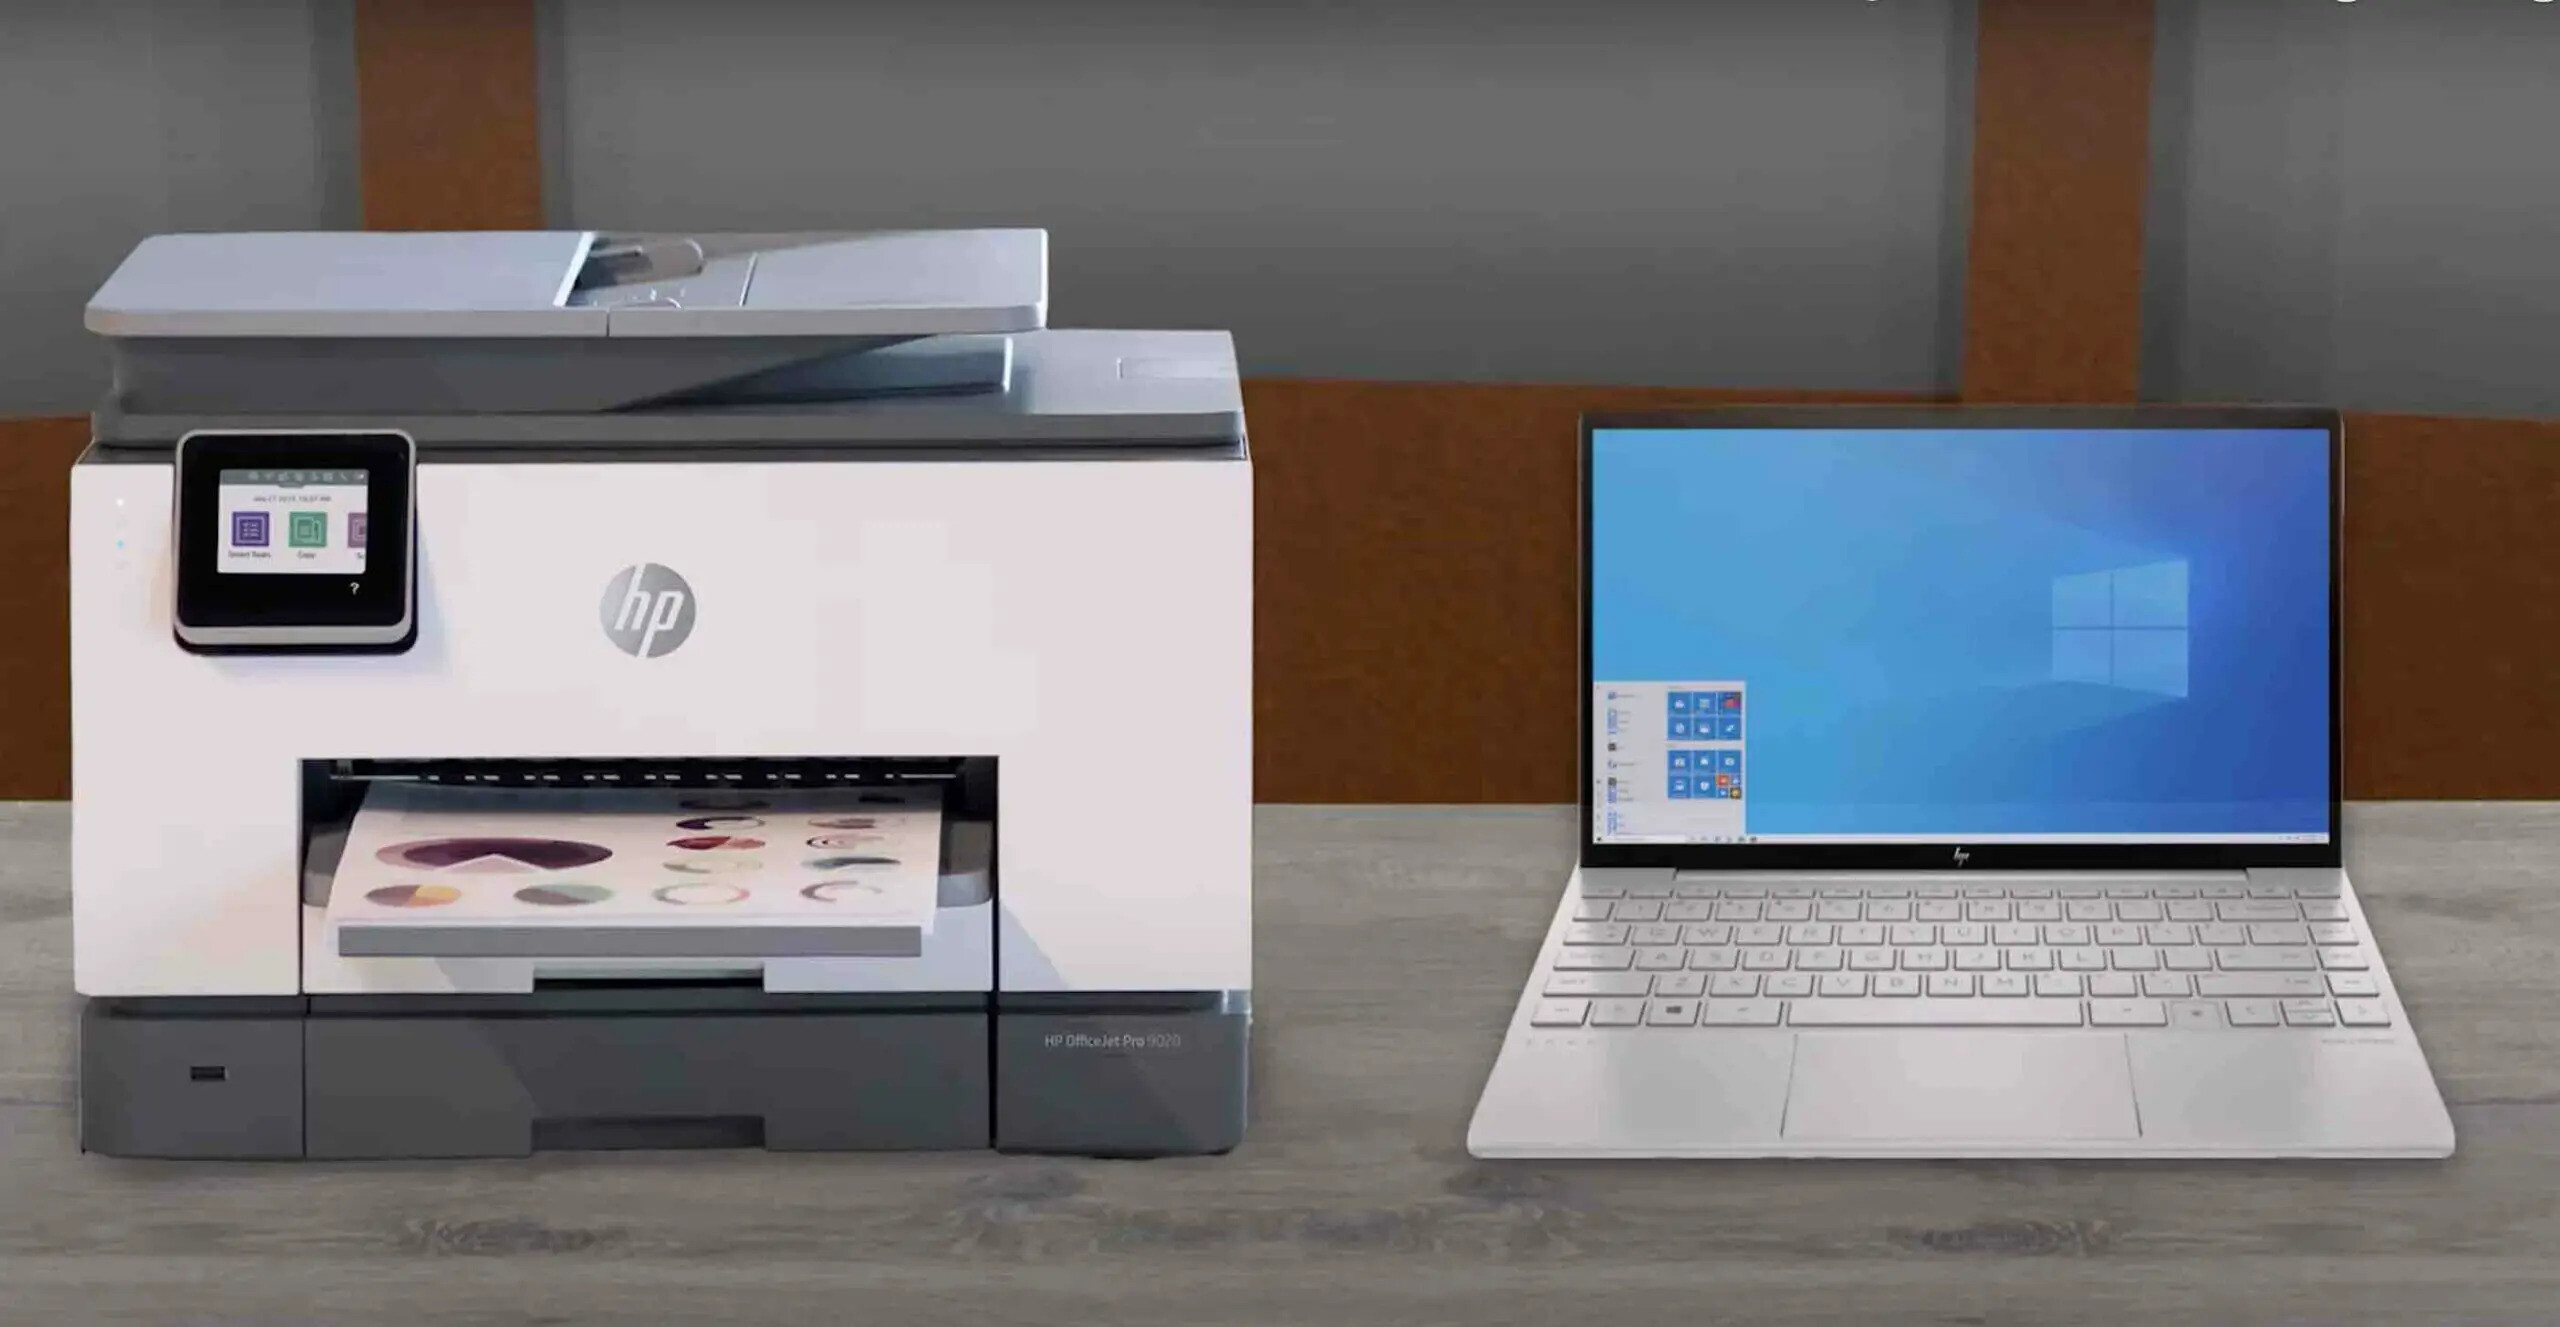
In today’s fast-paced, interconnected world, wireless technology has become an essential part of our daily lives. From smartphones to laptops, we rely on wireless connectivity to stay connected and get things done efficiently. The same goes for printers, which have evolved to offer wireless functionality for convenient printing.
If you have an HP printer and want to take advantage of its wireless capabilities, one important step is to ensure that the wireless radio is turned on. By enabling the wireless radio on your HP printer, you can print documents and photos wirelessly from your computer or mobile device, without the need for cumbersome cables.
In this article, we’ll guide you through the process of turning on the wireless radio on your HP printer, so you can experience the freedom and convenience of wireless printing. Whether you’re a beginner or a tech-savvy individual, we’ve got you covered with simple steps and useful tips. Let’s get started!
Inside This Article
- Why is it important to turn on the wireless radio on your HP printer?
- Step-by-step guide to turn on the wireless radio on your HP printer
- Troubleshooting tips for wireless connectivity issues on your HP printer
- Conclusion
- FAQs
Why is it important to turn on the wireless radio on your HP printer?
In today’s digital age, convenience and flexibility are highly valued. With the rise of wireless technology, we no longer want to be tied down by cables and cords. This is where the importance of turning on the wireless radio on your HP printer comes into play.
By enabling the wireless radio on your HP printer, you unleash a world of convenience and productivity. Here are a few key reasons why it’s important to have the wireless radio turned on:
- Easy printing from any device: With the wireless radio enabled, you can print from your smartphone, tablet, laptop, or any other wireless-enabled device. This means you can send documents to your printer without the hassle of physically connecting it to each device.
- No more cable clutter: Turning on the wireless radio eliminates the need for multiple cables and cords. You can enjoy a clutter-free workspace and have more flexibility in printer placement.
- Increased mobility: With the wireless radio enabled, you can easily move your printer to different locations within your home or office. This allows for optimal printer positioning based on your needs.
- Print from anywhere on your network: When the wireless radio is turned on, you can print from any corner of your home or office as long as you are connected to the same network as your printer. This means no more running back and forth between your computer and the printer.
- Efficient sharing: By turning on the wireless radio, you can share your printer with multiple users in your network. This promotes collaboration and allows for shared access to the printer’s functionality.
These reasons clearly demonstrate why it is important to have the wireless radio turned on your HP printer. Embracing wireless technology not only enhances convenience but also improves productivity and efficiency in your printing tasks.
Step-by-step guide to turn on the wireless radio on your HP printer
Having the wireless radio turned on is essential for connecting your HP printer to your wireless network. This allows you to print wirelessly from any device, such as your computer or smartphone, without the need for a physical connection. Follow the step-by-step guide below to turn on the wireless radio on your HP printer:
Step 1: Start by locating the control panel on your HP printer. It is usually located on the front or top of the printer. Look for the power button and make sure your printer is turned on.
Step 2: Once your printer is turned on, navigate to the settings menu on the control panel. Look for an icon that resembles a gear or a wrench. Press the settings icon to enter the settings menu.
Step 3: Within the settings menu, look for the “Network” or “Wireless” option. This option may vary depending on the model of your HP printer. Use the navigation buttons on the control panel to scroll through the menu and select the appropriate option.
Step 4: Once you have selected the “Network” or “Wireless” option, you will see the wireless settings of your HP printer. Look for the option to enable the wireless radio. It is usually labeled as “Wireless On” or “Wi-Fi On.” Use the navigation buttons to select this option and press the “OK” button.
Step 5: After enabling the wireless radio, your HP printer will start scanning for available wireless networks. It may take a few moments for the printer to detect the networks in the vicinity.
Step 6: Once the available networks are detected, your HP printer will display them on the control panel. Use the navigation buttons to select your desired wireless network and press the “OK” button.
Step 7: If your wireless network is secured with a password, your HP printer will prompt you to enter the Wi-Fi password. Use the control panel or the on-screen keyboard (if available) to input the password and press “OK.”
Step 8: After entering the Wi-Fi password, your HP printer will attempt to establish a connection with the wireless network. This process may take a few moments. Once the connection is established, your printer will display a confirmation message on the control panel.
Step 9: Congratulations! Your HP printer’s wireless radio is now turned on and connected to your wireless network. You can now start printing wirelessly from any device on the same network.
Following these steps will ensure that you have successfully turned on the wireless radio on your HP printer. Enjoy the convenience and flexibility of wireless printing!
`
Troubleshooting tips for wireless connectivity issues on your HP printer
`
If you are experiencing wireless connectivity issues with your HP printer, there are a few troubleshooting steps you can follow to resolve the problem. Here are some tips to help you get your printer connected wirelessly and back up and running:
- Check your network connection: Ensure that your printer and computer are connected to the same Wi-Fi network. Verify that the Wi-Fi signal is strong and stable.
- Restart your devices: Sometimes, a simple restart can fix connectivity issues. Turn off your printer, computer, and router. Wait a few seconds, then turn them back on. This can refresh the network connection and resolve minor glitches.
- Update printer firmware: Outdated firmware can cause connectivity problems. Visit the HP support website and search for your printer model to find and download the latest firmware update. Follow the instructions provided to install it on your printer.
- Reset network settings: If your printer is still not connecting, you can try resetting the network settings. On your printer’s control panel, navigate to the wireless settings menu and select the option to restore network defaults. After resetting, reconnect your printer to the Wi-Fi network.
- Check firewall and antivirus settings: Sometimes, firewall or antivirus software can block the connection between your printer and computer. Temporarily disable these programs or add your printer’s IP address to the allowed list.
- Ensure proper placement: Make sure your printer is located within the range of your Wi-Fi router. A weak signal can cause connectivity issues. If possible, try moving your printer closer to the router or using a Wi-Fi extender to improve the signal strength.
- Reset the printing system: On your computer, go to the “Printers & Scanners” settings. Right-click on your printer and select “Reset printing system.” This will remove all printers and their related settings. After resetting, add your printer again and try connecting wirelessly.
- Contact HP support: If you have tried all the troubleshooting steps and are still unable to resolve the issue, it may be time to reach out to HP support for further assistance. They can provide specialized guidance and help you troubleshoot any hardware or software related problems.
By following these troubleshooting tips, you should be able to address most wireless connectivity issues with your HP printer. Remember to double-check your network settings, update firmware, and ensure proper placement of your printer for the best wireless performance.
Conclusion
Turning on the wireless radio on your HP printer is a simple and convenient way to connect multiple devices to your printer without the hassle of cables. By following the steps outlined in this article, you can easily enable the wireless radio on your HP printer and enjoy the benefits of wireless printing.
Remember, having the wireless radio enabled on your printer allows you to print from various devices within the same network, such as laptops, smartphones, and tablets, without needing a direct connection. This not only offers flexibility but also eliminates the need for separate printers or frequent cable swapping.
So, go ahead and experience the convenience of wireless printing with your HP printer! Enjoy the freedom to print from anywhere within your network and make your printing tasks even more efficient and hassle-free.
FAQs
1. How do I turn on the wireless radio on my HP printer?
To turn on the wireless radio on your HP printer, follow these steps:
- Make sure your printer is turned on.
- Press the “Wireless” or “Settings” button on your printer’s control panel.
- Navigate to the “Wireless Settings” or “Network Setup” menu.
- Select the option to enable the wireless radio.
- Save the changes and your printer should now be connected to your wireless network.
2. Why is it important to turn on the wireless radio on my HP printer?
Turning on the wireless radio on your HP printer allows you to connect the printer to your wireless network. This enables you to print wirelessly from any device connected to the same network, such as your computer, smartphone, or tablet. It offers convenience and flexibility, eliminating the need for cables and allowing you to print from anywhere within range of your network.
3. Can I print wirelessly without turning on the wireless radio?
No, in order to print wirelessly from your HP printer, you need to have the wireless radio turned on. The wireless radio is responsible for establishing a connection between your printer and the wireless network, allowing your devices to communicate with the printer. Without it, you will not be able to print wirelessly.
4. How can I check if the wireless radio is already turned on?
To check if the wireless radio on your HP printer is already turned on, you can follow these steps:
- Press the “Wireless” or “Settings” button on your printer’s control panel.
- Navigate to the “Wireless Settings” or “Network Setup” menu.
- Look for an option that indicates the status of the wireless radio, such as “On”, “Enabled”, or “Connected”.
If the status indicates that the wireless radio is turned on or enabled, then it means that the wireless radio is already active on your printer.
5. What should I do if my HP printer does not have a wireless radio?
If your HP printer does not have a built-in wireless radio, you have a few alternatives to print wirelessly:
- Consider using a USB cable to connect your printer to your computer. This allows you to print directly from your computer without the need for a wireless connection.
- Set up a wireless print server. A wireless print server acts as a bridge between your printer and your wireless network, enabling you to print wirelessly.
- Upgrade to a newer model of HP printer that includes built-in wireless capabilities.
By exploring these options, you can still enjoy the convenience of wireless printing even if your printer does not have a built-in wireless radio.