
Procreate is a powerful digital art application for iPad that allows artists to create stunning illustrations and artwork. One of its key features is the ability to work with layers, which gives artists more flexibility and control over their creative process. However, as you work on your project and add multiple layers, you may find the need to merge them to simplify your artwork or reduce the file size.
In this article, we will explore how to merge layers in Procreate, step by step. Whether you’re a beginner or an experienced artist, learning how to merge layers can be a valuable skill to have in your digital art toolkit. So let’s dive in and discover the process of merging layers in Procreate, unlocking new possibilities for your artwork.
Inside This Article
- # How to Merge Layers in Procreate
- Selecting Layers
- Using the Merge Down Function
- Merging Layers with Alpha Lock
- Grouping Layers and Flattening Image
- Conclusion
- FAQs
# How to Merge Layers in Procreate
Procreate is a popular digital art app that offers a wide range of tools and features for creating stunning artwork on your iPad. One of the essential functions in Procreate is the ability to merge layers, which allows you to combine multiple layers into a single layer. This can be useful for simplifying your artwork, reducing file size, or making certain adjustments to your composition. In this article, we will explore three different methods to merge layers in Procreate.
Method 1: Merge Visible Layers
The first method to merge layers in Procreate is to merge visible layers. This method allows you to merge all the layers that are currently visible on the canvas. To do this, follow these steps:
- Ensure that all the layers you want to merge are visible. You can do this by tapping on the layers tab and making sure the eye icon next to each layer is toggled on.
- Swipe right with three fingers on the canvas. This gesture will bring up a menu with various options.
- Select the “Merge Visible” option from the menu.
- Procreate will merge all the visible layers into a single layer, keeping the appearance and order intact.
Method 1 is handy when you want to merge all the visible layers quickly. However, if you only want to merge specific layers, you can use Method 2.
Method 2: Merge Selected Layers
If you want to merge specific layers in Procreate, you can use the merge selected layers method. This method gives you more control over which layers to merge. Here’s how to do it:
- Tap on the layers tab to view all the layers on the canvas.
- Swipe left with two fingers on the layer you want to merge. This action will select the layer.
- Repeat step 2 for all the layers you want to merge.
- Once you have selected all the layers, swipe right with three fingers on the canvas.
- Select the “Merge Layers” option from the menu.
- Procreate will merge the selected layers into a single layer, maintaining their order.
Method 2 is ideal when you only want to merge specific layers, allowing you to have more control over your artwork’s composition. However, if you want to simplify your artwork further, you can use Method 3.
Method 3: Flatten Image
The last method to merge layers in Procreate is to flatten the image. Flattening the image will merge all the layers into a single layer, effectively combining them into one. Here’s how you can do it:
- Tap on the layers tab to view all the layers on the canvas.
- Swipe left with three fingers on any layer to select it.
- From the pop-up menu, select the “Flatten” option.
- Procreate will flatten the image, merging all the layers into a single layer.
Method 3 is useful when you no longer need individual layers and want to simplify your artwork. However, it’s important to note that once you flatten the image, you won’t be able to edit or modify the individual layers anymore.
Troubleshooting Tips for Merging Layers
If you encounter any issues while merging layers in Procreate, here are a few troubleshooting tips:
- Make sure you are using the latest version of Procreate. Updates often include bug fixes and performance improvements.
- Check if your iPad has enough available storage. Insufficient storage can cause performance issues when working with multiple layers.
- Restart your iPad and relaunch Procreate. Sometimes, a simple restart can resolve minor glitches.
- If the problem persists, you can try exporting your artwork as a PSD file and merging the layers in another software like Adobe Photoshop.
By following these troubleshooting tips, you can overcome any potential obstacles and successfully merge layers in Procreate.
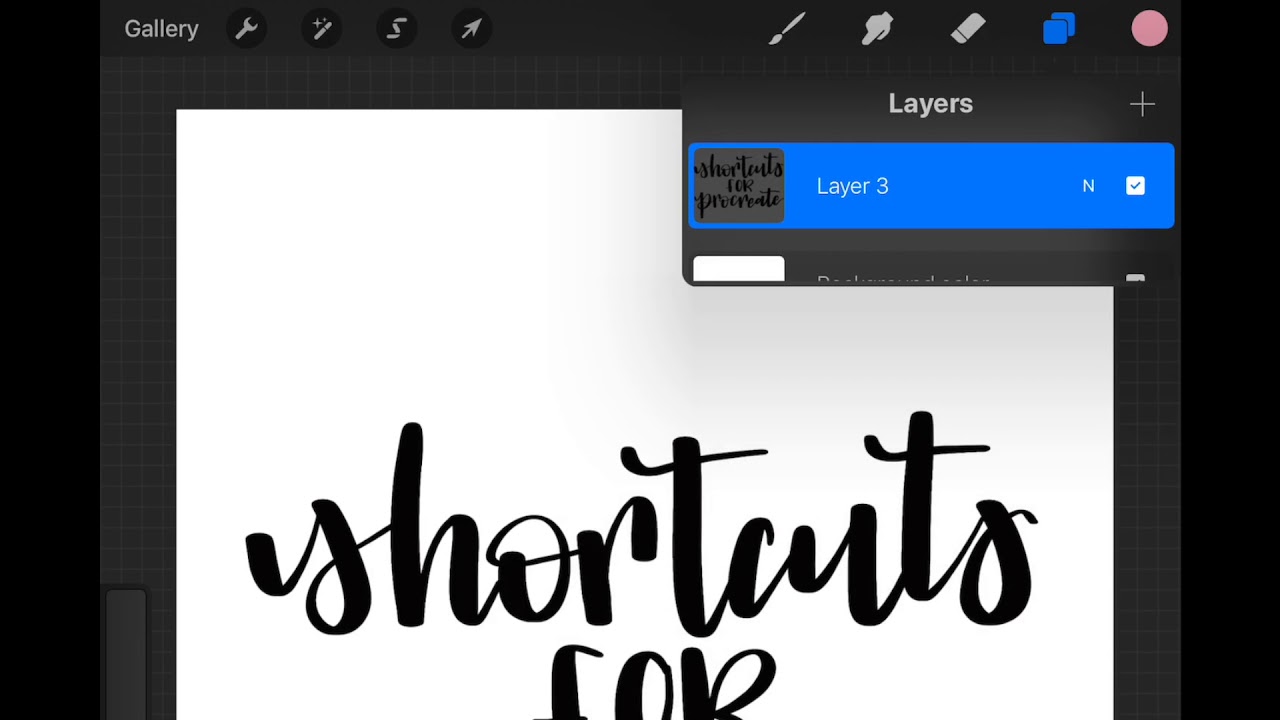
Selecting Layers
When working with multiple layers in Procreate, it’s essential to know how to select specific layers before attempting to merge them. Selecting layers allows you to choose which layers you want to merge, giving you more control over the final outcome of your artwork. Here are a few methods you can use to select layers in Procreate:
Method 1: Tap and Hold
One simple way to select a layer in Procreate is by tapping and holding on the layer thumbnail. This will highlight the layer and make it the active layer. You can tap and hold on multiple layer thumbnails to select multiple layers at once.
Method 2: Swipe
Another way to select layers is by swiping your finger across the layer thumbnails from left to right. This will select all the layers in the direction of your swipe. For example, if you swipe from left to right, all the layers on the left side will be selected.
Method 3: Using the Selection Tool
Procreate also provides a selection tool that allows you to manually draw a selection around the specific area of the layer you want to select. Simply tap on the selection tool icon in the toolbar, and then draw a selection around the desired layer.
By using these methods, you can easily select the layers you wish to merge in Procreate. Once you have selected the layers, you can proceed to merge them using the methods discussed in the following sections.
Using the Merge Down Function
Another way to merge layers in Procreate is by using the Merge Down function. This function is helpful when you have multiple layers stacked on top of each other and you want to merge them one by one.
To use the Merge Down function, follow these steps:
- Open the Layers panel by tapping on the layers icon located on the top right corner of the screen.
- Select the layer that you want to merge down.
- Swipe left on the layer thumbnail to reveal the options menu.
- Tap on the “Merge Down” option.
By using the Merge Down function, the selected layer will be merged with the one below it. This process can be repeated multiple times to merge more layers together.
It’s important to note that when using the Merge Down function, the layers above the selected layer will not be affected. Only the selected layer and the layer immediately below it will be merged.
This method of merging layers in Procreate gives you more control over the merging process, allowing you to selectively merge specific layers without affecting the rest of the artwork.
Now that you know how to use the Merge Down function, you can experiment with merging different layers in your Procreate projects. Whether you want to merge two layers or several layers, Procreate offers these merging options to help you simplify your artwork and streamline the editing process.
Merging Layers with Alpha Lock
Merging layers with alpha lock is another useful technique in Procreate. Alpha lock allows you to merge multiple layers while preserving the transparency of the merged layers. This is particularly handy when you want to apply effects or make changes to specific areas without affecting the rest of your artwork.
To merge layers with alpha lock, follow these steps:
- Select the layer you want to merge with alpha lock enabled.
- Tap on the layer to bring up the options menu.
- From the options menu, select “Alpha Lock”.
- The selected layer will now have a checkerboard pattern, indicating that it is in alpha lock mode.
- Repeat the above steps for any additional layers you want to merge.
- Once you have enabled alpha lock on all the desired layers, tap on the layers menu icon (three horizontal lines) in the top right corner.
- From the layers menu, select “Merge Down” to merge the alpha locked layers into a single layer.
By merging layers with alpha lock, you can seamlessly combine different elements while maintaining their individual transparency levels. This gives you greater flexibility when editing and manipulating your artwork, allowing you to create stunning effects and seamless compositions.
Grouping Layers and Flattening Image
Aside from merging layers in Procreate, you also have the option to group layers or flatten the image. These features can come in handy when you want to organize your artwork or simplify the layer structure.
Grouping layers allows you to group related elements together, making it easier to manage and edit them as a whole. To group layers in Procreate, follow these steps:
- Select the layers you want to group by tapping on them one by one. You can also tap and hold on a layer and then tap on the other layers to select multiple at once.
- Once the layers are selected, tap on the “Group” button located at the top of the Layers panel. It looks like a folder icon.
- The selected layers will now be grouped together, and you can expand or collapse the group by tapping on the arrow icon next to its name.
Grouping layers can help keep your artwork organized, especially when working on complex projects with multiple elements and details.
On the other hand, flattening the image combines all the visible layers into a single layer, essentially merging them permanently. This can be useful when you want to export your artwork as a flattened image file, such as JPEG or PNG.
To flatten your image in Procreate, here’s what you need to do:
- Ensure that all the layers are visible by toggling their visibility icons.
- Tap on the wrench icon at the top of the Layers panel to open the Actions menu.
- Scroll down and select the “Flatten Image” option.
- A pop-up window will appear, asking for confirmation. Tap “Flatten” to proceed.
Once you flatten the image, all the visible layers will be merged into a single layer. Keep in mind that this process is irreversible, so make sure to save a backup of your layered artwork before flattening it.
Both grouping layers and flattening images offer different benefits depending on your specific needs. Grouping layers helps you organize and manage your artwork, while flattening images simplifies the layer structure for exporting purposes.
Conclusion:
In conclusion, merging layers in Procreate is a simple yet powerful feature that allows you to combine multiple elements and create cohesive and polished artwork. By following the steps outlined in this article, you can easily merge layers and unlock a whole new level of creativity. Whether you’re a professional artist or just starting out, Procreate’s layer merging capabilities empower you to experiment, refine, and bring your artistic vision to life.
With its intuitive interface and extensive range of tools, Procreate continues to be a popular choice among digital artists and designers. By mastering the art of merging layers, you can streamline your workflow, create complex compositions, and take your artwork to the next level. So, don’t be afraid to experiment and explore the endless possibilities that merging layers in Procreate has to offer. Happy creating!
FAQs
1. What is Procreate?
Procreate is a powerful digital art app designed for mobile devices. It allows artists to create stunning artwork using various brushes and tools, making it a popular choice among illustrators, painters, and digital artists.
2. How do I merge layers in Procreate?
To merge layers in Procreate, follow these steps:
– Select the layer you want to merge by sliding your finger right on the layer thumbnail.
– Tap on the “Merge Down” option to merge the selected layer with the layer below it.
– Repeat these steps as needed to merge multiple layers together.
3. Can I undo a merge in Procreate?
Yes, you can undo a merge in Procreate. Simply tap on the “Actions” button (wrench icon) in the top toolbar, and then select “Undo” or use the two-finger swipe gesture to undo the merge operation. However, please note that the undo option may not be available if you have performed other actions or if your undo history has been cleared.
4. Are there any limitations when merging layers in Procreate?
While merging layers in Procreate is a powerful feature, there are a few limitations to keep in mind:
– Merging layers will permanently combine their content and attributes.
– Merging layers with different blending modes or opacity settings may produce unexpected results.
– Merging multiple layers can increase the complexity and file size of your artwork.
– It is recommended to duplicate your artwork or create a backup before merging layers to avoid permanent changes.
5. Can I unmerge layers in Procreate?
Unfortunately, once you have merged layers in Procreate, the merge operation is permanent, and you cannot directly unmerge them. However, you can use the “Undo” option immediately after merging or revert to a previous version of your artwork if you have saved backups. It’s always a good practice to keep regular backups to ensure you can revert changes if needed.