
Are you looking to add some flair to your artwork in Procreate? One effective way to jazz up your designs is by changing the text color. Whether you want to make your typography pop or add emphasis to certain words, changing text color can make a huge difference. Procreate, the popular digital art app, offers a wide range of tools and features, including the ability to modify and customize text. In this article, we will guide you through the process of changing text color in Procreate, providing you with step-by-step instructions and tips to help you achieve the desired effect. So, let’s dive in and explore the exciting world of text color customization in Procreate!
Inside This Article
- Choosing a Color
- Using the Color Picker
- Adjusting Brush Settings
- Applying the Text Color
- Conclusion
- FAQs
Choosing a Color
When it comes to changing text color in Procreate, one of the first steps is choosing the perfect color. The right color can make your text stand out and convey the right message. Here are a few tips to help you select the ideal color:
1. Consider the purpose: Think about the purpose of your text. Is it for emphasis, clarity, or aesthetics? For example, if you want to draw attention to important information, you might choose a bright and bold color.
2. Contrast is key: Ensure that your text color stands out from the background color. High contrast allows for better readability and legibility. If your background is dark, consider using a light color for your text, and vice versa.
3. Color theory: Familiarize yourself with color theory to understand how different colors work together. Learn about complementary colors, analogous colors, and color harmonies to create visually pleasing text combinations.
4. Consider the target audience: Take into account the preferences of your target audience. Different age groups, cultures, and industries might have specific color associations and symbolism.
5. Experiment: Don’t be afraid to experiment with different colors. Procreate offers a wide range of color options, allowing you to find the perfect shade that suits your design.
Remember, choosing the right color is essential to make your text visually appealing and impactful. So take the time to explore and find the color that fits your needs best.
Using the Color Picker
If you want to change the text color in Procreate, using the Color Picker is the way to go. The Color Picker tool allows you to select any color from the color wheel or choose a specific color value. Here’s how to use it:
1. Open the Procreate app on your device and create a new canvas or open an existing one.
2. Select the text tool by tapping on the “Aa” icon in the toolbar.
3. Type or select the text you want to change the color of.
4. Tap on the color swatch or the color preview square located in the top toolbar.
5. This will open the Color Picker. You’ll see a color wheel along with various sliders and options.
6. To choose a color from the color wheel, simply drag your finger or stylus across the wheel until you find the desired color. The selected color will be displayed in the middle of the wheel.
7. If you have a specific color value in mind, you can input the values in the fields below the color wheel. This allows for precise color selection.
8. Once you’ve selected the desired color, tap outside the Color Picker to close it.
9. Now, with the text tool still selected, tap on the text you want to change the color of.
10. You’ll notice that the selected text now appears in the chosen color.
And there you have it! You’ve successfully changed the text color using the Color Picker in Procreate. Feel free to experiment with different colors and create stunning artworks!
Adjusting Brush Settings
When it comes to changing text color in Procreate, one of the key features you can leverage is adjusting brush settings. By tweaking these settings, you can achieve the desired text color effect and make it truly unique. Here’s how you can adjust brush settings in Procreate:
1. Open the brush library by tapping on the brush icon located on the top right corner of the screen.
2. Browse through the available brush options and select the one you want to use for changing the text color.
3. Once you have chosen the brush, tap on the brush settings icon located at the top left corner of the screen. This will open the brush settings panel.
4. In the brush settings panel, you will find a wide range of options to adjust the brush settings, including the opacity, size, flow, and blending mode.
5. To change the text color, you can adjust the brush opacity and flow. Increasing the opacity will result in a more solid and vibrant color, while decreasing it will create a more transparent effect.
6. Additionally, you can experiment with different blending modes to create interesting and unique text color effects. The blending mode determines how the brush color interacts with the underlying layers.
7. Once you have made the desired adjustments, you can start applying the text color by selecting the text tool and using the brush you have customized. Simply tap on the canvas and start typing to see the text appear in the new color!
By adjusting brush settings in Procreate, you have the power to create dynamic and visually appealing text that stands out. Don’t be afraid to experiment with different settings to find the perfect color and effect that suits your artistic vision.
Applying the Text Color
Once you have chosen the desired text color and adjusted the brush settings in Procreate, it’s time to apply the color to your text. Thankfully, the process is quite simple and straightforward.
To apply the text color, start by selecting the Text tool from the toolbar. It is represented by the letter “A” in a square icon. Once you have activated the Text tool, tap anywhere on the canvas to create a text box.
Next, enter the text that you want to apply the color to. You can either type directly using the device’s keyboard or copy and paste text from another source. Adjust the font style, size, and alignment as desired.
Now, with the text highlighted, tap the “Brush” button located at the top toolbar. It looks like a paintbrush icon. This will open the Brush Studio, where you can customize the brush settings for your text.
In the Brush Studio, locate the Color tab and tap on it. Here, you will see a color wheel and sliders to fine-tune the color. You can manually input specific color values or use the color picker tool to select the color from the canvas or reference image.
Once you have selected the desired color, tap outside the Brush Studio to close it. Your text will now be filled with the chosen color.
If you want to change the text color later on, simply tap on the text layer and repeat the process. You can experiment with different colors and brush settings to create unique and eye-catching text designs in Procreate.
Remember, you can always Undo (by using the two-finger tap gesture) if you make a mistake or aren’t satisfied with the color. Procreate offers a wide range of color options and customization features to help you achieve the perfect text color for your digital artwork.
In conclusion, changing text color in Procreate is a simple and straightforward process that allows you to add a vibrant and personalized touch to your artwork. Whether you’re a professional digital artist or a beginner exploring the world of digital art, the ability to manipulate text color adds depth and visual interest to your creations.
By following the steps outlined in this article, you can easily change the text color in Procreate by selecting the desired text layer, accessing the color panel, and choosing the color that best complements your artistic vision. Experiment with different shades and hues to create stunning effects and make your text stand out.
Remember, mastering the art of changing text color in Procreate opens up a world of creative possibilities. Let your imagination run wild and create captivating artwork that truly reflects your unique style and vision.
FAQs
Q: Can I change the text color in Procreate?
A: Yes, you can change the text color in Procreate. Procreate offers a wide range of options to customize your text, including changing the color.
Q: How do I change the text color in Procreate?
A: To change the text color in Procreate, simply select the text layer you want to modify. Look for the color picker tool, usually represented by a dropper icon. Tap on it and choose your desired color from the palette or use the custom color wheel to create a unique shade. Once you’ve selected the color, it will be applied to your text immediately.
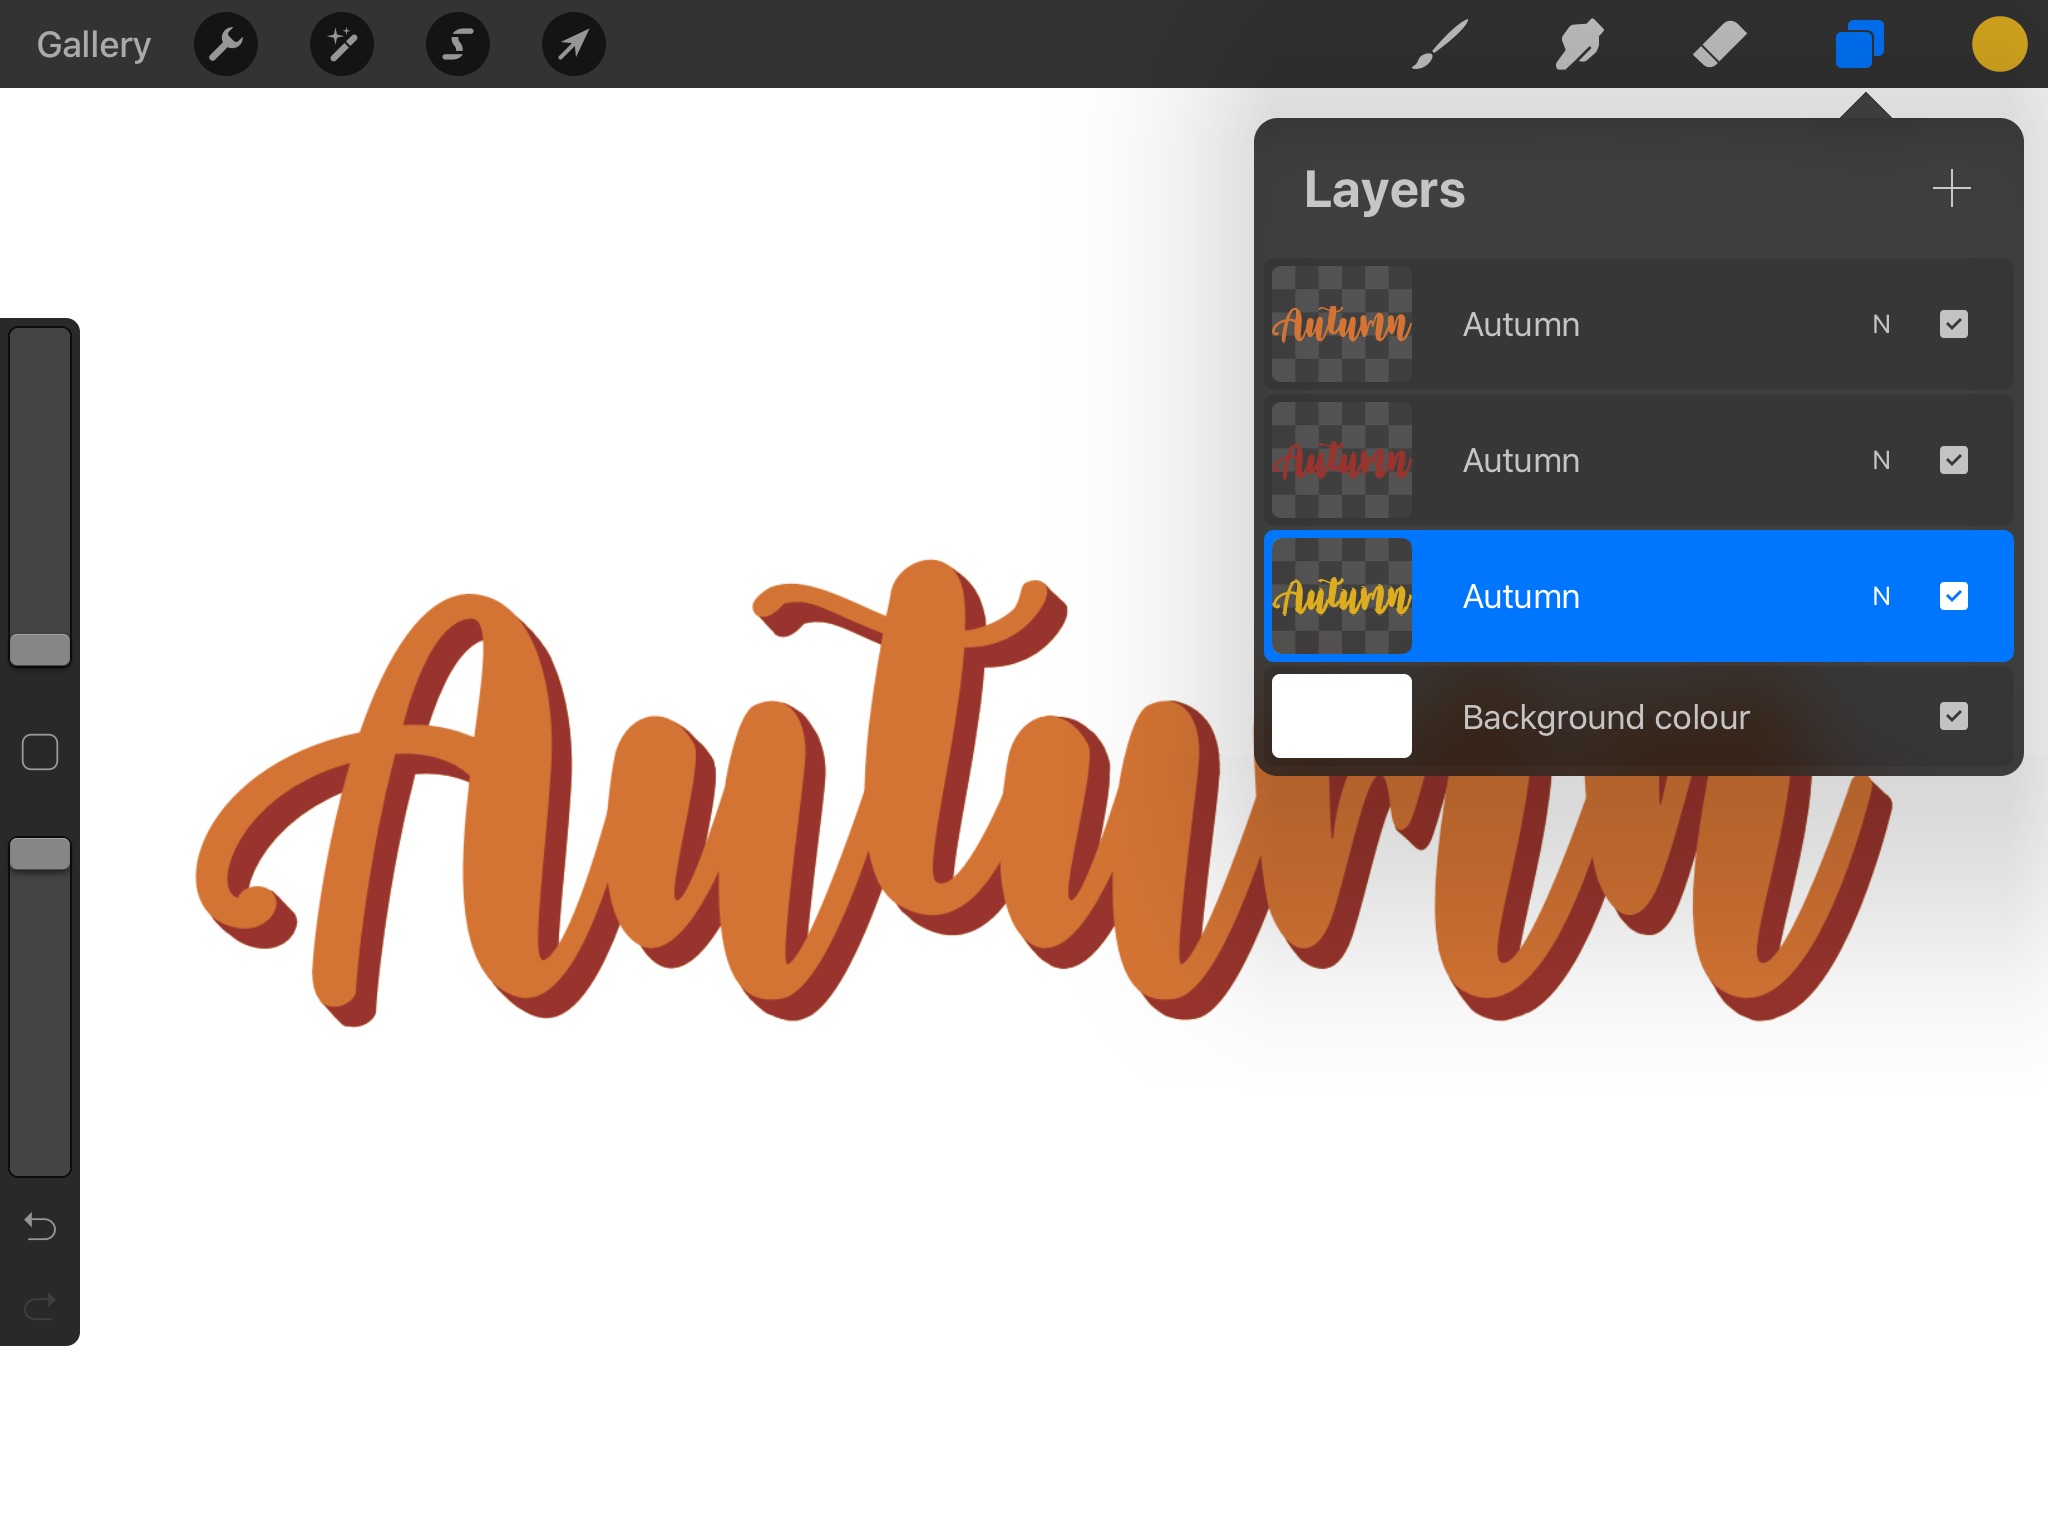
Q: Can I have different text colors within the same Procreate document?
A: Yes, you can have different text colors within the same Procreate document. Procreate allows you to create multiple text layers and customize each one individually, including the color. Therefore, you can easily have different text colors within a single document.
Q: Is it possible to change the text color after adding text in Procreate?
A: Absolutely! Procreate provides the flexibility to change the text color even after adding it to your canvas. Simply select the text layer you want to modify, access the color picker tool, and choose the desired color. The change will be immediately reflected in your text.
Q: Are there any limitations to changing the text color in Procreate?
A: While Procreate offers a wide range of color options, it’s worth noting that the final appearance of the text color can be influenced by the background color or any effects applied to the text layer. It’s recommended to experiment with different color combinations and see how they interact with other elements on your canvas to achieve the desired result.