
Are you a digital artist who loves working on Procreate on your iPad? If so, you may have encountered the challenge of transferring your Procreate files to another iPad. Whether you’ve upgraded to a new device or want to collaborate with fellow artists, knowing how to transfer your Procreate files seamlessly is essential.
In this article, we will provide you with a step-by-step guide on how to transfer Procreate files to another iPad, ensuring that your artwork remains intact and accessible. We will cover various methods, including using cloud storage services, transferring through iTunes, and utilizing third-party apps. So, whether you’re a professional artist or a hobbyist, read on to discover the best ways to transfer your Procreate files and continue creating on your new iPad.
Inside This Article
- Method 1: Using AirDrop
- Method 2: Using iCloud
- Method 3: Using iTunes
- Method 4: Using Third-Party Cloud Storage
- Conclusion
- FAQs
Method 1: Using AirDrop
If you’re looking to transfer your Procreate files to another iPad effortlessly, using AirDrop is a convenient option. AirDrop is a built-in feature available on iPhones, iPads, and Macs that allows you to wirelessly share files between devices.
To get started, ensure that both your source and destination iPads have AirDrop enabled. Simply swipe up from the bottom of the screen on each iPad to access the Control Center and tap on the AirDrop icon. Make sure it’s set to “Everyone” or “Contacts Only” depending on your preference.
Next, open Procreate on the iPad containing the files you want to transfer. Find the artwork or project you wish to share and tap on the share button, usually represented by a rectangle with an arrow pointing upward.
From the share options that appear, select AirDrop. You will see a list of nearby devices that have AirDrop enabled. Tap on the name of the target iPad to initiate the transfer.
On the receiving iPad, a notification will appear asking if you want to accept the incoming file. Tap “Accept” and wait for the transfer to complete. Once transferred, you will be able to access the Procreate file on the destination iPad.
It’s important to note that both devices need to be in close proximity for AirDrop to work effectively. Additionally, ensure that the Wi-Fi and Bluetooth functions are turned on for a seamless transfer.
AirDrop is a great option for quickly transferring Procreate files between iPads without the need for cables or additional software. It’s especially useful in situations where you want to share your artwork with collaborators or switch devices for continued work.
Method 2: Using iCloud
When it comes to transferring Procreate files to another iPad, using iCloud can be a convenient and seamless method. iCloud is Apple’s cloud storage service that allows you to store and sync your files across multiple devices.
Here’s how you can transfer your Procreate files using iCloud:
1. Ensure that both of your iPads are connected to the internet and signed in to the same iCloud account.
2. On your source iPad, open the Procreate app and locate the artwork you want to transfer.
3. Tap on the artwork to open it, and then tap on the wrench icon located at the top right corner of the screen to open the Actions menu.
4. From the Actions menu, select the “Share” option.
5. In the Share menu, choose “Save to Files”.
6. A list of file storage locations will appear. Tap on “iCloud Drive” to save the file to your iCloud storage.
7. Once the file is saved to iCloud Drive, it will be accessible from your other iPad.
8. On your destination iPad, open the Procreate app and tap on the “+” icon to create a new canvas.
9. In the new canvas screen, tap on the wrench icon and select “Import” from the Actions menu.
10. Locate and select the Procreate file you saved to iCloud Drive earlier.
11. The file will now be imported into the Procreate app on your destination iPad, and you can continue working on it.
By using iCloud to transfer your Procreate files, you can easily access your artwork from any iPad connected to your iCloud account. This method allows for a seamless transition between devices, ensuring that you can continue working on your projects without any hassle.
Method 3: Using iTunes
If you’re looking to transfer your Procreate files to another iPad, using iTunes is another reliable method. iTunes allows you to backup and restore your device, making it a convenient option for transferring your Procreate projects. Here’s how you can do it:
1. Connect your current iPad, where your Procreate files are stored, to your computer using a USB cable. Launch iTunes if it doesn’t open automatically.
2. Once your iPad is connected, click on the device icon in the iTunes interface to access its summary page.
3. In the left-hand sidebar, click on “File Sharing”.
4. You’ll see a list of apps on your iPad that support file sharing. Look for “Procreate” and click on it.
5. On the right-hand side, you’ll see a list of Procreate files. Select the files you want to transfer to your new iPad by clicking on them.
6. Click on the “Save to” button and choose a location on your computer to save the selected Procreate files.
7. Once the files are saved on your computer, disconnect your current iPad and connect your new iPad to the computer.
8. In the iTunes interface, click on the device icon again to access its summary page.
9. Navigate to the “File Sharing” section on the left-hand sidebar.
10. Select “Procreate” from the list of apps.
11. Click on the “Add File” button and choose the Procreate files that you saved earlier on your computer.
12. Wait for the files to be transferred to your new iPad. Once the transfer is complete, you can safely disconnect your new iPad from the computer.
Note: It’s important to ensure that your new iPad has Procreate installed before transferring the files. If not, you can download and install Procreate from the App Store before proceeding with the file transfer.
Method 4: Using Third-Party Cloud Storage
Another convenient way to transfer Procreate files to another iPad is by utilizing third-party cloud storage services. These services offer seamless synchronization across devices, making it easy to access your files from multiple devices. Here’s how to do it:
- Create an account with a third-party cloud storage provider such as Dropbox, Google Drive, or OneDrive.
- Install the respective app on both your old and new iPad.
- Open the Procreate app on your old iPad and find the files you want to transfer.
- Select the files and choose the option to export or share them.
- From the sharing options, select the cloud storage app you installed.
- Choose the destination folder where you want to save your Procreate files in the cloud storage.
- Wait for the files to finish uploading to the cloud.
- Once the files are uploaded, open the cloud storage app on your new iPad.
- Sign in with the same account you used on the old iPad.
- Navigate to the folder where you saved your Procreate files.
- Select the files you want to transfer and choose the option to download or save them.
- The files will be downloaded to your new iPad’s local storage, ready to be opened in the Procreate app.
Using third-party cloud storage services eliminates the need for physical transfer methods and provides a secure and convenient way to transfer Procreate files between iPads. It also allows you to access your files from anywhere, making it ideal for artists who frequently switch devices or work on the go.
Conclusion
Transferring Procreate files to another iPad is a simple and straightforward process that allows you to seamlessly continue your creative projects on a different device. Whether you’re upgrading to a new iPad or sharing your work with a collaborator, following the steps outlined in this guide will ensure a smooth transfer of your Procreate files.
By using iCloud, iTunes, or third-party cloud storage services, you can easily backup and restore your Procreate files, preserving all your hard work and artistic endeavors. Remember to always keep your files organized and backed up to avoid any data loss.
Now that you have learned how to transfer Procreate files to another iPad, you can confidently explore new creative possibilities and take your artwork with you wherever you go. So go ahead, unleash your creativity, and continue crafting masterpieces on your new iPad. Happy creating!
FAQs
1. Can I transfer Procreate files to another iPad?
Yes, you can transfer Procreate files to another iPad. Procreate allows you to export and import your artwork files easily using various methods. Whether you want to transfer your artwork to a new iPad or share it with someone else, Procreate provides multiple options to ensure a seamless transfer.
2. How can I transfer Procreate files between iPads?
There are a few ways to transfer Procreate files between iPads. One method is using the built-in share/export options within Procreate. You can export your artwork as a Procreate file or as an image file (JPEG, PNG, etc.) and then transfer it to the other iPad via AirDrop, email, or cloud storage services like iCloud, Google Drive, or Dropbox. Alternatively, you can also use a USB cable and a computer to transfer the files.
3. Can I transfer Procreate files without losing layers and quality?
Yes, when you export a Procreate file, it retains all the layers and quality of your artwork by default. Procreate files (with the extension .procreate) store all the layers, effects, and other elements of your artwork, allowing you to transfer them seamlessly to another iPad without any loss of data or quality.
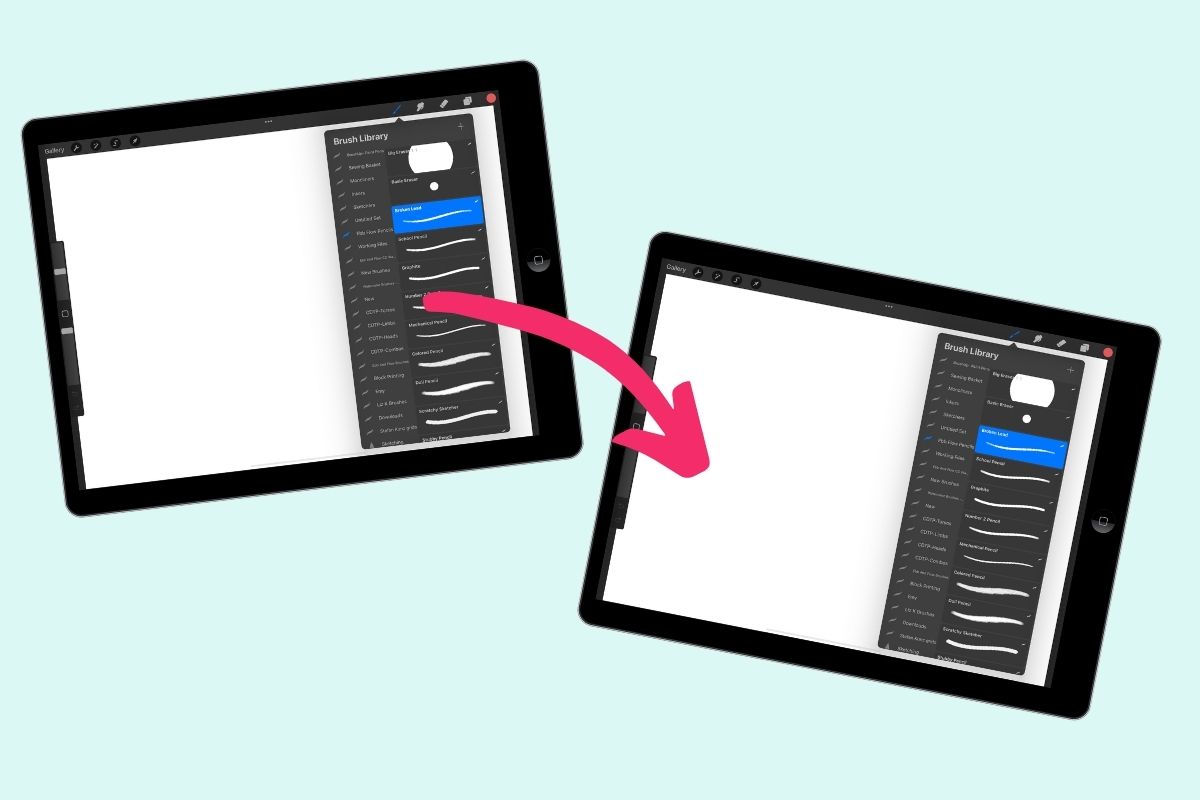
4. Can I transfer Procreate brushes and customizations to another iPad?
Yes, you can transfer Procreate brushes and customizations to another iPad. Procreate allows you to export and import individual brushes or brush sets, making it easy to transfer your customized brushes and settings to another device. You can export your brushes as a .brush or .brushset file and then import them on the other iPad using the import function in Procreate.
5. Do I need an internet connection to transfer Procreate files between iPads?
No, you don’t necessarily need an internet connection to transfer Procreate files between iPads. While some methods like AirDrop and cloud storage services require an internet connection, you can also transfer files using a USB cable and a computer without needing an internet connection. This can be useful if you want to transfer large Procreate files quickly or if you are in an area with limited or no internet access.