
Changing your phone number on Uber is a simple process that can be completed in just a few steps. Whether you've switched to a new number or need to update your contact information, Uber makes it easy to ensure that your account reflects the correct details. In this article, we'll guide you through the process of changing your phone number on Uber, providing clear and concise instructions to help you update your information seamlessly. With our step-by-step guidance, you'll be able to navigate the Uber app with confidence and make the necessary changes to your phone number without any hassle. Let's dive in and explore the straightforward process of updating your phone number on Uber, ensuring that your account remains up to date and accessible whenever you need it.
Inside This Article
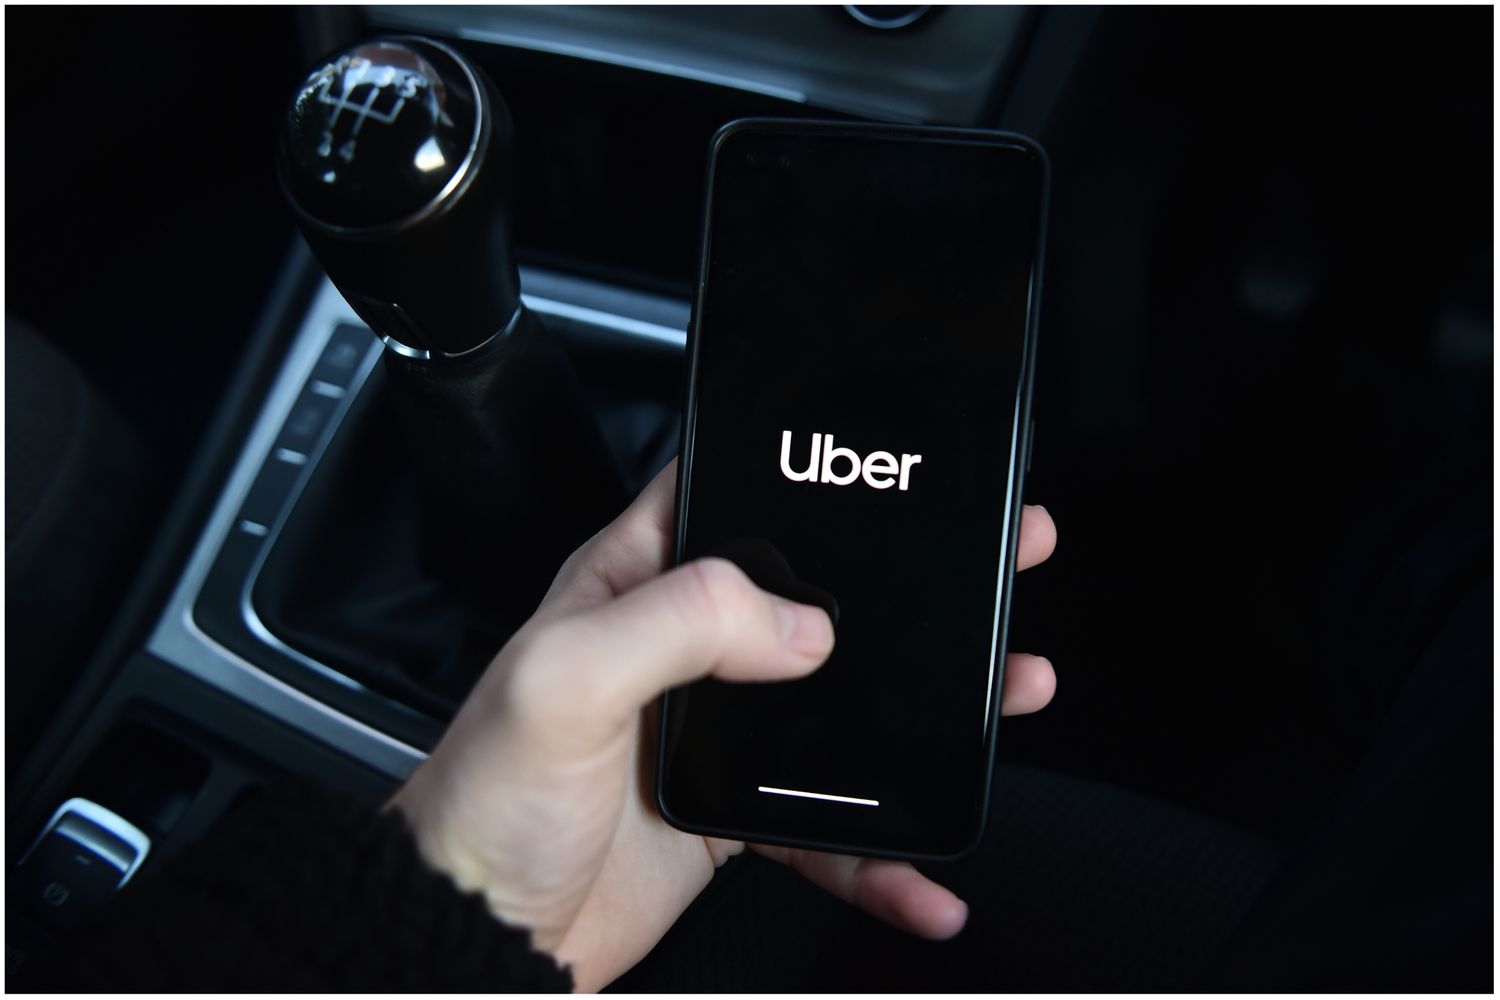
- Step 1: Open the Uber app
- Step 2: Go to the menu
- Step 3: Select "Settings"
- Step 4: Tap on "Edit account"
- Step 5: Update your phone number
- Step 6: Verify the new phone number
- Conclusion
- FAQs
Step 1: Open the Uber app
To change your phone number on Uber, the first step is to open the Uber app on your mobile device. Whether you're using an Android or iOS device, the process is quite straightforward. Here's a detailed guide on how to open the Uber app and initiate the process of updating your phone number.
For Android Users:
-
Locate the Uber App Icon: Look for the Uber icon on your home screen or in the app drawer. It's recognizable by the stylized "U" logo in white and black.
-
Tap the Uber Icon: Once you've located the Uber app, tap on the icon to launch the application.
-
Sign In (if necessary): If you're not already signed in, you'll need to enter your login credentials, including your email address or phone number and your password.
-
Grant Necessary Permissions: Upon opening the app for the first time or after an update, you may be prompted to grant certain permissions, such as access to your location. It's essential to allow these permissions to ensure the app functions correctly.
For iOS Users:
-
Find the Uber App: Navigate to your home screen and locate the Uber app. The icon features the distinctive "U" logo in white and black.
-
Launch the Uber App: Tap on the Uber icon to open the app.
-
Sign In (if required): If you're not already signed in, you'll be prompted to enter your login details, such as your email address or phone number and your password.
-
Authorize Necessary Permissions: After launching the app for the first time or following an update, you may receive prompts requesting permissions, such as access to your location. It's important to grant these permissions to ensure the app operates smoothly.
Once you've successfully opened the Uber app and signed in, you're ready to proceed to the next step in the process of changing your phone number on Uber.
By following these simple steps, you can easily open the Uber app on your Android or iOS device and begin the process of updating your phone number, ensuring that your account information is accurate and up to date.
Step 2: Go to the menu
After successfully opening the Uber app on your mobile device, the next step in changing your phone number involves navigating to the menu within the app. The menu is a pivotal hub where you can access various settings and account-related options. Here's a detailed guide on how to locate the menu within the Uber app, tailored for both Android and iOS users.
For Android Users:
-
Locate the Menu Icon: Upon opening the Uber app, you'll typically find the menu icon represented by three horizontal lines or dots, often positioned in the top-left or top-right corner of the screen. It's designed to be easily recognizable and accessible.
-
Tap the Menu Icon: Once you've identified the menu icon, tap on it to unveil the menu options. This action will open up a panel displaying a range of choices, including settings, payment methods, ride history, and more.
-
Navigate to the Settings: Within the menu panel, scroll through the options until you spot "Settings." Tap on this selection to proceed to the next stage of updating your phone number.
For iOS Users:
-
Access the Menu: Upon launching the Uber app, the menu can typically be found by tapping on the icon featuring three horizontal lines or dots. This icon is commonly situated in the top-left or top-right corner of the screen, providing easy access to the menu options.
-
Tap the Menu Icon: Once you've located the menu icon, tap on it to reveal the menu interface. This will present you with a variety of choices, including settings, payment details, ride history, and more.
-
Select "Settings": Within the menu interface, scroll through the available options until you come across "Settings." Tap on this selection to progress to the next phase of updating your phone number.
By following these tailored instructions, you can effectively navigate to the menu within the Uber app, regardless of whether you're using an Android or iOS device. This sets the stage for the subsequent steps in the process of changing your phone number on Uber, ensuring that your account information remains accurate and up to date.
Navigating to the menu is a crucial initial step in the process of updating your phone number on Uber. It serves as a gateway to accessing the settings and account-related features essential for managing your personal information within the app. With this step completed, you're now ready to proceed to the subsequent stages, bringing you closer to successfully updating your phone number on Uber.
Step 3: Select "Settings"
Once you have successfully accessed the menu within the Uber app, the next pivotal step in the process of changing your phone number involves selecting the "Settings" option. This step is crucial as it directs you to the specific area where you can manage and update your account details, including your phone number. Here's a detailed guide on how to navigate to the "Settings" section within the Uber app, tailored for both Android and iOS users.
For Android Users:
-
Locate the Settings Option: After accessing the menu, you'll find the "Settings" option among the list of choices available. It is typically positioned within the menu panel, and you can identify it by scrolling through the options or using the search feature if available.
-
Tap on "Settings": Once you've located the "Settings" option, tap on it to access the settings interface. This action will direct you to a screen where you can manage various aspects of your Uber account, including personal information, privacy settings, and security features.
For iOS Users:
-
Access the Settings Section: Within the menu interface, you can find the "Settings" option listed among the available choices. It is usually positioned within the menu panel, and you can navigate to it by scrolling through the options or using any search functionality provided.
-
Select "Settings": Upon locating the "Settings" option, tap on it to enter the settings interface. This will lead you to a screen where you can modify and customize different settings associated with your Uber account, ensuring that your account information is accurate and up to date.
By following these tailored instructions, you can effectively navigate to the "Settings" section within the Uber app, regardless of whether you're using an Android or iOS device. This step serves as a crucial gateway to accessing the specific settings related to your account, setting the stage for the subsequent stages in the process of updating your phone number on Uber.
Selecting "Settings" is a pivotal step that brings you closer to successfully updating your phone number on Uber. It provides access to the interface where you can manage and modify various account details, ensuring that your personal information is kept current and accurate within the app. With this step completed, you're now prepared to proceed to the subsequent stages, ultimately enabling you to update your phone number seamlessly within the Uber platform.
Step 4: Tap on "Edit account"
After accessing the "Settings" section within the Uber app, the next crucial step in the process of changing your phone number involves tapping on the "Edit account" option. This action directs you to the specific interface where you can modify and update your account details, including the phone number associated with your Uber profile.
For Android Users:
Upon entering the "Settings" interface, you'll typically find the "Edit account" option listed among the available choices. It is strategically positioned within the settings panel, often accompanied by an icon or label for easy identification. By tapping on "Edit account," you initiate the process of accessing and modifying your account information, paving the way for updating your phone number seamlessly.
For iOS Users:
Similarly, within the "Settings" interface, the "Edit account" option is presented among the list of available selections. It is conveniently located within the settings panel, allowing you to access it with a simple tap. By selecting "Edit account," you gain entry to the interface where you can make adjustments to your account details, including the essential task of updating your phone number.
By tapping on "Edit account," you are one step closer to successfully updating your phone number on Uber. This action serves as the gateway to the interface where you can manage and modify various account details, ensuring that your personal information is accurate and up to date within the app. With this step completed, you're now prepared to proceed to the subsequent stages, ultimately enabling you to update your phone number seamlessly within the Uber platform.
This pivotal step sets the stage for the final phases of the process, bringing you closer to ensuring that your Uber account reflects the most current and accurate contact information. With the "Edit account" option accessed, you're now ready to proceed to the subsequent steps, ultimately enabling you to update your phone number seamlessly within the Uber platform.
By following these tailored instructions, you can effectively tap on "Edit account" within the Uber app, regardless of whether you're using an Android or iOS device. This step serves as a crucial gateway to accessing the specific interface where you can manage and modify various account details, ensuring that your personal information is kept current and accurate within the app.
Step 5: Update your phone number
Once you have accessed the "Edit account" section within the Uber app, the pivotal step of updating your phone number comes into play. This step is crucial as it allows you to input your new phone number, ensuring that your Uber account reflects the most current and accurate contact information. Here's a detailed guide on how to effectively update your phone number within the Uber app, tailored for both Android and iOS users.
For Android Users:
Upon tapping on "Edit account," you will be directed to an interface where you can modify various account details, including the phone number associated with your Uber profile. Here's how you can proceed to update your phone number:
-
Locate the Phone Number Field: Within the "Edit account" interface, you will find the existing phone number displayed. Tap on this field to initiate the process of updating your phone number.
-
Input the New Phone Number: Once you have selected the phone number field, enter your new phone number using the on-screen keyboard. Ensure that the new number is accurate and up to date.
-
Save the Changes: After entering the new phone number, look for the "Save" or "Update" option within the interface. Tap on this selection to confirm and save the changes made to your phone number.
For iOS Users:
Similarly, upon accessing the "Edit account" interface, you will encounter the section where you can modify your account details, including the phone number linked to your Uber profile. Here's how you can proceed to update your phone number:
-
Locate the Phone Number Field: Within the "Edit account" interface, you will find the current phone number displayed. Tap on this field to commence the process of updating your phone number.
-
Enter the New Phone Number: Once you have selected the phone number field, input your new phone number using the on-screen keyboard. It's essential to ensure that the new number is entered accurately.
-
Save the Changes: After inputting the new phone number, locate the "Save" or "Update" option within the interface. Tap on this choice to confirm and save the changes made to your phone number.
By following these tailored instructions, you can effectively update your phone number within the Uber app, regardless of whether you're using an Android or iOS device. This step is pivotal as it ensures that your account information is accurate and up to date, reflecting your current contact details. With this step completed, you're now prepared to proceed to the final stage of the process, ultimately enabling you to seamlessly update your phone number within the Uber platform.
Updating your phone number within the Uber app is a straightforward yet essential task, ensuring that your account reflects the most accurate and current contact information. By following the outlined steps, you can seamlessly update your phone number, enhancing the overall accuracy and reliability of your Uber account. With the new phone number successfully inputted and saved, you can proceed to the final step of verifying the updated phone number, ultimately ensuring a seamless transition to your new contact information within the Uber platform.
Step 6: Verify the new phone number
After updating your phone number within the Uber app, the final and critical step involves verifying the new phone number. This verification process ensures that the updated contact information is accurate and functional, allowing Uber to maintain seamless communication with you. Verifying your new phone number is essential for confirming the validity of the updated details and ensuring that you can receive important notifications, ride updates, and account-related communications. Here's a detailed guide on how to effectively verify your new phone number within the Uber app, tailored for both Android and iOS users.
For Android Users:
Upon updating your phone number, you will typically be prompted to verify the new number through a verification code sent via SMS or a verification link delivered to the updated phone number. Here's how you can proceed with the verification process:
-
Check for the Verification Code: After updating your phone number, navigate to your messaging app to check for the verification code sent by Uber. The code is usually a numerical sequence that you'll need to input within the Uber app to complete the verification process.
-
Enter the Verification Code: Once you've located the verification code, return to the Uber app and input the code within the designated verification interface. This step confirms the association of the new phone number with your Uber account.
-
Confirmation of Verification: Upon entering the verification code, you should receive a confirmation message indicating that your new phone number has been successfully verified. This confirmation ensures that your updated contact information is now officially linked to your Uber account.
For iOS Users:
Similar to the process for Android users, the verification of the new phone number on iOS devices typically involves the receipt and input of a verification code. Here's how you can proceed with the verification process on iOS:
-
Check for the Verification Code: Following the update of your phone number, access your messaging app to retrieve the verification code sent by Uber. The code is essential for confirming the association of the new phone number with your Uber account.
-
Input the Verification Code: Return to the Uber app and input the verification code within the provided interface. This action validates the new phone number and completes the verification process.
-
Confirmation of Verification: Upon successfully entering the verification code, you should receive a confirmation message indicating that your new phone number has been verified. This confirmation serves as validation that your updated contact information is now officially linked to your Uber account.
By following these tailored instructions, you can effectively verify your new phone number within the Uber app, regardless of whether you're using an Android or iOS device. This final step ensures that your updated contact information is officially confirmed and linked to your Uber account, allowing for seamless communication and reliable access to Uber's services.
Verifying the new phone number is a crucial final step that solidifies the accuracy and functionality of the updated contact information within the Uber app. With the new phone number successfully verified, you can rest assured that your Uber account reflects the most current and accurate details, enabling you to seamlessly engage with Uber's platform and services using your updated contact information.
In conclusion, changing your phone number on Uber is a straightforward process that can be completed within the app. By following the simple steps outlined in this article, you can ensure that your Uber account is updated with your current phone number, allowing for seamless communication and access to the platform's services. Keeping your contact information up to date is essential for a smooth and secure Uber experience. Whether you've switched to a new phone or simply need to update your contact details, Uber's user-friendly interface makes it easy to manage your account settings. With these steps, you can confidently navigate the process of changing your phone number on Uber, ensuring that you stay connected and informed while using the platform.
FAQs
-
How can I change my phone number on Uber?
- To change your phone number on Uber, open the Uber app and tap on the menu icon in the top left corner. Then, select "Settings" followed by "Edit account" to update your phone number.
-
Why do I need to update my phone number on Uber?
- Updating your phone number on Uber is important for security and communication purposes. It ensures that you receive important notifications and can be reached by your driver or Uber support if needed.
-
Will changing my phone number affect my Uber account?
- Changing your phone number on Uber will not affect your account negatively. However, it's essential to ensure that the new phone number is accurate and accessible to avoid any inconvenience during rides or account verification.
-
Can I use a different phone number for Uber than the one registered with my mobile carrier?
- Yes, you can use a different phone number for Uber than the one registered with your mobile carrier. Uber allows users to update their contact information within the app, providing flexibility for users with multiple phone numbers.
-
What should I do if I encounter issues while changing my phone number on Uber?
- If you encounter any issues while changing your phone number on Uber, you can reach out to Uber support for assistance. They can guide you through the process and help resolve any technical difficulties you may encounter.