
Sure, here's the introduction wrapped in a `
` tag:
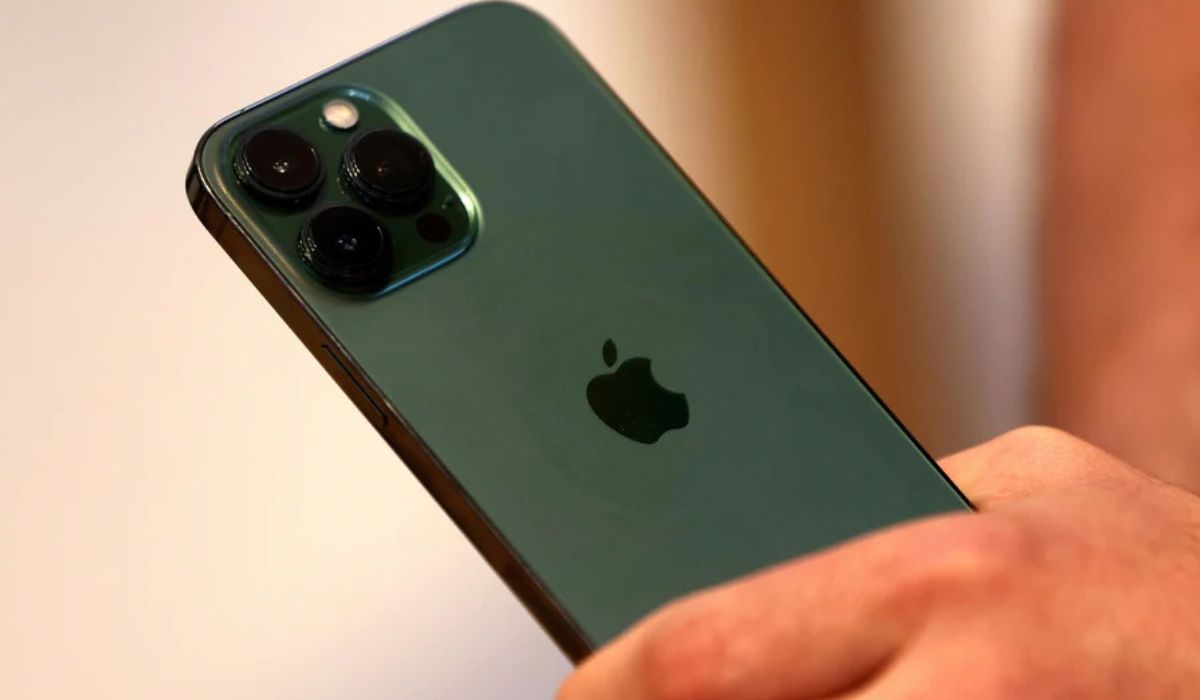
So, you just got your hands on the impressive iPhone 13 Pro Max, and now you’re wondering, “How do I take a screenshot on my iPhone 13 Pro Max?” Well, you’re in the right place! Capturing what’s on your screen is a handy feature, whether you want to save a memorable conversation, share a funny meme, or simply document important information. In this article, we’ll explore the simple steps to take a screenshot on your iPhone 13 Pro Max, along with some additional tips and tricks to make the most of this feature. Let’s dive in and uncover the magic of capturing your screen on the latest iPhone model!
Inside This Article
- Using the Side Button and Volume Up Button
- Using AssistiveTouch
- Using the Markup Tool
- Using the Timer for a Delayed Screenshot
- Conclusion
- FAQs
Using the Side Button and Volume Up Button
Taking a screenshot on your iPhone 13 Pro Max is a breeze with the simple and intuitive method of using the side button and volume up button. Whether you want to capture a funny text conversation, save an important email, or document a memorable moment in a game, this method allows you to do so effortlessly.
To take a screenshot using this method, simply locate the side button and the volume up button on your iPhone 13 Pro Max. Once you have the content you want to capture on your screen, press the side button and the volume up button simultaneously. You’ll hear a satisfying camera shutter sound, and the screen will flash white briefly, indicating that the screenshot has been successfully taken.
After taking the screenshot, a thumbnail of the captured image will appear in the lower-left corner of the screen. You can tap on the thumbnail to instantly edit or markup the screenshot, or swipe it away to save it to your Photos app. It’s quick, convenient, and a fantastic way to capture and share moments on your iPhone 13 Pro Max.
Using AssistiveTouch
Another method to take a screenshot on your iPhone 13 Pro Max is by using AssistiveTouch, which is a useful accessibility feature designed to assist users in navigating their devices. Here’s how to take a screenshot using AssistiveTouch:
1. Enable AssistiveTouch in the Accessibility settings of your iPhone. Go to Settings, then Accessibility, and tap on Touch. From there, you can turn on AssistiveTouch.
2. Once AssistiveTouch is activated, a small floating button will appear on your screen. Tap the AssistiveTouch button to open the menu.
3. In the AssistiveTouch menu, select “Device” and then tap “More.” Next, tap “Screenshot” to capture the screen.
Using AssistiveTouch to take a screenshot provides an alternative method for individuals who may have difficulty using physical buttons or prefer a more accessible option. It’s a convenient feature that adds flexibility to the screenshot-taking process on your iPhone 13 Pro Max.
Using the Markup Tool
Once you’ve captured a screenshot on your iPhone 13 Pro Max, you can take advantage of the Markup tool to add annotations, highlights, or other visual elements to the image. This feature allows you to personalize your screenshots before sharing them with others.
To access the Markup tool after taking a screenshot, simply tap the preview of the screenshot that appears in the bottom-left corner of the screen. This will open the screenshot in the Markup editor, where you can use various tools to enhance the image.
Within the Markup editor, you can utilize a range of options, including the pen tool for freehand drawing, the highlighter tool for emphasizing specific areas, the text tool for adding annotations, and the magnifier tool for zooming in on particular details within the screenshot.
Furthermore, the Markup tool provides the flexibility to choose different colors and line thicknesses, enabling you to customize your annotations according to your preferences. Once you’re satisfied with the changes, you can easily save or share the edited screenshot directly from the Markup editor.
Using the Timer for a Delayed Screenshot
Did you know that you can also take a delayed screenshot on your iPhone 13 Pro Max? This feature comes in handy when you need to set up a specific screen or menu before capturing the image. Whether you want to capture a drop-down menu, a pop-up notification, or a specific moment within an app, the delayed screenshot function allows you to prepare the screen before the image is taken.
To use this feature, open the screen that you want to capture and ensure that everything is set up as you want it to appear in the screenshot. Then, navigate to the Timer option, located at the top of the screen, and select the desired delay time. Once the timer is set, press the shutter button. You will see a countdown on the screen, giving you time to set up the perfect shot before the screenshot is taken.
This functionality is particularly useful for capturing dynamic content or elements that require precise timing. Whether you’re showcasing a specific in-app feature, capturing a fleeting moment in a game, or documenting a time-sensitive notification, the delayed screenshot feature on the iPhone 13 Pro Max empowers you to capture the perfect image with ease.
Conclusion
Learning how to take a screenshot on your iPhone 13 Pro Max is a simple yet essential skill that can greatly enhance your user experience. Whether you’re capturing memorable moments, saving important information, or troubleshooting issues, the ability to capture your screen effortlessly can be incredibly valuable. With the combination of the side button and volume up button, you can quickly and conveniently capture and share whatever is on your screen. This feature not only adds convenience to your daily usage but also opens up a world of possibilities for sharing, communication, and creative expression. Mastering this fundamental function empowers you to make the most of your iPhone 13 Pro Max and all the incredible features it offers.
FAQs
Q: How do I take a screenshot on my iPhone 13 Pro Max?
A: To take a screenshot on your iPhone 13 Pro Max, simultaneously press the side button and the volume up button. You'll hear a camera shutter sound, and the screenshot preview will appear at the bottom left of the screen. You can then edit or share the screenshot as needed.
Q: Can I take a screenshot of a specific portion of the screen on my iPhone 13 Pro Max?
A: Yes, you can take a screenshot of a specific portion of the screen by using the Markup tool. After taking a screenshot, tap the preview at the bottom left of the screen, then select "Full Page" or "Screen" to capture the entire screen or a specific portion. You can then use the Markup tool to crop the screenshot as desired.
Q: Where can I find my screenshots on my iPhone 13 Pro Max?
A: Your screenshots are automatically saved to the Photos app. Simply open the Photos app and navigate to the "Screenshots" album to access all your captured screenshots.
Q: Can I take a screenshot if my iPhone 13 Pro Max's volume buttons are not working?
A: If your iPhone 13 Pro Max's volume buttons are not functional, you can take a screenshot using AssistiveTouch. Simply enable AssistiveTouch in the Accessibility settings, then use the on-screen AssistiveTouch menu to take a screenshot.
Q: How can I share a screenshot from my iPhone 13 Pro Max?
A: After capturing a screenshot, tap the preview at the bottom left of the screen to access sharing options. From there, you can share the screenshot via Messages, Mail, AirDrop, or any other compatible app.