
Are you having trouble with your iPhone 13 and need to put it into DFU (Device Firmware Update) mode? Don’t worry, we’ve got you covered! Putting your iPhone into DFU mode can be a useful troubleshooting step when your device is experiencing issues such as software glitches or connectivity problems. It allows you to manually update or restore your iPhone’s firmware using iTunes or Finder on a Mac. In this article, we will guide you through the process of putting your iPhone 13 into DFU mode, step-by-step. Whether you’re a techie or a novice, you’ll find our instructions easy to follow. So, grab your iPhone 13 and let’s dive into the world of DFU mode and its benefits!
Inside This Article
- Overview
- What is DFU Mode?
- Why Would You Need to Put iPhone 13 into DFU Mode?
- Steps to Put iPhone 13 into DFU Mode
- Conclusion
- FAQs
Overview
DFU Mode, short for Device Firmware Upgrade Mode, is a troubleshooting state that allows you to update or restore the firmware on your iPhone 13. This mode bypasses the device’s bootloader, making it useful in situations such as when your iPhone is stuck on the Apple logo, experiencing software glitches, or unable to restore through normal means. In DFU Mode, the device can communicate with iTunes or Finder on your computer, enabling you to restore or install a custom firmware.
However, it’s crucial to note that entering DFU Mode should be done with caution, as improper use or incorrect steps can potentially result in data loss or damage to your device. Therefore, it’s essential to follow the proper guidelines and instructions to ensure a seamless transition into DFU Mode.
In this article, we will guide you through the process of putting your iPhone 13 into DFU Mode, step by step. We’ll also provide tips and precautions to help you prepare and safely exit DFU Mode. Let’s dive in!
What is DFU Mode?
DFU mode, which stands for Device Firmware Update mode, is a powerful feature on iPhone that allows you to restore your device to a previous firmware version. It is a deeper level of recovery mode and offers more control over the firmware installation process. DFU mode can be used to fix major software issues, bypass security restrictions, or jailbreak your iPhone.
Unlike recovery mode, DFU mode bypasses the bootloader and allows you to directly communicate with the firmware on your iPhone. This mode is often used by advanced users and developers to install unsigned firmware, downgrade to an earlier iOS version, or troubleshoot persistent software glitches.
DFU mode is particularly useful when you are facing issues that cannot be resolved by restoring your device through iTunes or performing a normal restart. It allows you to perform a clean installation of the firmware, eliminating any potential software conflicts or corrupt system files that may be causing problems.
It’s important to note that entering DFU mode should not be taken lightly, as it can potentially erase all data on your device. Therefore, it is crucial to back up your iPhone before attempting to enter DFU mode or make any changes to the firmware.
Now that we understand the basics of DFU mode, let’s dive into the preparation steps necessary to enter DFU mode on the iPhone 13.
Why Would You Need to Put iPhone 13 into DFU Mode?
DFU (Device Firmware Update) Mode is a powerful tool that can be used to troubleshoot various issues with your iPhone 13. There are several reasons why you might need to put your iPhone 13 into DFU Mode, including:
- Software issues: If your iPhone 13 is experiencing frequent crashes, freezing, or unresponsive behavior, putting it into DFU Mode can help resolve these issues by allowing you to reinstall the operating system.
- Failed software update: If a software update fails to install on your iPhone 13, putting it into DFU Mode can help restore the device to a working state.
- Screen or display problems: If you’re encountering issues with your iPhone 13’s screen, such as a black screen, flickering, or unresponsive touch, DFU Mode can help troubleshoot and potentially fix these problems.
- Recovery from a failed jailbreak: If you have attempted to jailbreak your iPhone 13 and something went wrong, putting it into DFU Mode can assist in recovering your device and restoring it to its original state.
- Unlocking a disabled iPhone: If your iPhone 13 becomes disabled or locked due to multiple incorrect passcode attempts, DFU Mode can be utilized to restore the device without losing your data.
It’s important to note that putting your iPhone 13 into DFU Mode should be done as a last resort, as it erases all data on the device. Therefore, it’s recommended to backup your iPhone before proceeding with DFU Mode.
Steps to Put iPhone 13 into DFU Mode
If you’re experiencing issues with your iPhone 13 and need to troubleshoot or restore the device, putting it into DFU (Device Firmware Update) mode can be a helpful solution. DFU mode allows you to make low-level changes to your iPhone’s software, giving you the ability to restore the device or install custom firmware. Follow the steps below to put your iPhone 13 into DFU mode:
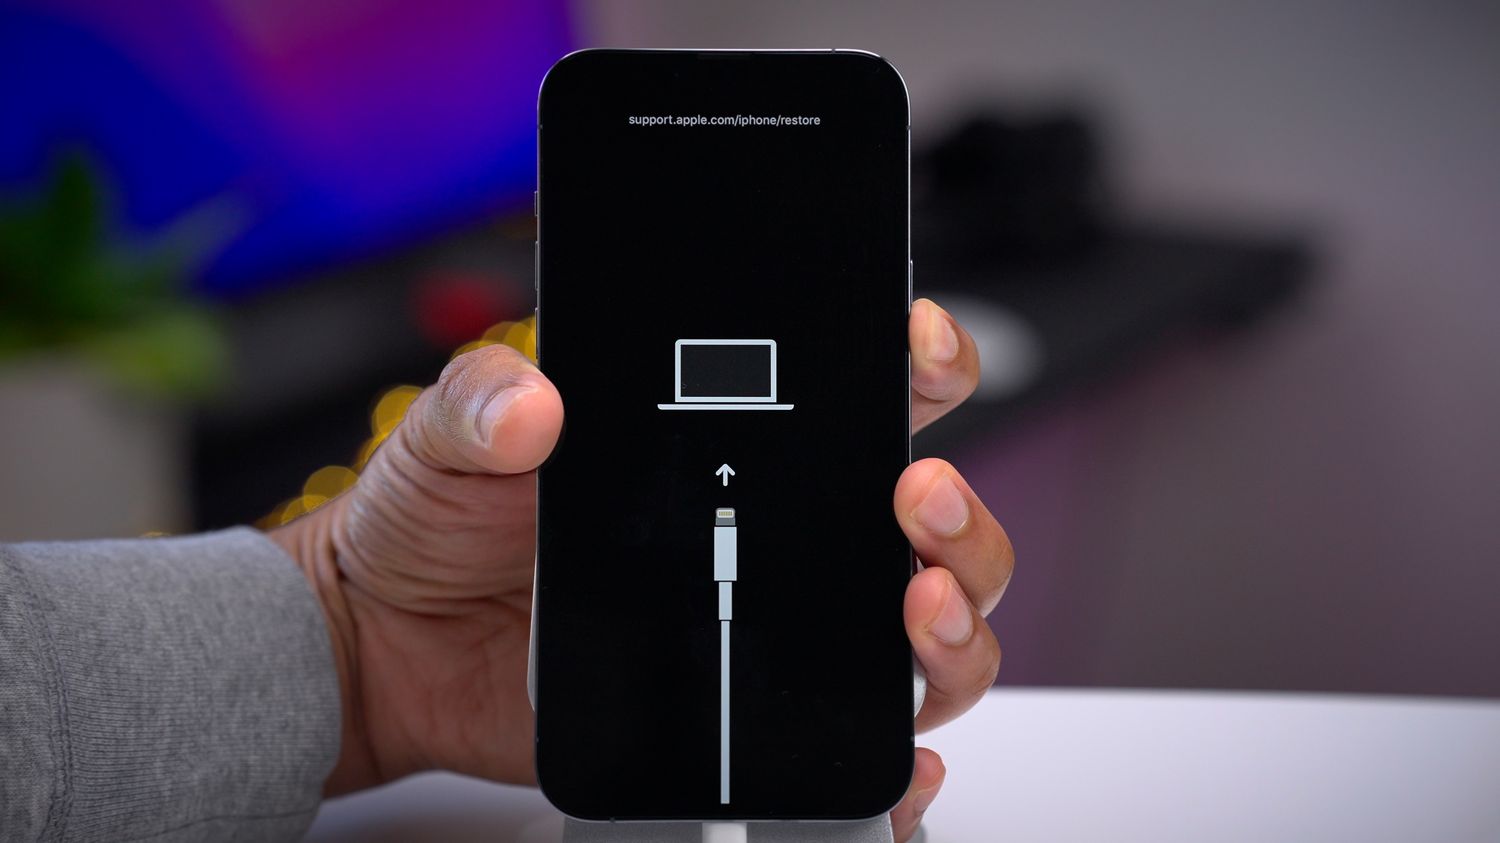
- Connect your iPhone 13 to a computer: Start by connecting your iPhone 13 to a computer using a compatible USB cable. Make sure to properly connect both ends of the cable to avoid any connection issues during the process.
- Launch iTunes or Finder: Depending on your computer’s operating system, you’ll need to open either iTunes (for Windows) or Finder (for macOS) to proceed.
- Force restart your iPhone 13: To force restart your iPhone 13, press and quickly release the volume up button, then press and quickly release the volume down button. Finally, press and hold the side button until the Apple logo appears on the screen.
- Enter DFU mode: After force restarting your iPhone 13, immediately press and hold the volume down button alongside the side button for about 5 seconds. Release the side button while continuing to hold the volume down button for an additional 5 seconds.
- Check for DFU mode: If you’ve successfully entered DFU mode, your iPhone 13’s screen should remain black and no logos or messages will be displayed. However, on some iPhone models, the screen might turn completely off.
You have now successfully put your iPhone 13 into DFU mode! You can now proceed with either restoring your device using iTunes or Finder, or installing custom firmware, depending on your needs.
It’s important to note that entering DFU mode should be done with caution, as it can result in data loss or potential software issues. Make sure to backup your iPhone 13 before attempting to enter DFU mode, and only use it when necessary or when instructed by Apple Support or professional technicians.
Conclusion
In conclusion, putting your iPhone 13 into DFU mode can be a useful troubleshooting technique when you encounter software issues or need to restore your device. DFU mode allows you to have greater control over the software aspects of your iPhone, making it easier to resolve stubborn problems.
By following the step-by-step guide provided in this article, you should now have a clear understanding of how to put your iPhone 13 into DFU mode. Remember to backup your data before attempting this method, as it will erase all the content on your device.
If you find yourself in a situation where your iPhone is unresponsive or experiencing software glitches, giving DFU mode a try can be a valuable option. It allows you to restore your device to factory settings or install a specific firmware version, providing a powerful tool to address software-related issues.
However, it’s important to exercise caution when using DFU mode, as it can have permanent consequences if used incorrectly. Always follow the instructions carefully and seek professional assistance if you are unsure.
By mastering the art of putting your iPhone 13 into DFU mode, you can have peace of mind knowing that you have a troubleshooting technique to rely on when needed.
FAQs
1. What is DFU mode on iPhone?
DFU (Device Firmware Update) mode is a special state on an iPhone that allows users to update or restore its firmware manually. It is used when the iPhone is not responding or having issues with software updates or jailbreaking.
2. How do I put my iPhone 13 into DFU mode?
To put your iPhone 13 into DFU mode, follow these steps:
– Connect your iPhone to your computer using a Lightning cable
– Press and release the Volume Up button
– Press and release the Volume Down button
– Press and hold the Side button until the screen turns black
– Keep holding the Side button and also press and hold the Volume Down button for about 5 seconds
– Release the Side button while still holding the Volume Down button for another 5 seconds
– If your screen remains black, your iPhone is now in DFU mode
3. Why would I need to put my iPhone into DFU mode?
There are several reasons why you might need to put your iPhone into DFU mode:
– If your iPhone is stuck on the Apple logo and won’t turn on
– If your iPhone is experiencing software issues and needs a restore
– If you want to jailbreak your iPhone and need to install custom firmware
– If you’re experiencing problems with software updates and need to reinstall the latest firmware
4. Can I exit DFU mode without restoring my iPhone?
Yes, you can exit DFU mode without restoring your iPhone. To exit DFU mode, simply force restart your iPhone by pressing and holding the Side button and Volume Down button simultaneously until the Apple logo appears on the screen.
5. Will putting my iPhone into DFU mode erase all my data?
Yes, putting your iPhone into DFU mode will erase all the data on your device. It is important to create a backup of your iPhone before entering DFU mode to ensure you don’t lose any important data. You can restore your data from the backup after the DFU mode process is complete.