
Are you tired of having a cluttered or distracting background in your iPhone 14 photos? Well, you’re in luck! Today, we’re going to show you how to effortlessly remove the background in your iPhone 14 images. Whether you want to highlight a specific subject, create eye-catching marketing materials, or simply achieve a more professional look, removing the background can make a world of difference. With the latest advancements in technology, the iPhone 14 now offers powerful tools and features to help you achieve the perfect image. So, grab your iPhone 14 and let’s dive into the step-by-step process of removing backgrounds and transforming your photos like a pro!
Inside This Article
- Step 1: Update to the Latest iOS Version
- Step 2: Use the Built-in Remove Background Feature
- Step 3: Utilize Third-Party Apps for Background Removal
- Step 4: Manually Remove Background Using Photo Editing Tools
- Conclusion
- FAQs
Step 1: Update to the Latest iOS Version
One of the first steps you should take to remove the background in your iPhone 14 is to ensure that you are running the latest iOS version. Keeping your operating system up to date is essential as new updates often come with bug fixes, security enhancements, and new features that can improve the functionality of your device.
Updating your iPhone 14 is a simple process. Here’s how you can do it:
- Connect your iPhone 14 to a Wi-Fi network to ensure a stable internet connection.
- Go to the “Settings” app on your iPhone 14.
- Scroll down and tap on “General.”
- Tap on “Software Update.
- If a new update is available, you will see the option to “Download and Install.” Tap on it.
- Wait for the update to download and then tap on “Install.” You may need to enter your passcode to proceed.
- Follow the on-screen instructions to complete the update process.
It’s important to have your iPhone 14 fully charged or connected to a power source during the update process to ensure a smooth installation. Also, make sure you have enough free storage space on your device as larger updates may require additional storage.
By updating to the latest iOS version, you not only ensure that your iPhone 14 is optimized for performance, but you also gain access to any new features or improvements that may assist you in removing the background from your photos.
Step 2: Use the Built-in Remove Background Feature
If you own an iPhone 14, you are in luck! This advanced device comes with a built-in feature that allows you to easily remove background from your photos. With just a few simple steps, you can achieve professional-looking images without the need for any external apps or tools.
To get started, open the Photos app on your iPhone 14 and select the photo from which you want to remove the background. Once you have chosen the photo, tap on the Edit option located at the top-right corner of the screen.
Inside the editing interface, you will find various editing tools. Locate and tap on the Adjustments icon, which looks like a dial with sliders. This will reveal a list of adjustment options, including the Remove Background feature.
Tap on Remove Background, and the intelligent image recognition of the iPhone 14 will analyze the photo, identifying the foreground and background elements. In just a few seconds, the background of the photo will be automatically removed, leaving you with a clean and isolated subject.
If you are not satisfied with the results, you can make further adjustments by using the sliders provided. These sliders allow you to fine-tune the background removal process, ensuring that the final image meets your expectations.
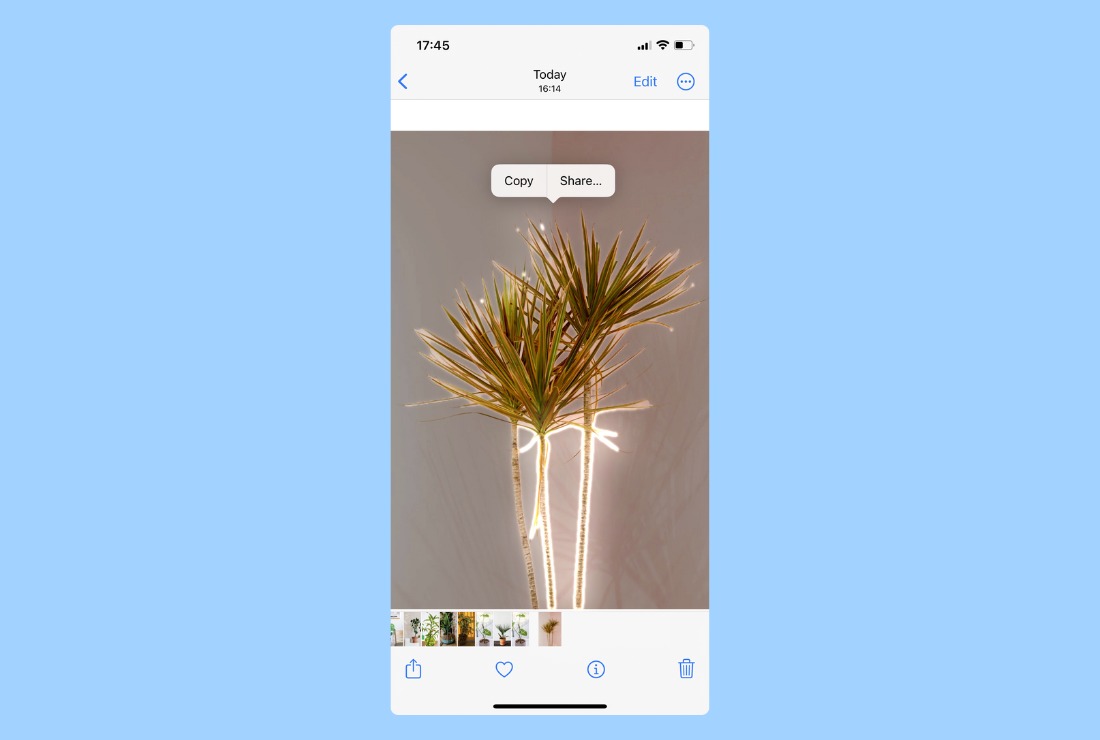
Once you are done with the edits, tap on the Done button, and your photo with the removed background will be saved automatically. You can then share the edited image directly from the Photos app or use it in any other creative project.
The built-in Remove Background feature in the iPhone 14 is incredibly convenient and user-friendly. It empowers you to create stunning visuals with ease, making your photos stand out from the rest.
Step 3: Utilize Third-Party Apps for Background Removal
If you want to take your background removal capabilities to the next level on your iPhone 14, you can turn to third-party apps specifically designed for this purpose. These apps offer advanced features and tools to help you achieve precise and professional-looking background removal.
One popular app that you can consider is “Background Eraser.” This app allows you to effortlessly remove the background from your photos with just a few simple steps. It offers various selection tools such as brush, lasso, and magic wand, making it easier to isolate the background for removal.
Another notable option is “Superimpose X.” This app is renowned for its powerful masking tool, allowing you to meticulously remove the background from your images. It also provides additional features like blending modes and the ability to add new backgrounds, giving you more creative control over your edited photos.
If you’re looking for an app that combines simplicity and functionality, “TouchRetouch” is worth considering. This app not only allows you to remove the background from your images effortlessly, but it also has features like object removal and clone stamp, making it a versatile tool for photo editing.
Before utilizing third-party apps, be sure to read reviews and choose a reputable app from the App Store. Pay attention to the app’s ratings, user reviews, and the features it offers to ensure you have a positive experience.
Once you’ve chosen the app that suits your needs, simply download and install it on your iPhone 14. Launch the app and open the photo you want to remove the background from. Follow the app’s instructions and take advantage of its tools to achieve the desired result.
Remember to save a copy of your edited photo to ensure you don’t lose the original image. Additionally, familiarize yourself with the app’s interface and features to make the most out of its capabilities.
With the help of these third-party apps, you can effortlessly remove the background from your photos and take your editing skills to new heights on your iPhone 14.
Step 4: Manually Remove Background Using Photo Editing Tools
When it comes to removing the background of an image on your iPhone 14, sometimes the built-in tools may not give you the precise results you’re looking for. In such cases, you can turn to photo editing tools to manually remove the background. Here’s how you can do it:
1. Open the image you want to edit in your preferred photo editing app. There are several reliable apps available on the App Store that offer advanced editing features.
2. Look for the selection tools within the app. These tools allow you to manually select and isolate the subject from the background. Common selection tools include lasso, pen, or magic wand tools. Experiment with different selection tools to see which gives you the best results.
3. Once you’ve selected the subject, use the eraser tool to carefully remove the background. Adjust the size and hardness of the eraser tool for more precise control. Take your time and be patient to ensure a clean and smooth removal of the background.
4. If your photo editing app supports layers, create a new layer and place it beneath the edited layer. This will help you visualize the removed background more easily. You can also experiment with different background colors or textures on the new layer to enhance the overall look of the image.
5. Zoom in and check for any areas where the background might still be visible. Use the appropriate tools to remove any remaining traces of the background and refine the edges around the subject for a seamless result.
6. Once you’re satisfied with the background removal, save your edited image in a suitable file format, such as JPEG or PNG. Make sure to keep a copy of the original image in case you need to make further adjustments later on.
Keep in mind that manually removing the background using photo editing tools can be time-consuming, especially if the image has complex details or intricate edges. It requires patience, practice, and a steady hand. However, with enough practice and experimentation, you’ll be able to achieve professional-looking results on your iPhone 14.
Removing the background in iPhone 14 has become much simpler with the advanced editing features available on the device. Whether you want to create stunning portraits, product photos, or simply add a unique touch to your images, the iPhone 14 empowers you to do so with ease.
With the powerful processing capabilities and intuitive software, you can easily remove the background from any image in just a few taps. The combination of machine learning algorithms and the enhanced camera system ensures accurate and precise background removal, resulting in professional-looking images.
Thanks to the seamless integration of editing tools and the user-friendly interface, you don’t need any prior editing experience to achieve impressive results. The ease of use and versatility of the iPhone 14 make it a powerful tool for photographers, content creators, and anyone who wants to elevate their visual content.
So, whether you’re a beginner or a professional, the iPhone 14 offers an exceptional background removal feature that allows you to unleash your creativity and take your images to the next level.
FAQs
Q: Can I remove the background in photos taken with iPhone 14?
A: Yes, you can remove the background in photos taken with iPhone 14 using various apps and editing tools available on the App Store.
Q: Which apps or tools can I use to remove the background in iPhone 14 photos?
A: There are several apps and tools you can use, such as Adobe Photoshop Express, Snapseed, or Remove.bg. These apps provide easy and intuitive ways to edit your photos and remove the background.
Q: Do I need any prior knowledge of photo editing to remove the background on iPhone 14?
A: While some familiarity with photo editing tools may be helpful, most of the apps available for iPhone 14 offer user-friendly interfaces and step-by-step instructions. You don’t necessarily need extensive photo editing knowledge to remove the background in your photos.
Q: Will removing the background affect the overall quality of the photo?
A: When using reputable photo editing apps, removing the background should not significantly affect the overall quality of the photo. However, it’s important to remember that removing complex backgrounds, such as those with intricate details or fine edges, may result in slightly reduced image quality or noticeable artifacts.
Q: Can I restore the original background after removing it from an iPhone 14 photo?
A: In most cases, it can be challenging to restore the original background after it has been removed from a photo. Therefore, it’s advisable to make a backup of your original photo before attempting any background removal edits.