
Sure, here's the introduction in HTML format:
html
Are you a photography enthusiast looking to take your iPhone 13 photography skills to the next level? Shooting in RAW on your iPhone 13 can unlock a world of creative possibilities, allowing you to capture and edit images with unparalleled flexibility and quality. In this article, we will delve into the ins and outs of shooting in RAW on your iPhone 13, exploring the benefits, process, and recommended apps for harnessing the full potential of RAW photography. Whether you’re a seasoned photographer or a novice eager to explore new horizons, mastering RAW photography on your iPhone 13 is a game-changer that can elevate your photography to new heights.
Inside This Article
- Understanding RAW Photography
- Benefits of Shooting in RAW
- How to Enable RAW Capture on iPhone 13
- Editing RAW Photos on iPhone 13
- Conclusion
- FAQs
Understanding RAW Photography
When it comes to photography, RAW is more than just a term; it’s a game-changer. RAW refers to the unprocessed and uncompressed image file format that captures all the data from the camera’s sensor without any loss of quality. Unlike JPEG, which applies compression and processing to the image, RAW files retain all the original data, providing photographers with unparalleled flexibility and control over their images.
RAW files contain a wealth of information, including details in the shadows and highlights, color depth, and dynamic range. This abundance of data allows photographers to make extensive adjustments during post-processing without degrading the image quality. With RAW, you have the freedom to fine-tune exposure, white balance, contrast, and other elements, resulting in stunning, high-quality photographs that truly reflect your creative vision.
While RAW files demand more storage space and post-processing time compared to JPEG, the benefits they offer in terms of image quality and creative possibilities make them indispensable for serious photographers. Understanding the power of RAW photography is crucial for anyone looking to elevate their photography to the next level.
Benefits of Shooting in RAW
Shooting in RAW format on your iPhone 13 offers a myriad of benefits that can significantly enhance your photography experience. Here are some compelling reasons why you should consider utilizing RAW capture:
1. Uncompressed Image Data: RAW files contain unprocessed data captured by the camera sensor, preserving all the details and nuances of the scene without any lossy compression. This provides greater flexibility during post-processing, allowing for more extensive adjustments without compromising image quality.
2. Enhanced Dynamic Range: RAW images retain a wider dynamic range, capturing more highlight and shadow details compared to JPEG files. This enables you to recover blown-out highlights or restore shadow details in post-production, resulting in visually stunning and well-balanced photographs.
3. Greater Color Depth: RAW format preserves a higher bit depth, capturing a broader spectrum of colors and tones. This facilitates more precise color correction and grading, ensuring that your photos exhibit accurate and vibrant hues with minimal loss of fidelity.
4. Non-Destructive Editing: When editing RAW photos, the original image data remains untouched, allowing you to make extensive adjustments without degrading the quality of the source file. This non-destructive workflow empowers you to experiment with various editing techniques while maintaining the integrity of the original image.
5. Optimized Noise Reduction: RAW files provide more control over noise reduction algorithms, enabling you to fine-tune the suppression of digital noise without sacrificing image sharpness. This level of customization ensures that your photos maintain exceptional clarity and detail, especially in low-light conditions.
6. Flexible White Balance Adjustment: With RAW capture, you can easily fine-tune the white balance during post-processing, correcting any color casts or achieving a specific artistic interpretation of the scene. This flexibility allows for precise color temperature adjustments, ensuring that your photos accurately reflect the intended visual aesthetic.
By leveraging the benefits of shooting in RAW format, you can elevate the quality and creative potential of your iPhone 13 photography, unlocking a new realm of expressive possibilities and professional-grade image control.
How to Enable RAW Capture on iPhone 13
Enabling RAW capture on your iPhone 13 allows you to take full advantage of the device’s powerful camera capabilities. To enable RAW capture, follow these simple steps:
First, open the “Settings” app on your iPhone 13. Scroll down and tap on “Camera.” This will open the Camera settings menu, where you can access various options for customizing your camera experience.
Next, look for the “Formats” section within the Camera settings. Tap on “Formats” to view the available options for capturing photos and videos. Here, you’ll find the settings for “Photo Capture” and “Video Capture.
Under the “Photo Capture” section, you’ll see the option to enable “Apple ProRAW.” Toggle the switch to enable Apple ProRAW capture on your iPhone 13. Once enabled, your iPhone 13 will capture photos in the RAW format, preserving the maximum amount of image data for post-processing.
After enabling Apple ProRAW, you can exit the Settings app and open the Camera app on your iPhone 13. When taking photos, you’ll notice that the Camera app now captures images in the RAW format, providing greater flexibility for editing and enhancing your photos.
With RAW capture enabled, you can take advantage of the advanced editing capabilities offered by professional photo editing apps, unlocking the full potential of your iPhone 13’s camera and allowing you to create stunning, high-quality images with unparalleled detail and clarity.
Editing RAW Photos on iPhone 13
Once you’ve captured stunning RAW photos on your iPhone 13, it’s time to unleash their full potential through editing. Apple’s native Photos app offers robust editing tools that allow you to enhance the details, colors, and overall look of your RAW images.
After selecting the RAW photo you want to edit, tap “Edit” in the top-right corner of the screen. You’ll then have access to a plethora of editing options, including adjusting exposure, contrast, highlights, shadows, and more. These tools give you precise control over the nuances of your RAW image.
One of the most powerful features for editing RAW photos on iPhone 13 is the ability to fine-tune white balance. With this control, you can ensure that the colors in your RAW image are accurate and true to life, allowing you to create a more compelling and authentic visual story.
Additionally, the Photos app provides tools for sharpening details, reducing noise, and applying selective edits to specific areas of the image. This level of editing flexibility empowers you to transform your RAW captures into professional-grade masterpieces directly on your iPhone 13.
Furthermore, the Photos app allows you to revert to the original RAW image at any time, ensuring that you can experiment with edits without fear of losing the initial image quality. This non-destructive editing approach provides peace of mind and encourages creative exploration.
Conclusion
Shooting in RAW on your iPhone 13 opens up a world of possibilities for capturing stunning, high-quality images. The ability to retain more detail and make precise adjustments in post-processing can take your photography to the next level. With the native support for RAW capture in the iPhone 13, you can unleash your creativity and produce professional-grade photos with ease. Whether you’re a seasoned photographer or an enthusiastic amateur, the RAW format empowers you to fully express your artistic vision and elevate your mobile photography game. Embrace the power of RAW shooting on your iPhone 13 and unlock the true potential of your images, allowing you to create breathtaking visuals that stand out in a crowded digital landscape.
FAQs
Q: Can I shoot in RAW format on iPhone 13?
Yes, you can shoot in RAW format on iPhone 13. Apple introduced the ProRAW feature, which allows users to capture images in RAW format using the iPhone 13 Pro and iPhone 13 Pro Max. This feature provides greater flexibility for editing and preserving image quality.
Q: How do I enable ProRAW on my iPhone 13?
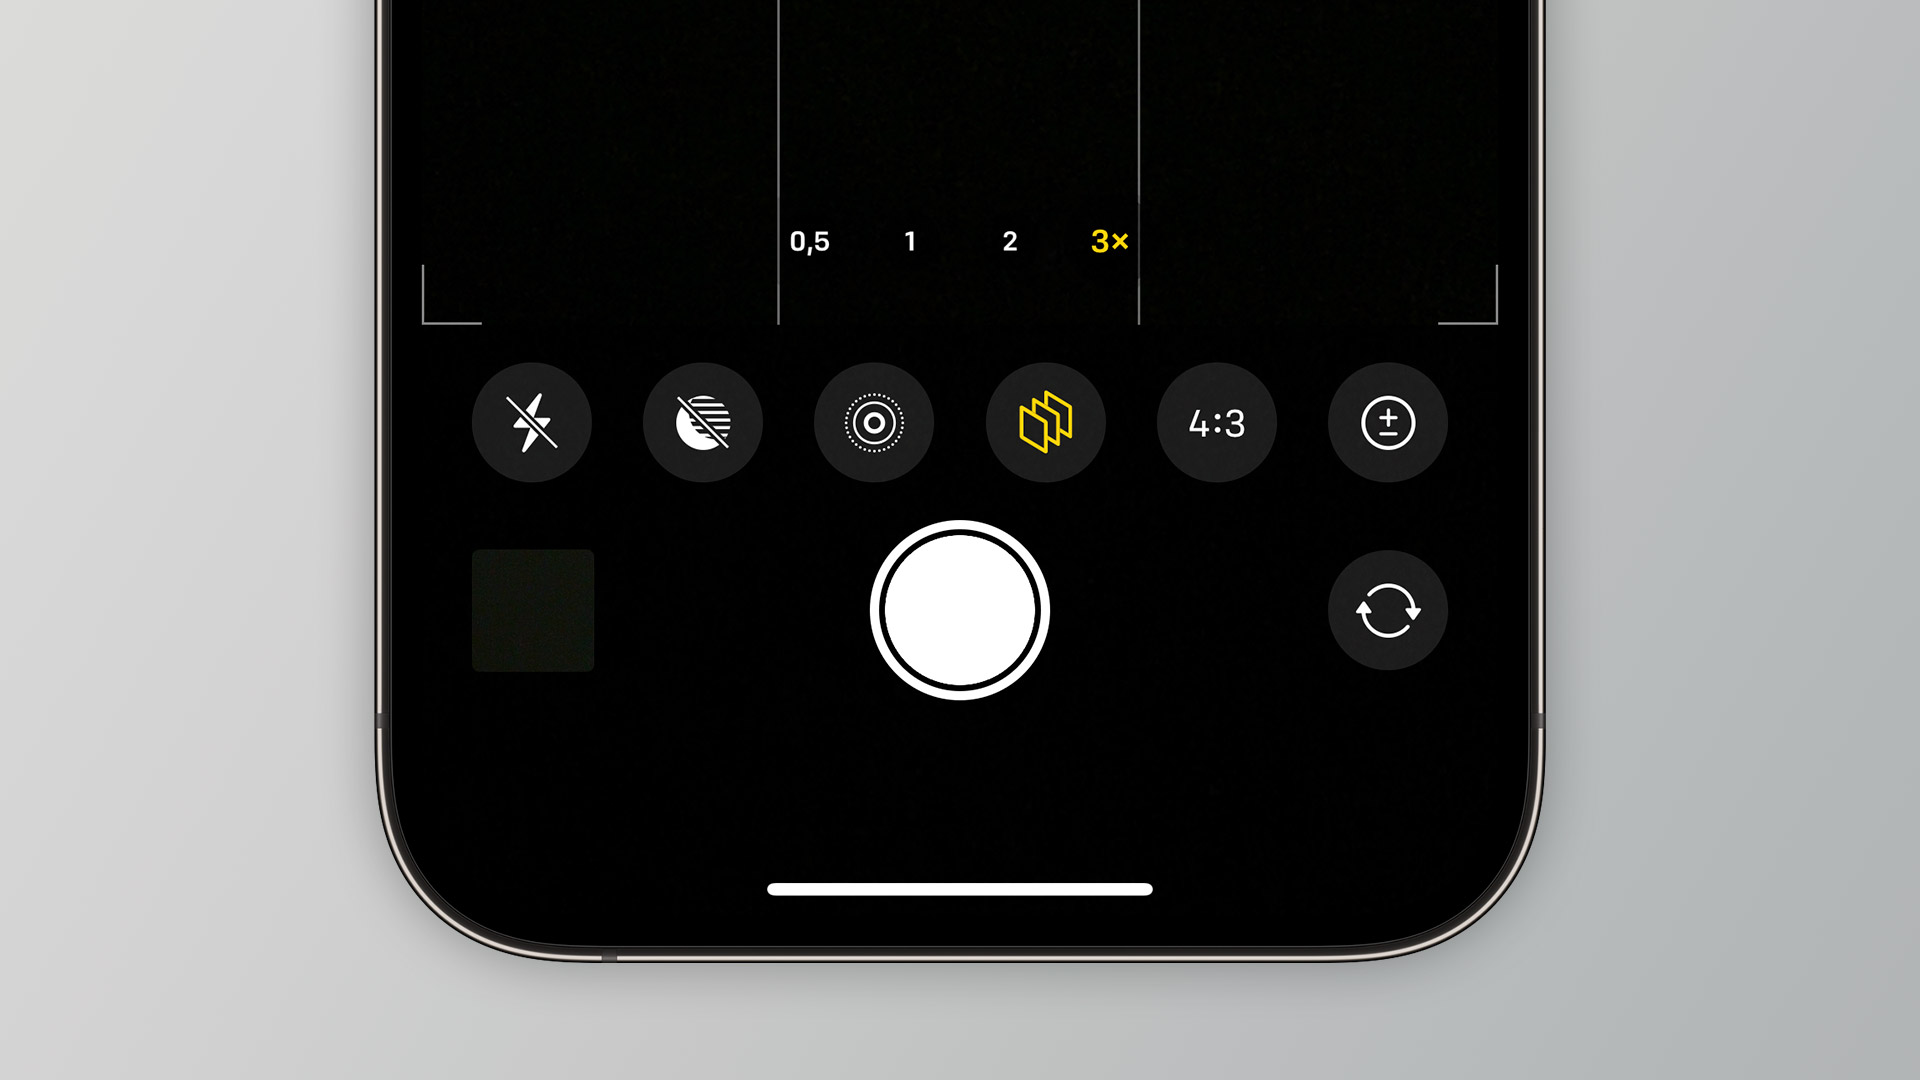
To enable ProRAW on your iPhone 13, go to the Camera app, tap on the “Pro” icon at the top of the screen, and then tap on the RAW button to activate ProRAW mode. Keep in mind that using ProRAW will result in larger file sizes, but it offers unparalleled control over image editing.
Q: What are the benefits of shooting in RAW format on iPhone 13?
Shooting in RAW format on iPhone 13 allows for greater flexibility in post-processing, as RAW files retain more image data and provide higher dynamic range compared to JPEG files. This enables photographers to make more extensive adjustments to exposure, color, and other aspects of the image without sacrificing quality.
Q: Can I edit RAW photos directly on my iPhone 13?
Yes, you can edit RAW photos directly on your iPhone 13 using apps like Adobe Lightroom, VSCO, or Snapseed, which offer robust editing capabilities for RAW files. Additionally, Apple’s built-in Photos app provides basic editing tools for RAW images, allowing you to adjust exposure, contrast, and other parameters.
Q: Does shooting in RAW format consume more storage on iPhone 13?
Shooting in RAW format does consume more storage on iPhone 13 due to the larger file sizes compared to JPEG images. However, the increased storage usage is offset by the unparalleled editing flexibility and superior image quality offered by RAW files, making it a worthwhile trade-off for photographers seeking the utmost control over their images.