
Sure, here's the introduction wrapped in HTML paragraph tags:
html
Are you ready to take your iPhone 13 Pro photography to the next level? Shooting in RAW format can unlock a world of creative possibilities, allowing you to capture and edit images with unparalleled detail and control. In this comprehensive guide, we’ll explore everything you need to know about shooting RAW on your iPhone 13 Pro. From understanding the benefits of RAW photography to mastering the process of capturing and editing RAW images, we’ll cover it all. By the end of this article, you’ll be equipped with the knowledge and skills to harness the full potential of your iPhone 13 Pro camera. Let’s dive in and discover the art of shooting RAW with your iPhone 13 Pro!
Inside This Article
- Understanding RAW Photography
- Setting Up RAW Mode on iPhone 13 Pro
- Capturing RAW Images with iPhone 13 Pro
- Editing RAW Photos on iPhone 13 Pro
- Conclusion
- FAQs
**
Understanding RAW Photography
**
When it comes to photography, the term “RAW” refers to the unprocessed and uncompressed image data captured by your camera’s sensor. Unlike JPEG, which applies in-camera processing to the image, RAW files retain all the original data, providing greater flexibility for post-processing.
RAW images contain a wealth of information, including color, exposure, and contrast details that may not be immediately visible in a standard JPEG image. This allows for more extensive editing without compromising image quality, making RAW format ideal for professional photographers and enthusiasts seeking maximum control over their images.
It’s important to note that RAW files are significantly larger than their JPEG counterparts, requiring more storage space and potentially slowing down the shooting process. However, the benefits of RAW format, such as improved dynamic range and better color accuracy, often outweigh these considerations, especially for those aiming to achieve the highest quality results.
Understanding the intricacies of RAW photography empowers photographers to unleash the full potential of their images, capturing scenes with unparalleled detail and harnessing the power of post-processing to bring their artistic vision to life.
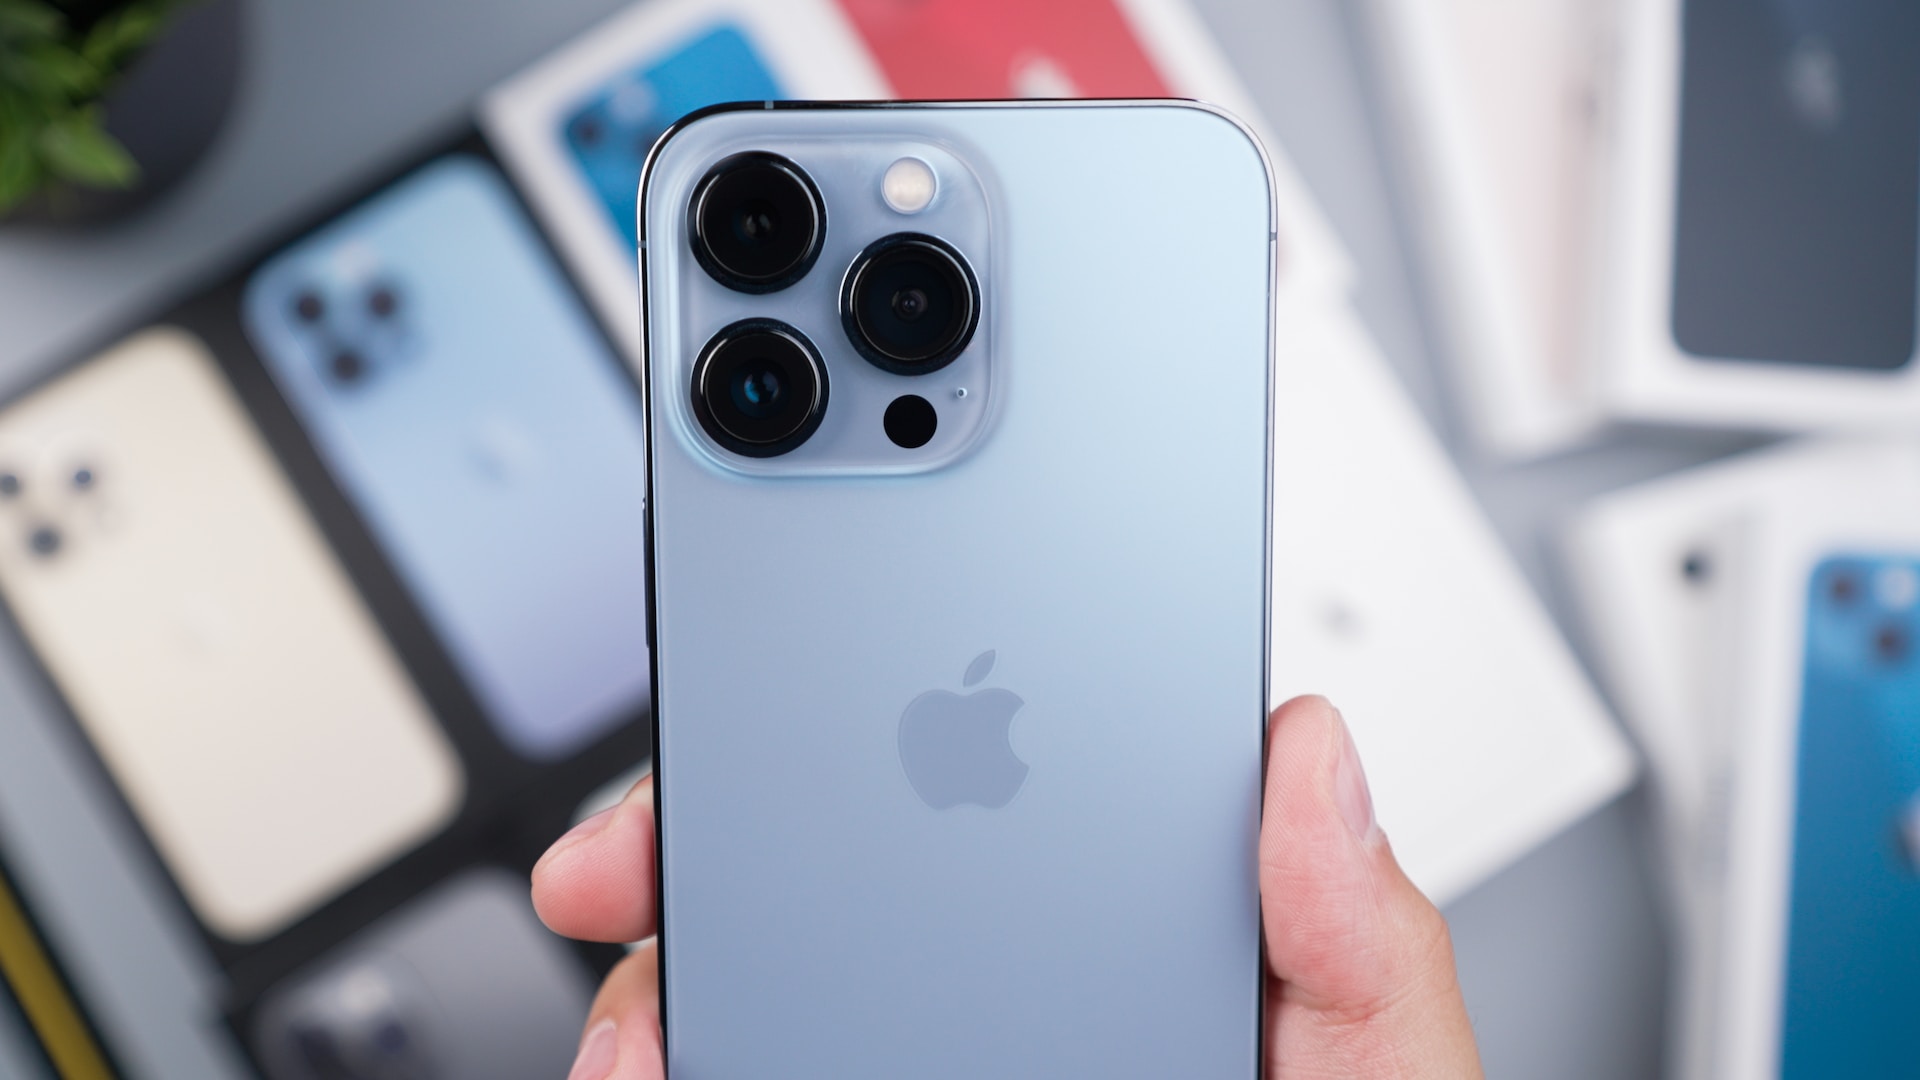
Setting Up RAW Mode on iPhone 13 Pro
Shooting in RAW mode on your iPhone 13 Pro allows you to capture images with greater detail and flexibility for editing. To set up RAW mode, open the Camera app and tap on the “Settings” icon. Scroll down and select “Camera.” Under the “Formats” section, toggle on “Apple ProRAW.” This enables the RAW capture feature on your iPhone 13 Pro, providing you with high-quality, uncompressed image files.
Once Apple ProRAW is activated, you can further customize the RAW capture settings. Simply go to the Camera settings and tap on “Formats.” Here, you can adjust the capture settings to your preference, such as enabling or disabling the RAW format, choosing to capture both RAW and JPEG, or selecting the storage option for your RAW files. These customizable settings offer you greater control over your photography experience.
It’s important to note that shooting in RAW mode may result in larger file sizes, which could consume more storage space on your device. To mitigate this, consider utilizing the “Optimize iPhone Storage” feature, which automatically manages your photo and video storage by keeping your high-resolution media in iCloud while retaining smaller versions on your device. This ensures you have access to your RAW files without compromising storage capacity.
Capturing RAW Images with iPhone 13 Pro
Now that you have set up your iPhone 13 Pro to shoot in RAW format, capturing stunning images with this advanced capability is a breeze. When shooting in RAW, your iPhone captures and saves all the data from the camera sensor, providing you with greater flexibility for post-processing. Here’s how you can make the most of this feature.
First, find a scene that you want to capture in RAW. Whether it’s a breathtaking landscape, a vibrant cityscape, or a portrait in natural light, the iPhone 13 Pro’s RAW capabilities excel in various settings. Once you’ve found your subject, ensure that the lighting and composition are to your liking before taking the shot. Remember, RAW images retain a high level of detail, so pay attention to the elements within the frame.
Next, use the iPhone’s camera app to frame your shot. Take advantage of the ProRAW mode’s advanced settings, such as adjusting exposure, focus, and white balance, to fine-tune the image before capturing it. These settings allow you to have more control over the final result, ensuring that your RAW image captures the scene exactly as you envision it.
When you’re ready, gently press the shutter button to take the photo. The iPhone 13 Pro’s powerful camera system, combined with the RAW format, captures an image with exceptional detail and dynamic range. Be mindful of camera shake, as RAW images are highly detailed and any blurriness can impact the final result. Consider using a tripod or stabilizing the iPhone to ensure a sharp, professional-looking image.
After capturing the RAW image, take a moment to review it in the Photos app. Zoom in to appreciate the level of detail and dynamic range preserved in the RAW format. You’ll notice that RAW images offer unparalleled depth and clarity, allowing you to explore the nuances of the scene and make precise adjustments during the editing process.
Remember, shooting in RAW empowers you to unleash the full potential of your iPhone 13 Pro’s camera, enabling you to create stunning, high-quality images that can be further enhanced in post-processing. With these steps, you can confidently capture breathtaking moments and unleash your creativity through the power of RAW photography on your iPhone 13 Pro.
Sure, I can certainly help with that. Here's the content for "Editing RAW Photos on iPhone 13 Pro" section:
Editing RAW Photos on iPhone 13 Pro
Once you’ve captured stunning RAW images with your iPhone 13 Pro, the next step is to unleash the full potential of these photos through editing. The powerful editing tools available on the iPhone 13 Pro allow you to refine and enhance your RAW images with remarkable precision and creativity.
With the built-in Photos app, you can easily access and edit your RAW photos. Simply open the Photos app, select the RAW image you want to edit, and tap “Edit” to begin the editing process. The intuitive interface provides a seamless editing experience, empowering you to transform your RAW images into true works of art.
When editing RAW photos on the iPhone 13 Pro, you have a wide array of editing options at your fingertips. From adjusting exposure and contrast to fine-tuning color balance and saturation, the editing tools offer unparalleled flexibility. Additionally, you can apply selective edits to specific areas of the image, allowing for targeted adjustments that bring out the finest details in your RAW photos.
Furthermore, the iPhone 13 Pro’s advanced editing capabilities extend to noise reduction, sharpening, and lens corrections, ensuring that your RAW images maintain exceptional clarity and sharpness. Whether you’re refining landscapes, portraits, or macro shots, the editing tools on the iPhone 13 Pro empower you to elevate the quality of your RAW photos with ease.
After applying the desired edits to your RAW photos, you can save the final masterpiece with all the adjustments preserved in the original RAW file. This non-destructive editing approach preserves the integrity of the RAW image, allowing you to revisit and refine the edits at any time without compromising image quality.
With the remarkable editing prowess of the iPhone 13 Pro, you can unlock the full potential of RAW photography, bringing your creative vision to life with unprecedented control and finesse.
In conclusion, shooting in RAW format on the iPhone 13 Pro offers unparalleled flexibility and control over your photos. By capturing more image data, you can enhance and fine-tune your shots with greater precision, resulting in stunning, professional-quality images. The ability to adjust exposure, color balance, and other key elements after the photo is taken empowers you to unleash your creativity and achieve the perfect look for each image. With the iPhone 13 Pro's advanced camera capabilities and the power of RAW photography, you can elevate your photography to new heights, capturing moments with exceptional clarity and depth. Embrace the potential of RAW photography on your iPhone 13 Pro and unlock a world of possibilities in your mobile photography journey.
FAQs
Q: Can I shoot RAW photos on iPhone 13 Pro?
Yes, the iPhone 13 Pro supports capturing photos in RAW format using third-party camera apps or the built-in ProRAW feature in the native camera app.
Q: What are the advantages of shooting in RAW on iPhone 13 Pro?
Shooting in RAW on the iPhone 13 Pro allows for greater flexibility in post-processing, offering higher-quality images with more detail, dynamic range, and color depth compared to JPEG files.
Q: How much storage space do RAW photos take on iPhone 13 Pro?
RAW photos typically consume more storage space than JPEG files due to their uncompressed nature. The exact file size varies based on the image content and resolution, but it’s generally larger than JPEG files.
Q: Can I edit RAW photos directly on iPhone 13 Pro?
Yes, you can edit RAW photos directly on the iPhone 13 Pro using compatible photo editing apps that support RAW file formats, allowing you to adjust exposure, color, and other parameters with precision.
Q: Are there any recommended third-party camera apps for shooting RAW on iPhone 13 Pro?
Several third-party camera apps, such as Halide, ProCamera, and Adobe Lightroom, offer advanced RAW shooting capabilities and manual controls, providing photographers with additional creative options beyond the native camera app.