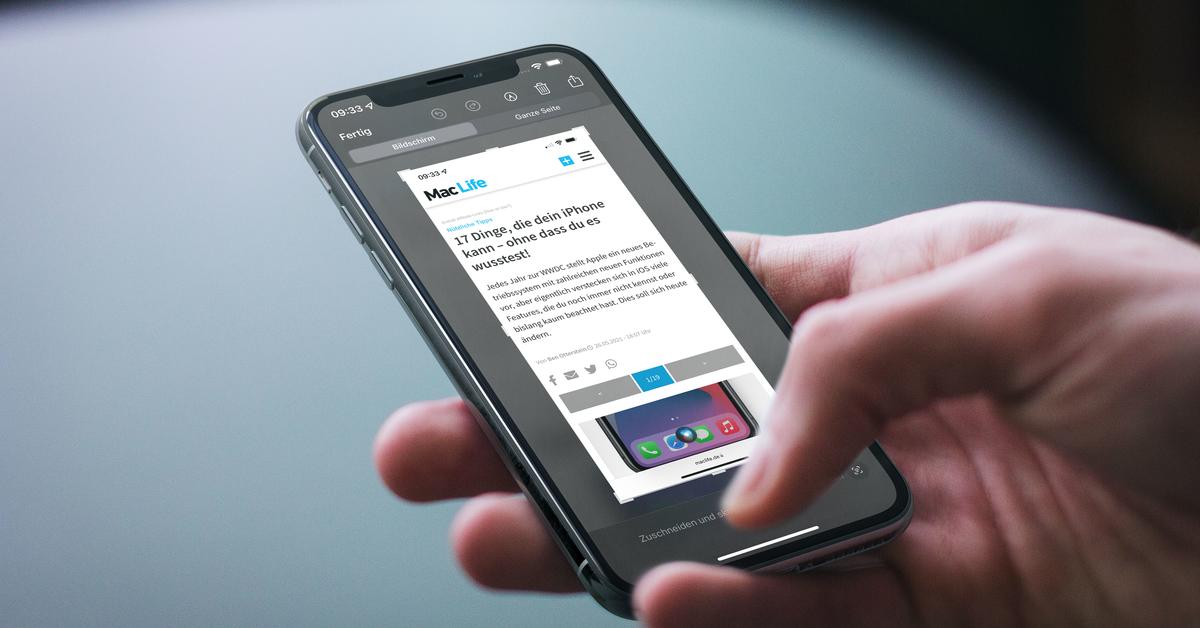
Taking a screenshot on your iPhone 12 Mini can be incredibly useful for capturing memorable moments, saving important information, or sharing content with friends and family. Whether you want to capture a funny text conversation, save a recipe from a website, or show off your latest high score in a game, knowing how to take a screenshot on your iPhone 12 Mini is a handy skill to have. In this article, we will explore the step-by-step process of taking a screenshot on your iPhone 12 Mini, along with some additional tips and tricks to enhance your screenshot-taking experience. So, let's dive in and learn how to capture and share your favorite moments with ease!
Inside This Article
- Method 1: Using Buttons
- Method 2: Using AssistiveTouch
- Method 3: Using QuickTime on Mac
- Conclusion
- FAQs
Method 1: Using Buttons
One of the simplest ways to take a screenshot on your iPhone 12 Mini is by using the physical buttons on the device. This method is quick and easy, allowing you to capture whatever is on your screen in just a few simple steps.
To take a screenshot using the buttons, start by locating the Side Button and the Volume Up Button on your iPhone 12 Mini. Once you have the content you want to capture on your screen, press the Side Button and the Volume Up Button simultaneously. You’ll hear a camera shutter sound, and the screen will flash, indicating that the screenshot has been successfully taken.
After you’ve taken the screenshot, you can find it in the Photos app under the “Screenshots” album. From there, you can edit, share, or delete the screenshot as needed. This method is a convenient way to capture and save important information, memorable moments, or anything else you want to keep a record of on your iPhone 12 Mini.
**
Method 2: Using AssistiveTouch
**
If you prefer a hands-free approach to taking screenshots on your iPhone 12 Mini, AssistiveTouch is a fantastic option. This feature allows you to perform various functions using gestures or taps, making it a convenient tool for capturing your screen without using physical buttons.
To enable AssistiveTouch, navigate to “Settings” on your iPhone 12 Mini, then tap on “Accessibility.” From there, select “Touch” and then “AssistiveTouch.” Toggle the switch to turn it on. Once enabled, a small virtual button will appear on your screen, providing quick access to a variety of functions, including taking screenshots.
After enabling AssistiveTouch, taking a screenshot is as simple as tapping the virtual button. When you’re ready to capture the screen, tap the AssistiveTouch button, then select “Device” followed by “More” and finally “Screenshot.” Your screen will flash white, indicating that the screenshot has been successfully taken.
Once you’ve taken a screenshot using AssistiveTouch, you can find the image in the “Photos” app, where it will be saved in your camera roll. From there, you can edit, share, or delete the screenshot as needed.
Method 3: Using QuickTime on Mac
If you’re a Mac user, capturing a screenshot from your iPhone 12 Mini using QuickTime is a breeze. This method is especially handy if you want to record a video of your screen or if you prefer managing your iPhone content on your Mac. QuickTime, a versatile multimedia player, can also serve as a reliable tool for capturing your device’s screen.
To begin, connect your iPhone 12 Mini to your Mac using a lightning cable. Once connected, open QuickTime Player on your Mac. Next, click on “File” in the menu bar and select “New Movie Recording. A recording window will appear, and you’ll notice a small arrow next to the record button. Click on this arrow to reveal a dropdown menu, and select your iPhone 12 Mini as the camera and microphone source.
After selecting your iPhone as the source, your device’s screen will be mirrored on your Mac. Now, to capture a screenshot, simply navigate to the desired screen on your iPhone and click on the red record button in QuickTime. This will initiate the screen recording. When you’ve captured the desired content, stop the recording by clicking the stop button in QuickTime. You can then trim the recording to isolate the screenshot and save it as a separate file.
Mastering the art of taking a screenshot on your iPhone 12 Mini opens up a world of possibilities for capturing and sharing moments from your device. Whether you’re saving important information, sharing a hilarious conversation, or preserving a memorable achievement, the screenshot feature is a valuable tool at your fingertips. With the simple combination of buttons and the flexibility to annotate and share your screenshots, the iPhone 12 Mini empowers you to express yourself in new ways. By integrating this feature into your daily routine, you can effortlessly preserve and share the content that matters most to you. The ability to capture and share your screen with ease is just another way the iPhone 12 Mini enhances your overall user experience.
FAQs
Q: How do I take a screenshot on iPhone 12 Mini?
A: To take a screenshot on your iPhone 12 Mini, simply press the side button and the volume up button simultaneously.
Q: Where can I find my screenshots after taking them?
A: Your screenshots are automatically saved to the Photos app in the “Screenshots” album.
Q: Can I edit my screenshots after taking them?
A: Yes, you can edit your screenshots directly from the Photos app using the built-in editing tools.
Q: Can I take a screenshot of a specific portion of the screen?
A: Yes, you can take a screenshot of a specific portion of the screen by using the Markup tool after taking the screenshot.
Q: Can I share my screenshots with others?
A: Absolutely! You can easily share your screenshots with others through various apps such as Messages, Mail, or social media platforms.
